-
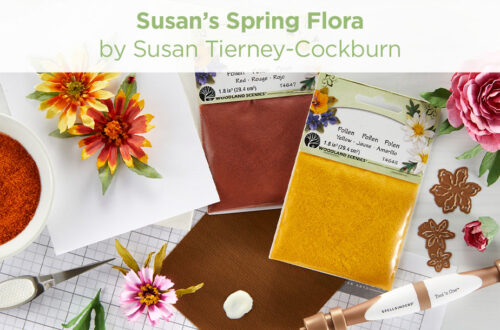
Easy and Fun Handmade Advent Calendar with Kraft Pop & Lock Boxes
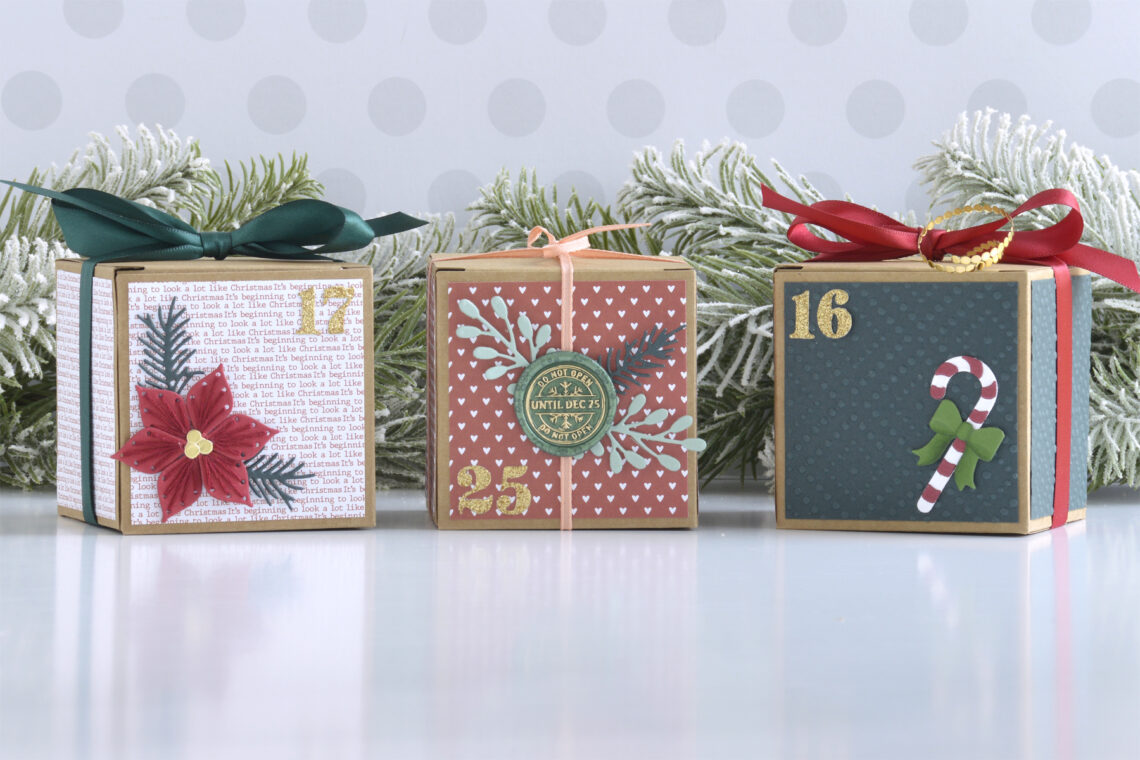
Hi there, this is Annie Williams and I’m excited to be back on the blog today to share a fun handmade advent calendar made with Kraft Pop & Lock Boxes. These versatile boxes are easy to decorate and the perfect size for a little gift…so why not customize and give twenty-five of them to someone who deserves a fun surprise every day until Christmas! I started by assembling all twenty-five boxes. Just as the name suggests, the boxes pop and lock into place very easily! Each box measures about 3” x 3” x 3”, plenty big enough for something like an average-sized ornament. I’m making this advent calendar for my…
-
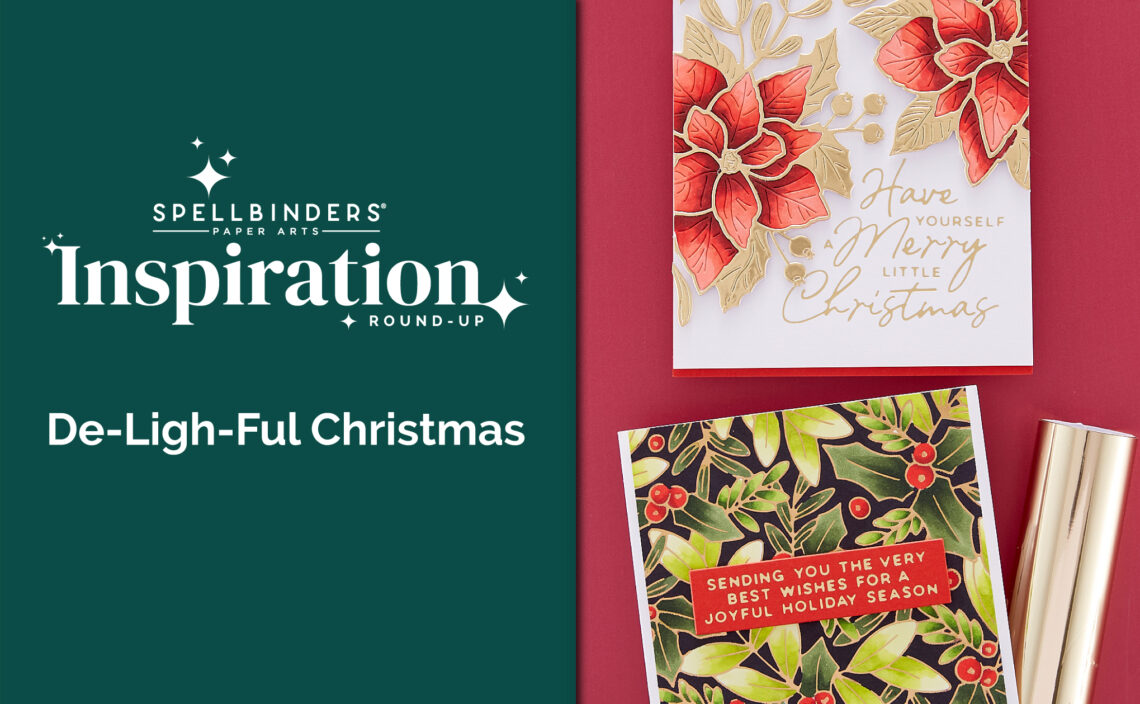
De-Light-Ful Christmas Collection Inspiration Round-Up
Hey there, Spellbinders fans! We’re thrilled to welcome you back on our blog for another edition of “Inspiration Round-Up” series. We hope to fuel your creative juices with handmade projects, and showcase the stunning ideas our talented community created with our products. Are you ready for a Christmas crafting extravaganza? Buckle up because we’ve got an amazing lineup of inspiration in store, all shining a spotlight on our De-Light-Ful Christmas collection by Yana Smakula. Get ready to be inspired! You are invited to the Inlinkz link party! Click here to enter But that’s not all! We invite you to dive even deeper into the festive magic by exploring the incredible…
-
Merry Mug & Circle Delights Inspiration
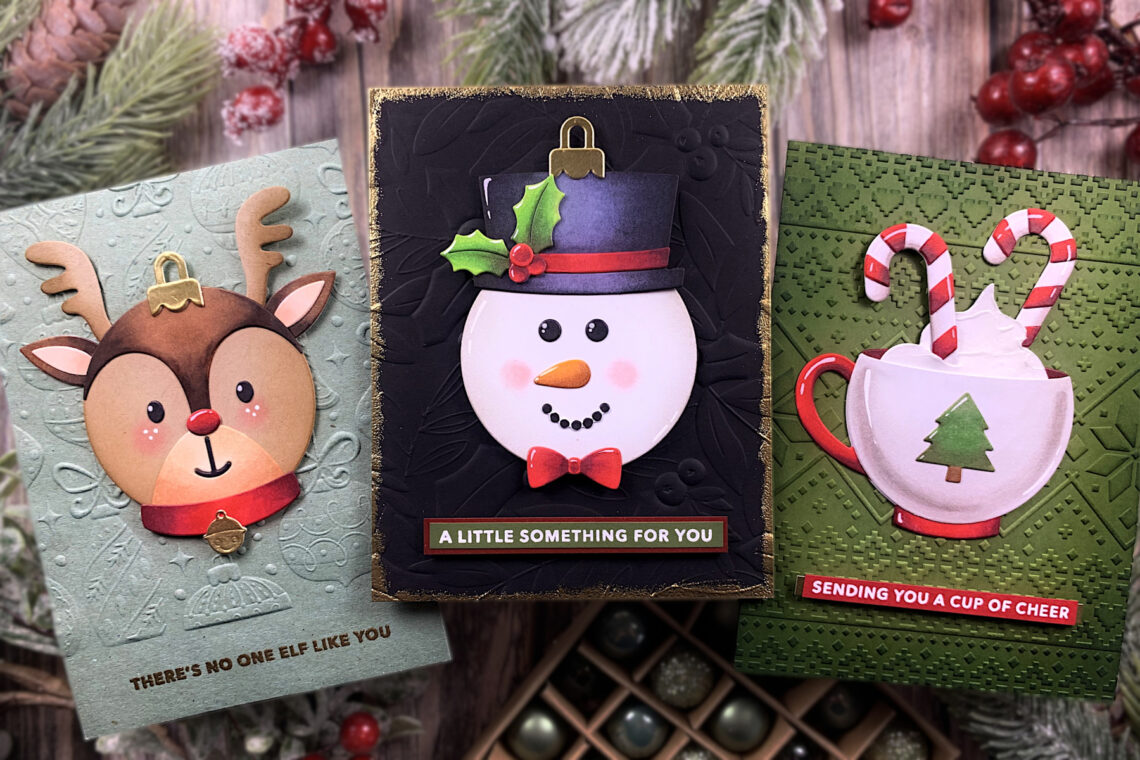
Hello everyone! This is Jennifer Rustioni from @armieritagli! I’m so happy to be here today on the Spellbinders Blog! I want to share with you three Christmas cards I created featuring the new amazing Merry Mug & Circle Delights Collection! RUDOLPH The first card I realized is featuring the super fun Festive Ornaments and Santa’s Festive Circle Crew Etched Dies! I die-cut the circle base for my reindeer using kraft card stock, and then I blended the edges with some Distress Ink. After that, I die-cut the other parts and colored them with Copic Markers. At this point, I assembled the reindeer. I realized the base of my card by…
-
Sakura Watercolors – Watercoloring 3D Embossed Background
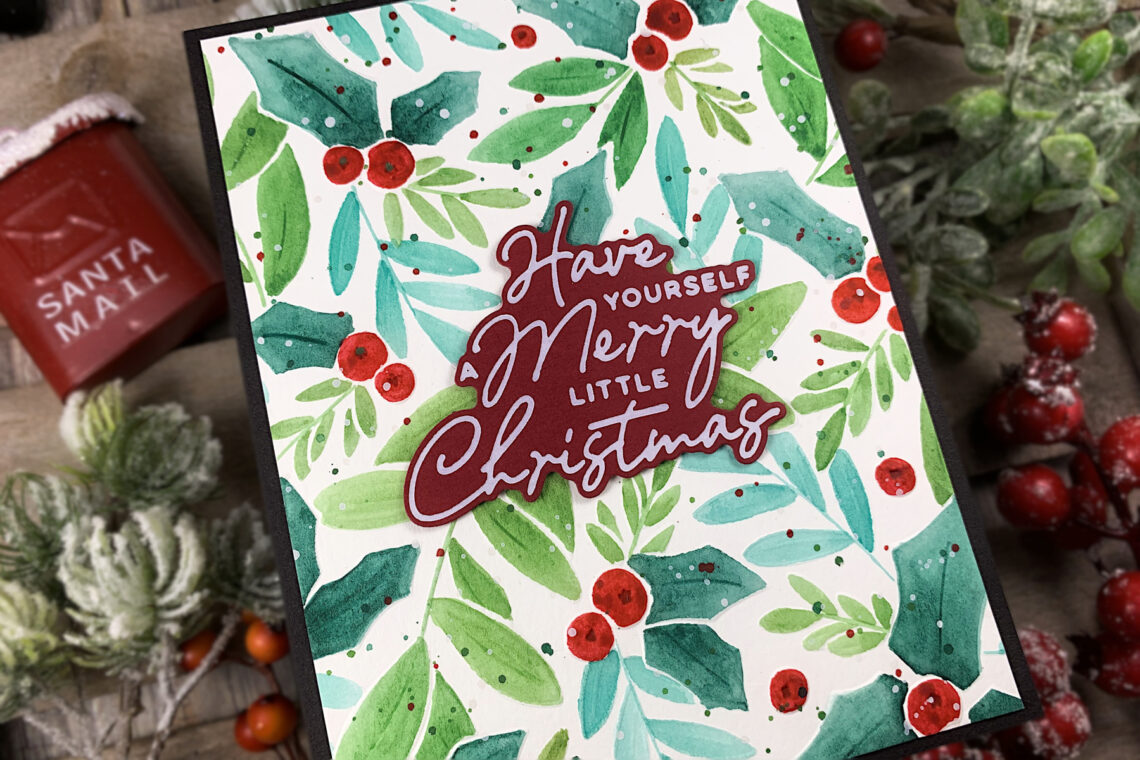
Hello crafty friends! This is Jennifer Rustioni from @armieritagli! I’m so happy to be here again as a guest on the Spellbinders Blog! Today I share with you a step-by-step tutorial of the card I realized featuring the amazing Sakura Koi Watercolors! This set of 24 watercolors is truly beautiful and perfect for urban sketching or for indoor watercoloring as well. I chose to use these beautiful watercolors to create a Christmas card. I realized a coloring different from my usual, using an embossing folder instead of a stamp. When using brand new colors (every type of color) for the first time, I recommend you create a color chart. This…
-
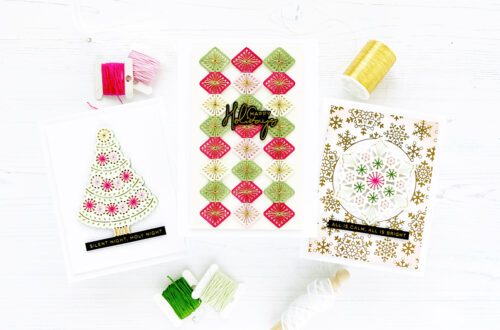
12 Days of Stitchmas Advent Calendar | Day 1 with Mindy Eggen
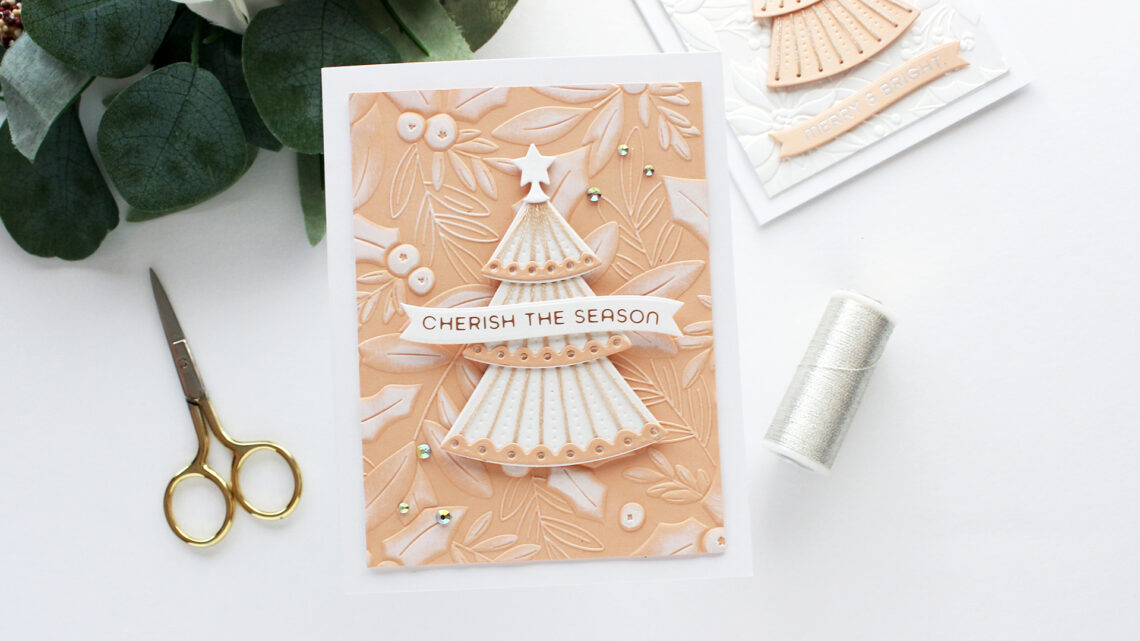
Welcome to our 12 Days of Stitchmas 2023 Advent Calendar class! Join us and stitch your way through the season! We invited 12 guest artists to share inspiration with the 12 stitching surprises. Let’s welcome Mindy Eggen as she shares inspiration with the Day 1 surprise! Hello crafty friends! This is Mindy Eggen and I am so excited to kick-off Day 1 of Stitchmas with you! I absolutely love countdown calendars especially when it’s fun, crafty stuff inside! Day 1 of Stitchmas is a cute little 3-tier tree that is the perfect focal point for a card, tag, or ornament. I’m going to be using the white and peach-colored cardstock…
-
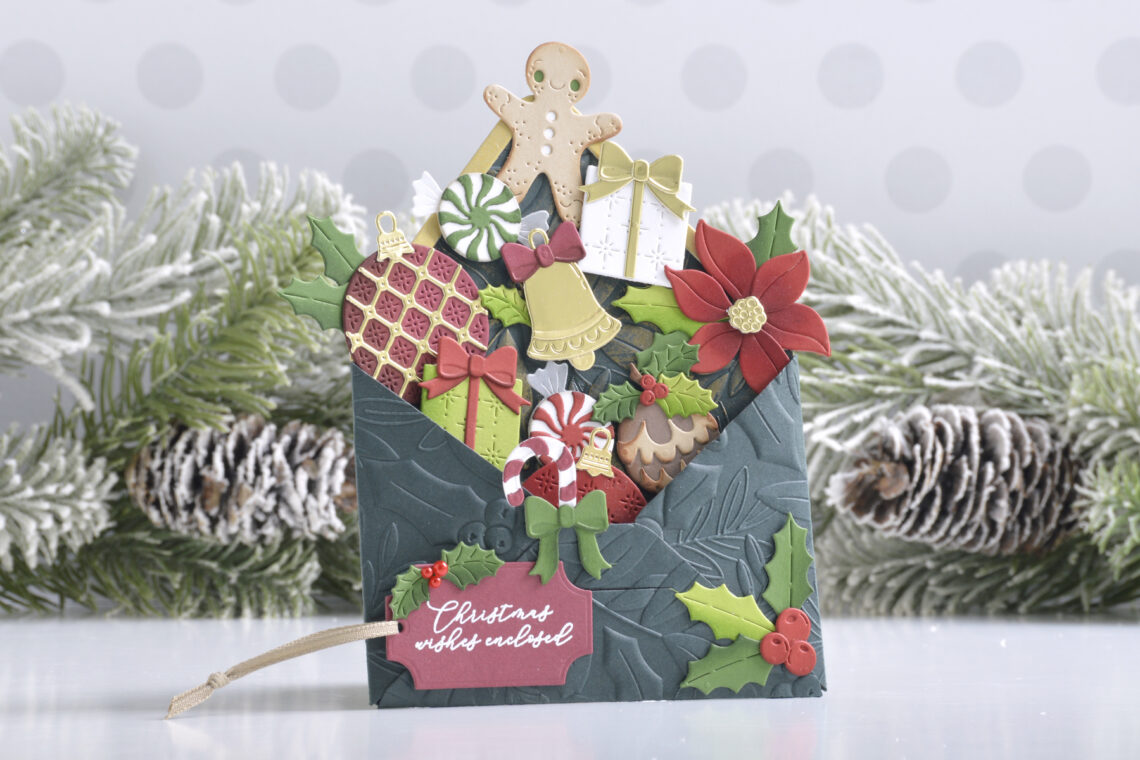
Christmas Envelope of Wonder Card Tutorial
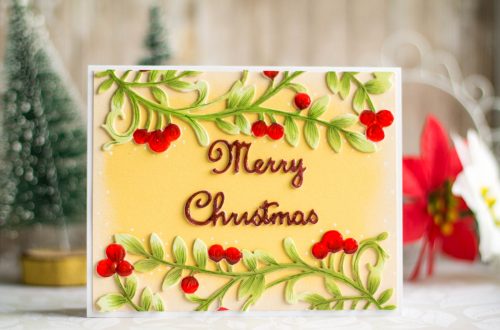
Hi there, this is Annie Williams and I’m excited to be back on the blog today to share how I created this fun Christmas envelope card using the new Envelope of Wonder Collection from Spellbinders. I love the idea of stuffing a big envelope full of festive elements and thought it would be fun to add some details to the envelope itself as well. Start by cutting the main parts of the envelope out of Forest Cardstock and the top flap layer out of Brushed Gold Cardstock. Emboss all of the main envelope parts using the Holly & Foliage 3D Embossing Folder. Lightly rub Gold Rush Lunar Paste over the…
-
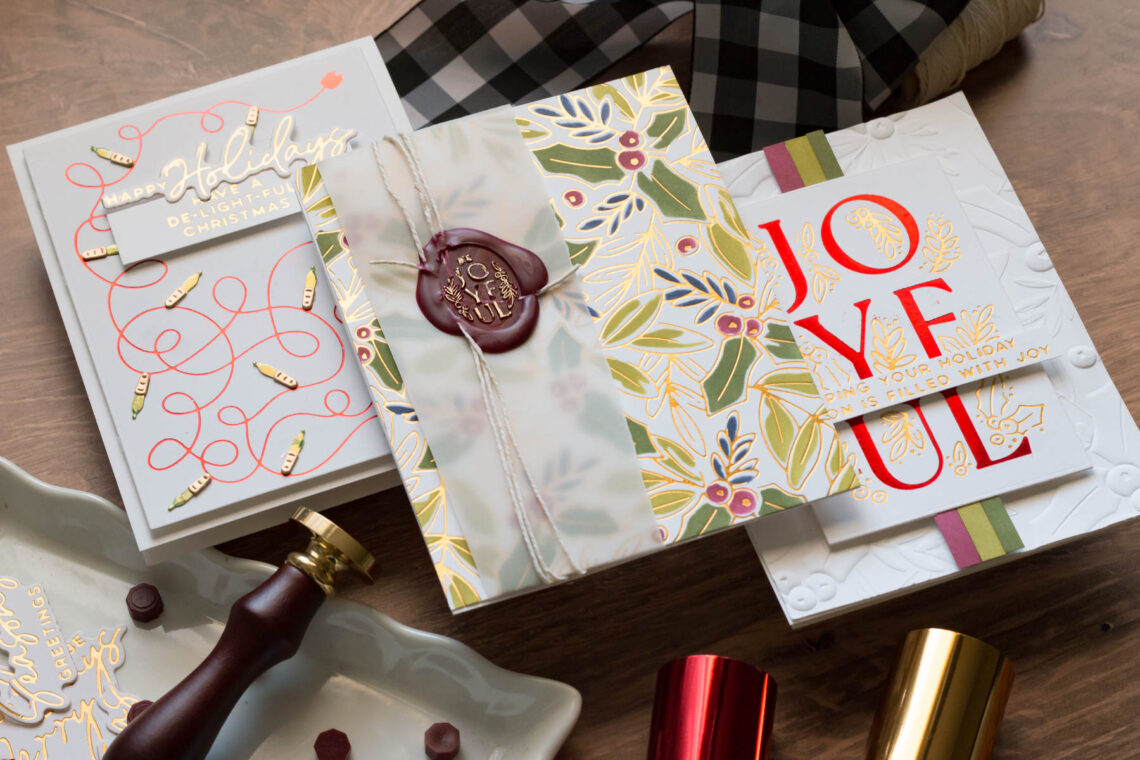
De-Light-Ful Christmas Card Ideas
Hello, dear friends! Marie here again from Marie Nicole Designs. I have a trio of festive, glimmery cards to share today. This new De-Light-Ful collection from Spellbinders has all the things for you to take your Christmas cards to the next level. Embossing folder, wax seal, and multiple glimmer plates. I’ll also walk you through a step-by-step process for our first card. Let’s get started! SEALED WITH JOY Here’s our first card out of our trio. The background is glimmered and then stenciled, and a wax seal is added for the sentiment. As promised, I have a handy step-by-step ready for you! STEP 1- Glimmer the Background We need to…

