
Layered Merry Christmas Foliage Stencil How-To
Hello Spellbinders friends, Angela Tombari here, from I Need Confetti blog. Today, I am sharing a fun card technique using the Layered Merry Christmas Foliage stencil. I will guide you in a step-by-step tutorial to create a modern look Christmas card with a beautiful typographic sentiment.

Layered stencils are a brilliant invention. For someone like me, not very good at coloring, they make the work much easier. Layered stencils allow you to achieve pro results with little effort. I have to admit that I wouldn’t have been able to create that ombre look of the foliage without layered stencils.

Layered stencils allowed me also to create a beautiful 3D effect on the sentiment of the card. Before starting with the tutorial, I would like to clarify something. In the photos, you’ll see me using the Misty stamping tool. Misty is not necessary, I used it to keep the stencil in place using its magnets. You can easily replace the Misty with a few pieces of washi tape.
Now, let’s dive into the tutorial!
- Step 1: First thing first, layered stencils are numbered. They have a tiny number on one of the corners because they are meant to be used in order from light to dark color. I took stencil n.1 and I placed it on a piece of light pink card stock.
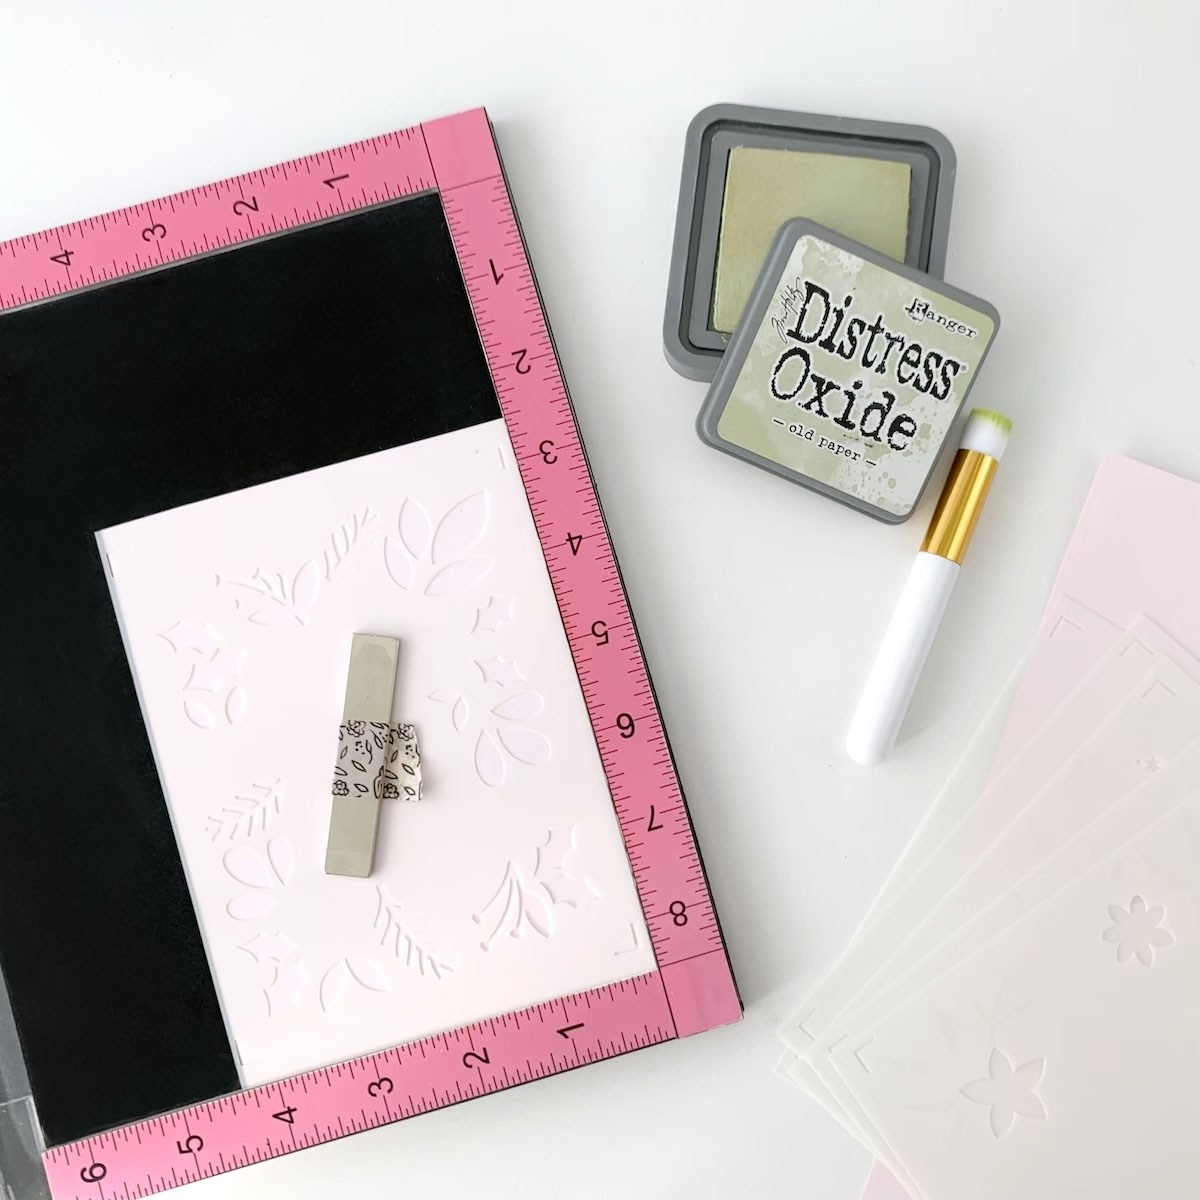
- Step 2: For coloring, I used Distress Oxide old paper. To give an ombre look, I colored with a thin brush making circular motions, insisting on the base of the design.
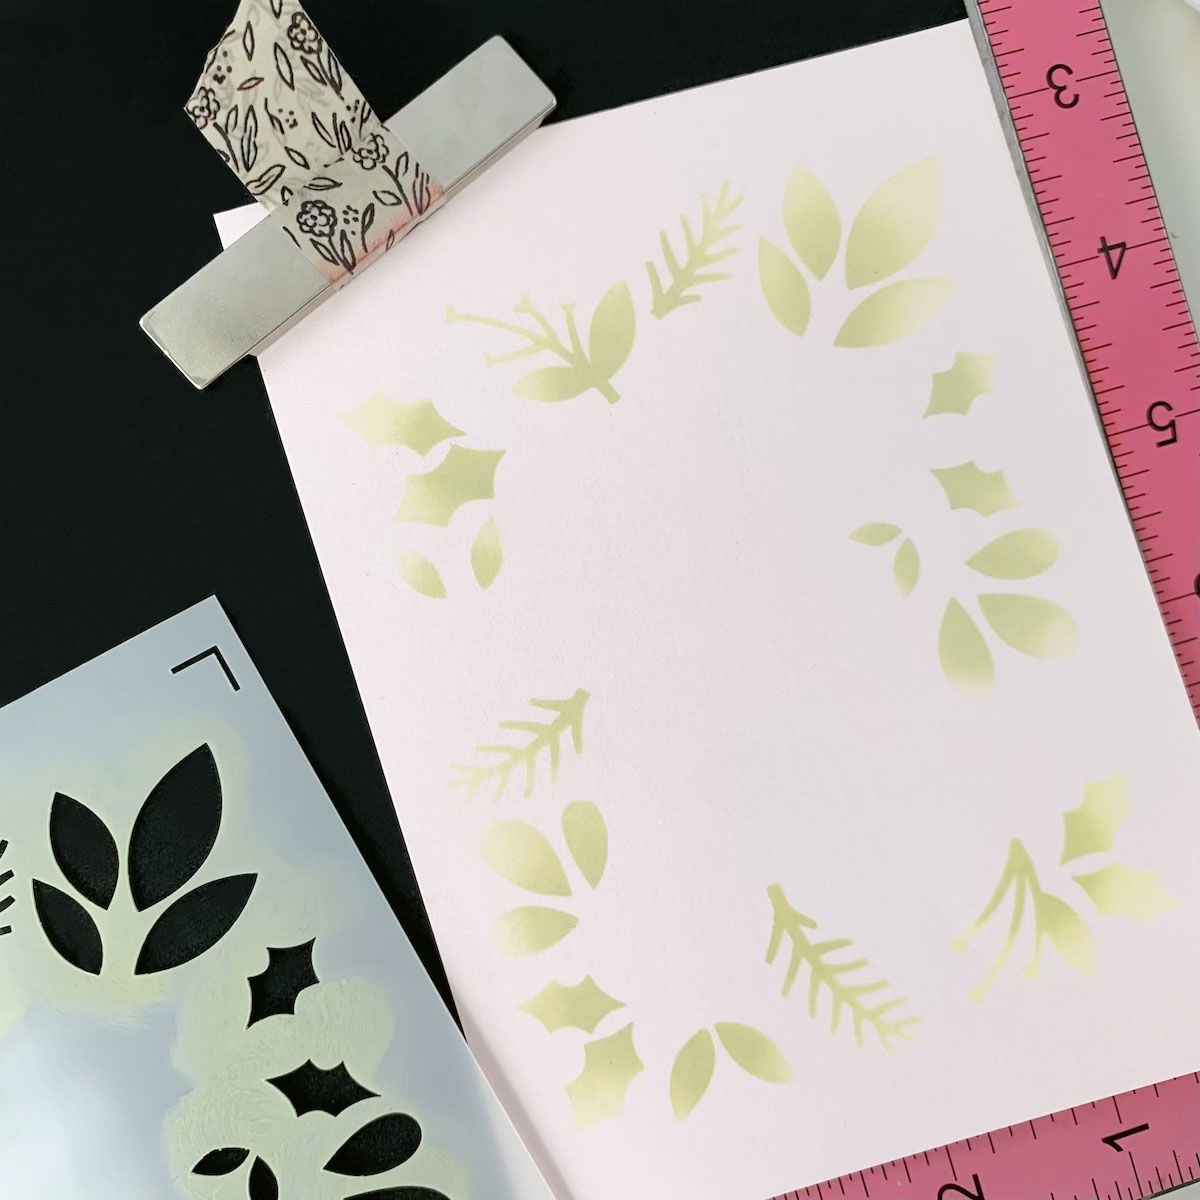
- Step 3: Next is stencil n.2. I used the number as a guide to position the stencil. I placed the number always on the right low corner of the card stock.
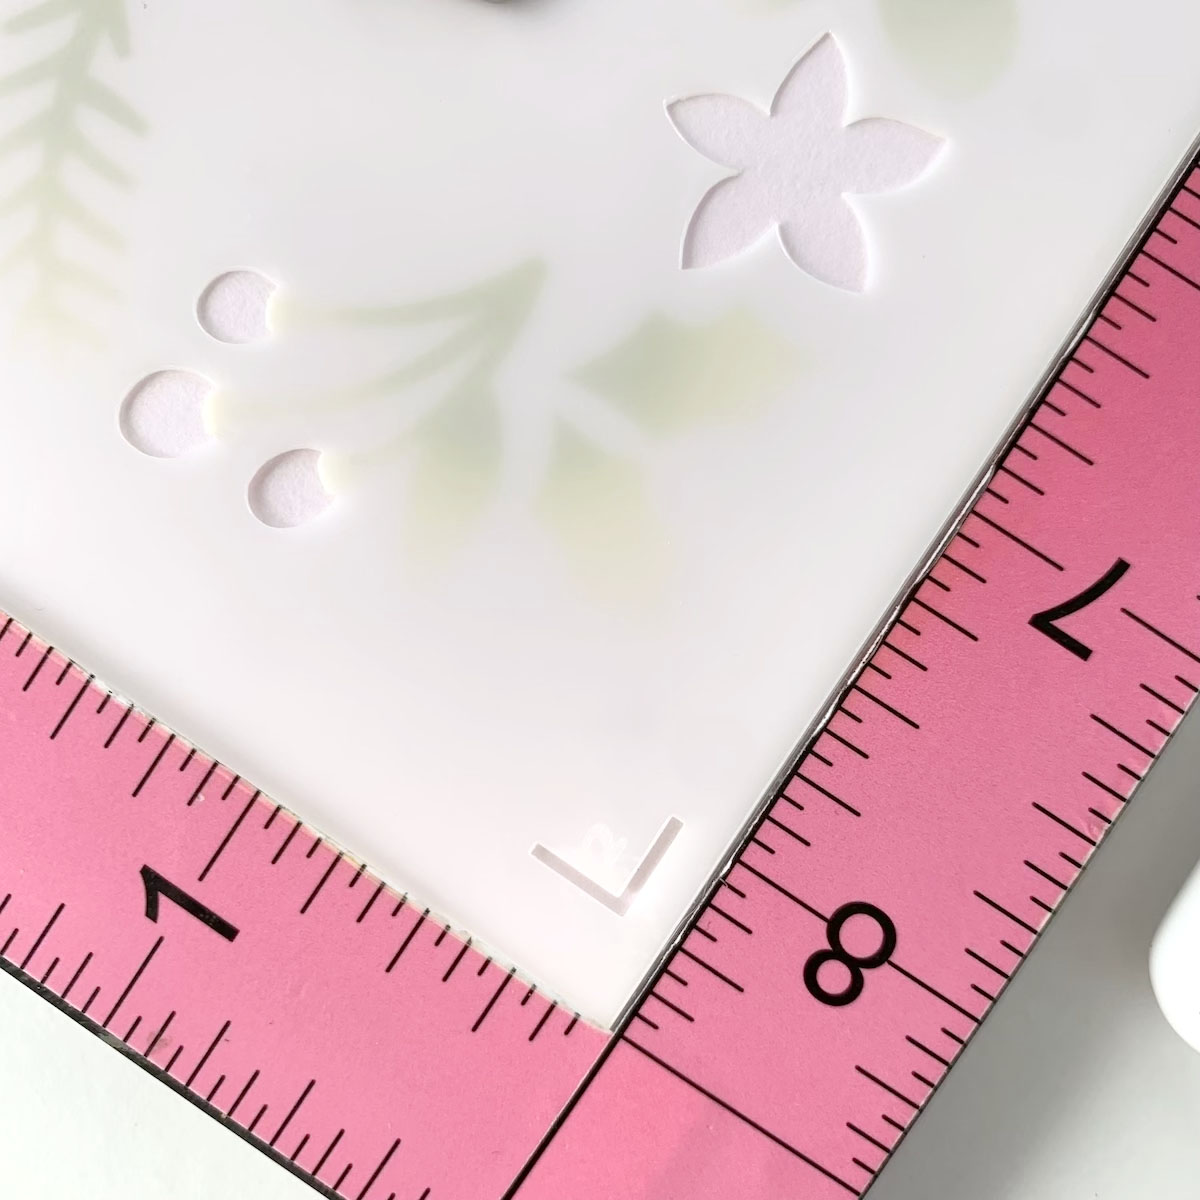
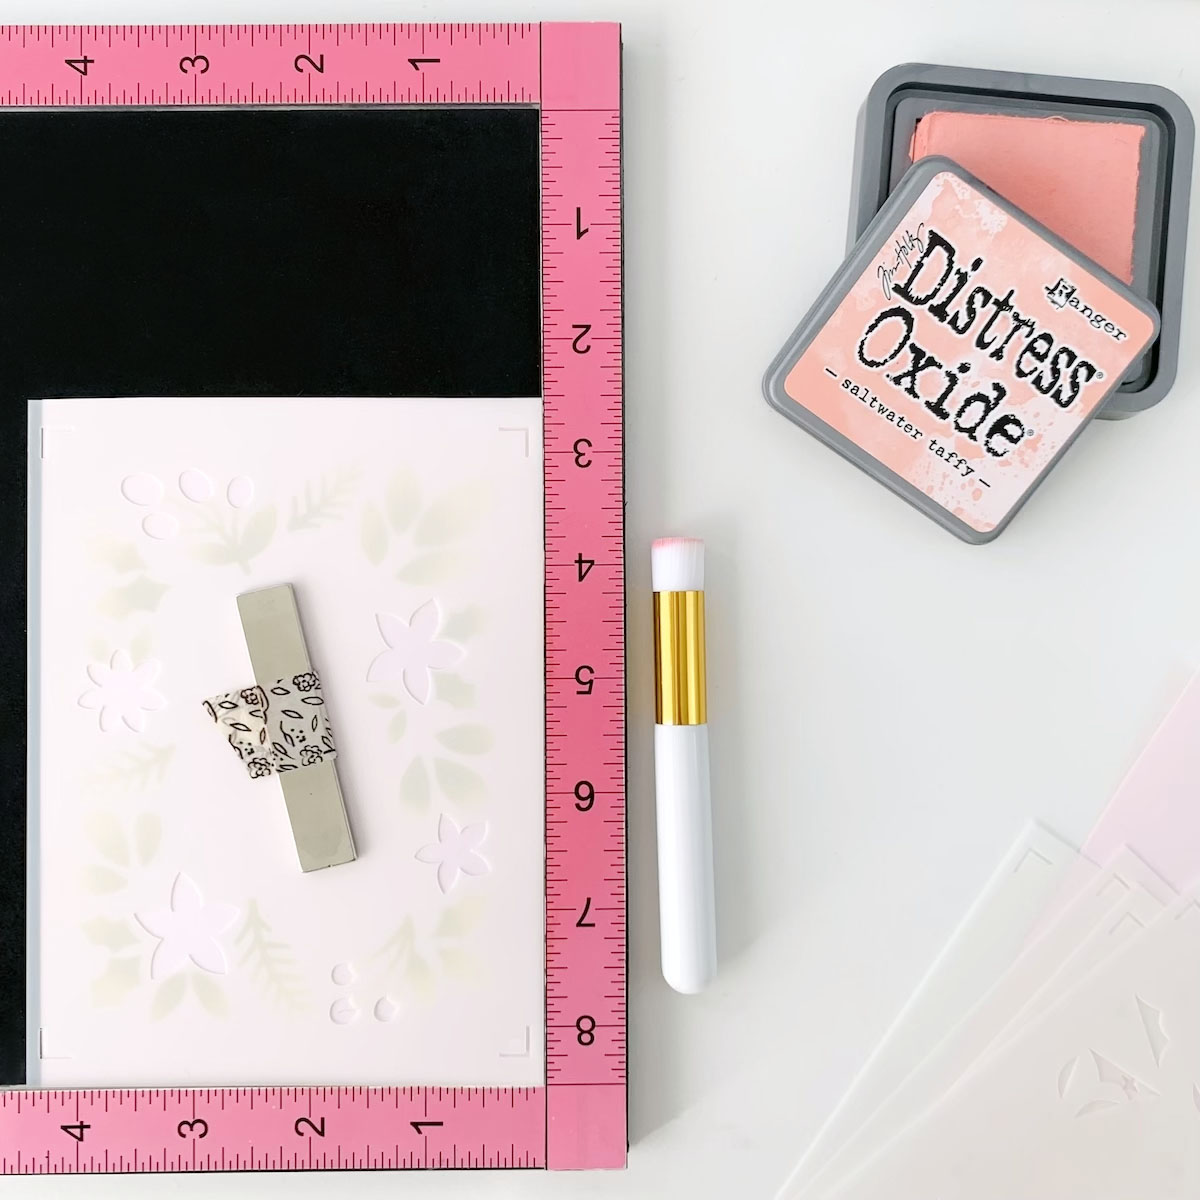
- Step 4: For the first layer of the flowers I used a light pink, precisely Oxide saltwater taffy.
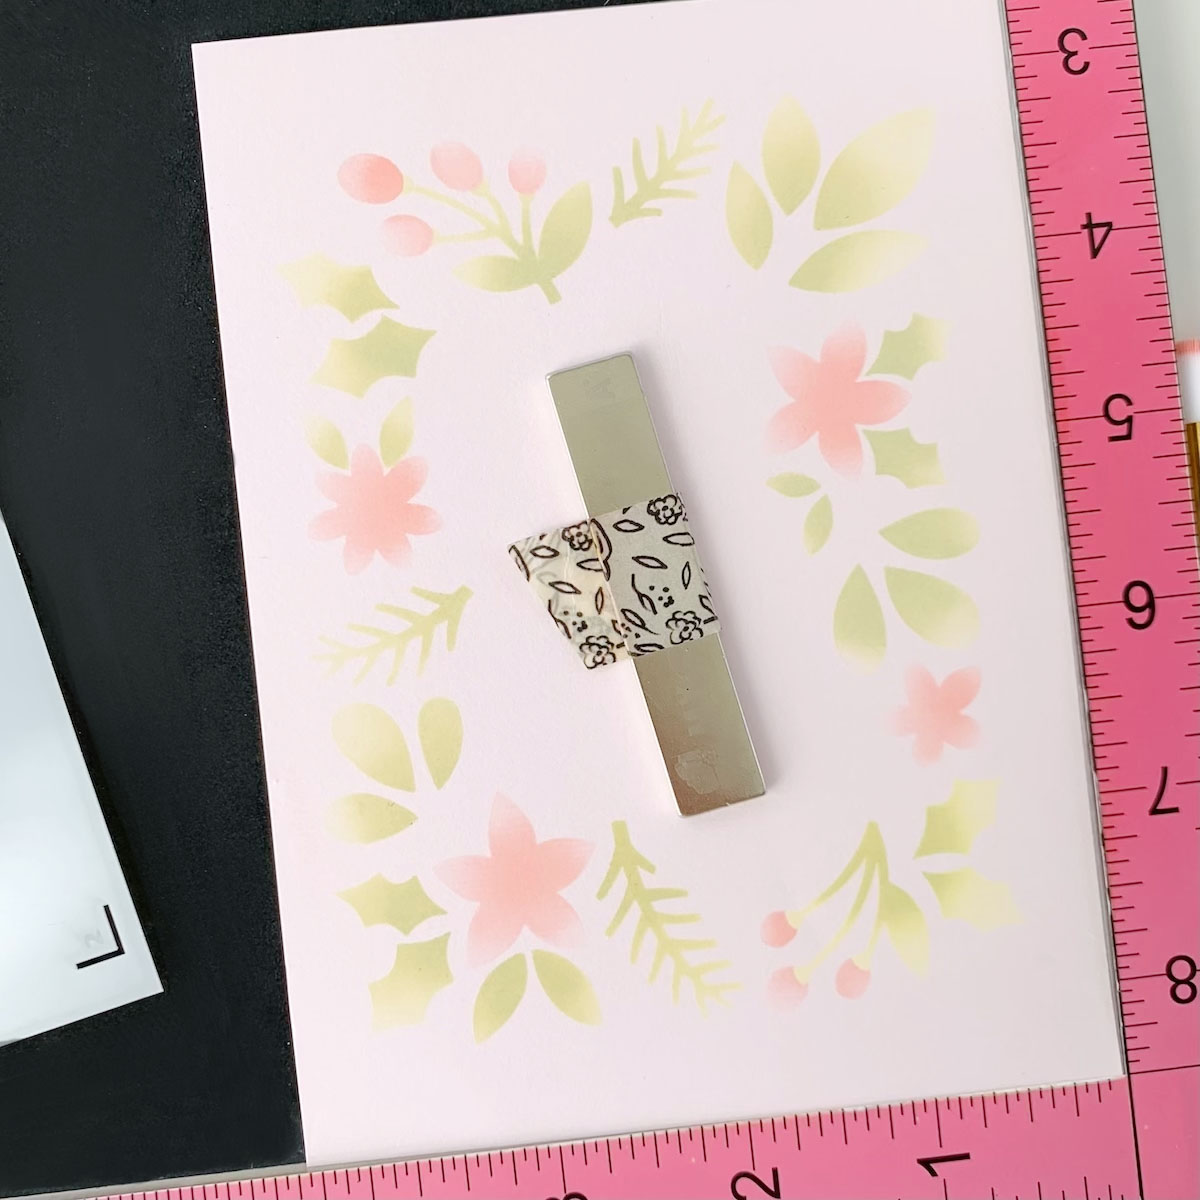
Again, I colored with circular motions, insisting on the center of the flowers, so as to have there a more intense color.
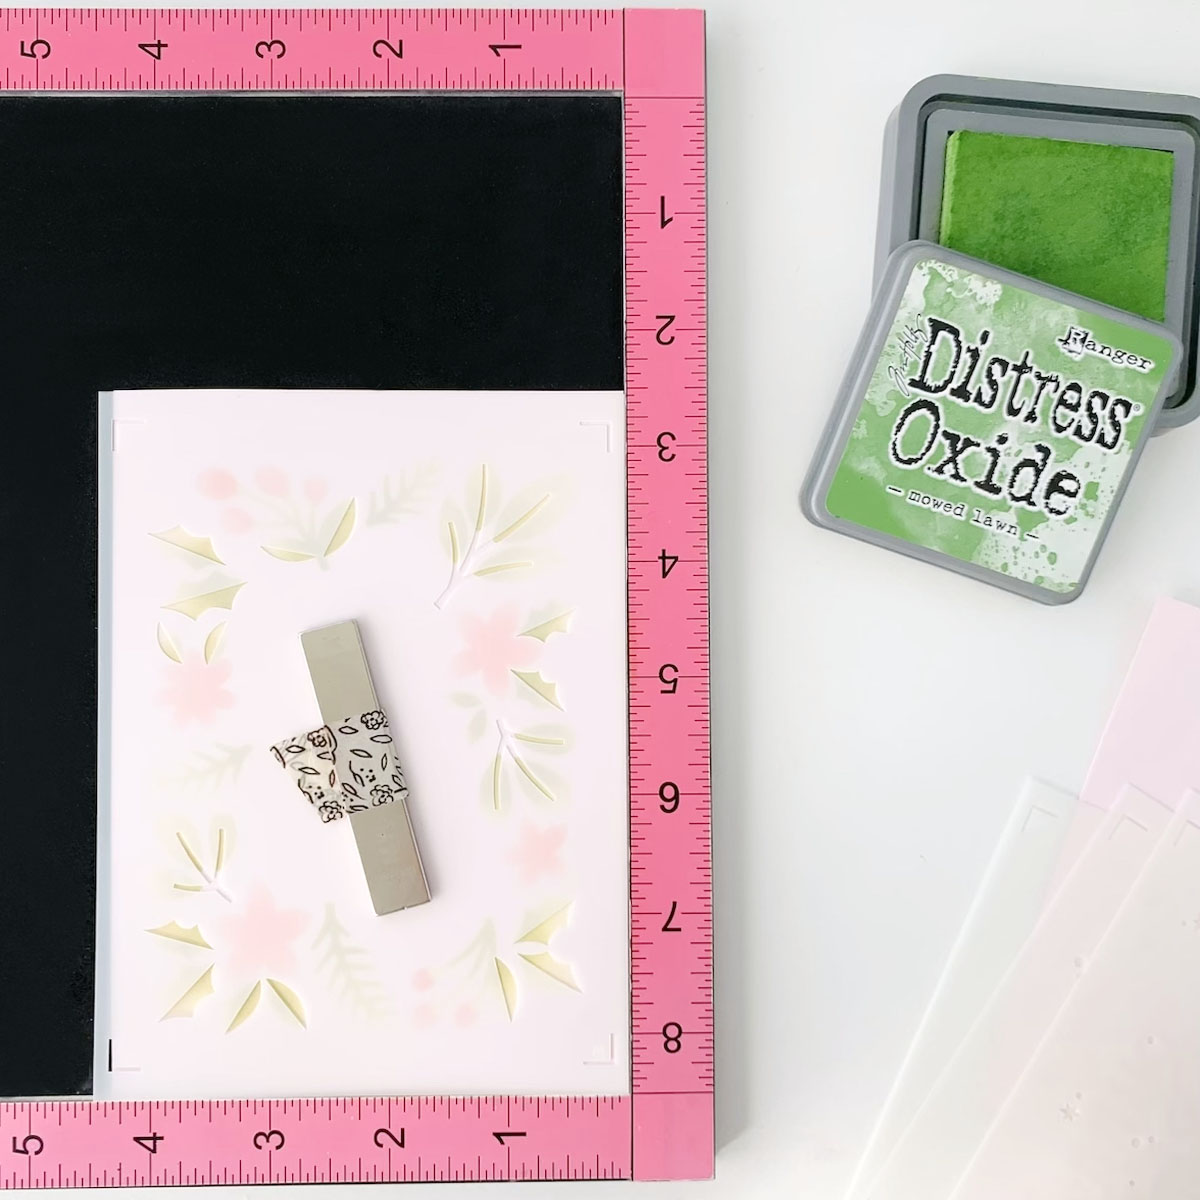
- Step 5: Next is stencil n.3 which corresponds to the leaf veins and chiaroscuro. Here, I used a darker green than the leaves, using Distress Oxide mowed lawn.
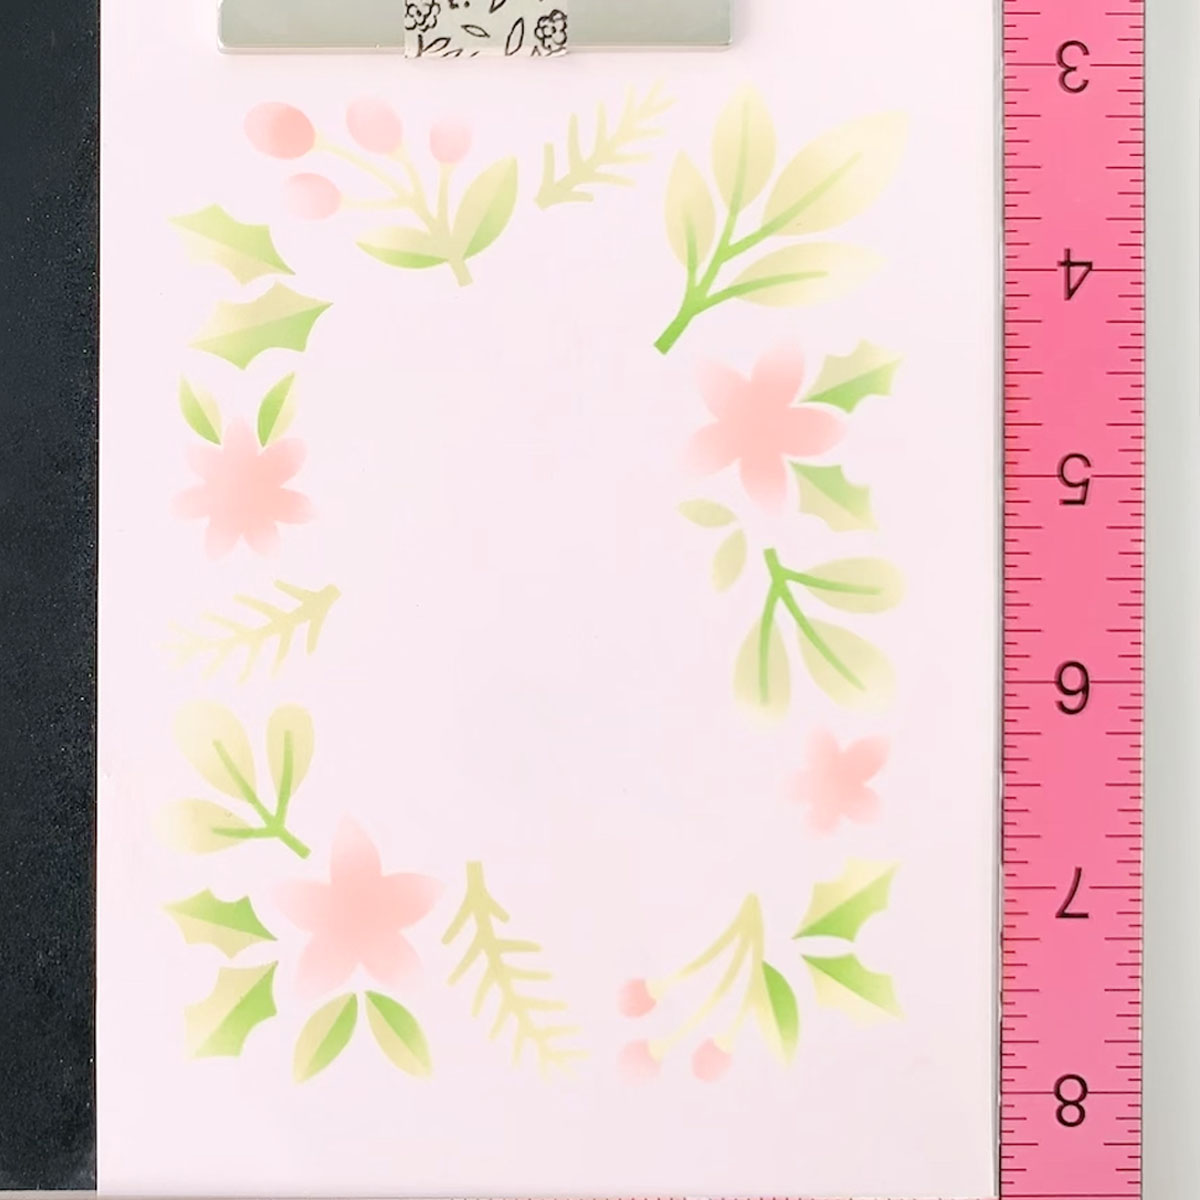
Here is how it appears once done.
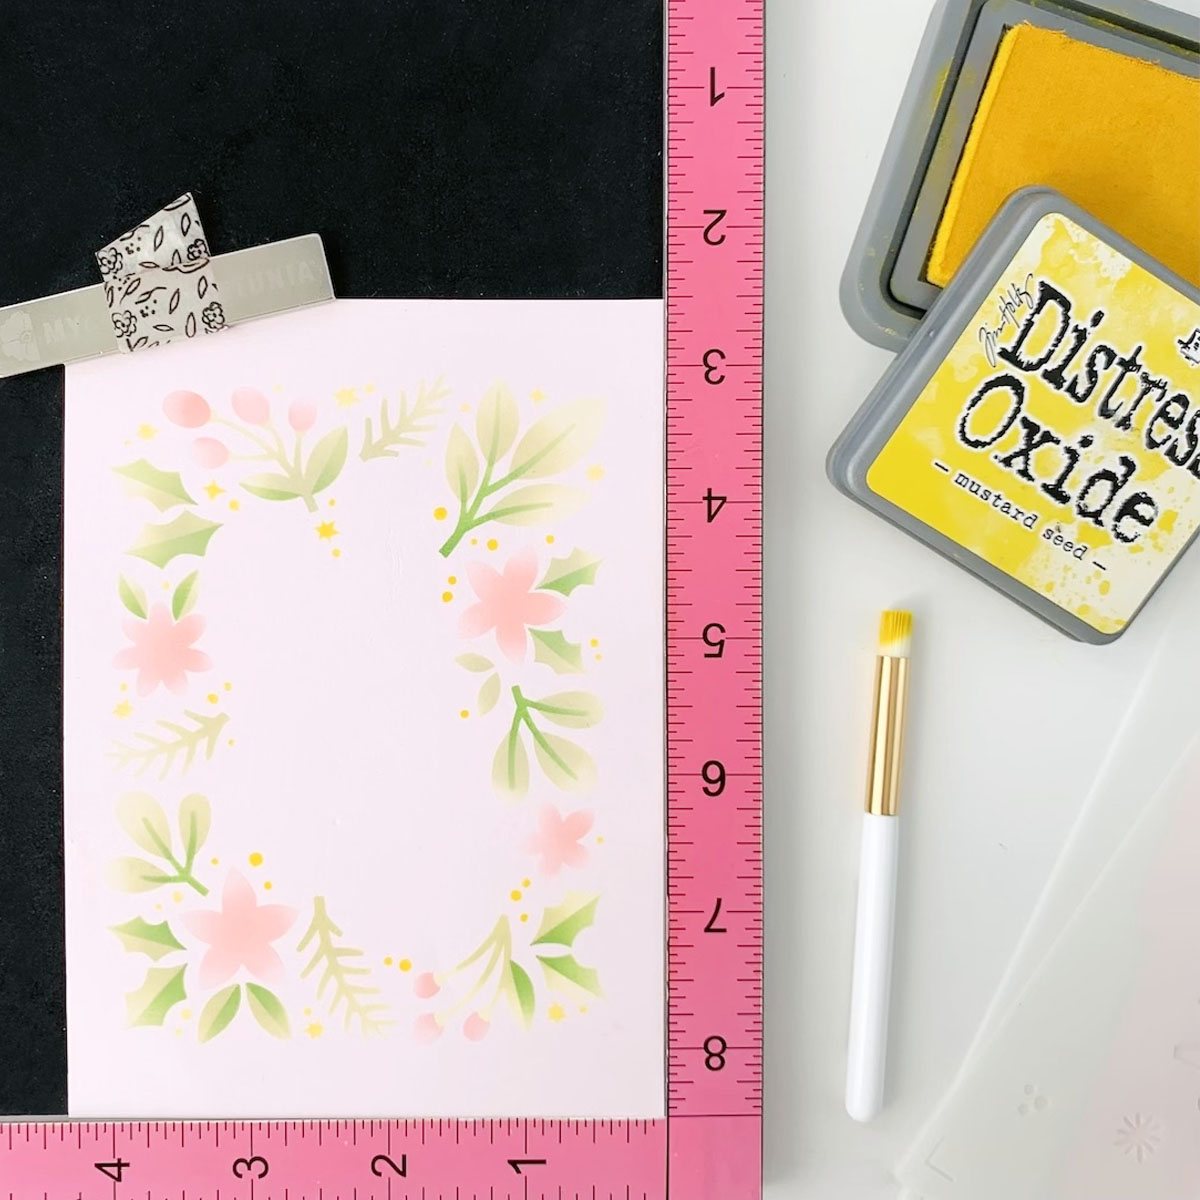
- Step 7: Then, it’s time for stencil n.4. It has tiny dots and stars, so I decided to color it with yellow, using Distress Oxide mustard seed.
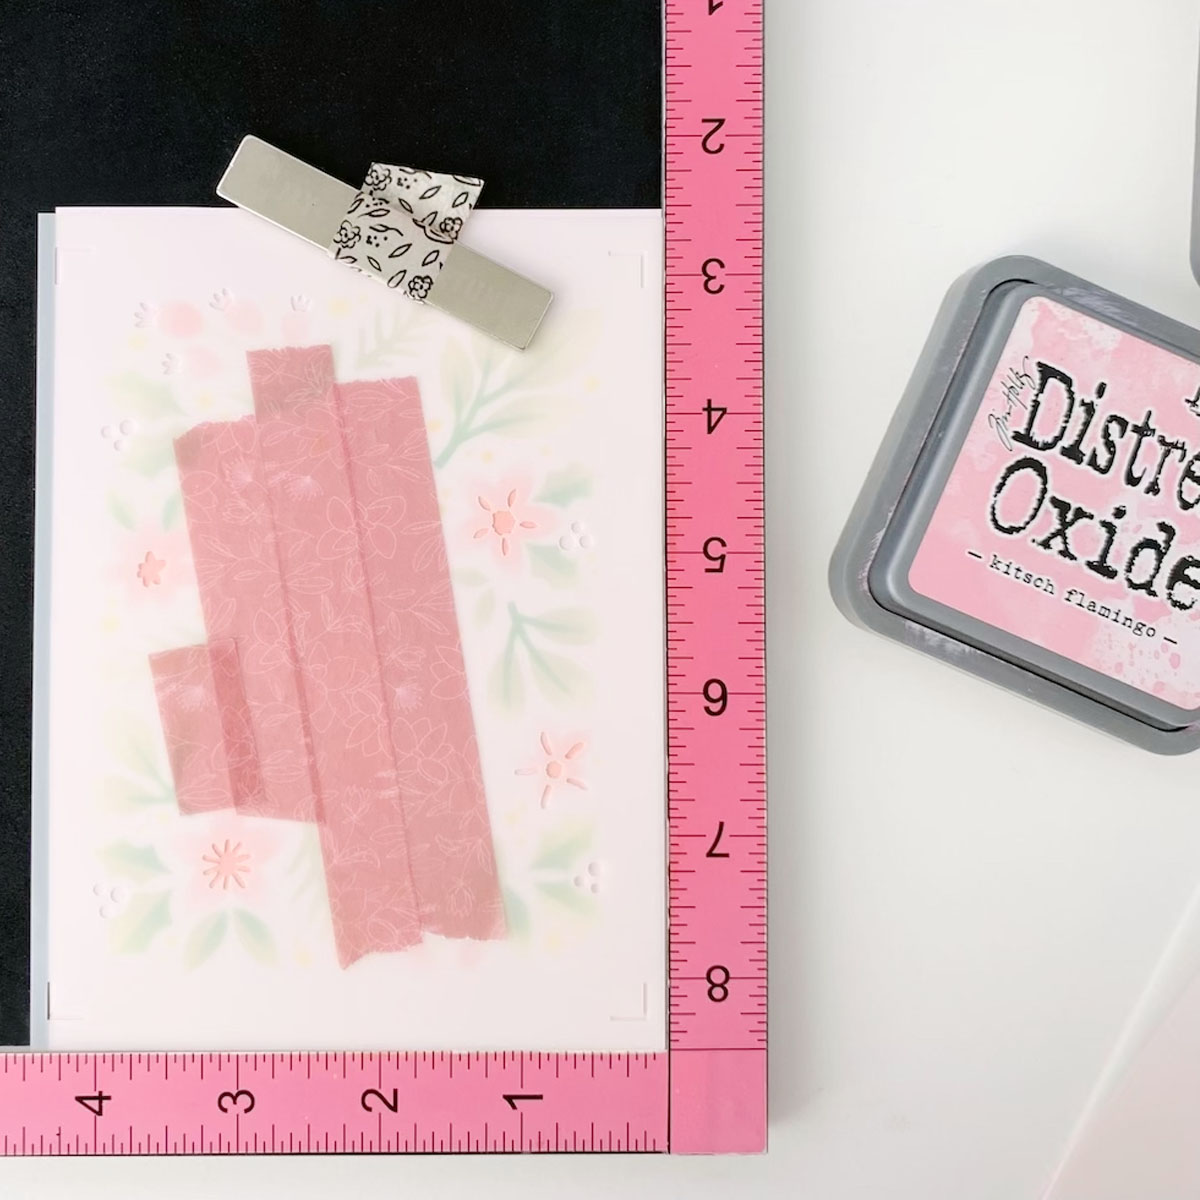
- Step 8: Stencil n.5 is the first layer of sentiment Merry Christmas. It has also the design of berries and little flowers. I masked the sentiment with washi tape. and colored the berries and the flowers with Distress Oxide kitsch flamingo.
- Step 9: On another piece of light pink cardstock, I started building the sentiment.
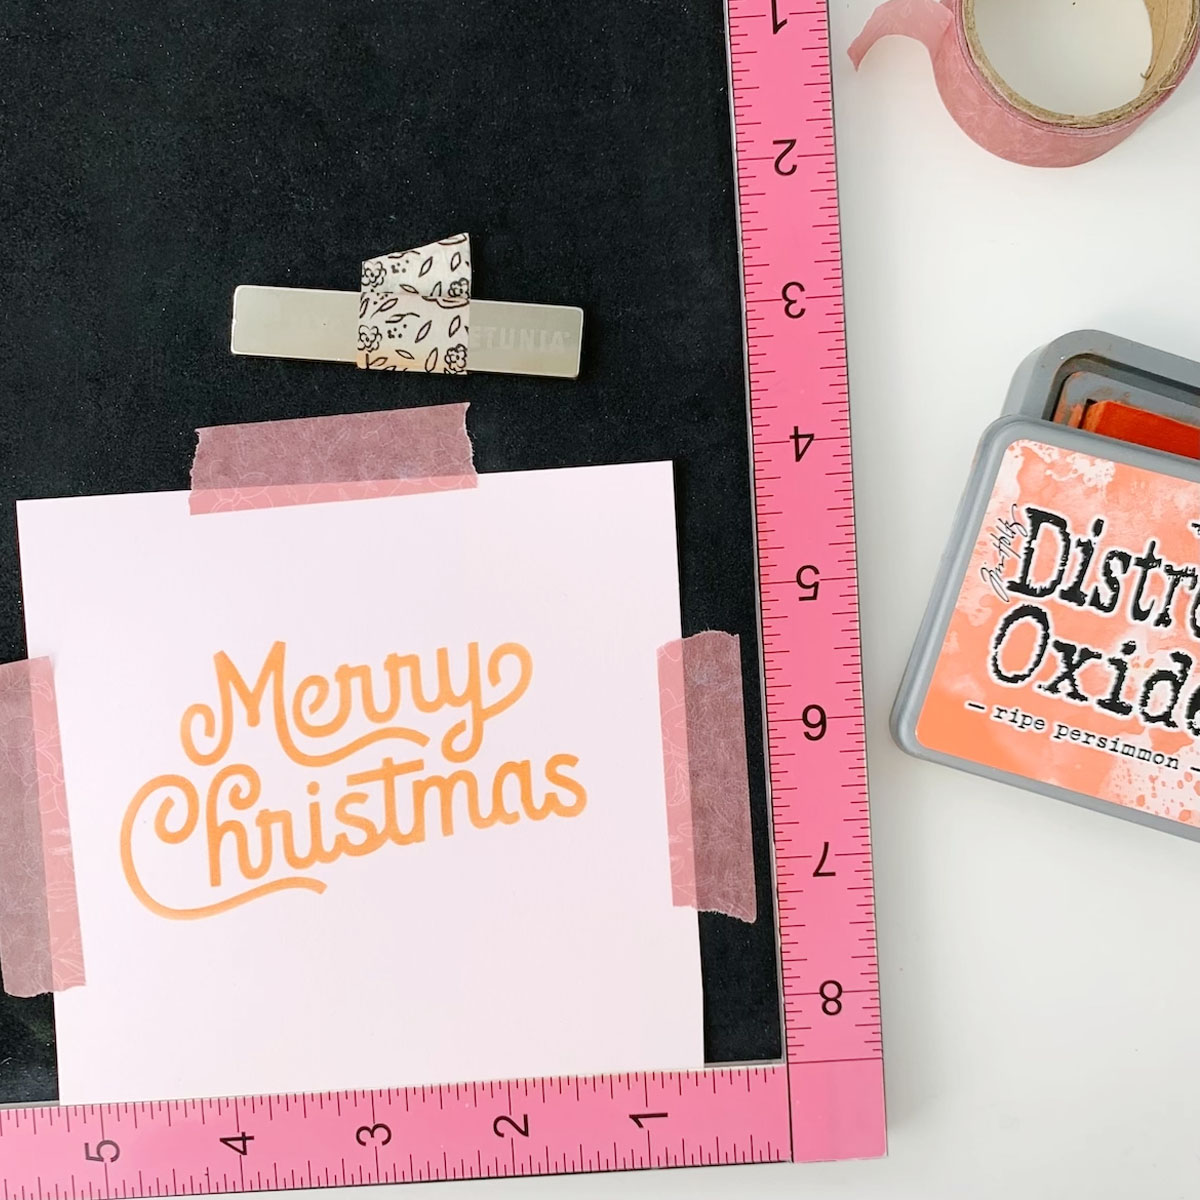
I first colored the main line of the sentiment with Oxide ripe persimmon.
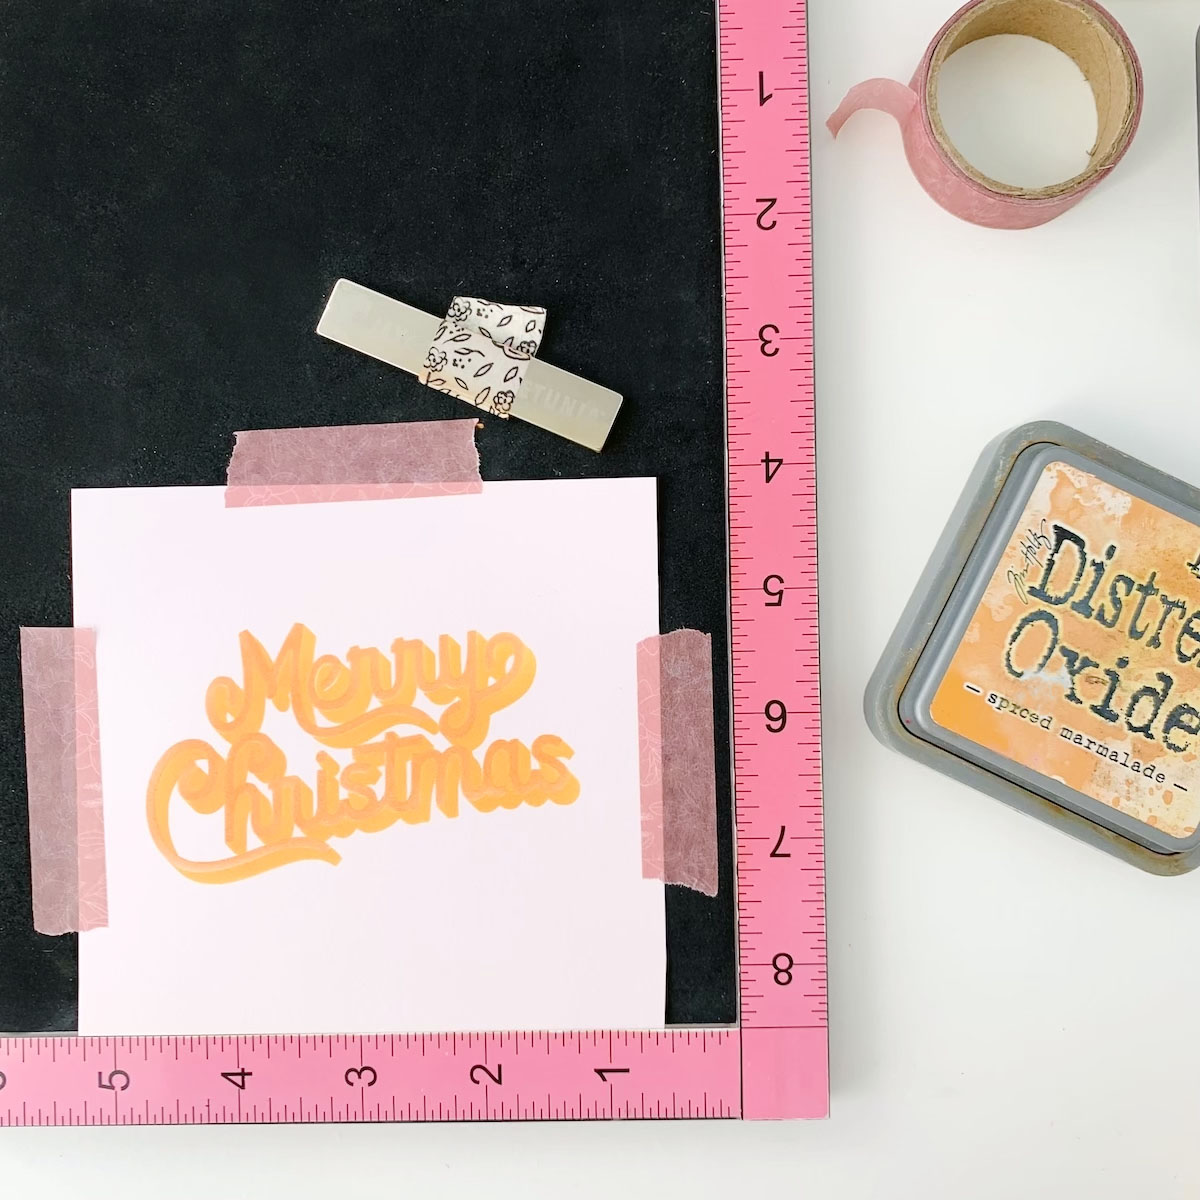
- Step 10: Then, using the last stencil of the set, n.6, I colored the shadow of the sentiment using Oxide spiced marmalade.
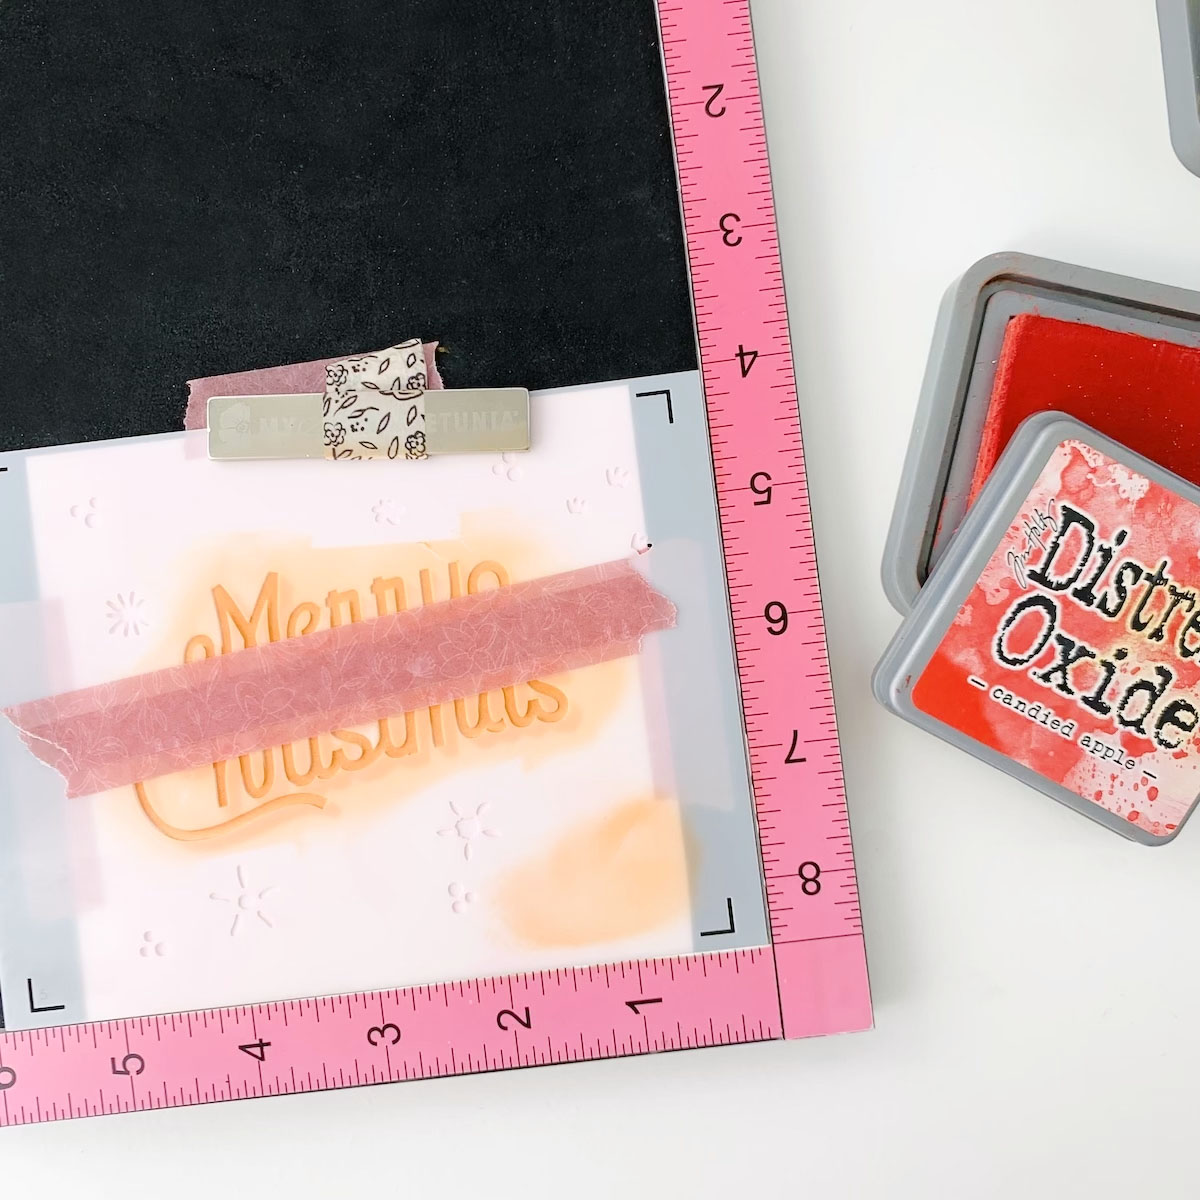
- Step 11: To create the ombre effect, I went back on the sentiment with stencil n.5. I positioned it masking the central part with some washi. I colored the upper part with oxide candied apple
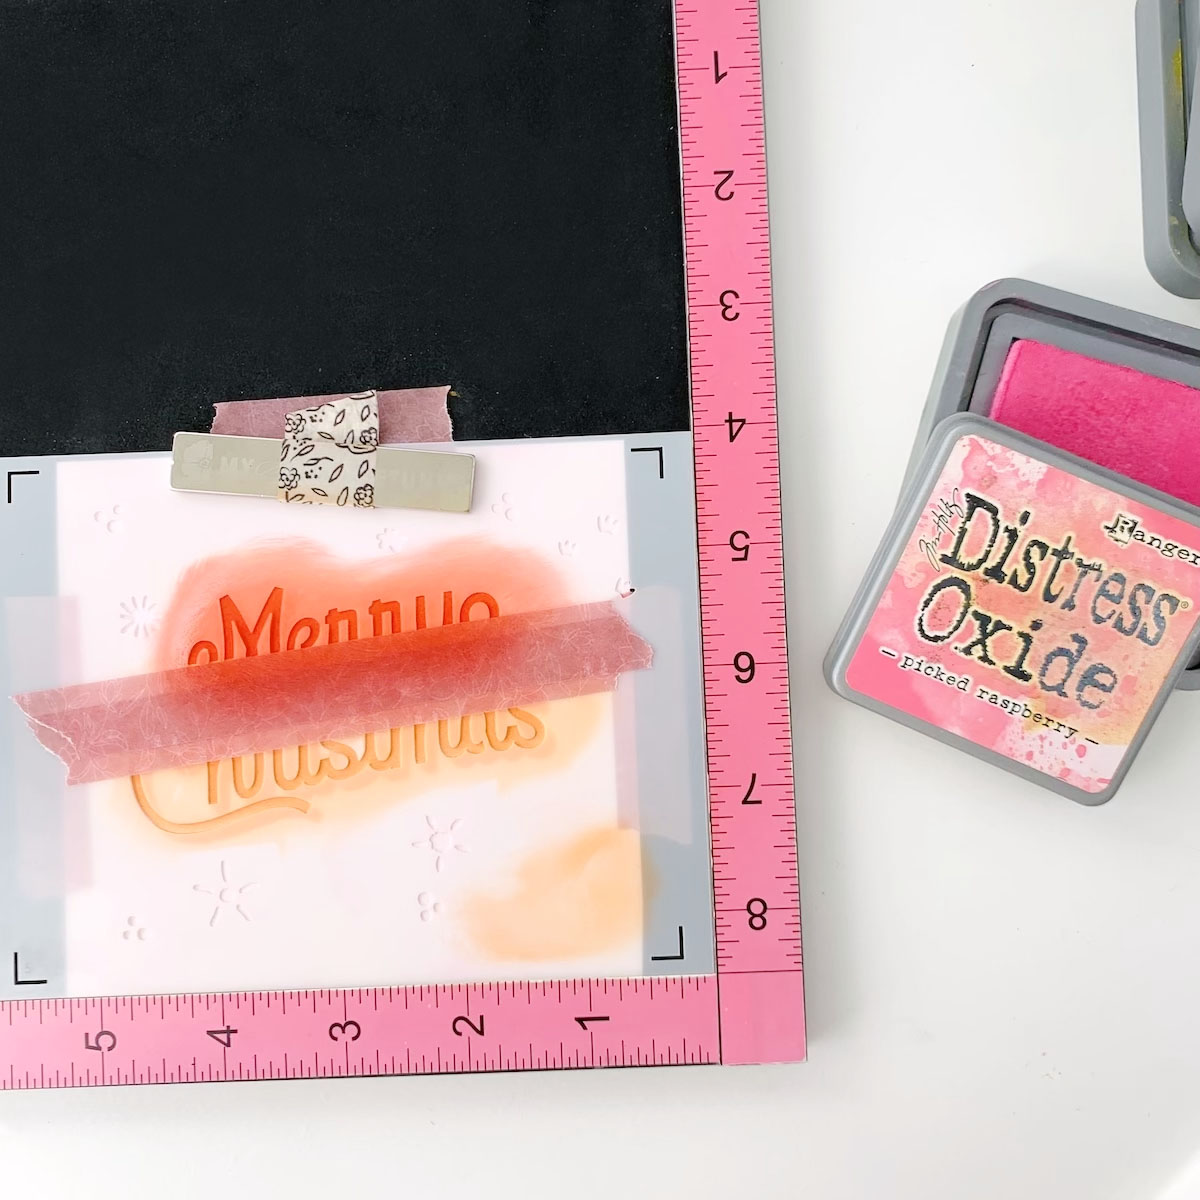
And the lower part with picked raspberry.
As you can see in the photo here, the colors are clearly separated.

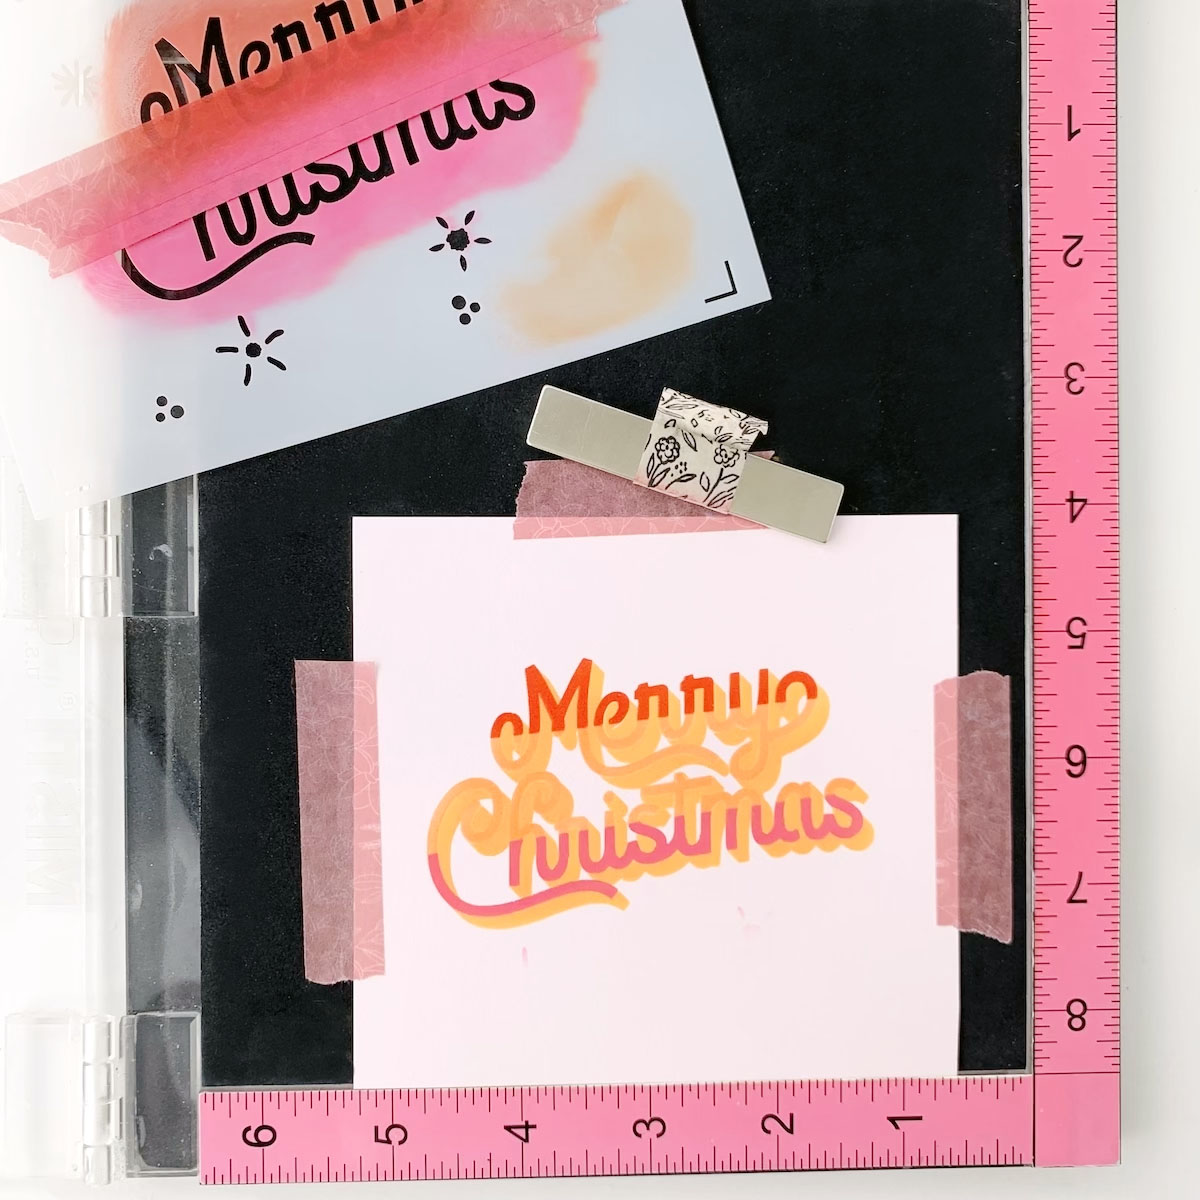
- Step 12: To mix the three colors together and make a transition in the color change, I used again ripe persimmon. This passage softens a lot of the lines. Very important is to clean the stencil each time you change color.
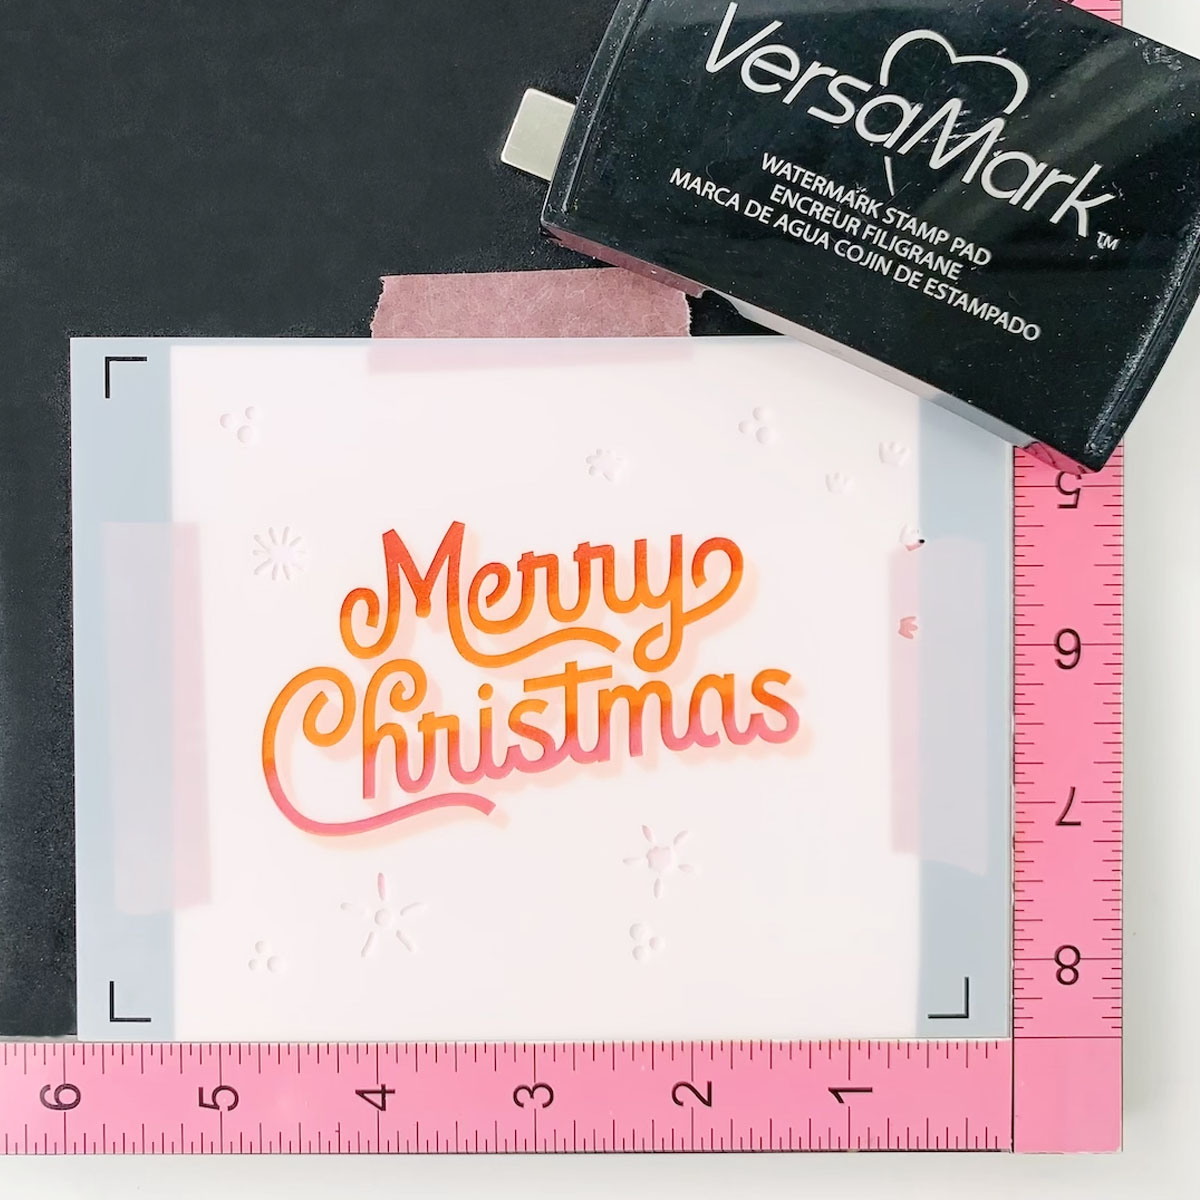
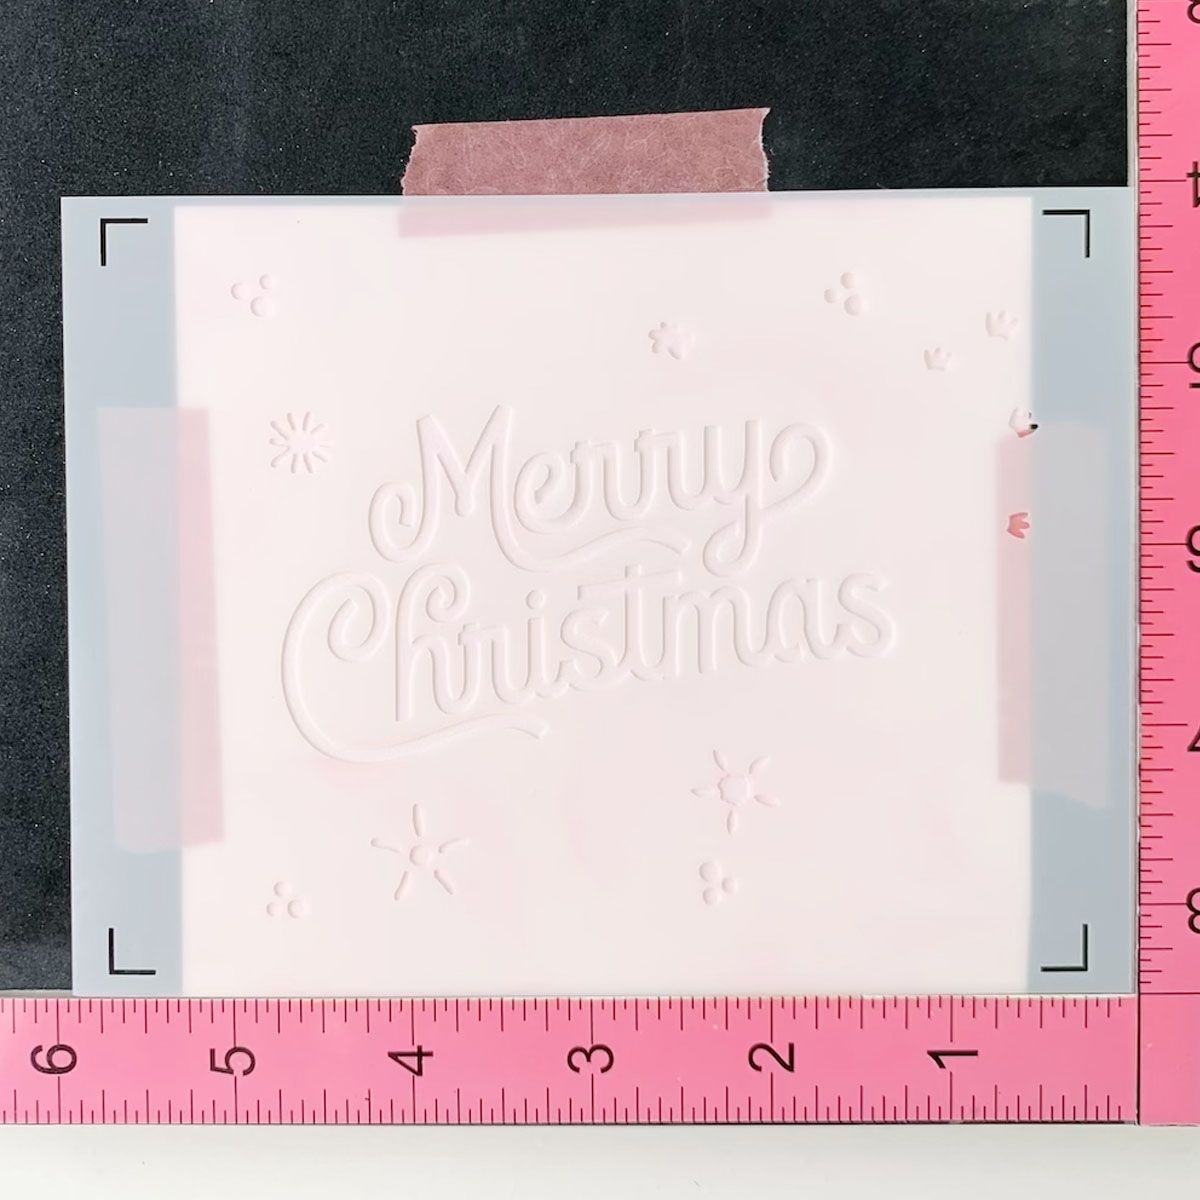
- Step 13: The last step was to give some dimension. I positioned back stencil n.5 and pressed VersaMark ink pad to transfer the sticky ink on the paper. I embossed it with clear embossing powder and heated it up.

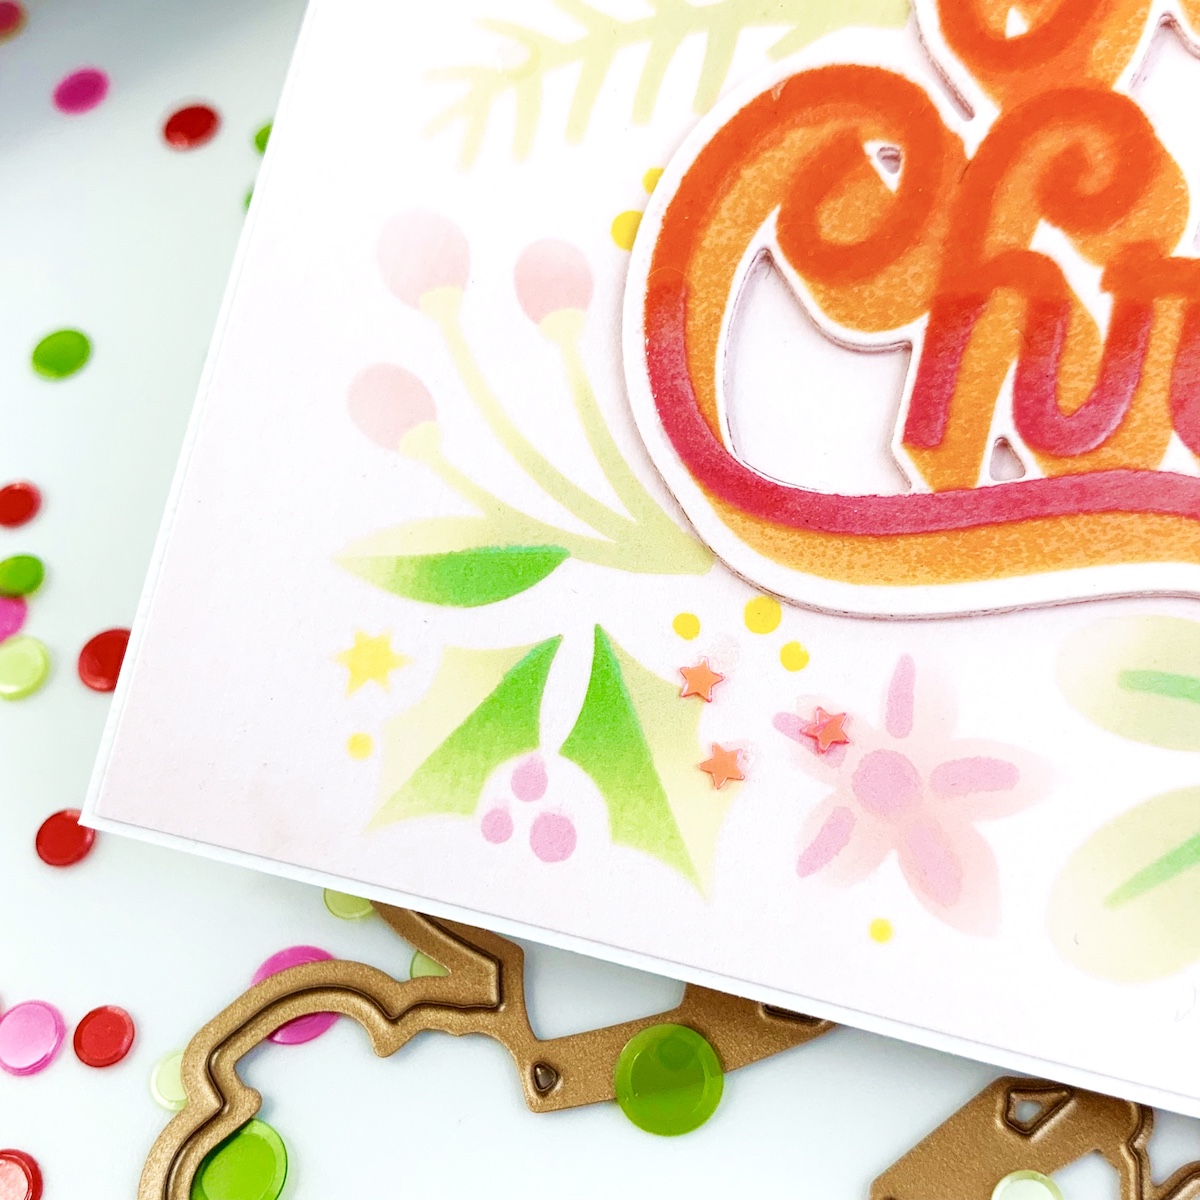
Look how beautiful is the result on the sentiment!

- Step 14: Last, I cut the sentiment with its matching die and adhered it on other three pieces of card stock to give dimension. I sticked it in place on the card and voila!

I have another card example to show you, using a color palette more Christmas-related.

This time the sentiment is colored directly on the card panel. I used a dark color for the main line of the sentiment and a lighter color for the shades.
That’s all for today, friends. Thank you so much for stopping by. I hope you liked my card ideas and hopefully find the tutorial useful to play with Layered Merry Christmas Foliage. Other beautiful cards made with layered stencils are coming so I invite you to check out Spellbinders blog soon.
Love, NG
Spellbinders Supplies:

Die D-Lites Holiday Inspiration | It’s Christmas with Enza Gudor
May 2020 Small Die of the Month is Here – Stacked Decorative Edges