Santa’s Here Die 3 Ways!
Hi friends, Angela here. Welcome to Spellbinders blog. I had the pleasure to create a few cards with the fun new die Santa’s Here from Christmas Classic collection and I am very happy to share them with you! Before starting with the cards, let me tell you a story.
Do you know that Santa Claus originates from the Dutch Sinterklaas? And do you know that he dresses also green?
Sinterterklaas is the Dutch name of the fantastic character derivate from St. Nicholas, also called Sint Nicolaas. This explains the existence of several English variants of the name, like Santa Claus, Saint Nicholas, St. Nick.
His green suit color is a long story that goes back in the days of the Protestant Reformation when each nation decided to modify St. Nicholas’ appearance to its liking. This story inspired my two Santas’ cards, Santa Claus in red and Saint Nicholas in green.
Santa Claus to me, is the tradition, at least my tradition, the Santa of my childhood.
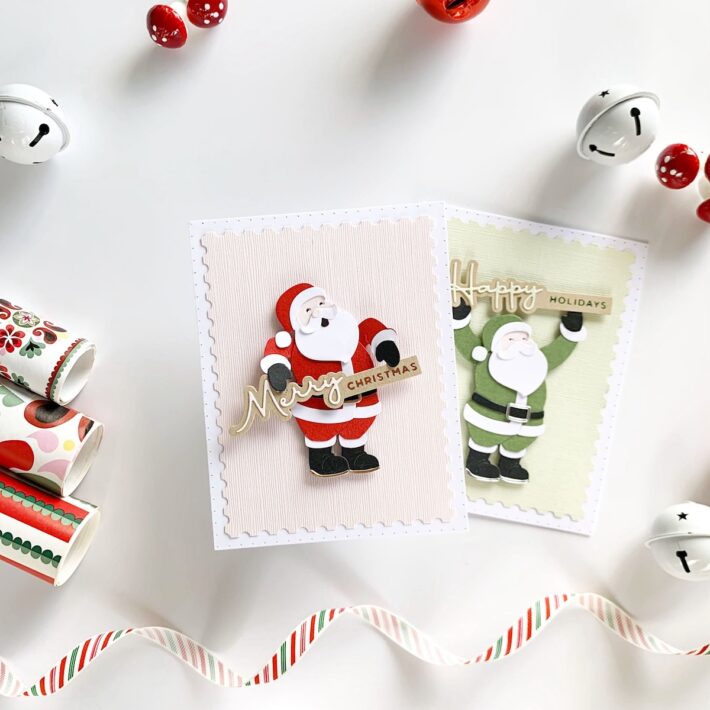
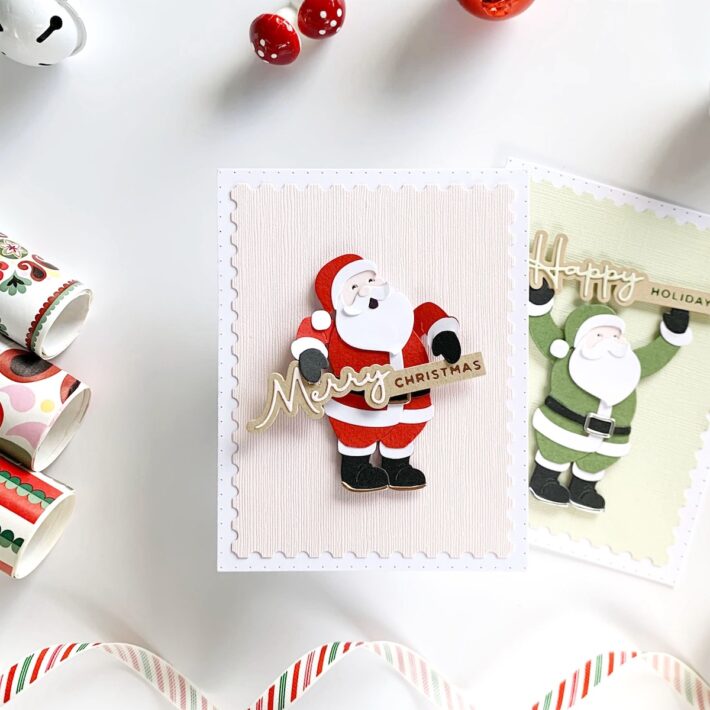
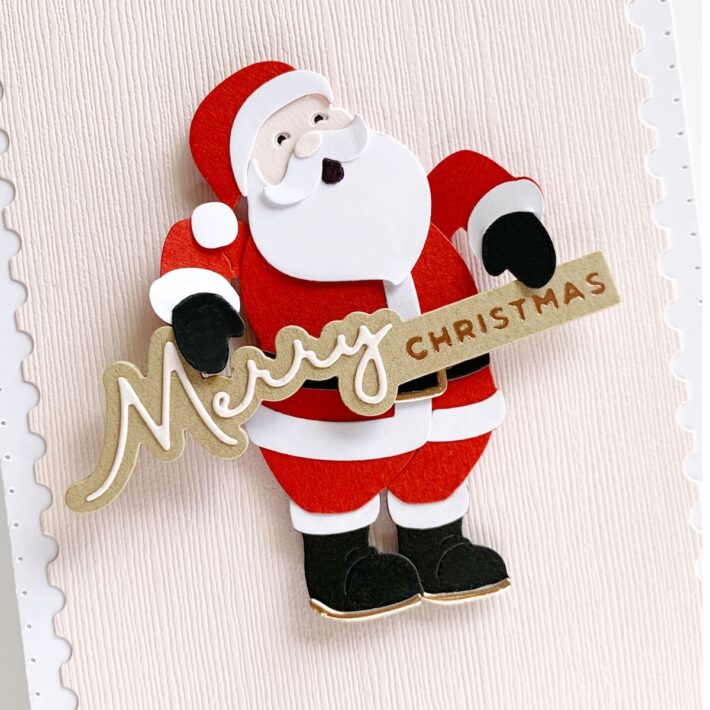
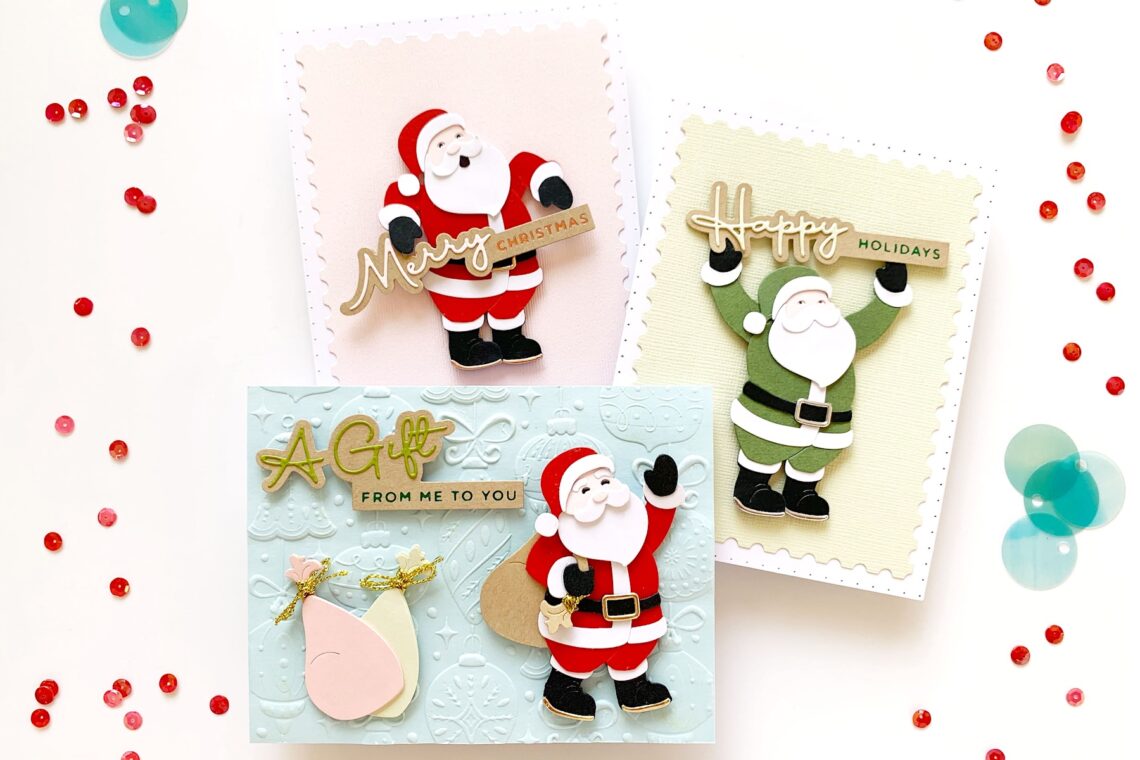
Santa Claus’ card is an A2 size card. The card panel is made using Postage Edge Rectangles dies. The base panel consists of two parts. One part is white and the edge has dotted decorations. The second part, adhered on top, is light pink and has a postage edge. In the center of the card I placed Santa, cut out from Santa’s Here die. This is a very fun die because you can bring Santa to life, changing his posture through arms and legs and head too.
Here, Santa is holding the card sentiment with his arms. To create this posture, I cut twice his right arm and mitten. I assembled one arm and mitten normally, gluing them on his right side. For the other arm, I simply turned on the back side the cut pieces. Then, I assembled the mirroring of the first arm. This way they are specular and I was able to create the left arm.
For the sentiment, I used Christmas Die & Glimmer Sentiments set. I cut the base of the sentiment three times in kraft card stock to create a sturdy piece. I cut the word Merry in light pink and I foiled the word Christmas with Rose Gold Glimmer foil.
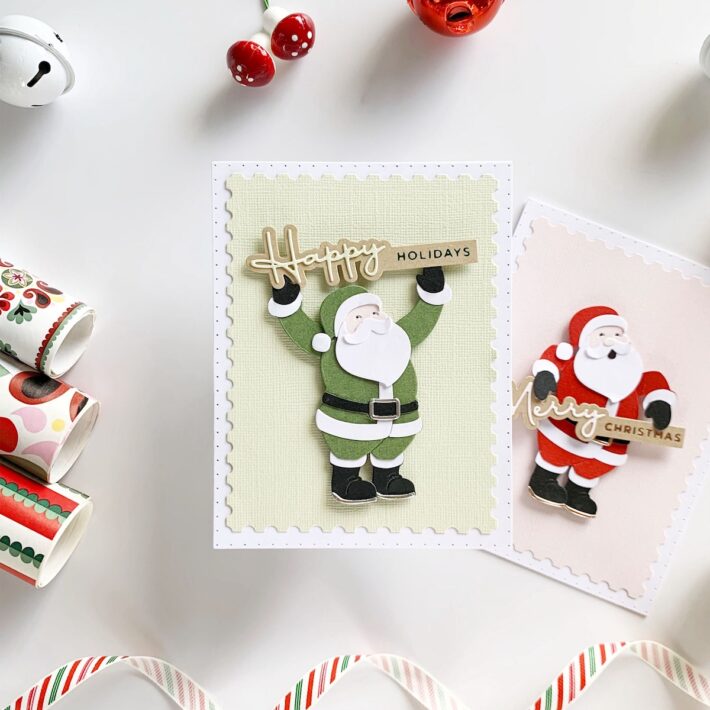
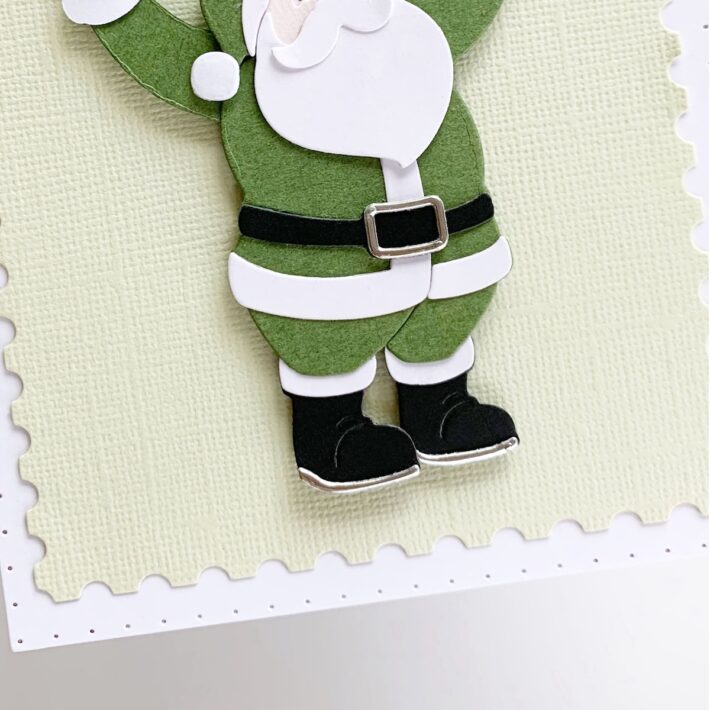
Saint Nicholas’ card is again an A2 size card but this time, the color scheme is based on green.
I used white card stock for the base panel and light green card stock for the Postage Edge panel. Saint Nicholas dresses a dark green suite and he holds the sentiment with his arms up, over his head.
The arms are assembled using the same technique as before. I cut twice the right arm, turned backward one of the two, repeated with the mittens and assembled mirroring.
While Santa Claus has got gold details, like the gold belt buckle and the boot soles, I went for silver details in Saint Nicholas’ card.
In Saint Nicholas’s card, I cut the word Happy in light green and paired it with a green hot foiled sentiment using the word Holidays. Christmas Die & Glimmer Sentiments is a pretty versatile set where I had fun playing with card stock and glimmer foil colors and with the interchangeable sentiments too.
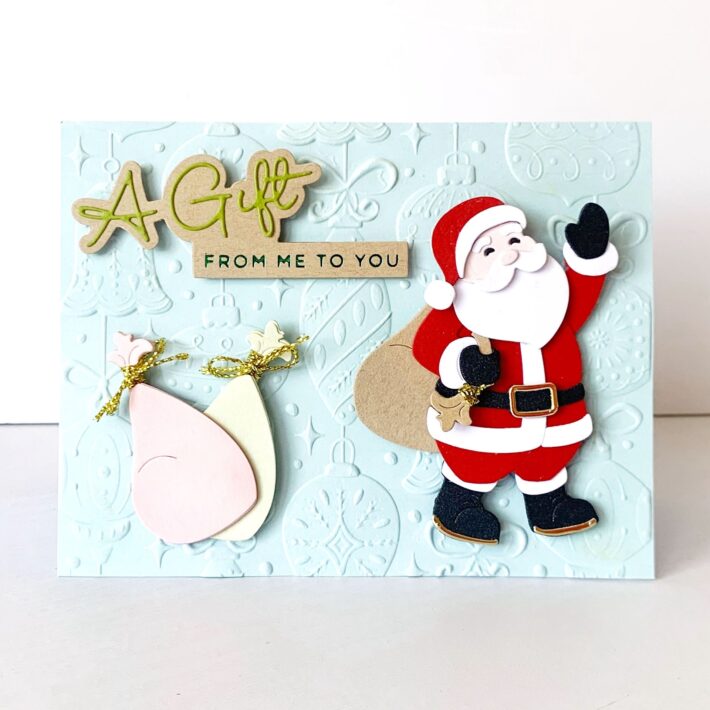
My last card is another version of red Santa Claus.
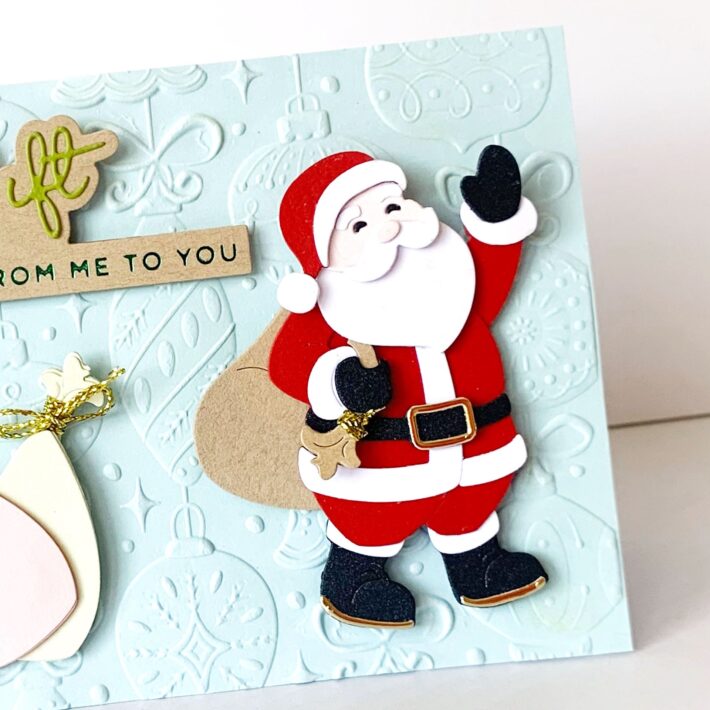
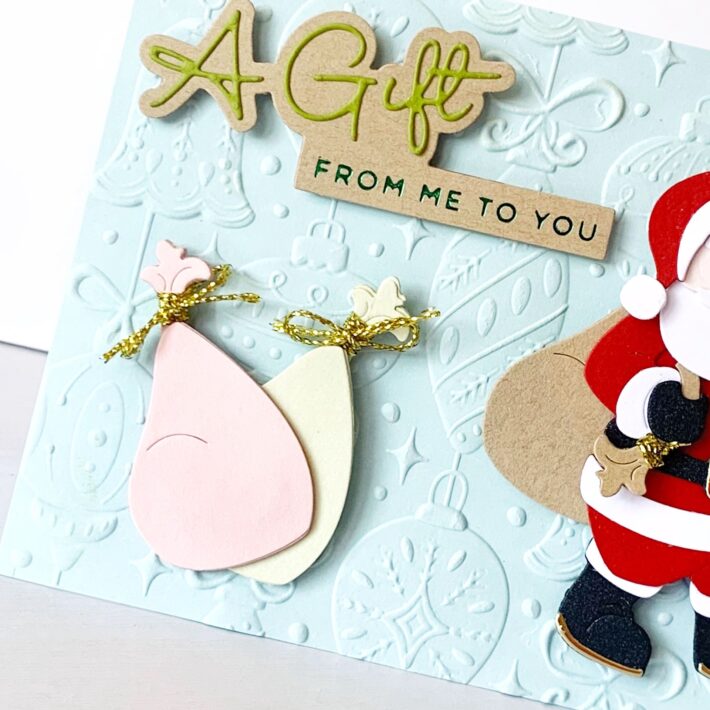
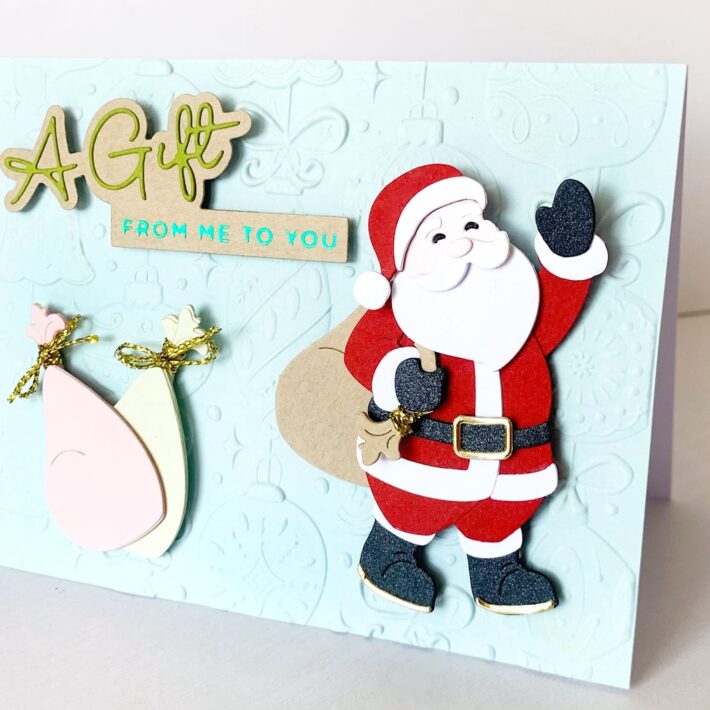
Here the base panel is in light blue card stock, embossed with the 3D embossing folder Vintage Ornaments. Once again, I went for an A2 card size but this time, with horizontal orientation.
On top, I accommodated a Santa Claus waving his hand in greeting. To give a sense of movement to Santa, i glued his boots as if he was walking, distancing the boots.
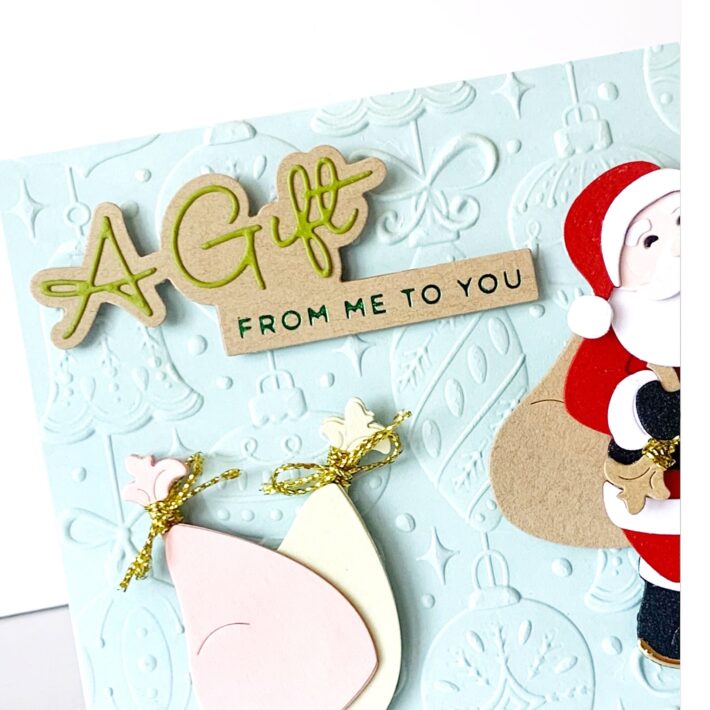
On his back, Santa is holding a bag of gifts, wrapped with a tiny gold twine. That’s why I chose the Glimmer sentiment A Gift From Me To You.
Santa is in the act of delivering gifts, so I placed other bags laid behind him because, you know, he has tons off gifts to deliver 😉
That’s all for today friends. Thank you so much for stopping by. I really hope you had fun following my creative process and feel inspired by my cards, especially by the adorable Santa’s Here die!
Love, NG
Spellbinders Supplies:

Other supplies
Card stock: white, kraft, green, pink, red, black, silver, gold

