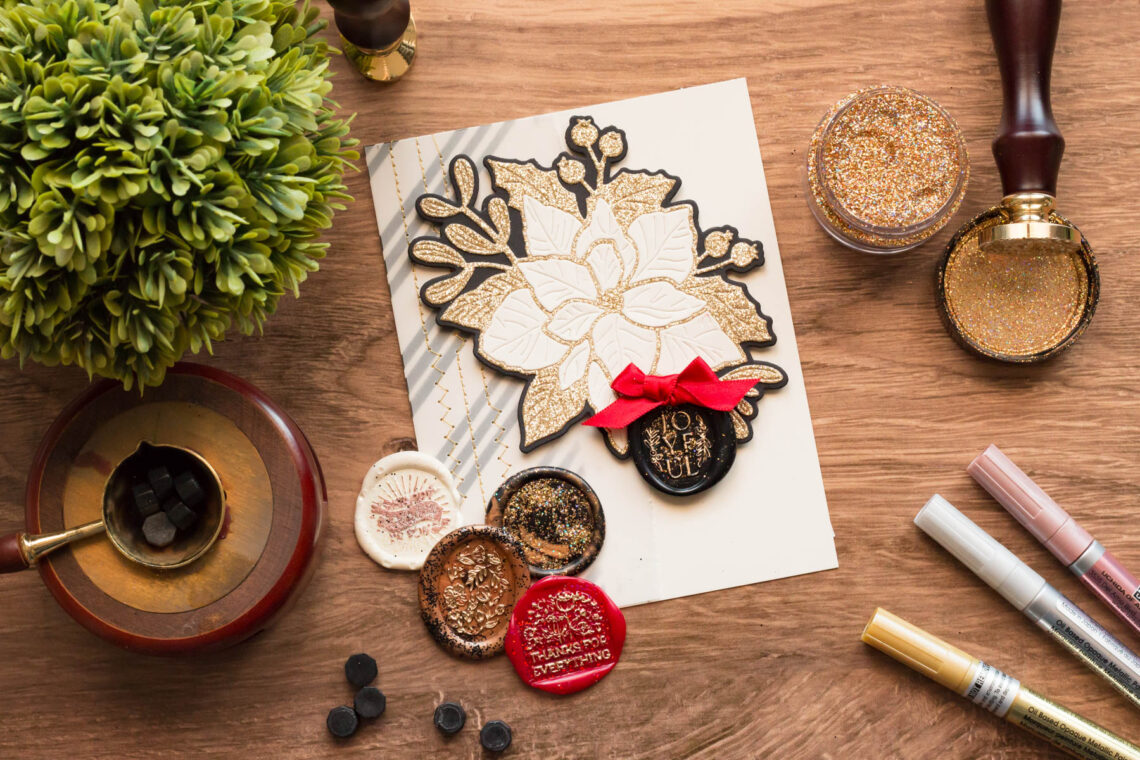
Mix Your Wax Seals with Glitter!
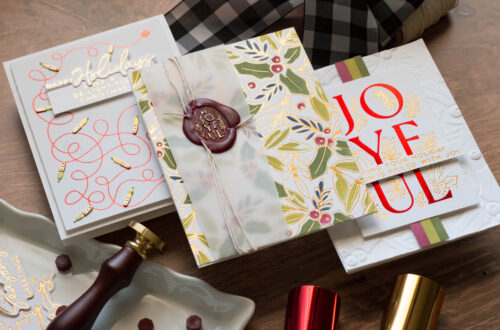
Did you know you can add glitter to your wax seals? Yes! There are so many options! Go with the same color wax bead and glitter for a tone-on-tone look, or better yet add contrasting color glitter for a striking effect. You can sprinkle glitter into the wax as it is melting in your spoon or as soon as you’ve poured it onto your surface before pressing the stamp. So many options to explore!
Today we are welcoming guest designer Marie Nicole as she shares her wax seals & glitter experiments! Take it away, Marie Nicole!
Hello there, craft friends! It’s Marie again from Marie Nicole Designs. I’m sharing some beautiful wax seals that you can take to the next level by adding some glitter!
Spellbinders has a variety of fine glitter that you can sprinkle onto your wax before it cools. I’ll show you a few different ways to do this. It’s so easy and it looks amazing. Let’s get started!
SPRINKLE IT ON!
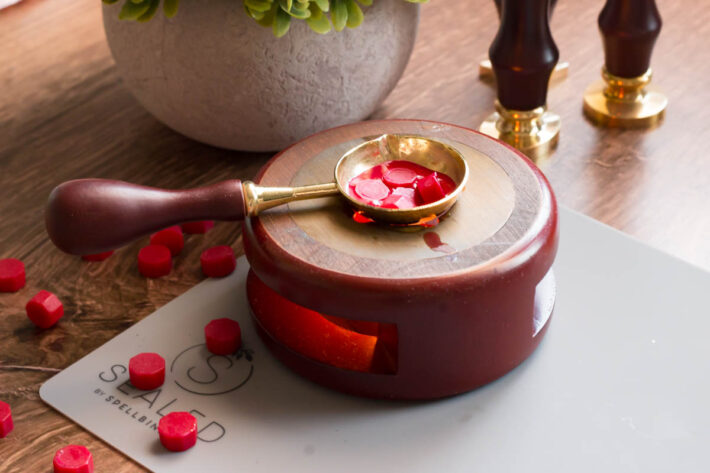
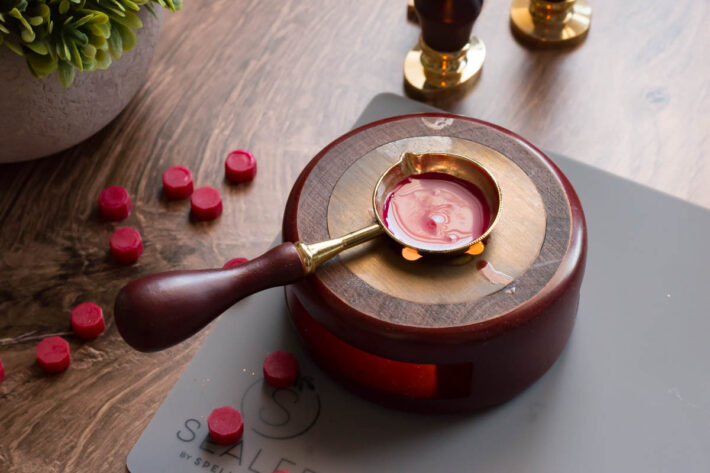
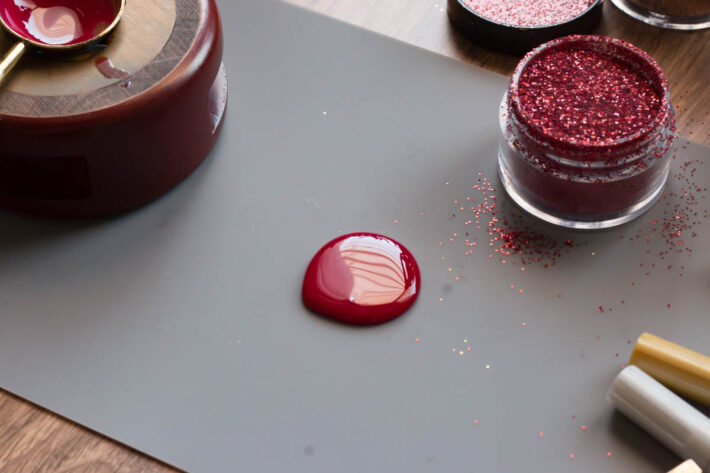
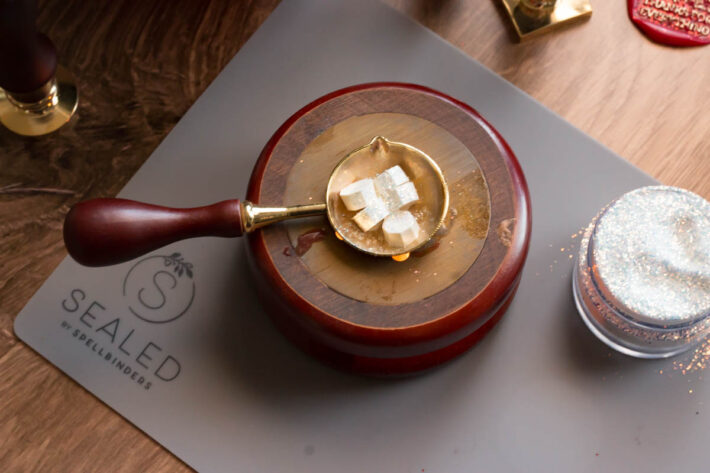
Of course, you are going to start by melting your wax. So light your candle, add your beads to your spoon, and watch as the wax melts into a smooth puddle. I like to use about 5 beads of wax. If you are pouring over die cuts and embellishments you may want to add an extra bead, but I have had great success with 5.
Once your wax is melted and smooth in the spoon, it’s ready to pour!
I like to use the silicone mat that come with the Wax Starter Kit from Spellbinders. It’s great for working with the hot wax and your seals peel right off when they are cool.
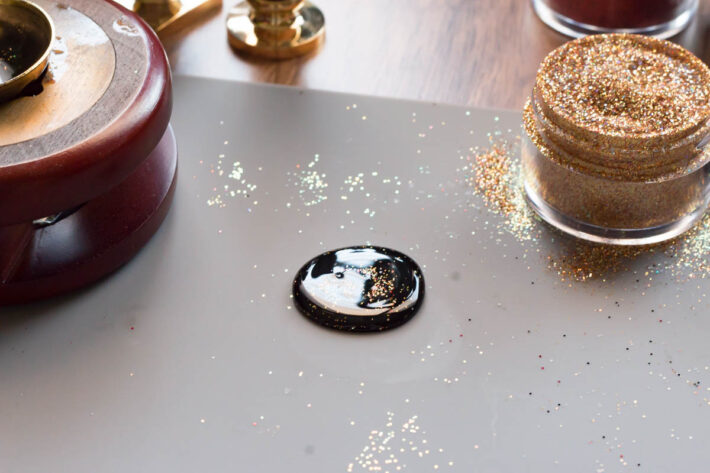
I pour my wax from the spoon in a circular motion to try to make a smooth, even circle. Don’t worry if it’s not perfect, though! Being handmade means having a bit of personality.
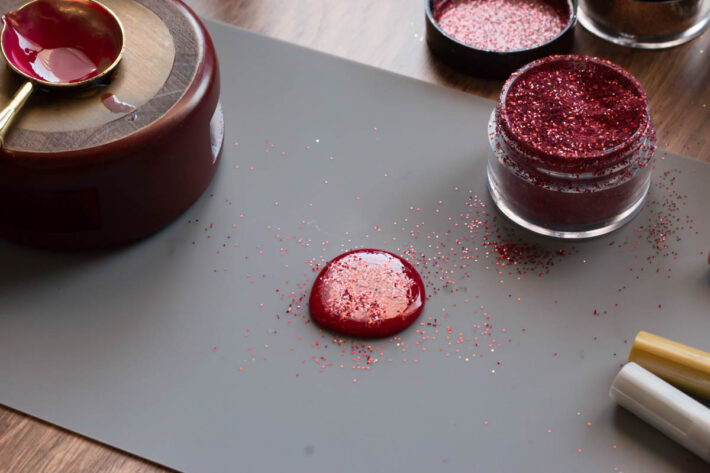
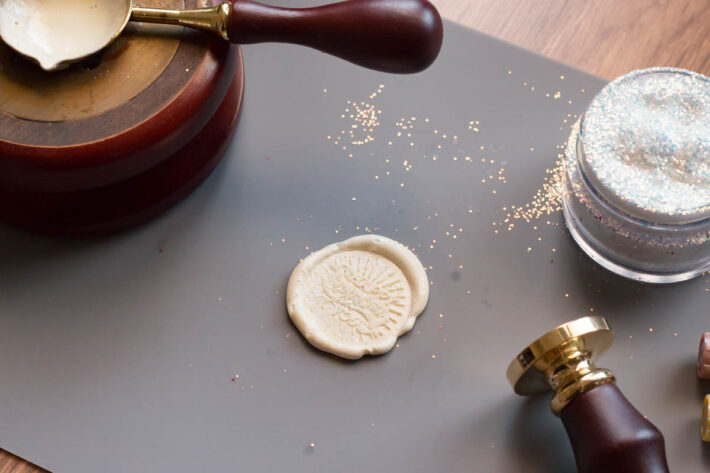
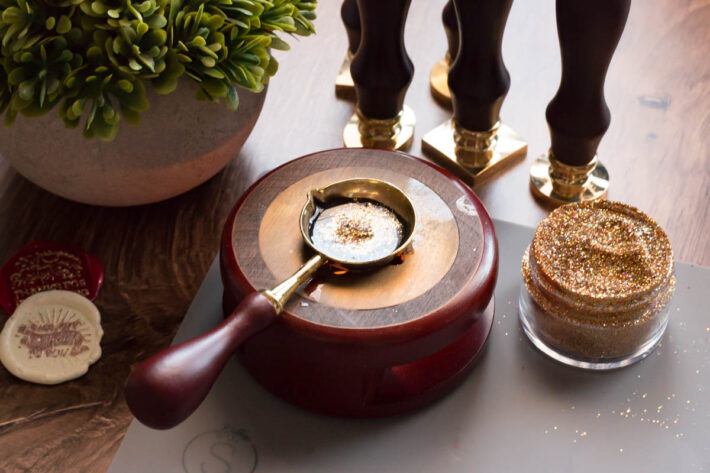
After you pour your wax, sprinkle just a bit of the glitter on top. You really don’t need much! I just took a pinch and sprinkled it on with my fingers. You can play around with how much glitter you want, but just a bit is enough!
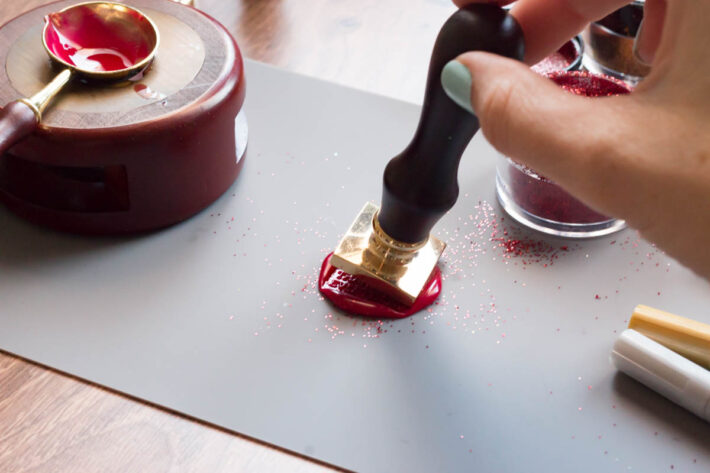
Then, go ahead and place your wax seal into your glitter and wax. You want to give it a few minutes to cool before you pull the seal away. Remove the seal slowly! If you see that the wax hasn’t completely hardened, just give it a bit more time.
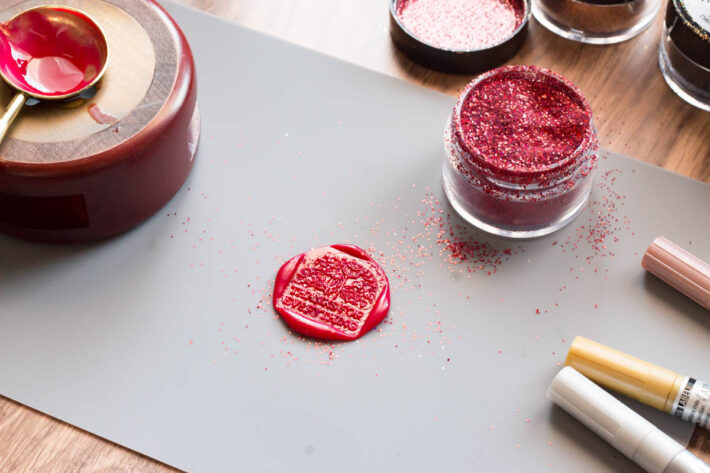
You will end up with a beautiful seal with a bit of sparkle! Then, you can color the raised design with a paint marker if you want to!
MIX IT IN!
You can also add your glitter to your wax beads as they are melting. I found that I didn’t have quite as good results with this. I think there are a few reasons for that. First, the glitter gets mixed in and you don’t see it as boldly. This might be ok if you want just a subtle addition of glitter, but I found it hard to see the glitter much at all when I did this. Second, the glitter made the wax a bit thicker and didn’t pour quite as nicely. So while you CAN do it this way, I personally found I prefer to just sprinkle glitter onto my wax after I pour it and before adding the wax stamp.
You can see here that my wax seal has a more odd shape and not as smooth as a circle. I think that’s just because the glitter doesn’t pour as smoothly when you mix it into the wax while it’s in the spoon.
If you want to try adding glitter before you pour, I’d recommend sprinkling it over the melted wax right before pouring, instead of sprinkling it onto the beads before they melt.
STAMP FIRST, THEN SPRINKLE
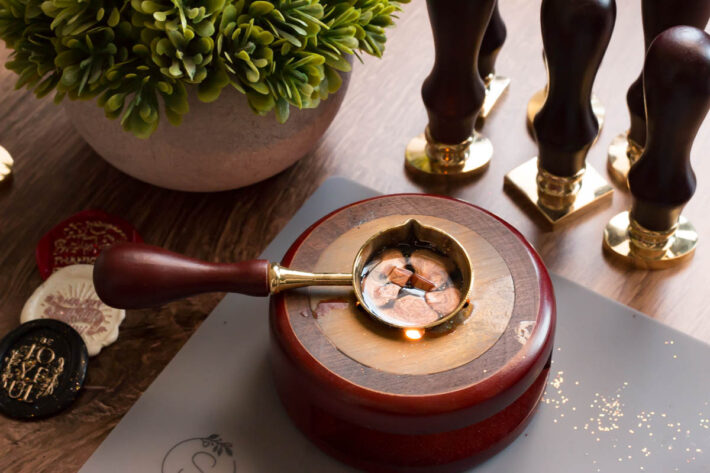
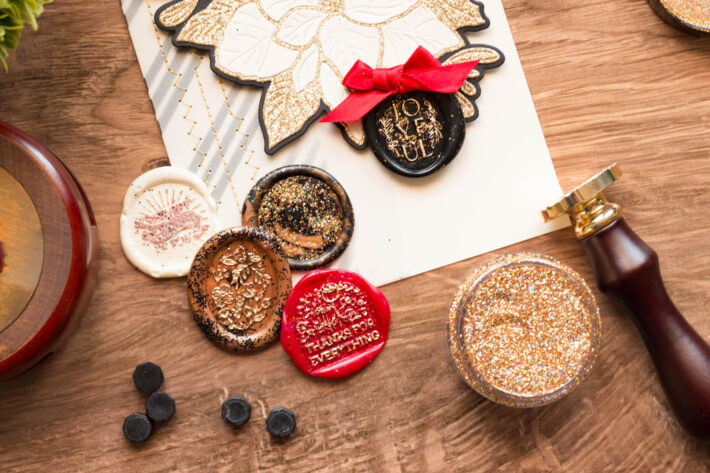
Ok, here’s another fun way to add some glitter. I’m melting my wax and as you can see from my spoon, I have black AND copper mixed in there. If you want to try a marbled look to your wax, you can mix colors! I previously made a black seal, so instead of cleaning my spoon to change colors, I just added some copper beads to the leftover black. This will create a two-colored or marbled look when I pour.
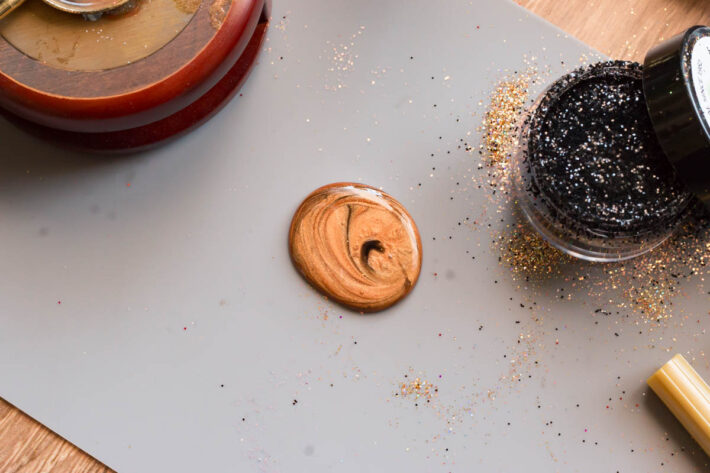
You can see after you pour your will get swirls of the different colors together. This one is mainly copper with a swirl of black. If you want to change up the ratio of colors, play around with adding different numbers of bead colors together!
Now on to adding the glitter…
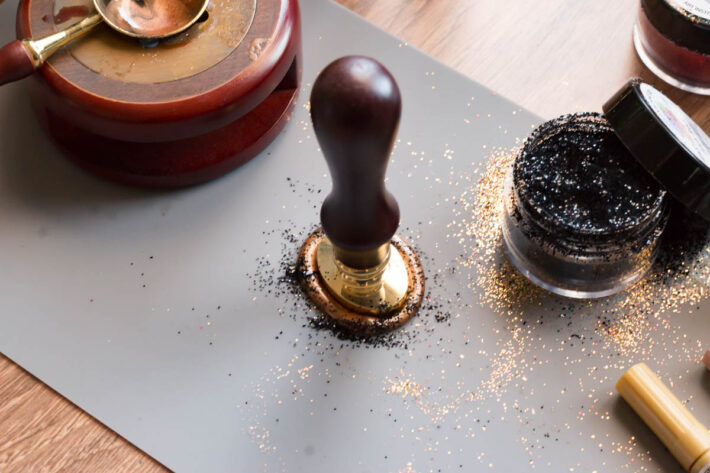
For this seal, instead of adding the glitter and THEN stamping, I stamped first and then added the glitter.
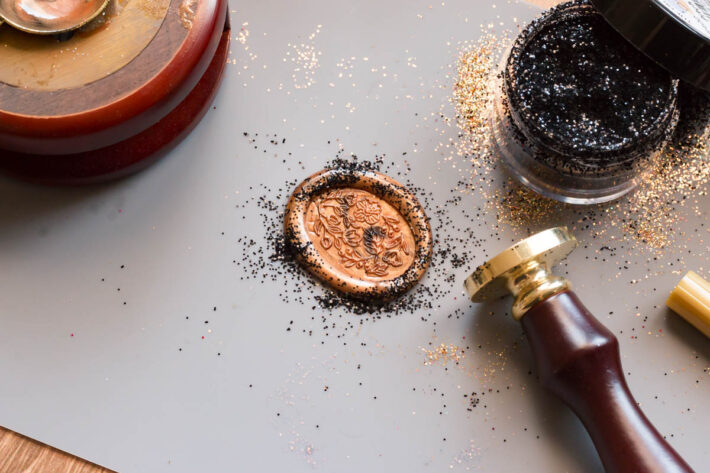
This results in a seal with the design in the middle and glitter around the edges. This works great when you have a really nice ridge around the outside of your seal, so feel free to add even a few extra beads while melting! Also keep in mind to add your glitter quickly after stamping with your seal, because once that cool metal contacts with the wax it will start to cool quickly! You want to add the glitter while the wax is still liquid.
After you pull away your stamp, you are left with a gorgeous design framed by glitter.
ADDING GLITTER SEALS TO CARDS
Ok, one last seal and I’ll also show you how I added it to a card. I’m marbling another seal, again using black and copper. For this one, I sprinkled on some gold glitter AFTER my wax was completely melted and BEFORE pouring.
You can see how the wax is subtly swirled and the glitter is mixed in there. Much better than when I added glitter to the beads before they melted!
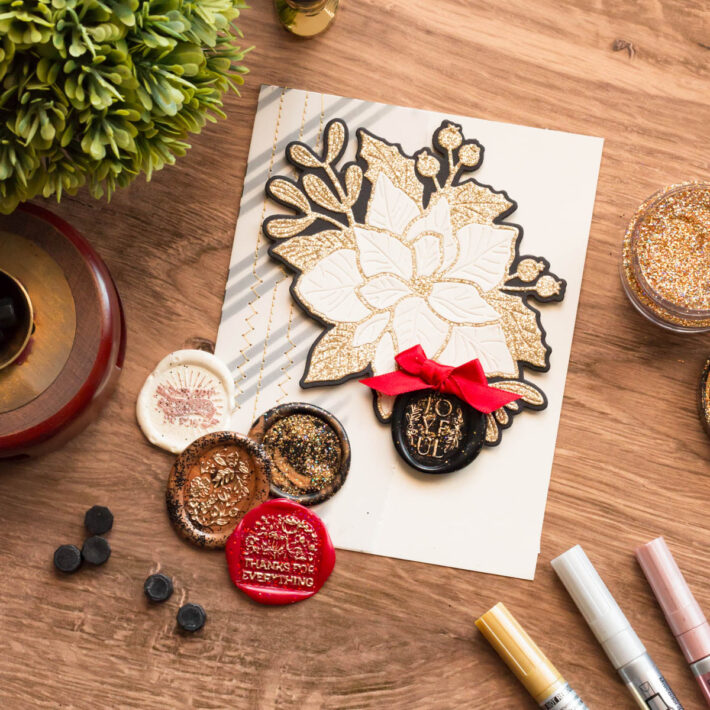
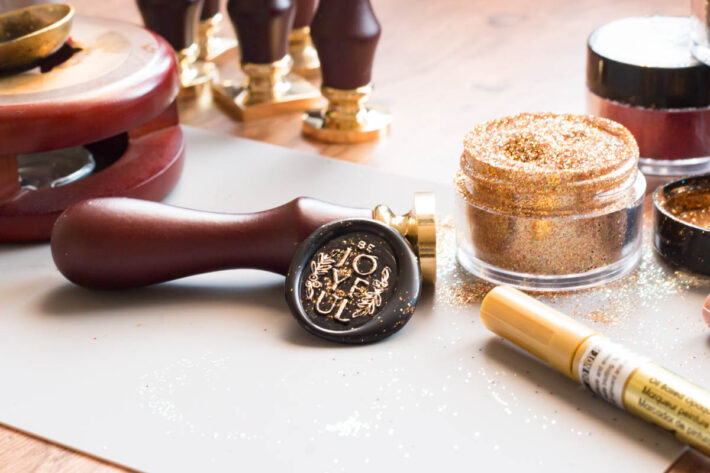
I went ahead and stamped this one with the “Be Joyful” stamp, and colored it with a gold marker. The glitter is subtle, but you can see it mixed in there.
Then, I decided to add it to a card!
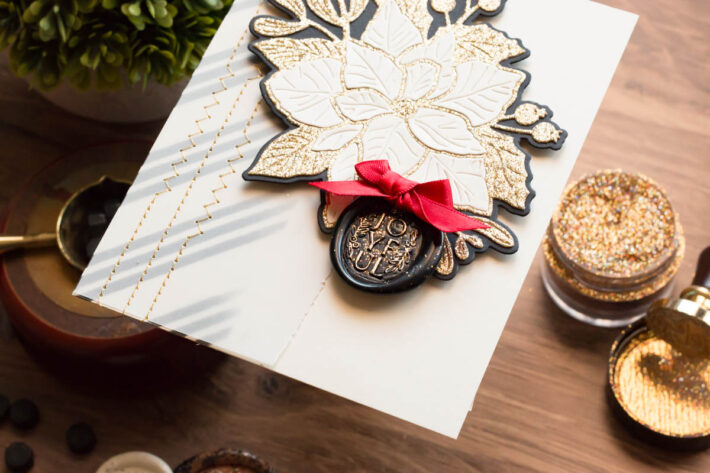
I used the Poinsettia Bloom Die from Yana’s De-Light-Ful collection to create a stunning floral focal point. Then, added a little striped stenciling and stitching over the vellum for the background.
I then added my seal with some adhesive as the sentiment. I felt it all needed just a pop of red so I added the bow ribbon. A classy Christmas look!
There you have it, friends! A few ideas, tips, and tricks for adding glitter to your wax seals! I think this is so much fun to play with. A little patience, trial, and error might be needed but you will have the hang of it in no time!
The best thing is, if you mess up on a seal remember that you can always cut it into small pieces and re-melt it. No waste! Insert winky face here
Thanks for stopping by.
Until next time,
Marie Nicole
Spellbinders Supplies:

Other supplies
Glue, scissors, stencil, black ink, vellum, gold thread, sewing machine, foam adhesive, red ribbon.

3 Comments
susan goodrow
AWESOME looks amazing been doing it awhile!
Trudie Vick
Very nice. Thanks for sharing.
Chrystal'sChreationsWycoff
Absolutely beautiful 😍.
I am definitely going to try this Marie. Stunning. I wonder if we could add in Mica flakes.