BetterPress Christmas Collection – Card Inspiration with Annie Williams
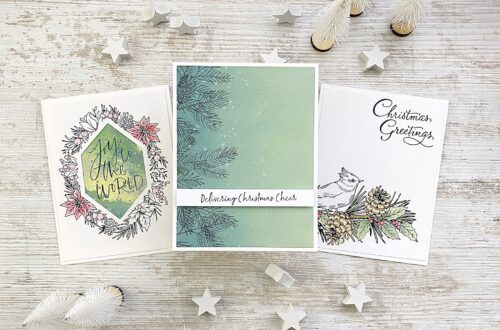
Hi there, this is Annie Williams and I’m excited to be back on the blog today to share a couple of projects using the BetterPress Christmas Collection from Spellbinders. The gorgeous plate designs and beautiful sentiments in the collection inspired me to create three easy holiday cards with an elegant letterpress effect.
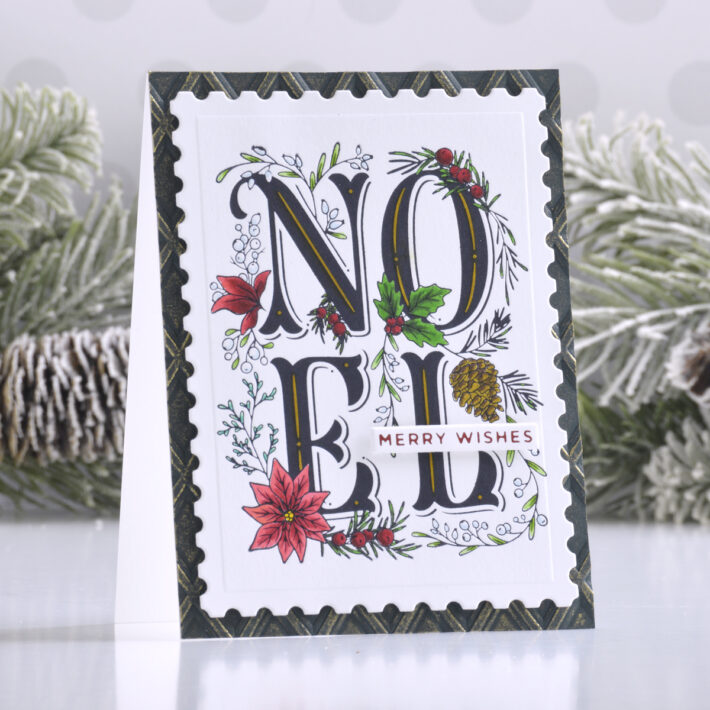
Festive Noel Card
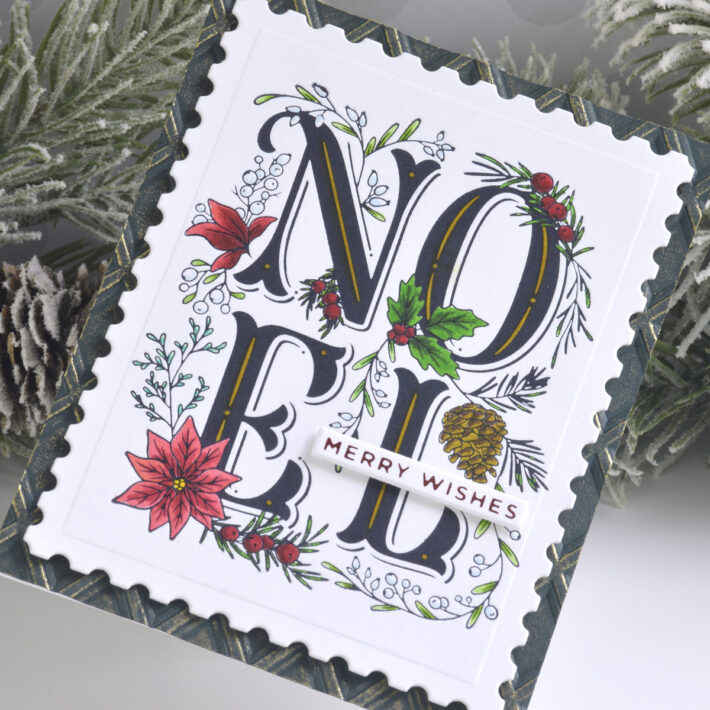
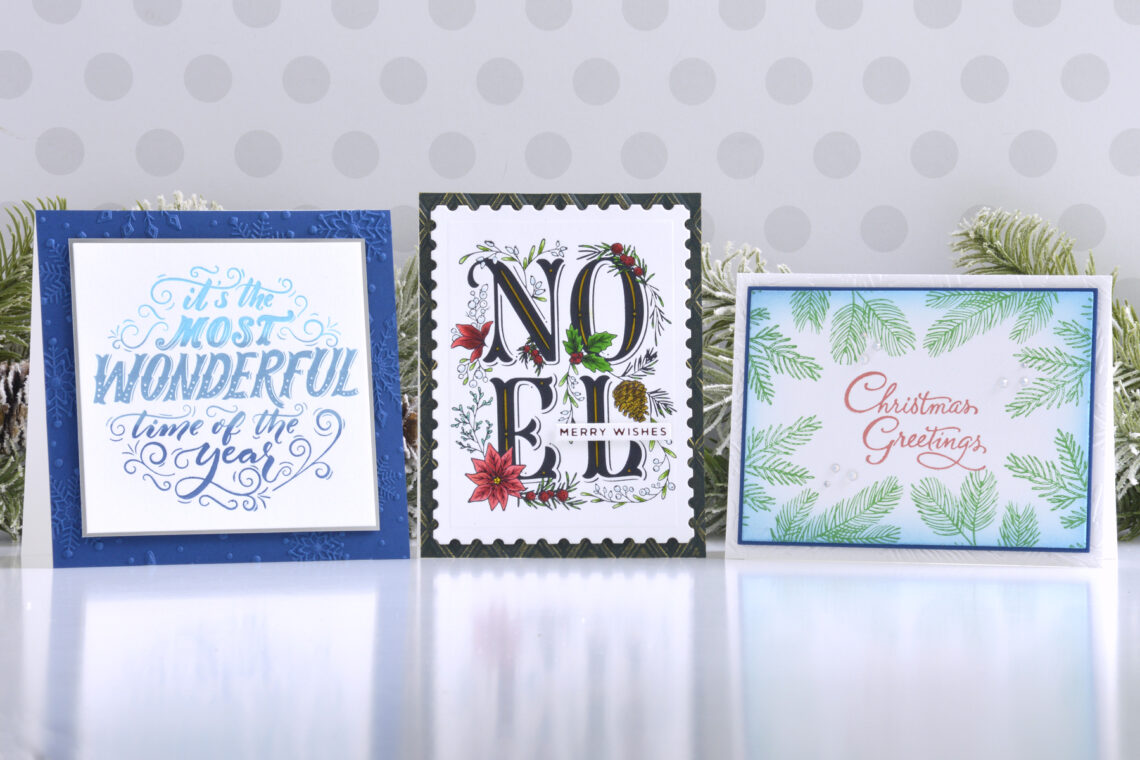
Something about the boldness and beauty of that Festive Noel Press Plate made me reach for this one first. I added some simple coloring to a basic black press of this gorgeous design for an easy and pretty Christmas card.
I started by adding black BetterPress Ink to the Festive Noel Press Plate and pressed the design onto Porcelain BetterPress Cotton Cardstock. After adding some quick coloring with Zig Clean Color Real Brush Pens (the fine tip on these is perfect for coloring in some of the tiny spaces on intricate BetterPress designs!), I die-cut the panel using one of the Postage Edge Rectangle Dies.
To create the background, I embossed a piece of Forest Cardstock using the Dimensional Diamonds 3D Embossing Folder and lightly rubbed gold gilding wax over the raised areas before adhering it to a top-folding A2-sized white card base. After popping the pressed panel up on top of the card front with foam adhesive, I added a sub-sentiment foiled in Red Hot Foil using the Glitter Wishes Glimmer Plate Set.
Ombre Holiday Card
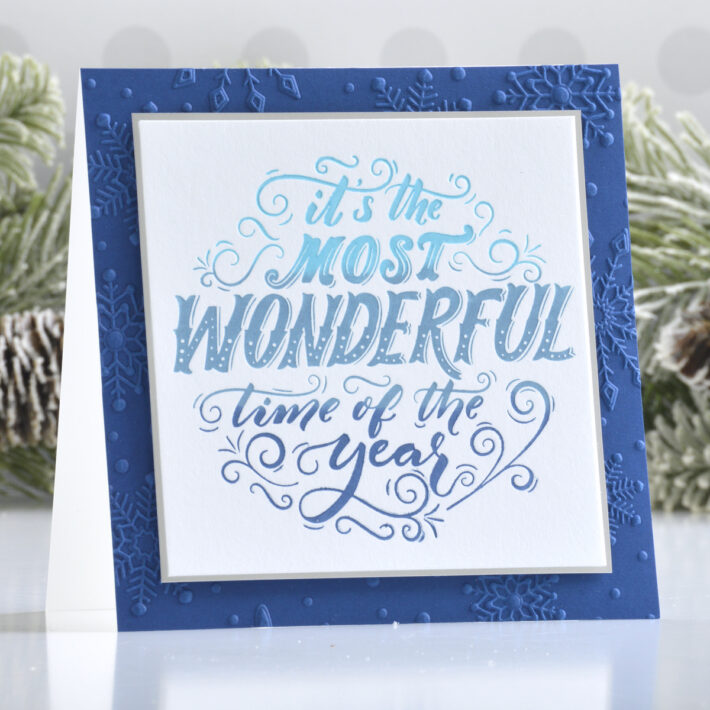
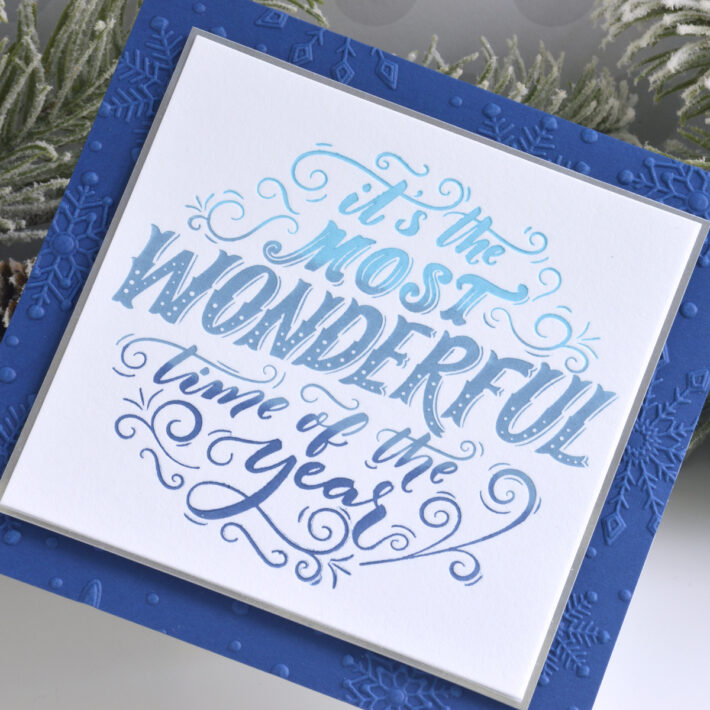
Have you seen all of the beautiful new colors of BetterPress Inks? I chose three shades of blue to mix over this bold sentiment plate for a pretty ombre effect.
I started by inking up the Most Wonderful Time Press Plate with Hydrangea, Coastal, and Cosmic Sky BetterPress Ink from top to bottom, overlapping each slightly to create a smooth blend (Tip: if you start with the lightest color and work your way to the darkest, you won’t risk contaminating your ink pads.) Once inked, I pressed it onto a piece of Porcelain BetterPress Cotton Cardstock and then trimmed it to 4.25” square.
To assemble the card, I trimmed a piece of Cosmic Sky Cardstock to 5.25” square, embossed it with the Flurry of Snowflakes 3D Embossing Folder, and adhered it to a top-folding white card base with a tape runner. Then I simply matted the sentiment panel with Mirror Silver Cardstock and popped it up in the center of the card with foam adhesive.
Christmas Pines Card
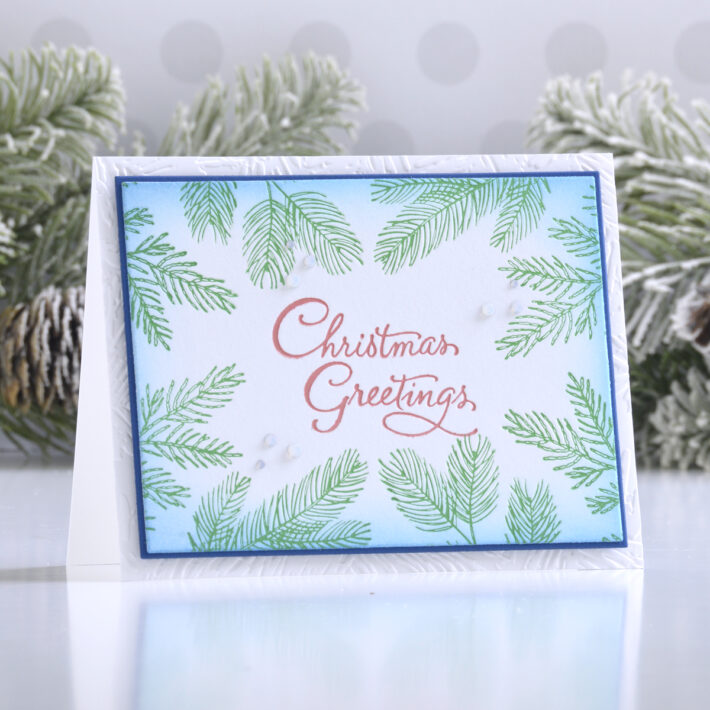
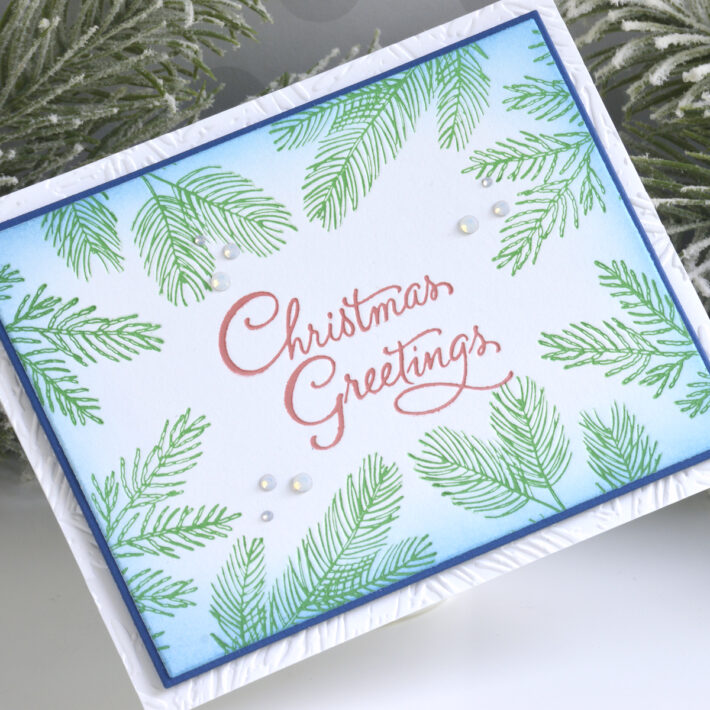
Lastly, I wanted to play with even more new ink colors, so I created a pretty pine border surrounding a beautiful sentiment for this simple and colorful Christmas card.
I started by arranging the three plates in the Evergreen Branches Press Plate Set over one side of a panel of Porcelain BetterPress Cotton Cardstock, inked them up with Leaf BetterPress Ink, and pressed them into the panel. Then I flipped my BetterPress Platen around and pressed the same designs around the other side as well. Empty spaces around the edge were filled in with a single pine branch. The sentiment from the Christmas Greetings Press Plate Set was inked in Strawberry BetterPress Ink and pressed into the center of the panel.
I embossed the front of a top-folding A2-sized white card base with the In The Pines Embossing Folder next. After inking around the edges of the pressed panel with Salty Ocean Distress Ink, I matted it with Cosmic Sky Cardstock and added it to the center of the card front with foam adhesive. To finish off the card, I added a few Crystal Mix Gems.
Spellbinders Supplies:

Other supplies
White heavyweight cardstock, Zig Clean Color Real Brush Pens, Salty Ocean Distress Ink, blending brushes, gold gilding wax, tape runner, foam adhesive
I hope you enjoyed these easy BetterPress holiday cards and thanks so much for stopping by today. You can find more inspiration over at my blog AnnieBWills.com.

