
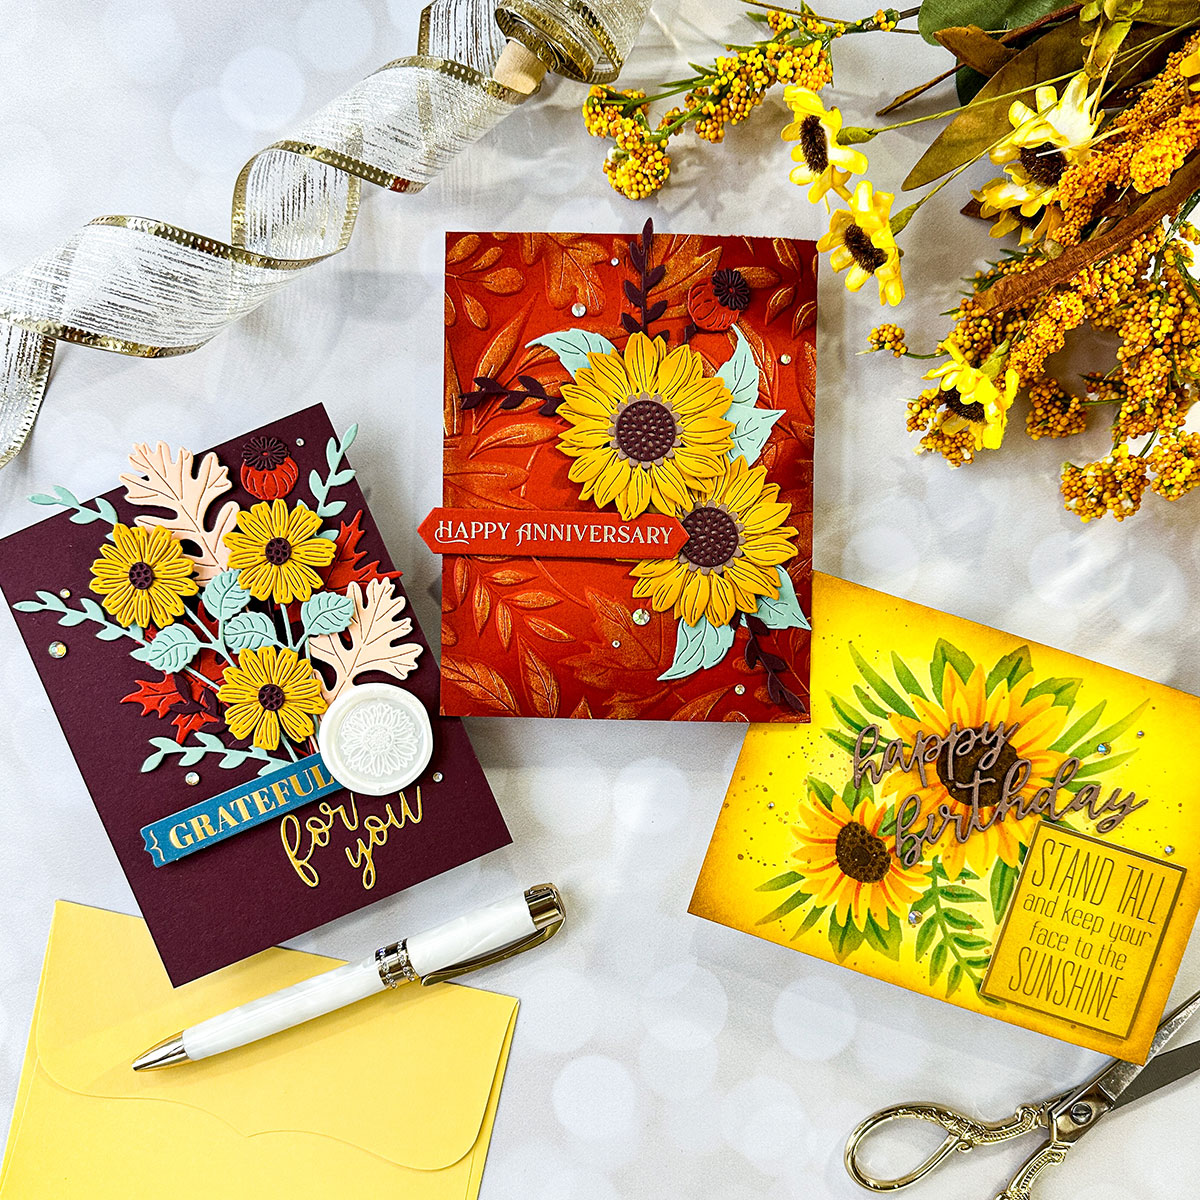
Serenade of Autumn Cardmaking Ideas
Hi friends! Emily Midgett from Sixth Street Sundries is here with you today to share some vivid autumn inspiration using the absolutely magnificent new Serenade of Autumn Collection! This collection features beautiful Better Press plates, floral dies, sentiments, a 3D embossing folder, a new wax seal design, and a variety of printed ephemera and paper goods to make crafting a variety of gorgeous, cohesive autumn cards simple. I have three cards to share with you today, so let’s get started with the details!
Before beginning my cards, I selected a variety of colorful autumnally-themed cardstock from the Spellbinders Card Shoppe line. I wanted a color scheme that was autumnal without being too prosaic, so I selected Tuscan, Peach Sorbet, Latte, Chamomile, Mahogany, Terra Cotta, and Sage cardstock. Using a cohesive color scheme for all three cards helps them to coordinate without being too “matchy.”
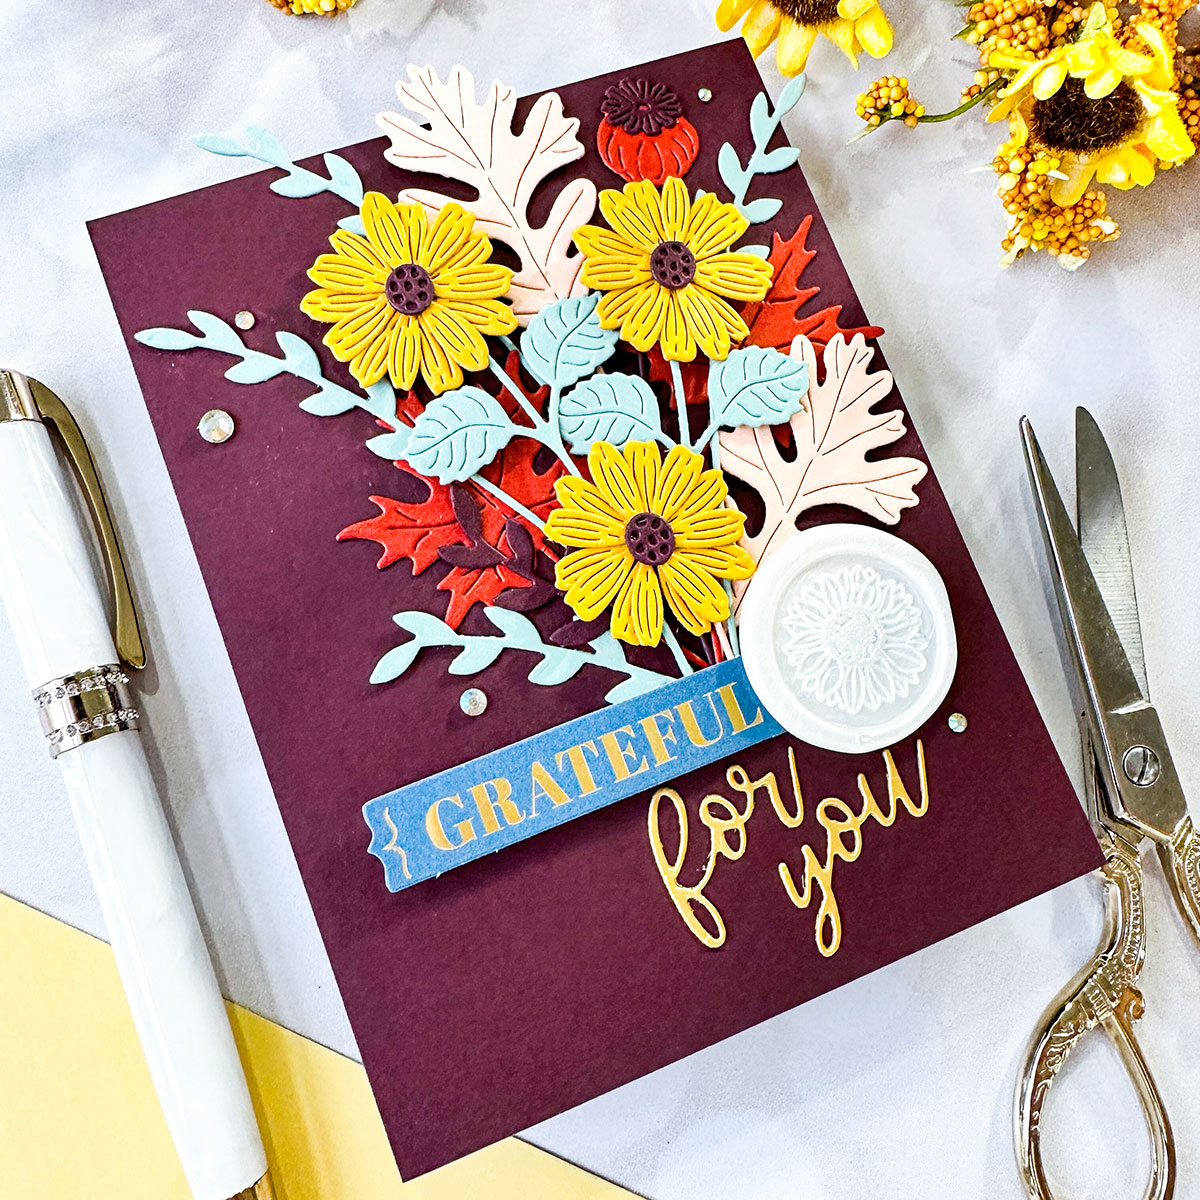
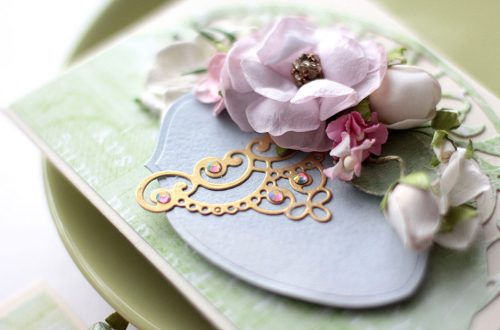
For my first card, I created a lovely autumn floral bouquet with a wax seal accent!
- Die cut a variety of blooms and foliage from the Autumn Sealed Sprigs die collection using the chosen cardstock color palette, assembling them with the incredibly useful Reverse Tweezers.
- Create a wax seal using the new Sunflower Wax Seal and some Pearl White Wax. Adhere the “grateful” foiled printed die cut from the Serenade of Autumn Printed Die Cut pack to the wax seal.
- Die cut a “for you” from the new Serenade Sentiments set using Brushed Gold cardstock.
- Arrange the die-cut florals in a bouquet, covering the area where they cross with the foiled sentiment die-cut and the wax seal, completing the greeting with the gold die-cut “for you.”
- Add some sparkling Opal gems for a bit of extra texture and shine!
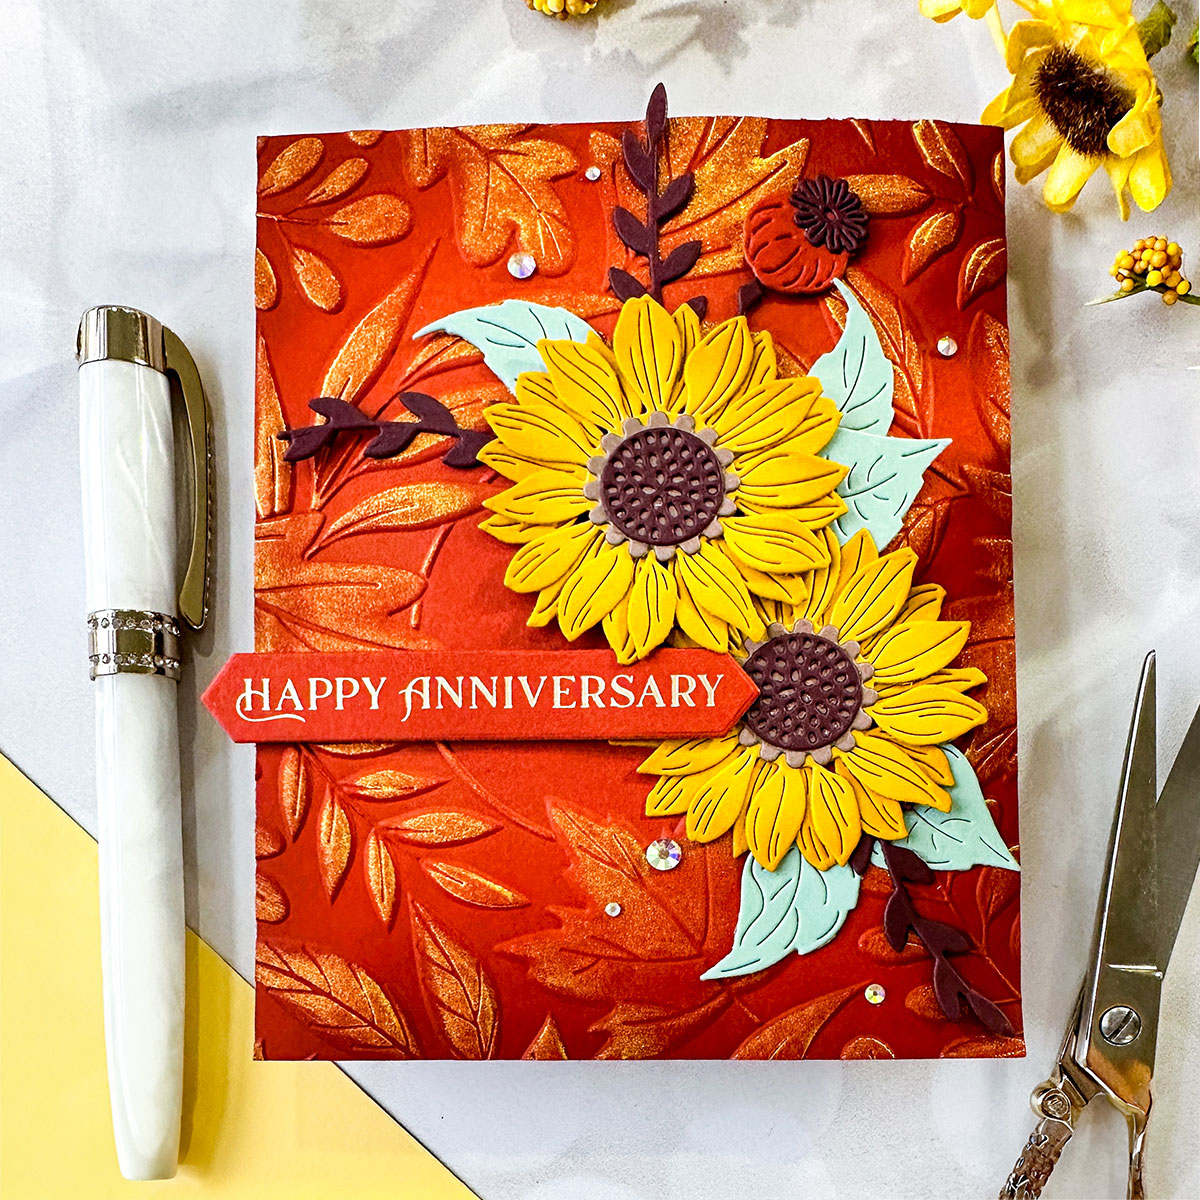
My second card features a more dramatic color palette, enhanced with ink blending and shimmering gold accents.
- Die cut the Sunflower Serenade dies from Tuscan, Mahogany, Latte, and Sage cardstock, blending along the edges of the sunflower petals with a darker yellow ink to add extra dimension.
- Emboss an A2 panel of Terra Cotta cardstock using the Autumn Serenade 3D Embossing Folder. After embossing, use a blending brush to blend deep burnt orange ink around the edges, enhancing the embossed design and intensifying the colorful background. Run a gold pigment ink pad over the raised areas to add some “gilding” to your card front, further enhancing the embossed design.
- Use your Glimmer Hot Foil Machine to hot-foil a greeting from the Fancy Sentiment Strips Press Plate onto more Terra Cotta cardstock using Satin Champagne Hot Foil.
- Arrange floral die cuts on the embossed and blended panel using liquid and foam adhesive. Add the hot foiled sentiment strip using a double layer of foam tape.
- Finally, add some sparkle with a few Aura AB adhesive gems.
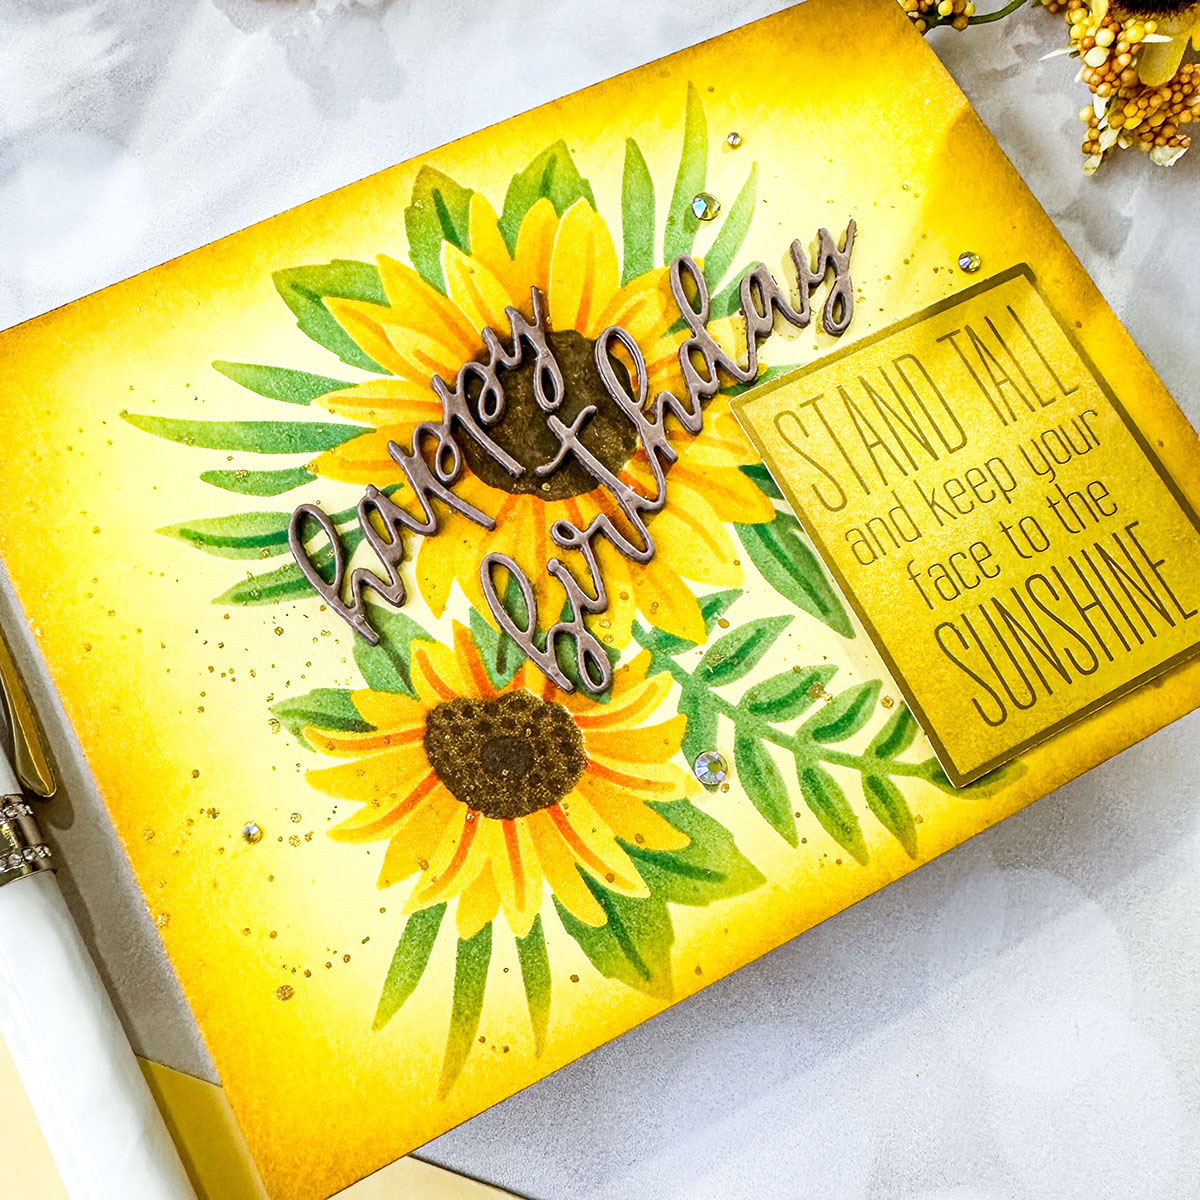
For my final card, I created a sunny birthday card with gorgeous ink-blended sunflowers and gold shimmer!
- To start, ink blend the sunflower image from the Layered Sunflower Stencil set onto Chamomile Stenciling on colored cardstock is a great way to intensify the colors of your stenciled image. The yellow and green inks are dark enough, and the Chamomile cardstock light enough, that the sunflower image is still quite visible!
- Blend medium yellow and dark yellow around the edges of the stenciled A2 card front to create a vignette effect. Splatter the entire panel with gold metallic watercolors.
- Die cut the “Happy birthday” sentiment from Serenade Sentiments three times using Latte cardstock, then adhere each sentiment die cut together with liquid glue to create a dimensional die-cut greeting.
- Ink blend the same shades of yellow ink over the top of the gold foiled greeting die cut from the Serenade of Autumn Printed Die Cut pack to create a coordinating greeting.
- Adhere the greeting pieces with liquid and foam adhesive.
- Finally, add some Aura AB adhesive gems for sparkle!
Spellbinders Supplies:

Other Supplies: Sunflower, Spiced Cider, Cayenne, Nutmeg inks from Concord & 9th; Sage, Eucalyptus, and Spruce Tips inks from Pinkfresh Studio; handmade gold metallic watercolors, Altenew Enchanted Gold pigment ink.
One Comment
Stephanie Clapper
Hi Emily, I found an older birthday card you made for Simon Says and then, checked out your blog this week. Wow, your marker coloring is absolutely gorgeous!! You have so much talent and skill. While I’m not proficient with markers, you have inspired me with other techniques and ideas like your awesome Serenade trio. I wanted to say thank you. You sure captured Autumn’s beauty!