How to Make BetterPress or Embossed Images Stand Out
Hello crafty friends! Rebecca Keppel is here today to share some fall and Christmas cards made with BetterPress plates and a 3D Embossing Folder. Today I am sharing some fun ways to make those images pop off of your card!
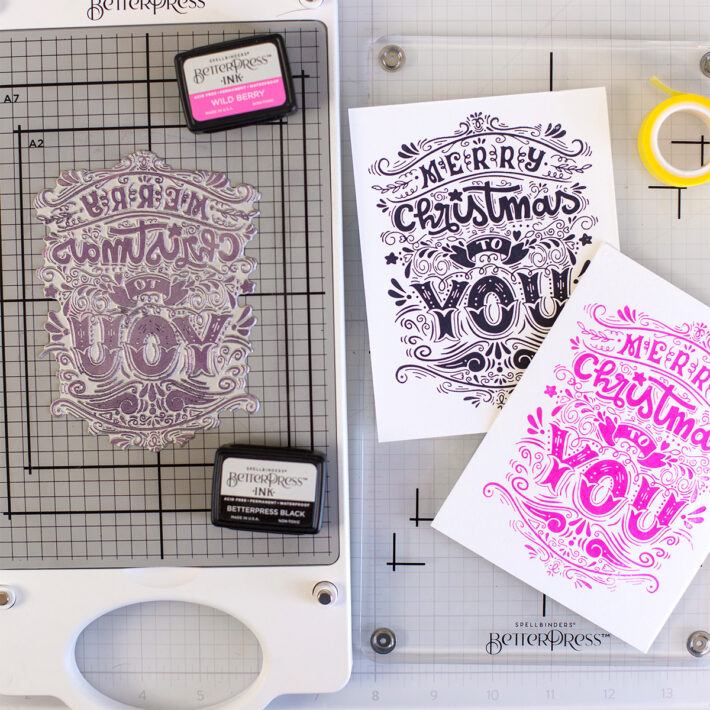
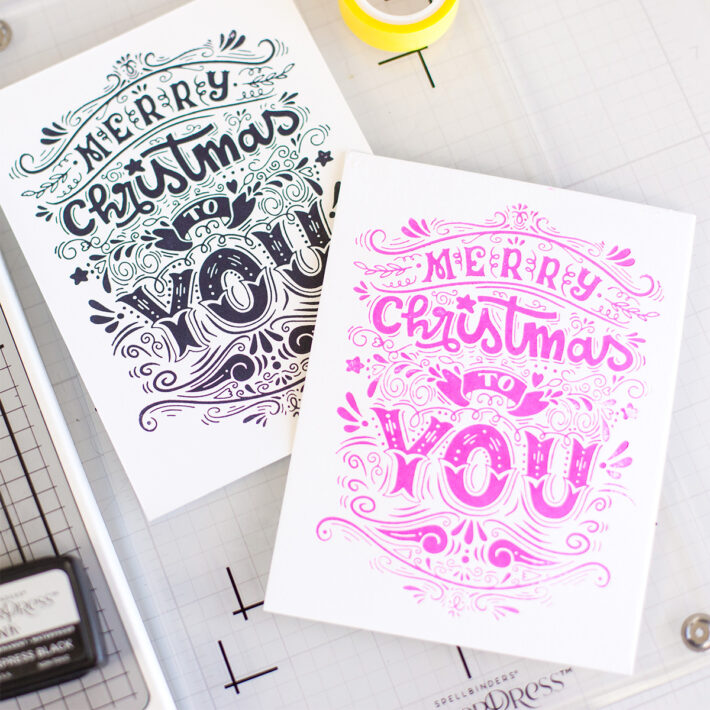
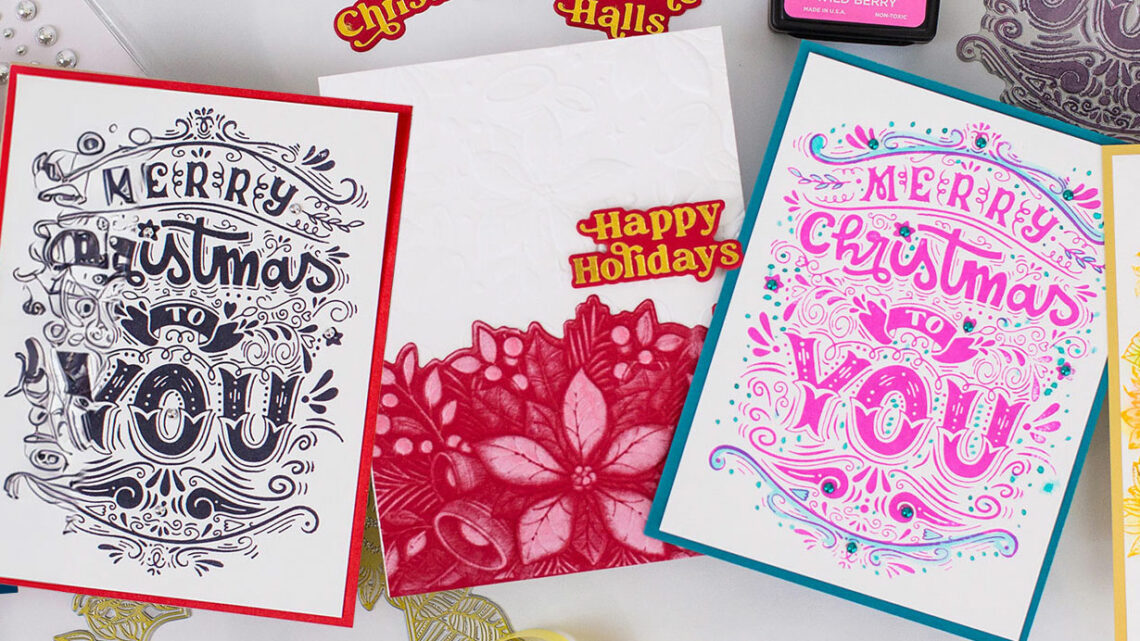
Use the BetterPress with Black or Wild Berry Ink to make a big impact with the Merry Christmas to You Cardfront!
You don’t need to add a single thing to make outstanding cards with this BetterPress Plate!
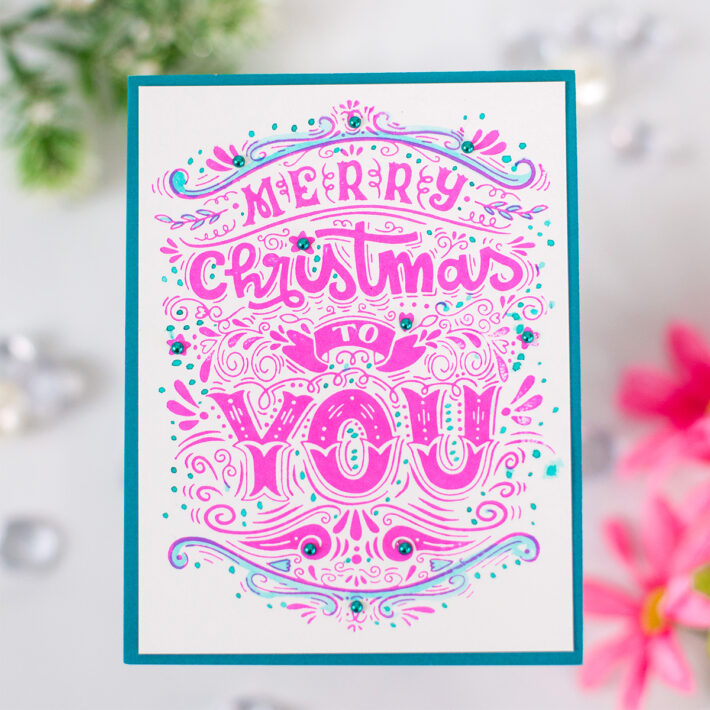
But if you want to quickly and easily jazz them up even more, try adding a different color with drops of watercolor and accenting with some Spellbinders Pearl Dots.
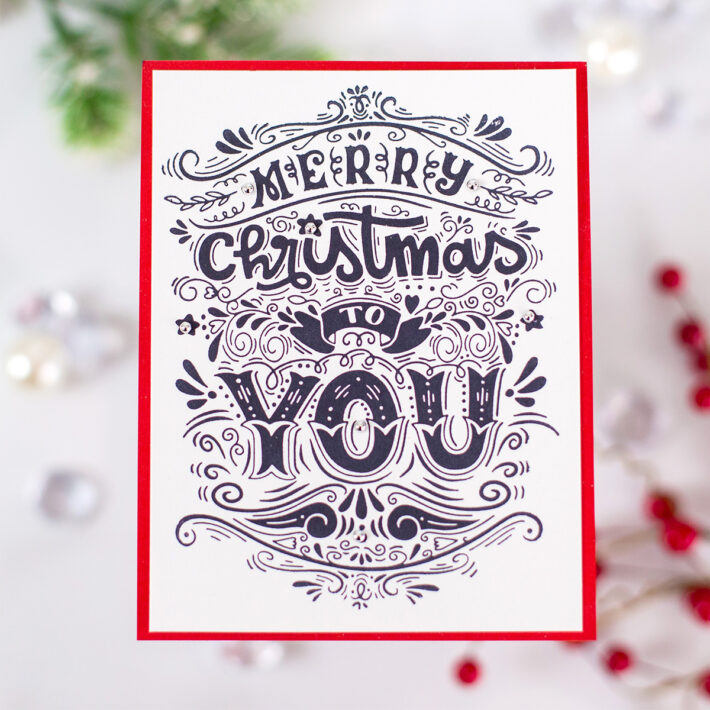
Even just cutting the panel down to 4×5.35”, adding a contrasting cardstock color for a matte, and finishing it off with some small Fashion Silver Embellishments makes a wow-worthy card!
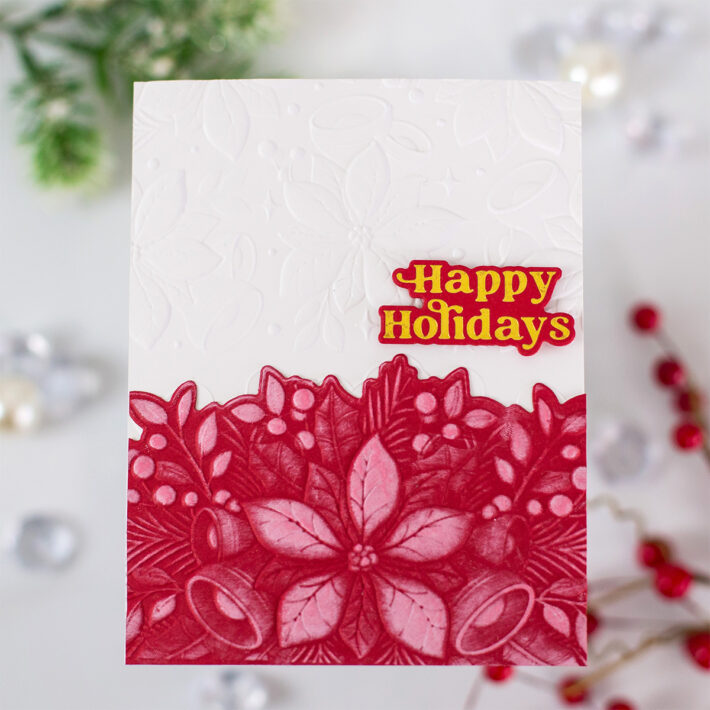
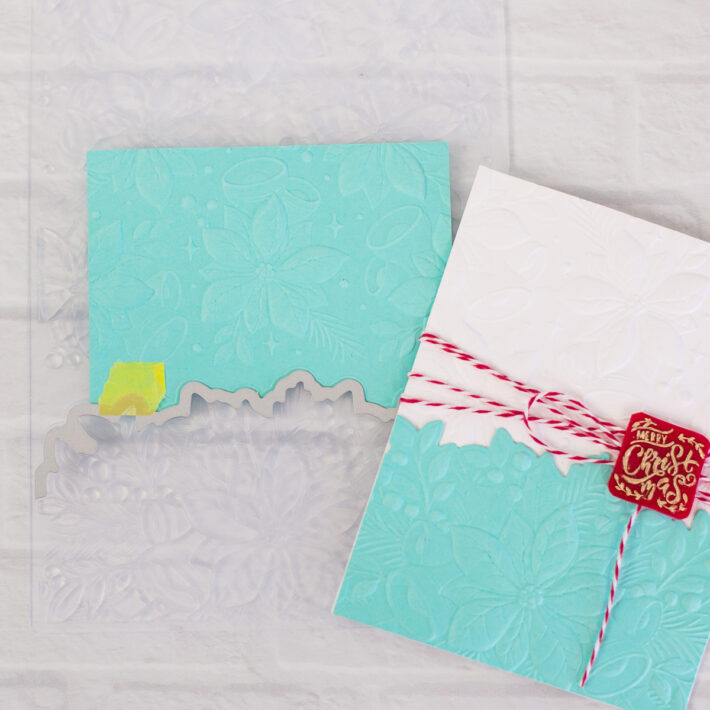
To punch up an embossed design, use the Poinsettia Bells & Border 3D Embossing Folder and Die to emboss and die-cut a portion of the design. Swipe some pigment ink on the embossed red cardstock and place it on the white embossed cardstock so the design is continuous!
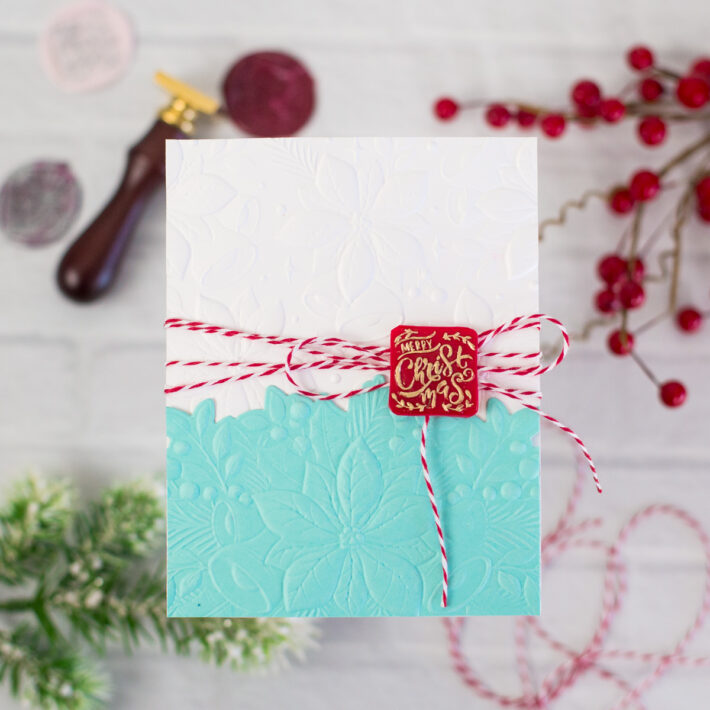
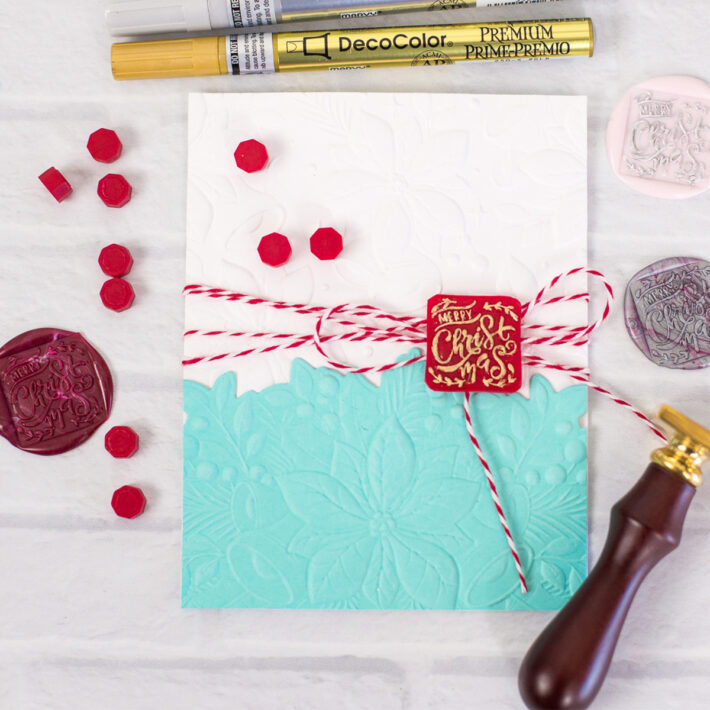
The Merry Christmas Square Wax Seal is the perfect complement to the Poinsettia Bells & Border 3D Embossing Folder and Die. Emboss a full A2 white cardstock panel and then emboss and cut a piece of Waterfall cardstock. You can use the square wax seal stamp to impress the Merry Christmas sentiment on a circle of wax.
Or once the wax is dry, you can add a touch of Deco Color by Uchida Premium Gold Metallic Marker really helps the details of the stamp stand out!
And the square shape of this wax seal stamp looks great when left in a round pour of wax, or once the wax is dry, you can trim the circular edges and attach the square sentiment with a Wax Seal Adhesive Circle on top of a bow tied with Vivant Red And White Cotton Twine.
Spellbinders Supplies:

Other supplies
SketchMarker Aqua Watercolor Markers, Distress Oxide Ink Squeezed Lemonade, Distress Oxide Ink Mowed Lawn, Distress Oxide Ink Gathered Twigs, The Stamp Market White Pigment Ink
Thank you so much for stopping by today! I hope you’ll give some of these techniques a try with your next BetterPress or Embossed image! If you’d like to see more Spellbinders projects from me, in addition to my blog, I share them often on Instagram and YouTube. Happy crafting!

