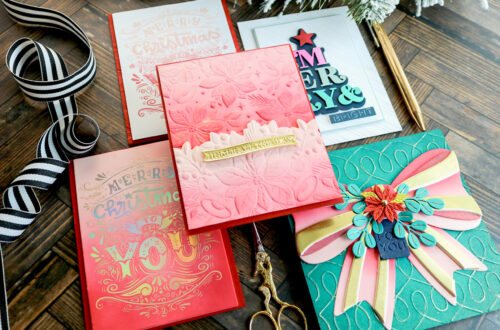
Creating Multi-Color Letterpressed Designs with the Cheers To You Collection
Hi there, this is Annie Williams and I’m thrilled to be back on the blog today to share a couple of colorful cards made with the new Cheers To You Collection from Spellbinders. The gorgeous new registration plate designs, versatile background, and classic sentiments in the collection inspired me to create three multi-color cards for various occasions.
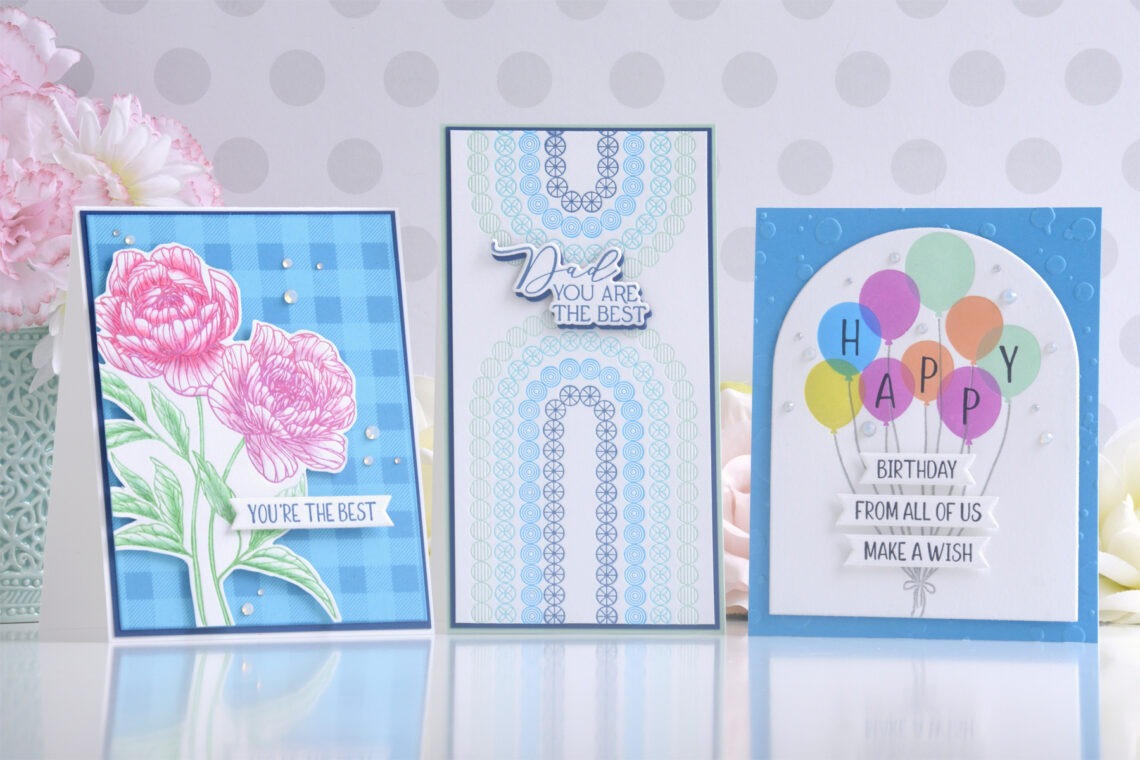
Peony Plaid Friendship Card
Buffalo plaid holds a special place in my heart because my five year old, who refers to it as “squares”, will wear any and all clothing and accessories that boast this fun pattern. So naturally, the Buffalo Plaid Press Plate was the first piece in the collection I pulled out to play with, pairing it here with the beautiful Peony Perfection Registration Press Plates.
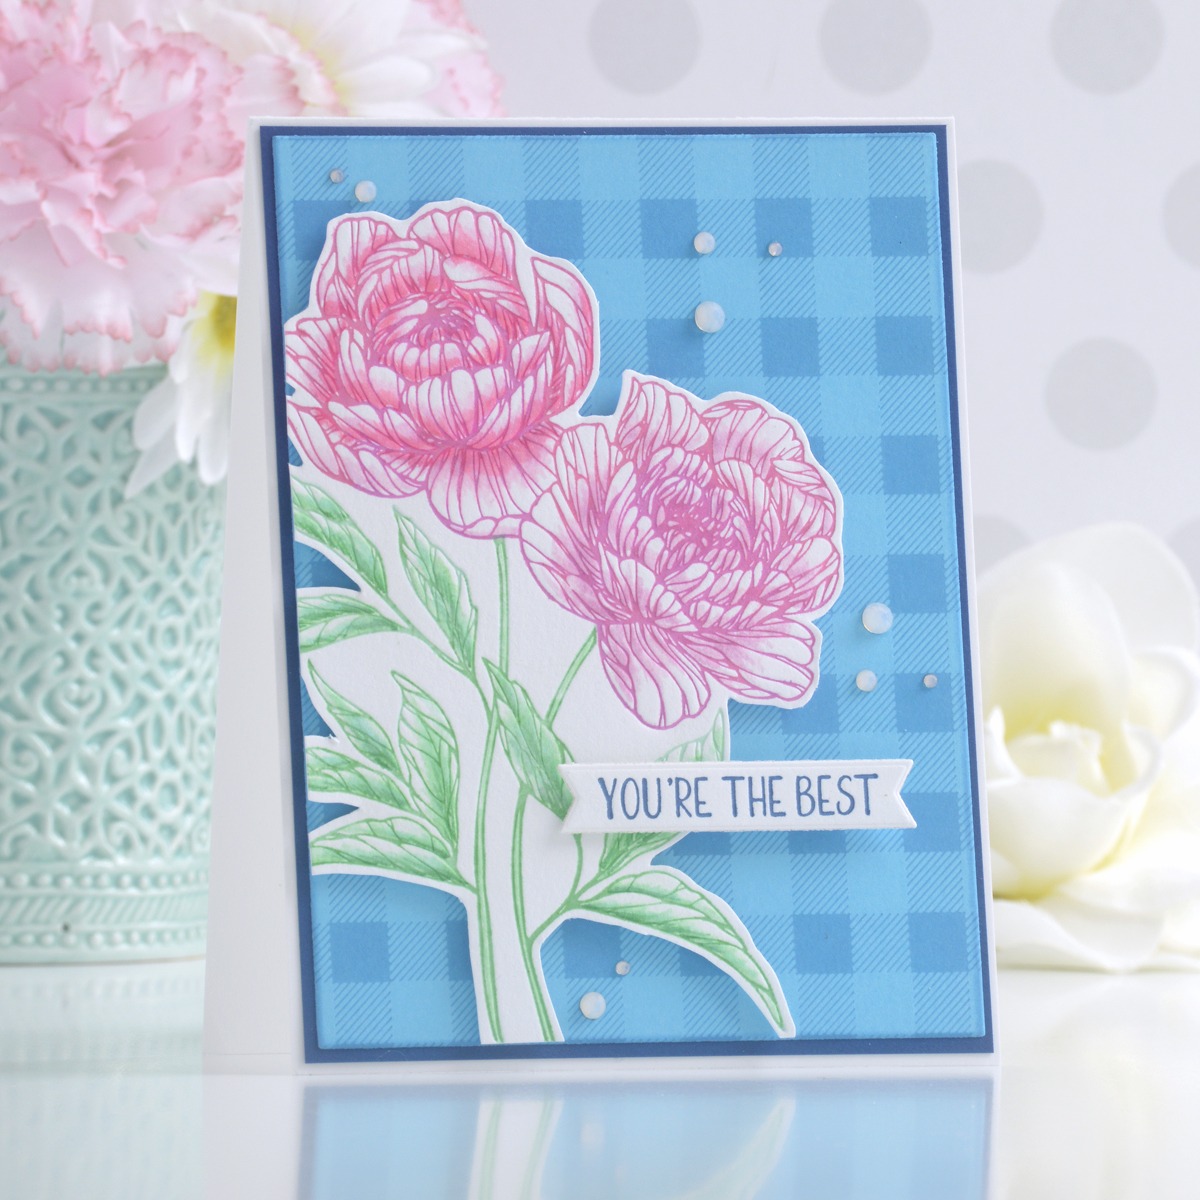
Press the Peony Perfection design onto Porcelain Cotton Cardstock using Wild Berry and Leaf BetterPress Inks. Add a bit of shading to the design with water-based markers and fussy-cut the image out with scissors. Press a sentiment from the Cheers To You Sentiments Press Plate & Die Set in Cosmic Sky BetterPress Ink onto Porcelain Cotton Cardstock and cut it out with the coordinating die.
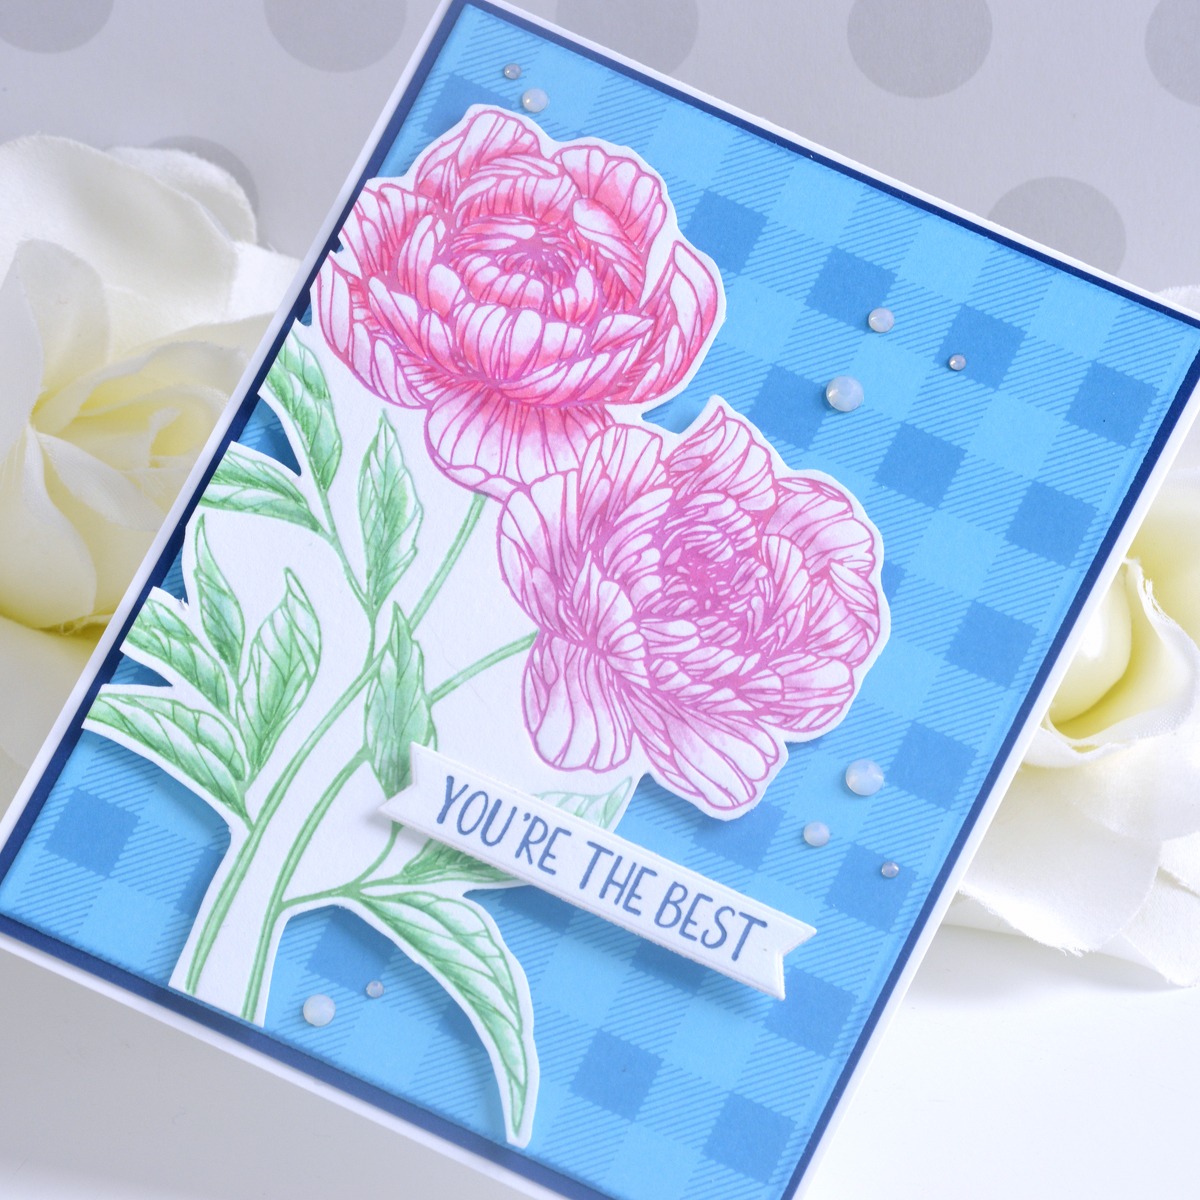
Trim a piece of Island Blue Cardstock to 4” x 5.25” and press the Buffalo Plaid Press Plate onto it using Azure BetterPress Ink. Mat the panel with Cosmic Sky Cardstock and adhere it to a top-folding A2-sized white card base. Pop the peony image and sentiment up on top of the card front, trimming off any overhanging bits of the image with scissors. Embellish with Opal Mix Gems.
Monochromatic Father’s Day Card
The Arched Messages Registration Press Plate Set is perfect for creating rainbows, but I thought this design could be used for interesting patterns as well. Here I press the arches in different shades of blue to create a fun background for a simple Father’s Day card.
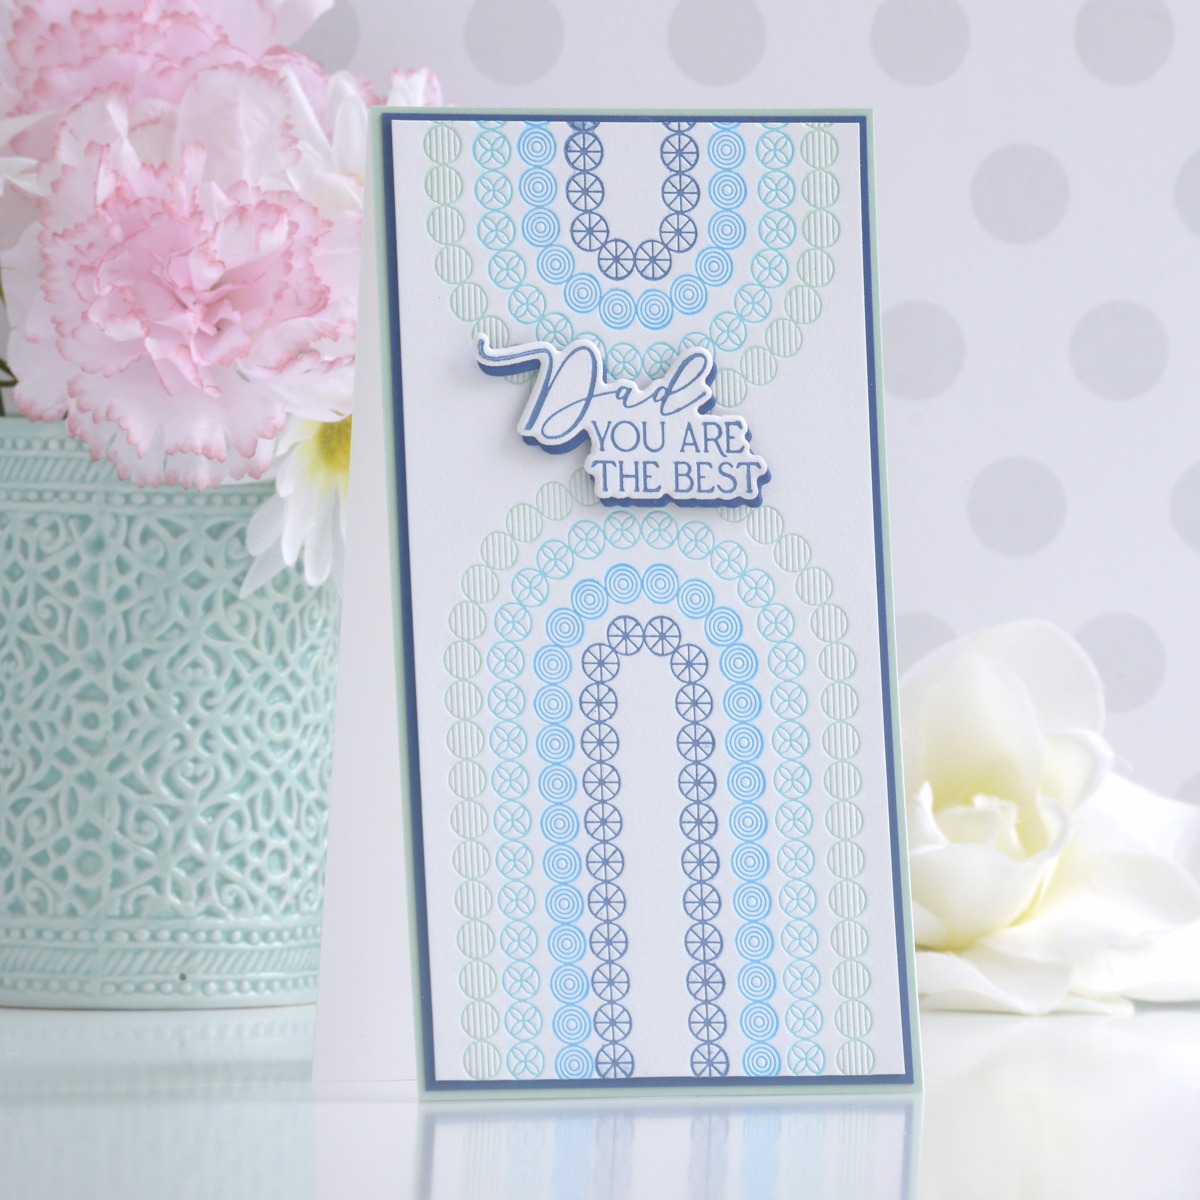
Trim a piece of Porcelain Cotton Cardstock to 3.25” x 6.25” and press the four smallest arch plates from the Arched Messages plate set in Cruise, Teal Topaz, Azure, and Cosmic Sky BetterPress Ink on both ends of the panel. To do this, I first pressed the taller set of arches on one side of the cotton card panel, centering the largest plate between the edges of the short side. Once I had pressed all four arches on one side, I flipped my panel over and eye-balled the spacing for the second smaller set of arches, once again centering the largest plate on the short side.
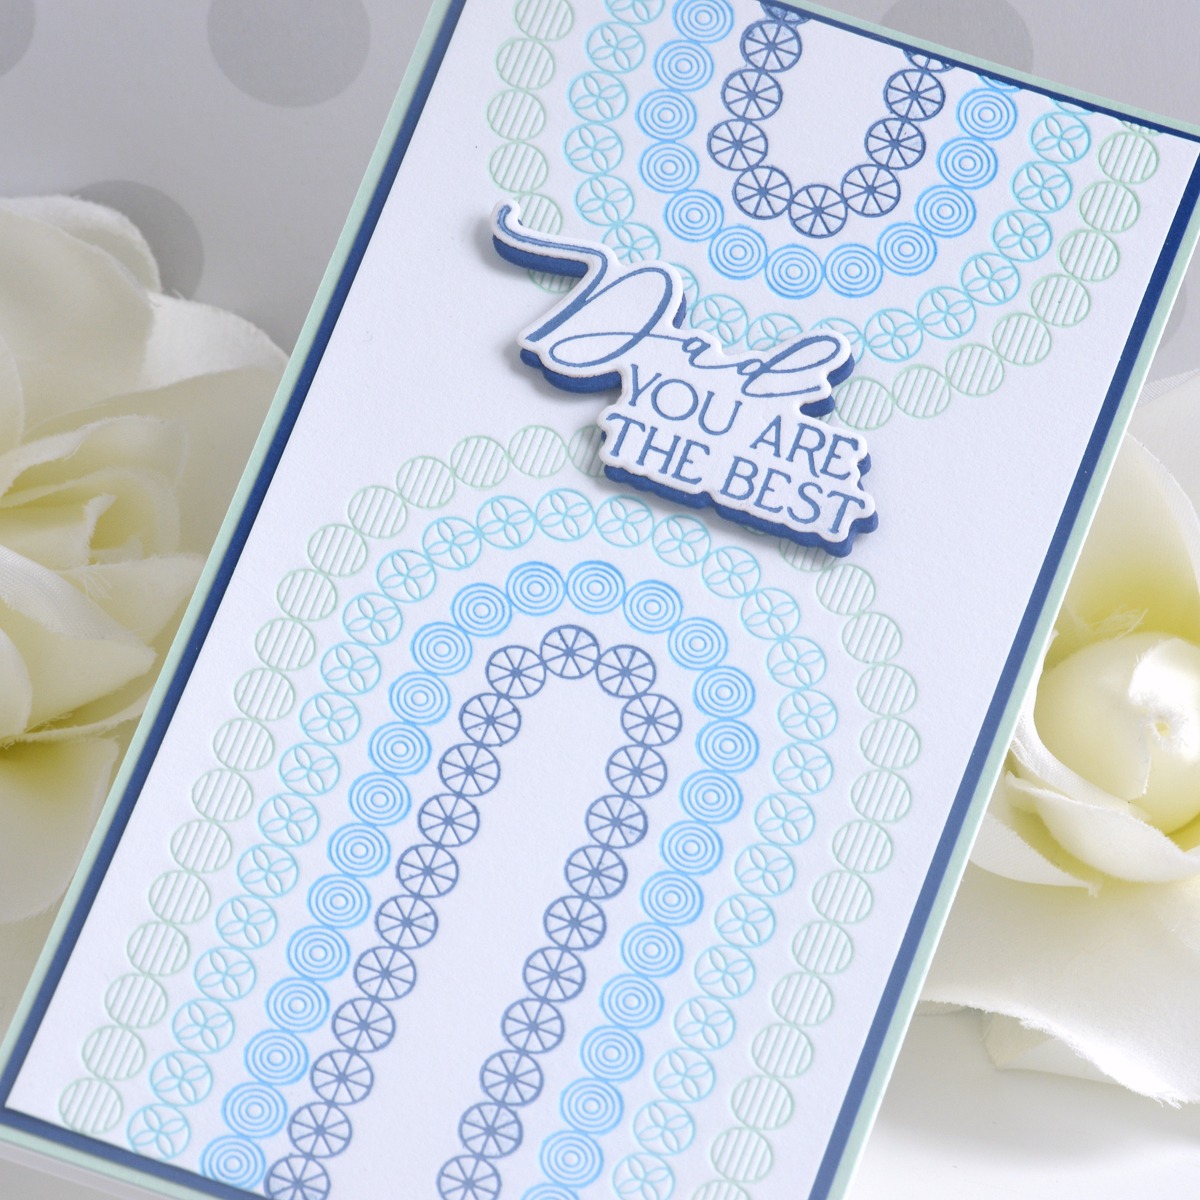
Mat the background panel with Cosmic Sky and mint cardstock, then adhere it to a top-folding white card base measuring 3.5” x 6.5”. Press a sentiment from the Mother’s and Father’s Day Sentiment Press Plate Set in Cosmic Sky BetterPress Ink and cut it out with the coordinating die. Die cut Cosmic Sky Cardstock using the coordinating die and adhere it behind the sentiment as a shadow before popping it up on top of the card front where the two sets of arches meet.
Colorful Balloon Birthday Card
The Happy Hooray Balloons Registration Press Plate Set is such a cool design because you can overlap different colors of balloons and they look transparent just like the real thing! Here I pressed the balloons in bright colors and added some crystal confetti for a fun group birthday card.
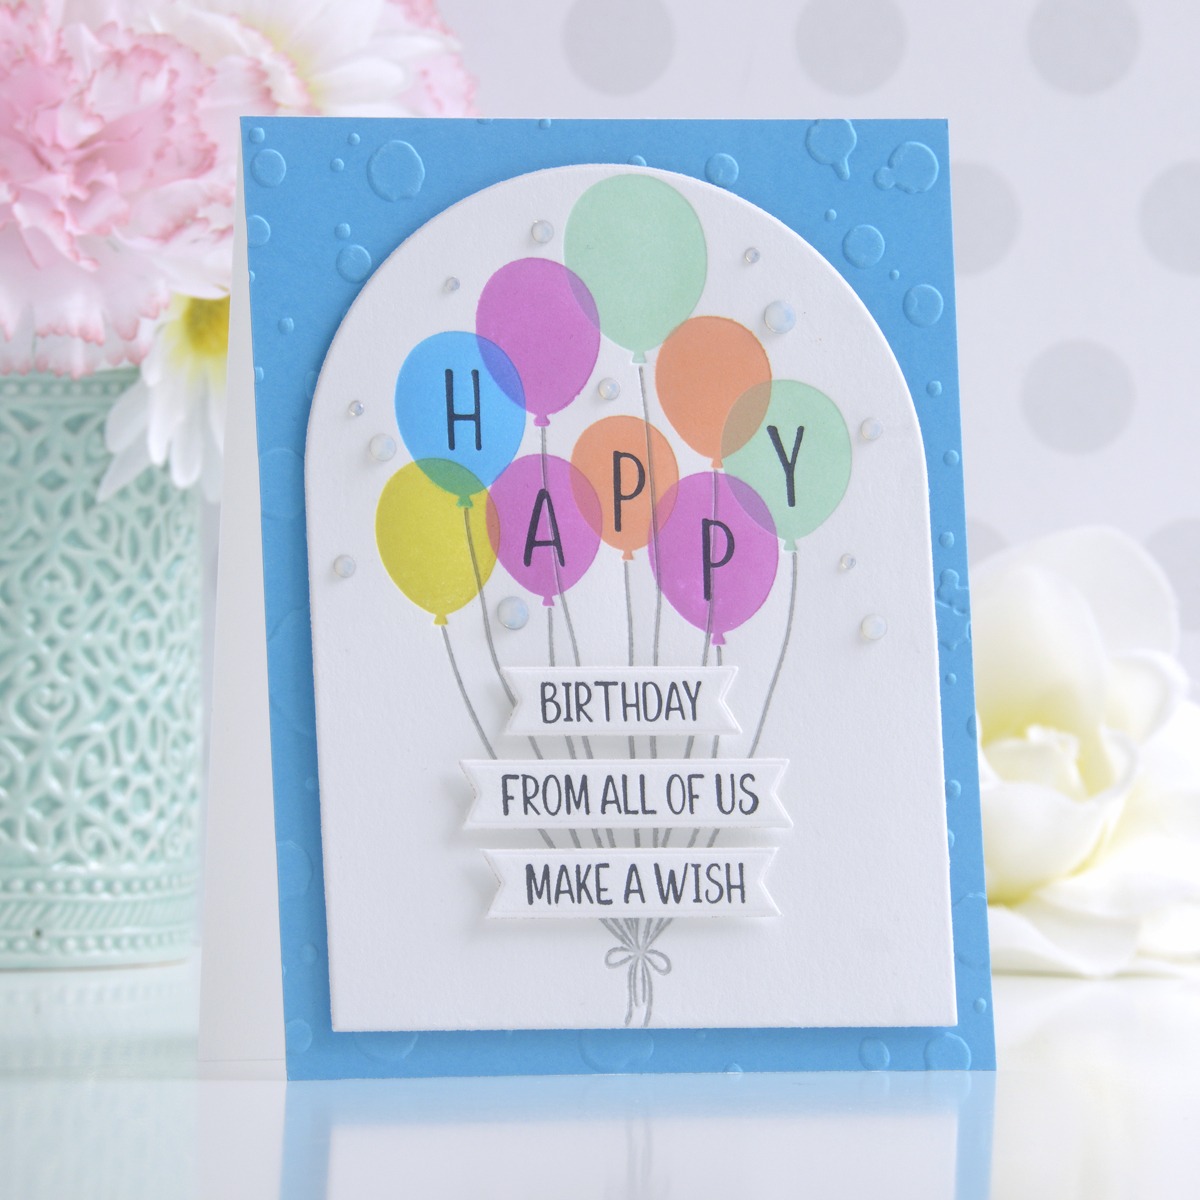
Press the Happy Hooray Balloons design onto Porcelain Cotton Cardstock using Cruise, Azure, Wild Berry, Tiger, Peridot, and Thunder BetterPress Inks, then add the letters to spell “happy” inside the balloons with BetterPress Black Ink. Die cut the design out with one of the dies from the Essential Arches Die Set.
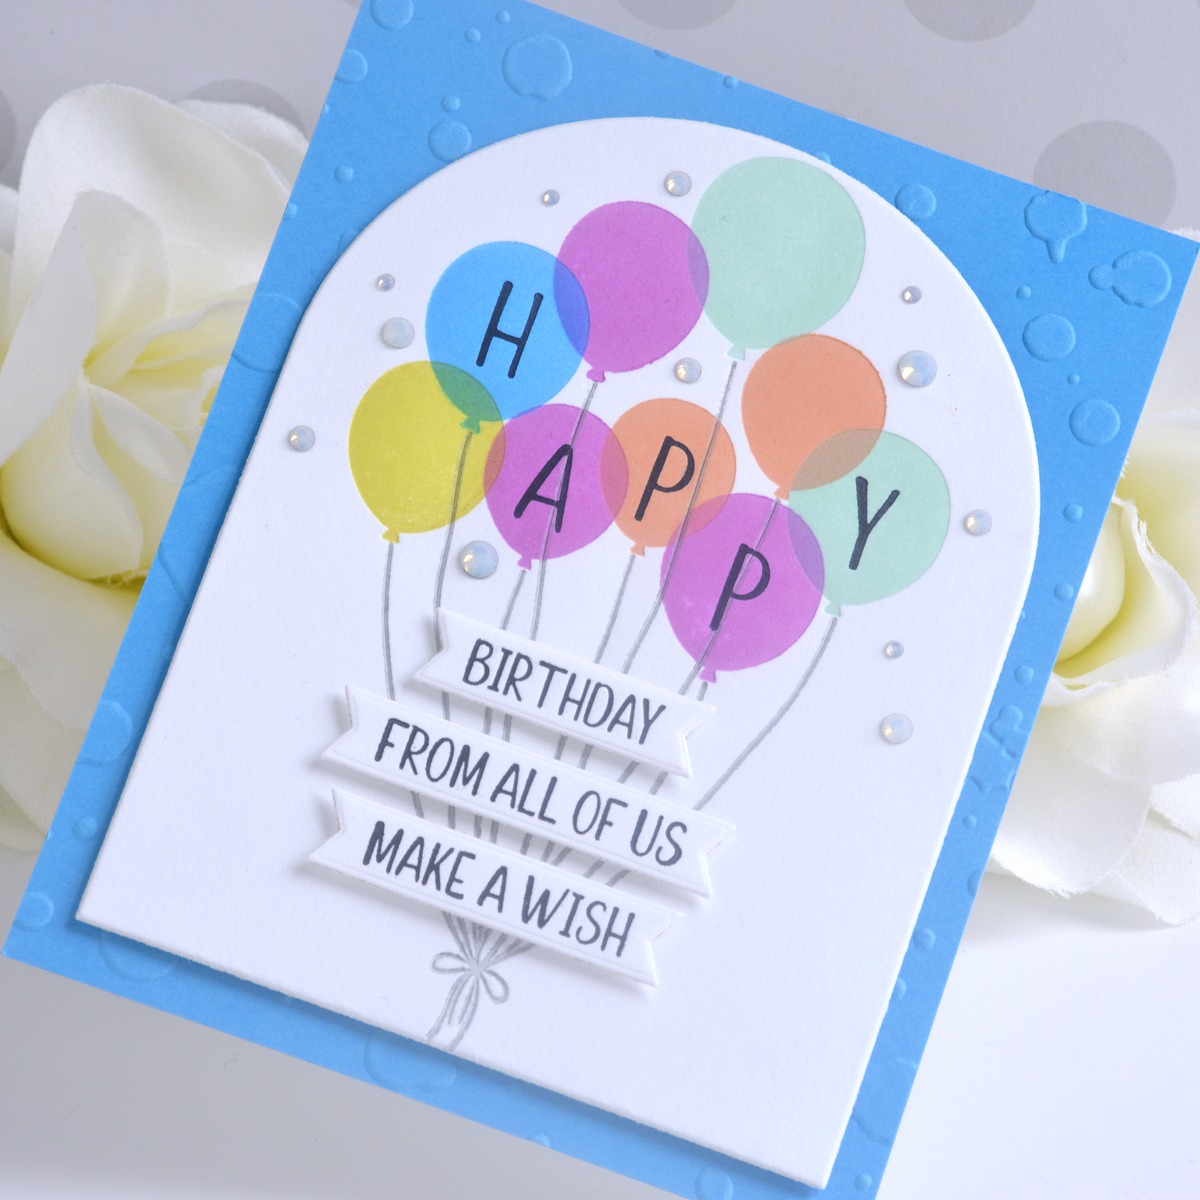
Trim a piece of Splash Cardstock to 4.25” x 5.5”, emboss it using the Splatter Embossing Folder, and adhere it to a top-folding A2-sized white card base. Pop the balloon panel up on top of the card front with foam adhesive. Press the sub-sentiments onto Porcelain Cotton Cardstock in BetterPress Black Ink using the Happy Hooray Balloons and Cheers To You Sentiments Press Plate & Die Set and cut them out with their coordinating dies. Pop the sentiment strips up on top of the card front with foam adhesive and add Opal Mix Gems to embellish.
Spellbinders Supplies:

Other supplies
White heavyweight cardstock, Zig Clean Color Real Brush Pens, Concord & 9th Sea Glass Cardstock, tape runner, foam adhesive.
I hope you enjoyed these colorful celebration cards and thanks so much for stopping by today. You can find more inspiration over at my blog AnnieBWills.com or on Instagram.
Simple and Elegant Cards Using Sentiments as a Focal Point
Fun Floral Cards with the BetterPress Spring Collection