Custom Backgrounds With Small Stamps
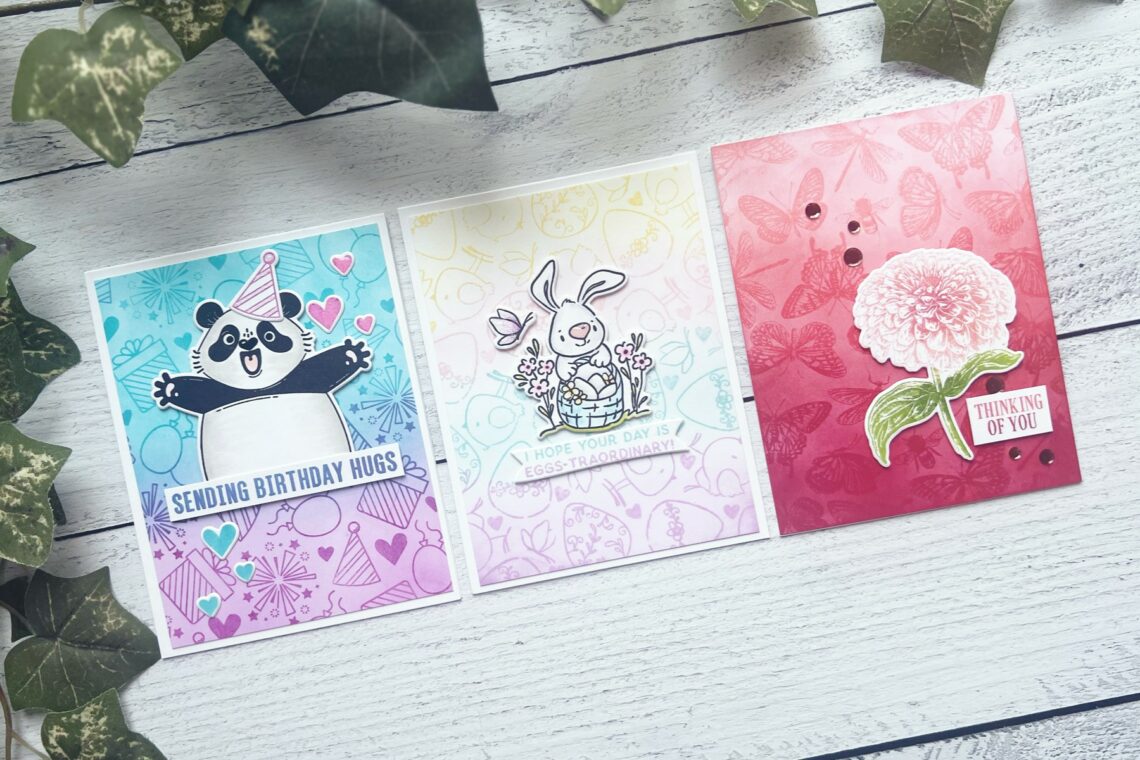
Hello! I’m Jen Kotas from Who Stole My Glitter and I’m happy to be here today to share three cards featuring the January 2024 Collection from Simon Hurley. All three cards feature backgrounds made using the small stamps in each set.
All three cards I’m sharing use small stamps to create a background to highlight the main image. The use of a stamp positioner helps with placement and when using multiple ink colors on one stamp but this look can be achieved without.
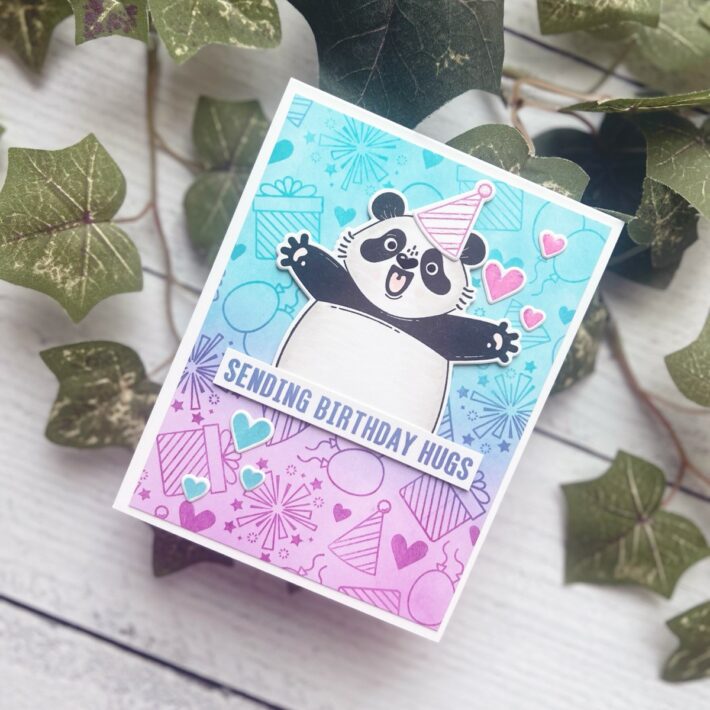
- Using a stamp positioner, place the small stamps from the Big Hugs Stamp Set close together and stamp using a teal ink pad. Rearrange the stamps and repeat until a little more than halfway down the panel. Switch to purple ink and repeat as above.
- Using a blending brush, ink over the stamped images with the corresponding ink.
- Stamp the panda using black ink and cut it out with coordinating Big Hugs Dies. Add shading with an alcohol marker.
- Stamp the hearts and party hat with purple and teal inks then cut out with coordinating dies.
- Stamp the sentiment by overlapping the two inks used for the background. Cut into a strip.
- Cut the inked panel to 4 x 5 1/4” and adhere to an A2 card base.
- Adhere panda, sentiment, and party hat with thin foam squares. Add hearts with liquid glue.
- Add glossy accents to eyes, nose, and hearts. Add glitter glue to the hat.
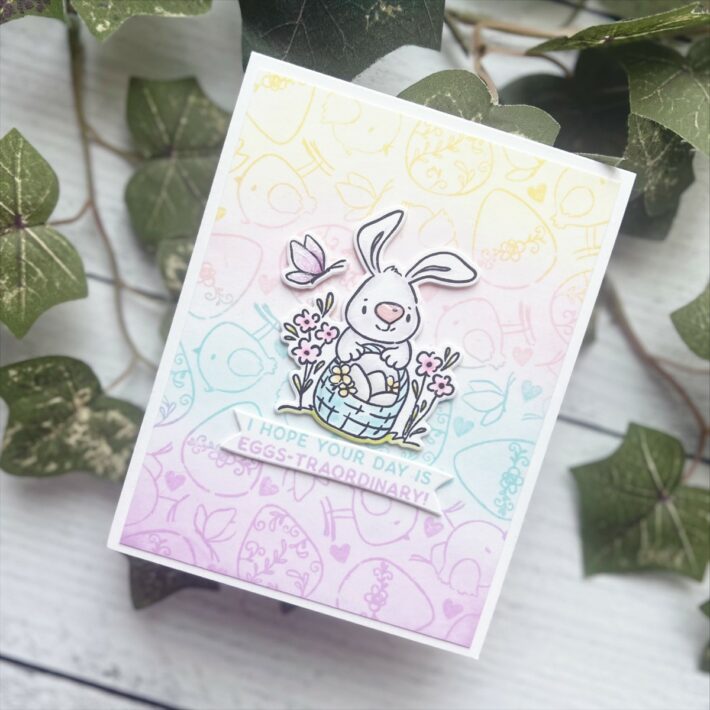
- Stamp the egg and chick stamps from the Easter Bunnies Stamp Set plus the hearts from the Big Hugs Stamp Set gathered together on a stamp positioner with light yellow ink. Repeat with light pink ink, then light teal, and finally light purple ink.
- Using a blending brush, ink over the stamped images with the corresponding ink.
- Stamp the bunny and butterfly images with black ink and cut them out with coordinating Easter Bunnies Dies. Color with OLO Markers.
- Stamp the sentiment using the teal ink on the top row and purple on the bottom. Cut out with strip die.
- Cut panel to 4 x 5 1/4” and adhere to an A2 card base.
- Add bunny, butterfly, and sentiment with thin foam squares.
- Add glossy accents to the nose and glitter glue to the butterfly.
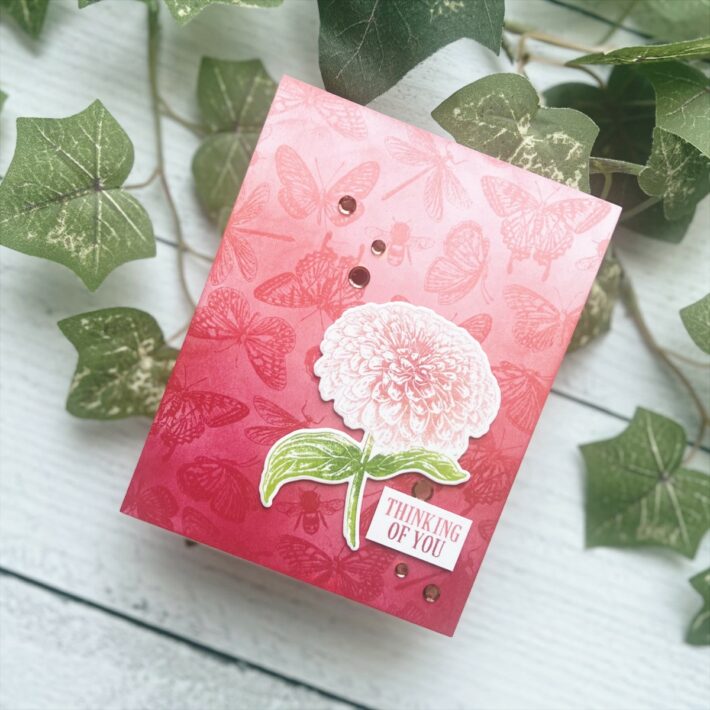
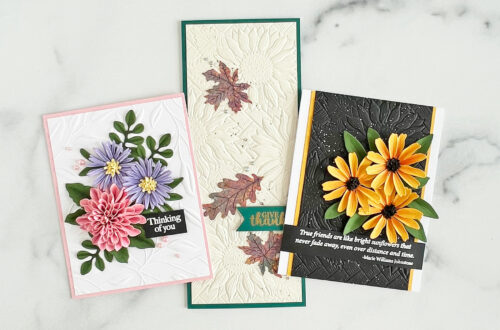
- Using a stamp positioner, place the insect stamps from the Beautiful Blooms Stamp Set close together and stamp using a light peach ink pad. Rearrange the stamps and repeat stamping with a darker peach ink for an ombré effect down the panel.
- Using a blending brush, ink over the stamped images with the corresponding ink.
- Stamp the chrysanthemum using a stamp positioner with light peach ink for the flower and medium green for the leaves. Ink cubes work best for this technique when you have to get into the areas where the colors overlap. Otherwise, you could mask the area.
- Repeat step 3 inking the center of the flower and portions of the leaves in a darker ink. Cut the flower out with coordinating Beautiful Blooms Dies.
- Stamp the sentiment using two peach ink colors.
- Adhere the inked panel to an A2 card base then add flower and sentiment with thin foam squares. Finish with a few Latte Smooth Disc Sequins across the panel.
Spellbinders Supplies:

Other supplies
Pinkfresh Studios Heartbeat Dye Ink Cube Pack, Scrapbook Adhesives Thin Foam Squares, Intensified Black Ink, Paradise Core Ink, Orchid Core Ink, Azalea Core Ink, OLO Markers, Glossy Accents, Lemonade Bubblegum, Seafoam and Lilac Pawsitively Saturated Inks, Clear Sparkle Lacquer Pen.
You can see more card-making tutorials, including shaped cards, on my blog, Who Stole My Glitter or visit my Instagram page for more inspiration. Thanks for visiting!
One Comment
Karen Hafermalz
Love the backgrounds on each of the cards. Loved how you used the same color ink to stamp as you did to blend over the design. Can’t wait to try it. Loved the bunny card the best