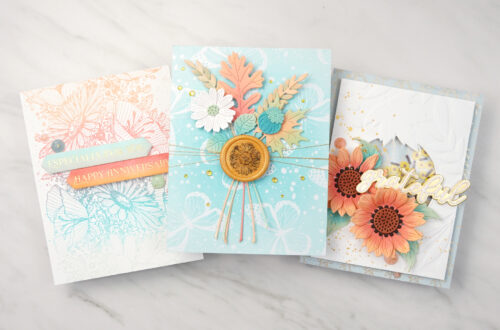
Creating Colorful Album Layouts With Simple Stories’ True Colors
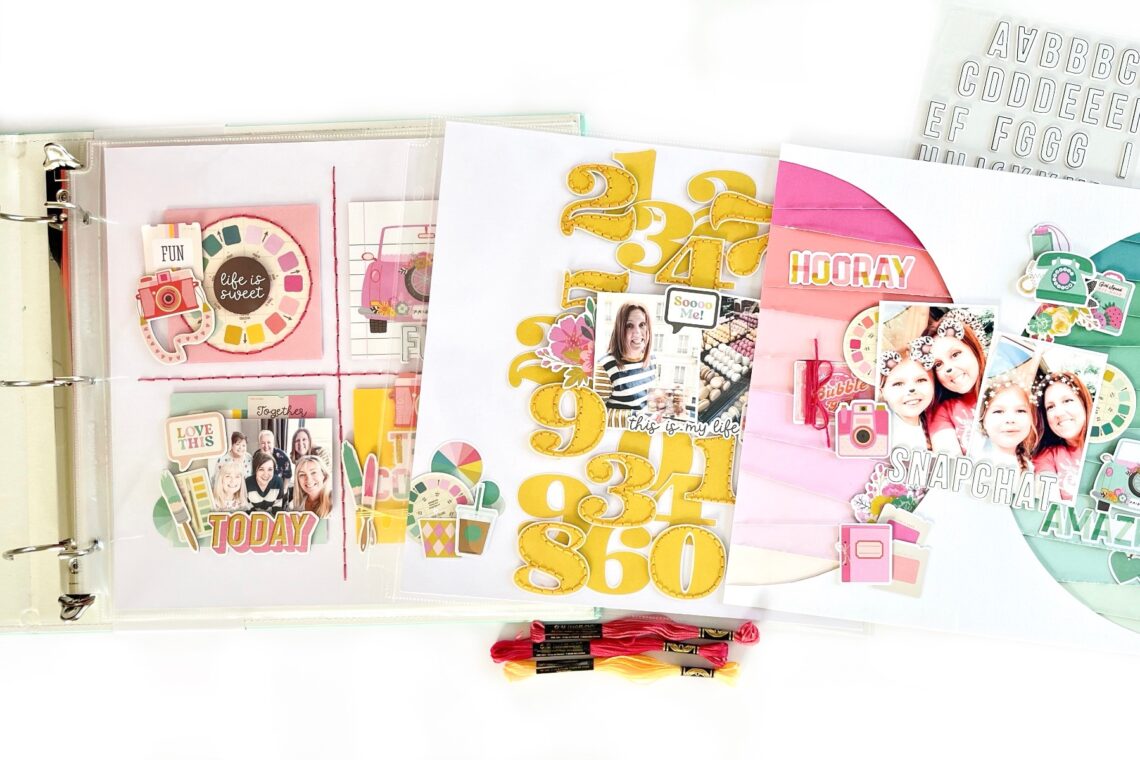
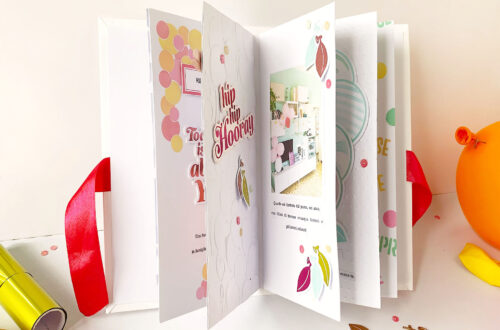
Hello friends, this is @vickiscraps here to share with you some layouts I made for my gorgeous mint Doodlebug album using the Simple Stories True Colors collection. This collection is absolutely fabulous – the colors are so vibrant and the embellishments are super cool and retro.
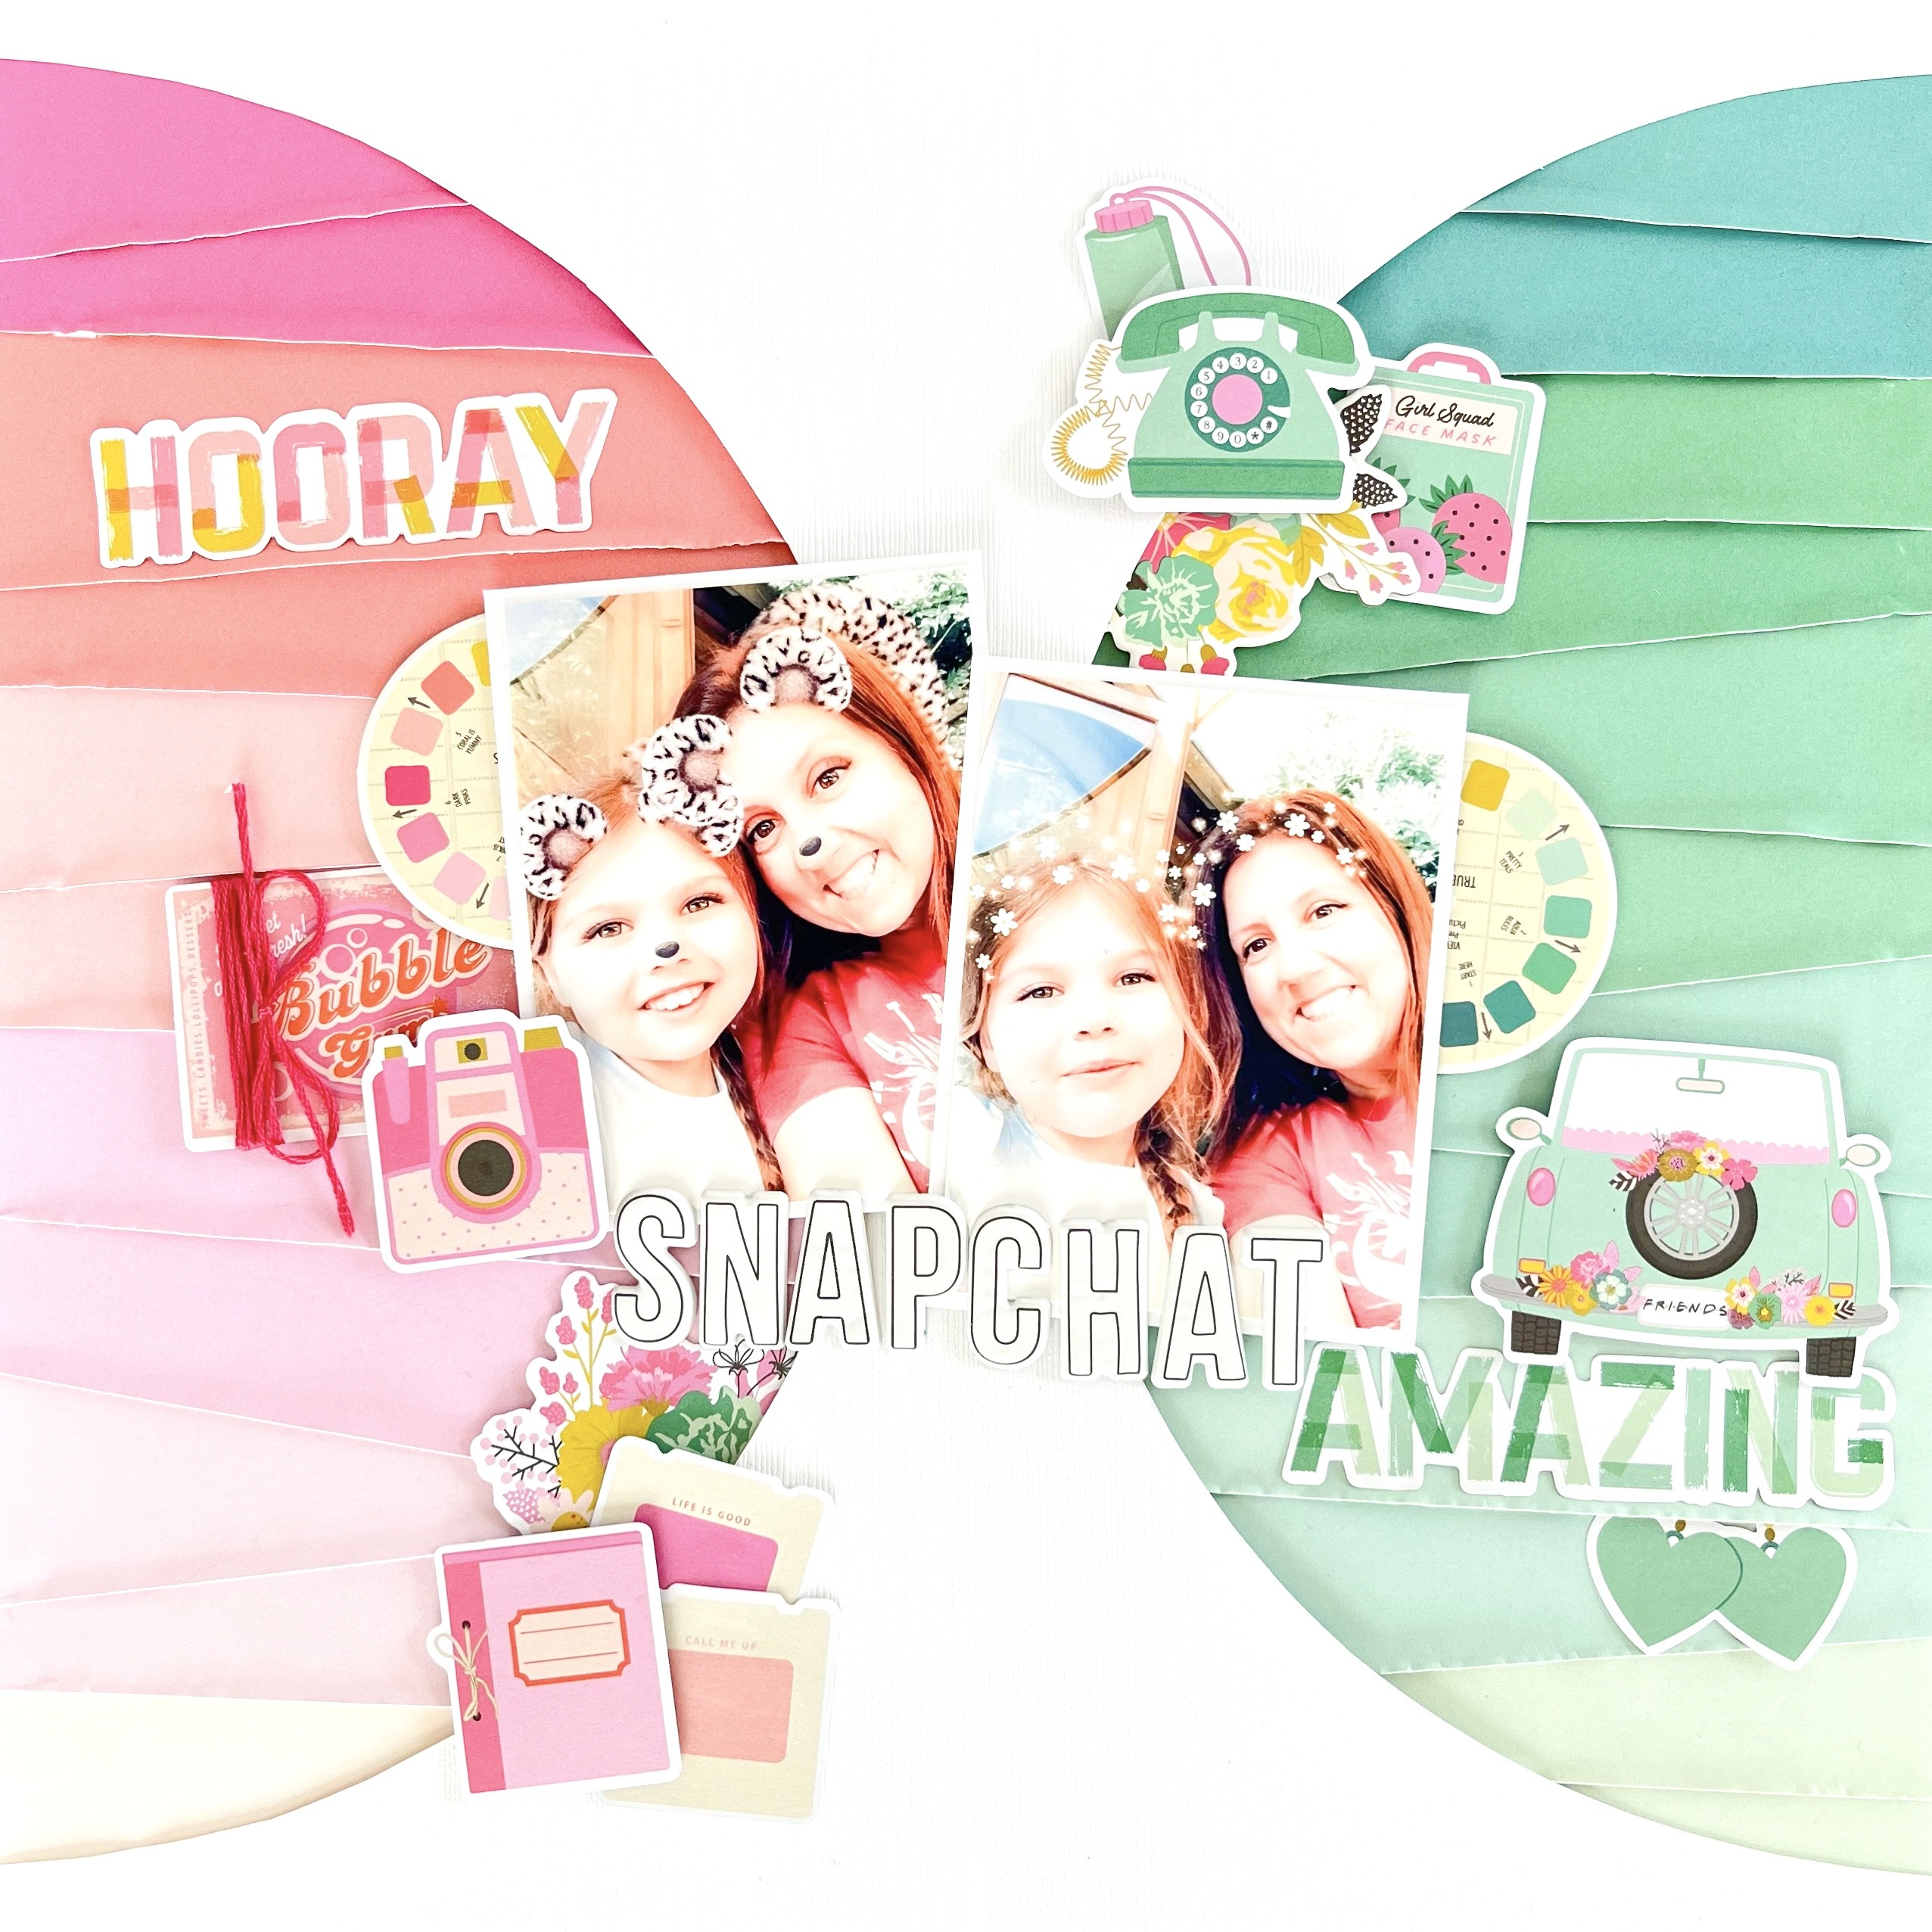
For my first layout, I used pink and green gradient papers, each cut in half vertically and into strips of color (giving two of each color). They are laid from top to bottom onto a plain sheet of cardstock each at a jaunty angle and then edge distressed.
I then cut two 11-inch half circles from each edge of a piece of white cardstock and laid it over the top of the colored strips to cover the jagged join down the center and really highlight the strips on each side.
My photos are placed in the center of the layout and surrounded by chipboard pieces and die cuts from the collection. The simple alpha looks so cute on the layout and really stands out surrounded by all of that color. I also tied some floss from the warm bundle around one of the tags.

My second layout is a traditional grid layout. I used the 4×4 elements paper to cut four pieces for my four segments. Before attaching these with foam on the back for dimension, I hand-stitched a cross on my page to separate the four sections of my grid and used the same floss to stitch around the viewfinder image on one of the sections.
I layered my photo with some chipboard pieces and die cuts and did the same on the other four sections. I tied some yellow floss around one of the sections and tucked in some paintbrushes as my photo was taken at a craft retreat. The cute alpha also added my title to finish the layout.
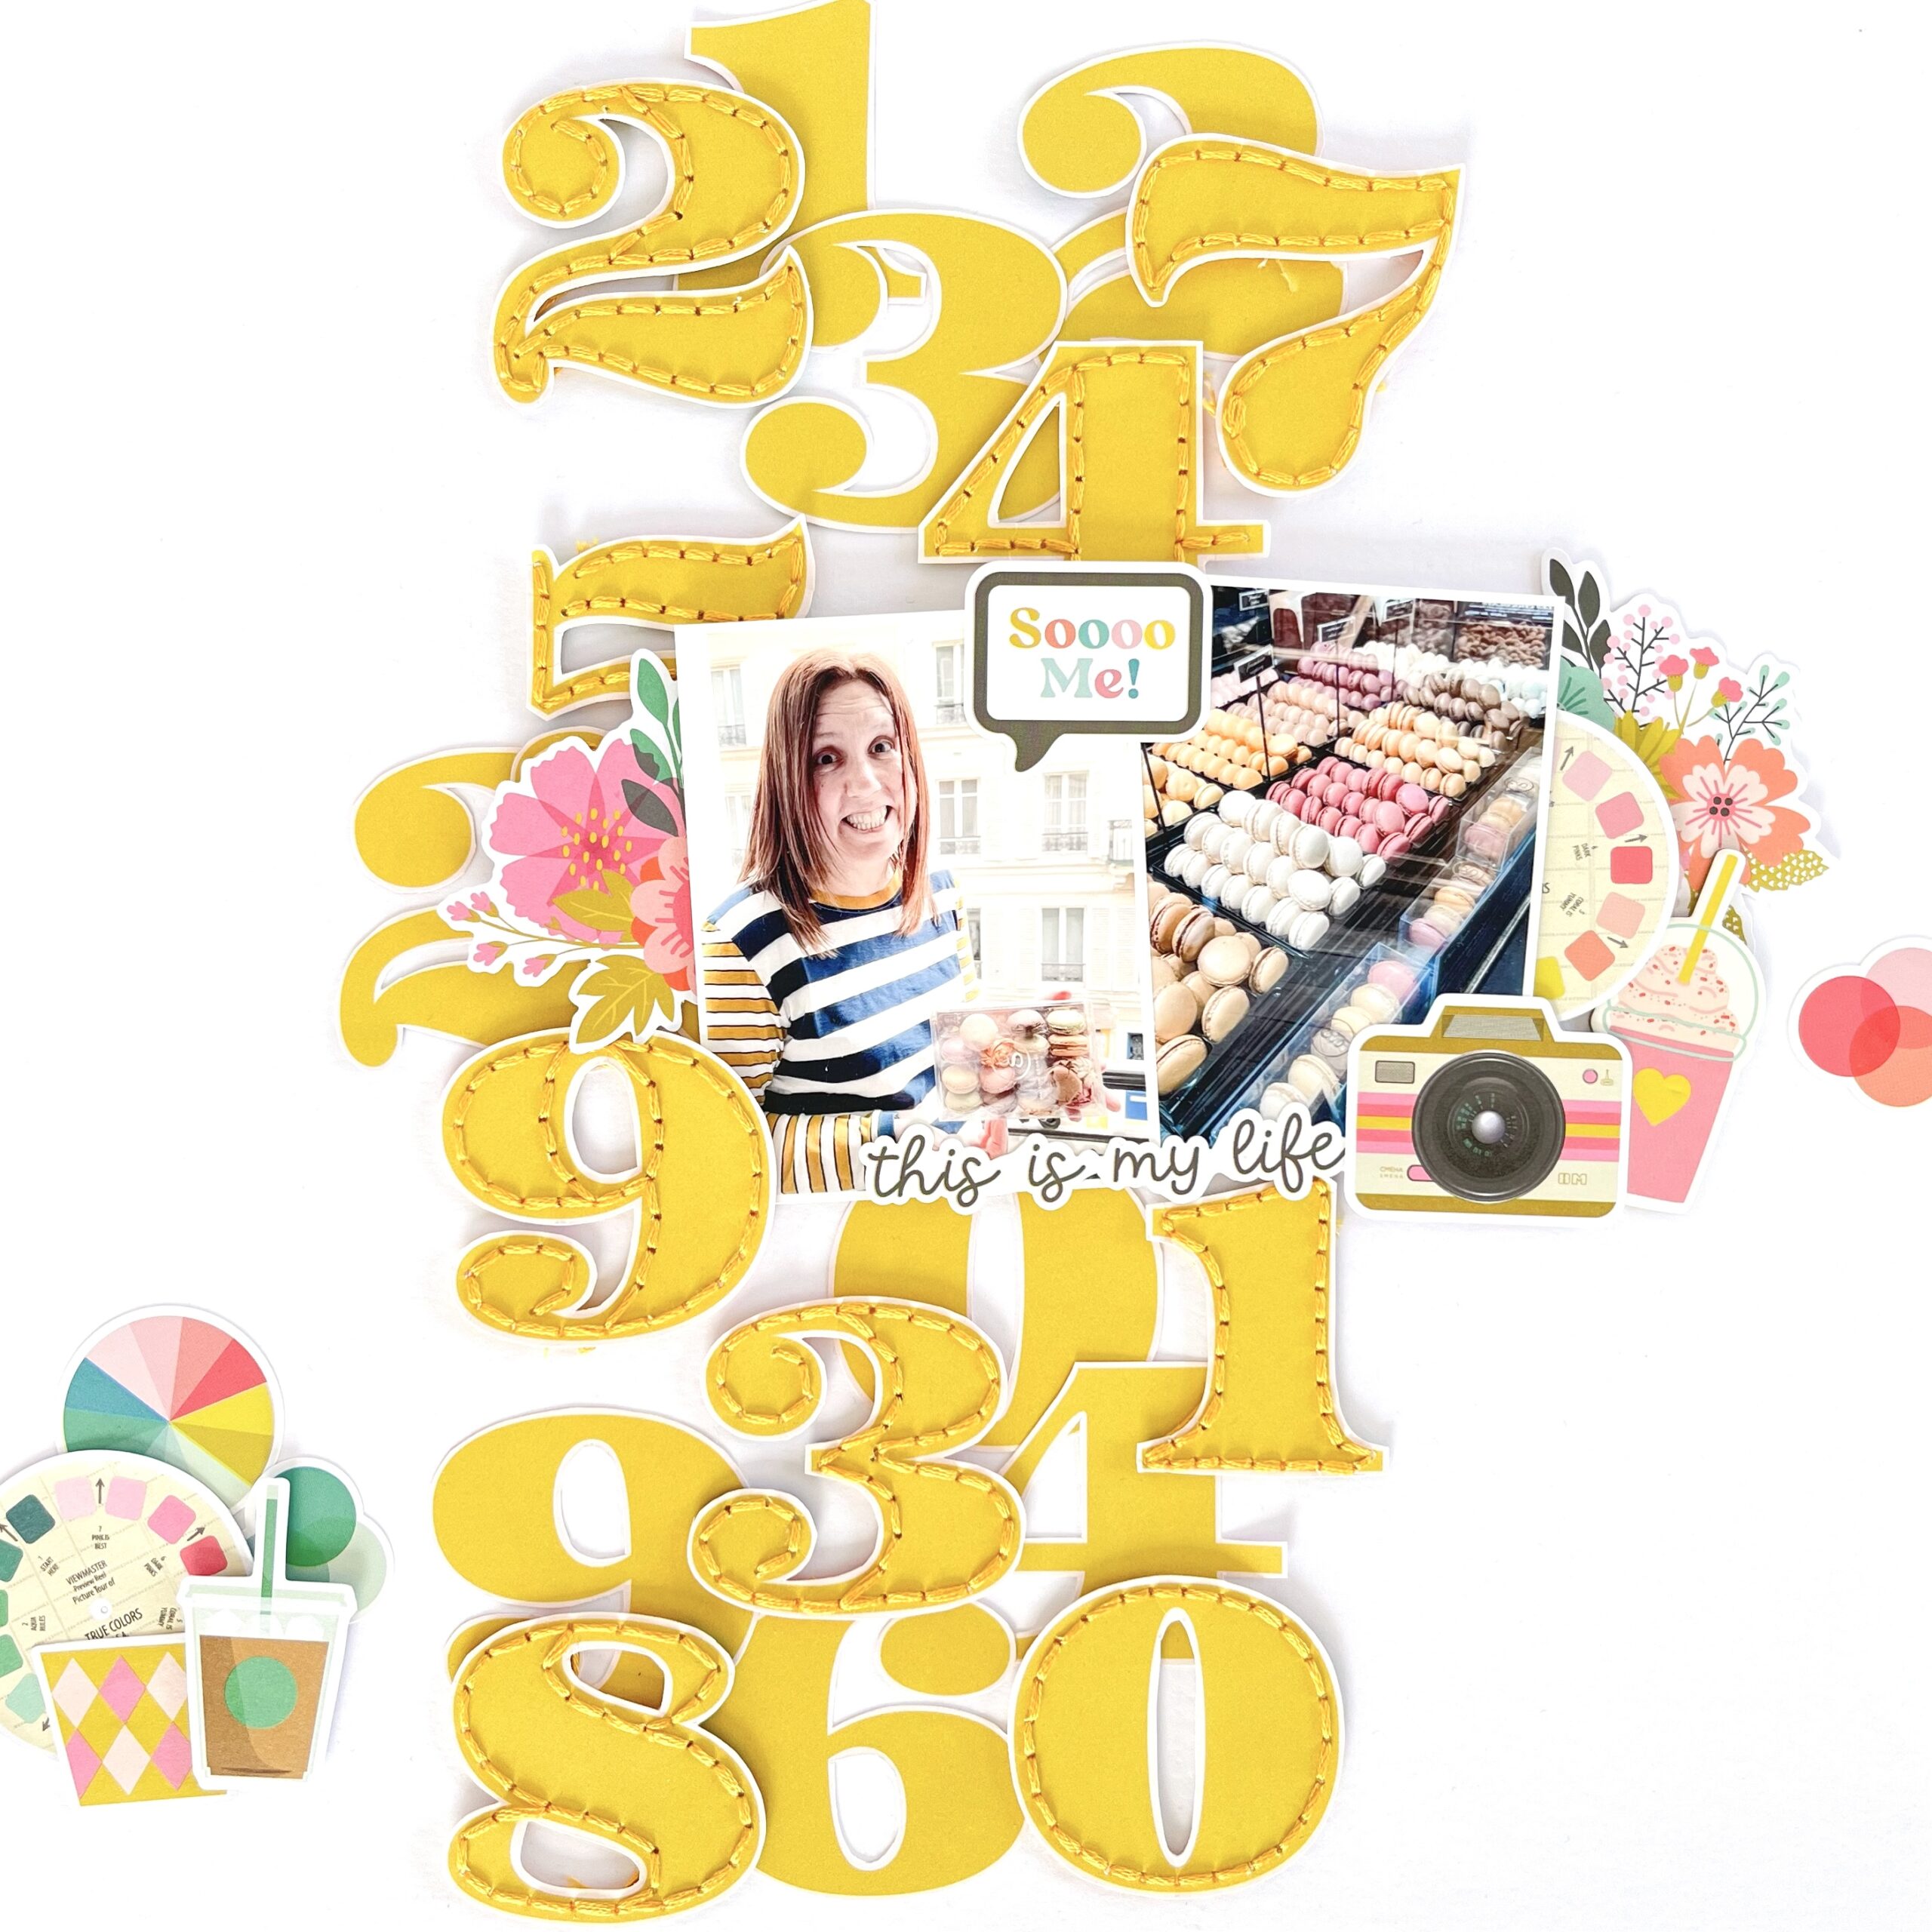
This layout is super fun. I fussy cut all of the whole numbers out of the reverse of the 3×4 elements paper leaving a small border around each. I then used yellow floss to stitch around one of each number (the 6 is under the photo). This took quite a bit of time, but I was so happy with the outcome. I then layered the unstitched numbers onto my page from top to bottom and layered the stitched numbers on top of them popped up on foam to add dimension.
My photos were placed on top of my numbers and embellished with chipboard pieces and die cuts. In case you wonder why a photo of macarons in Paris is related to numbers, let me tell you a story! We decided on a sightseeing trip around Paris that we’d buy some macrons for the other friends in our group and I was in charge of carrying them. Unfortunately, I sat on them at some point in the day and so lots were crushed before we got back to the hotel! We were counting how many were intact, and it wasn’t many! They looked super pretty when we got them though as you can see in the second photo.
I hope my projects inspire you – I certainly had lots of fun making them and they look great in my album. Vicki x
Spellbinders Supplies:

Other supplies
White cardstock
Birthday Mini Album with Carissa Wiley’s collection It’s My Party with Angela Tombari
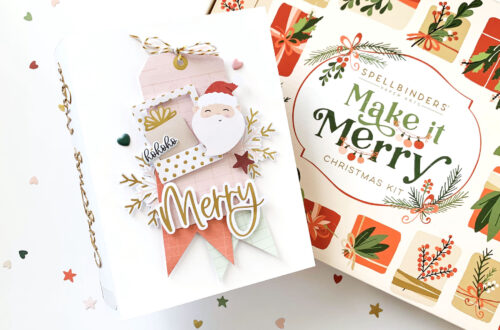
December Day by Day Album with Make It Merry Kit