3 Ways to Expand Your A2 Gift Card Holder and Envelope
Hi folks, Kavya from @handmadebykavya here with some fun inspiration for Stampendous’ new collection – All the Sentiments.
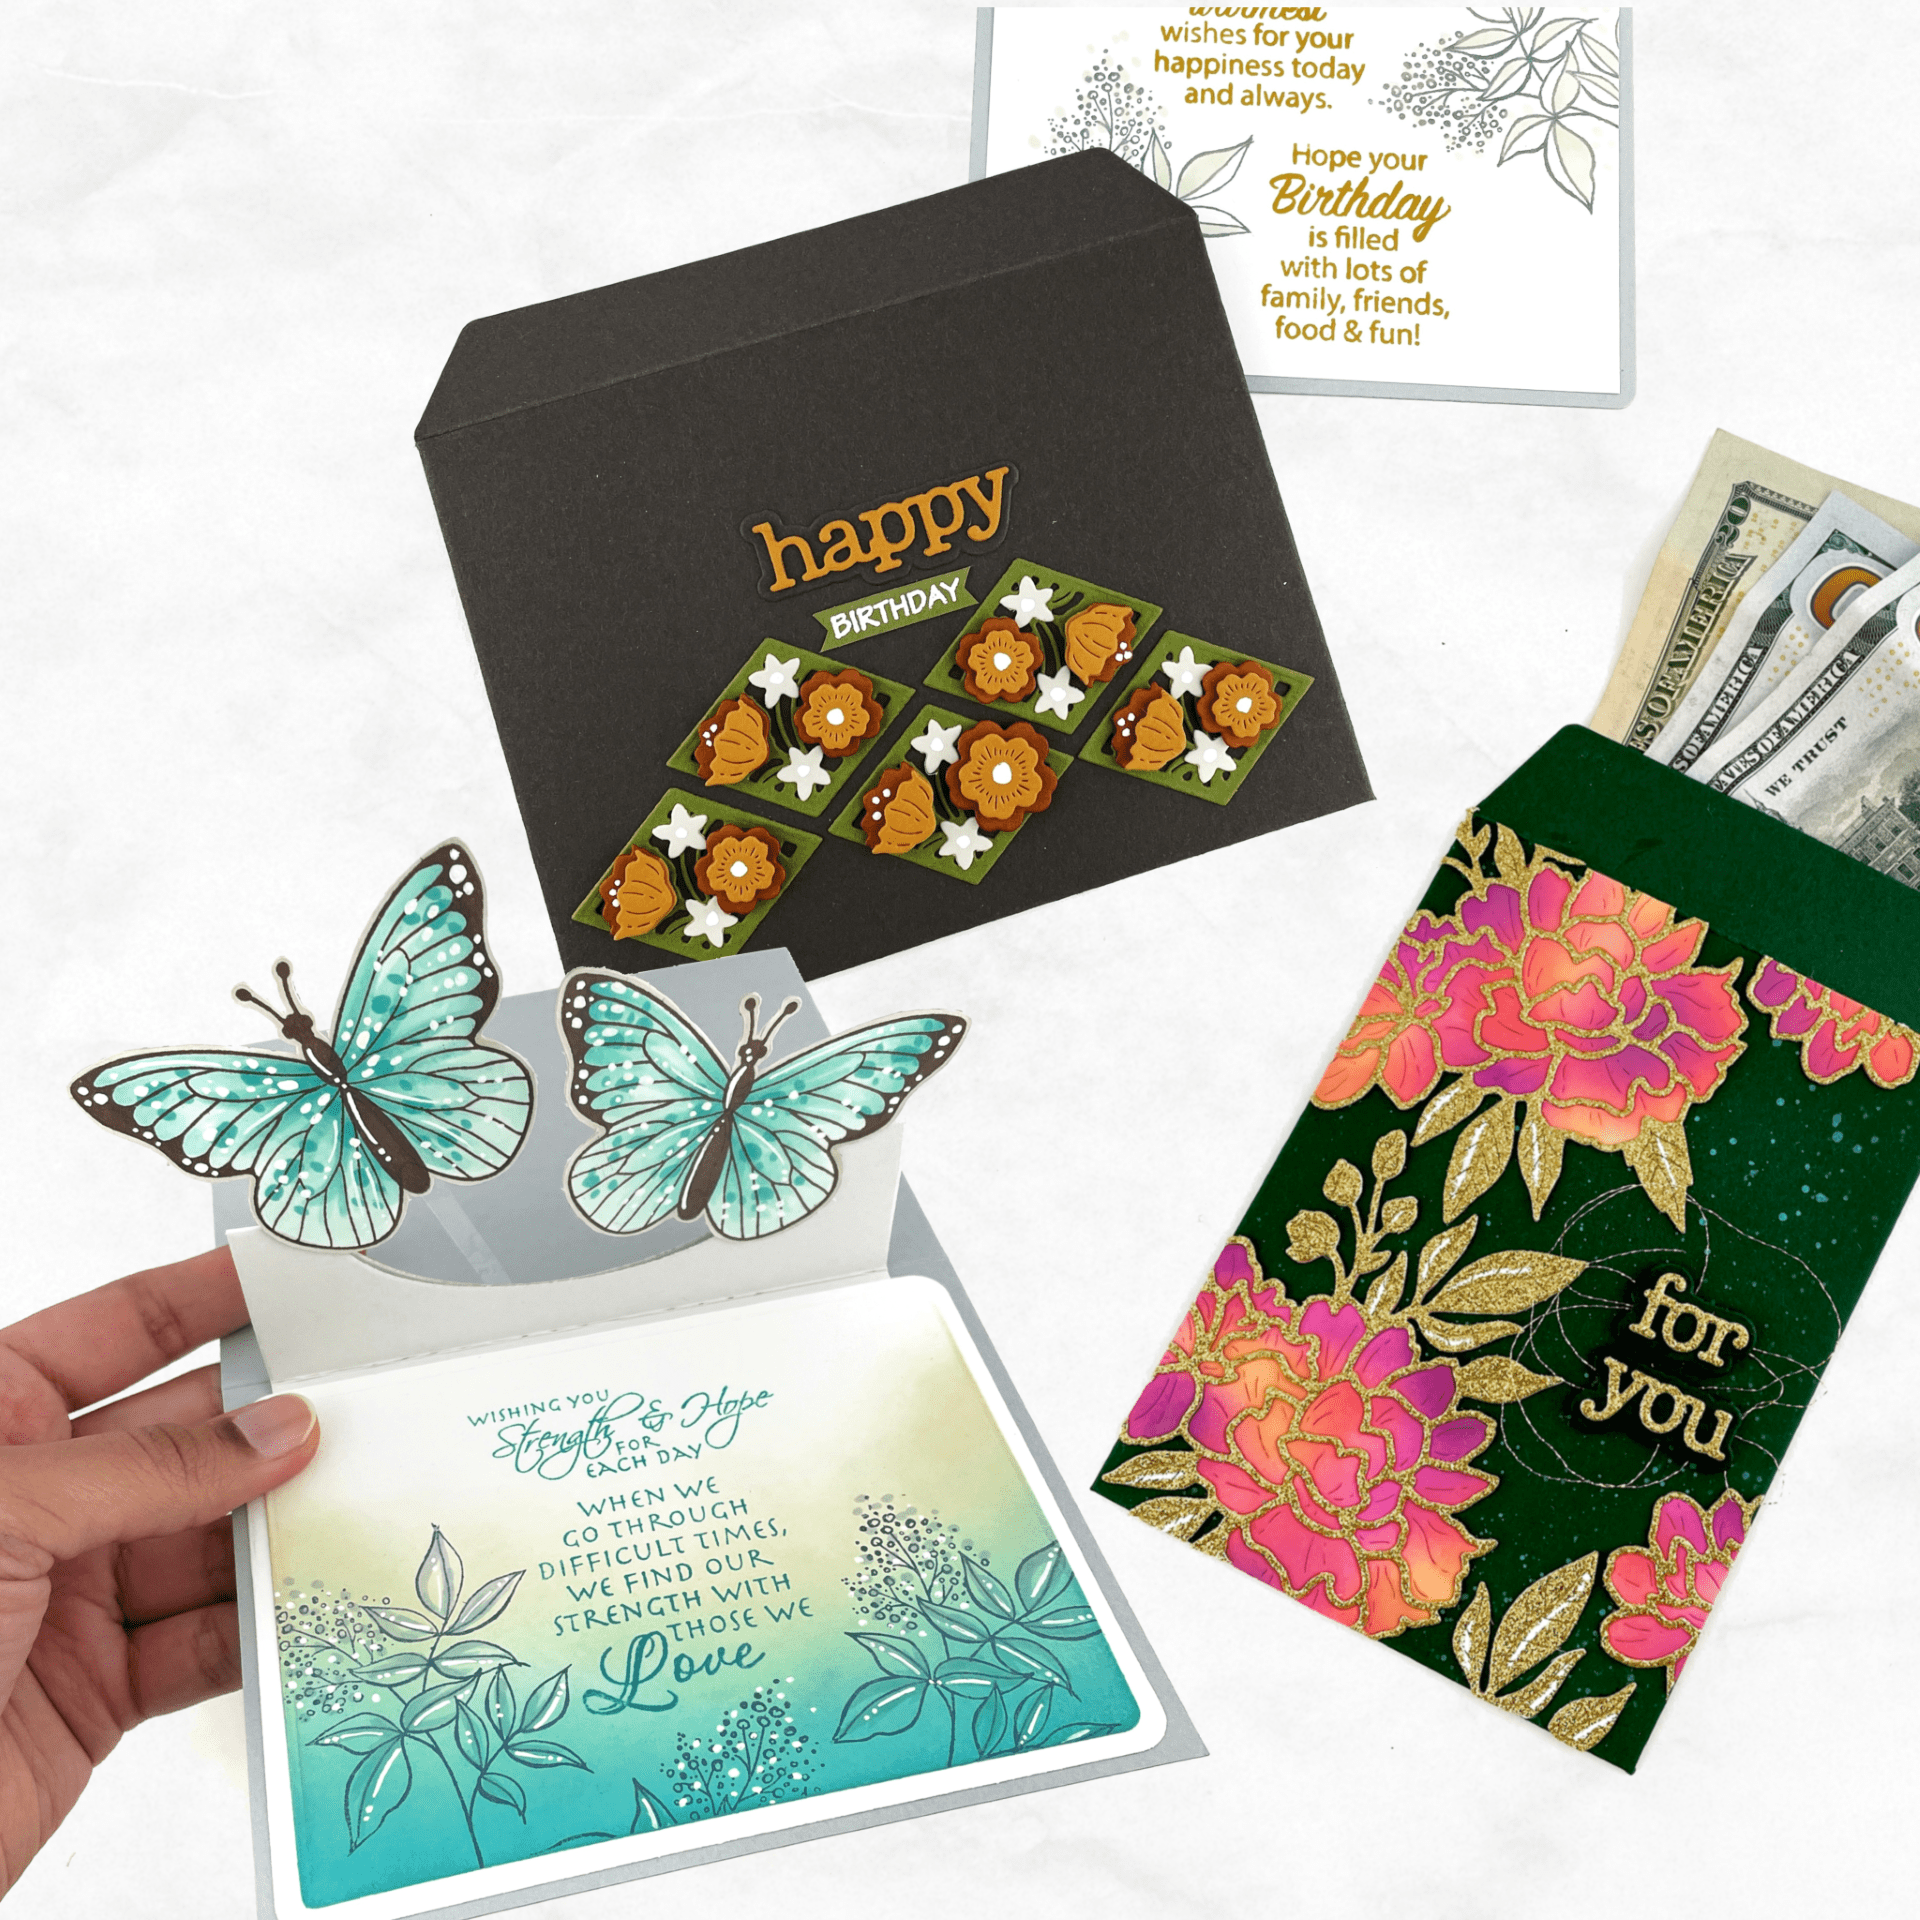
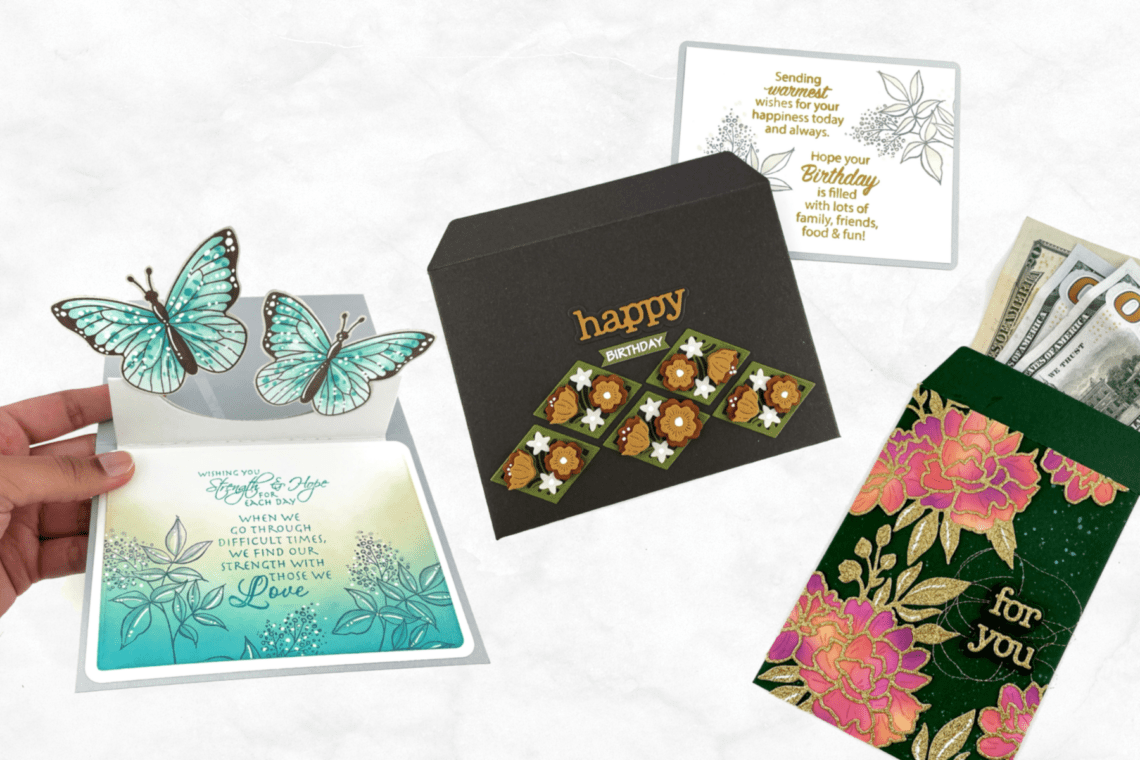
Whenever I want to buy a set, I try to think of 5 different ways in which I can use it! Guess what? This new collection is a must-have if you want a versatile gifting solution. In today’s blogpost, I am going to show you three different ways to use the A2 gift card and envelope die from this collection.
Pop-Up Card Base
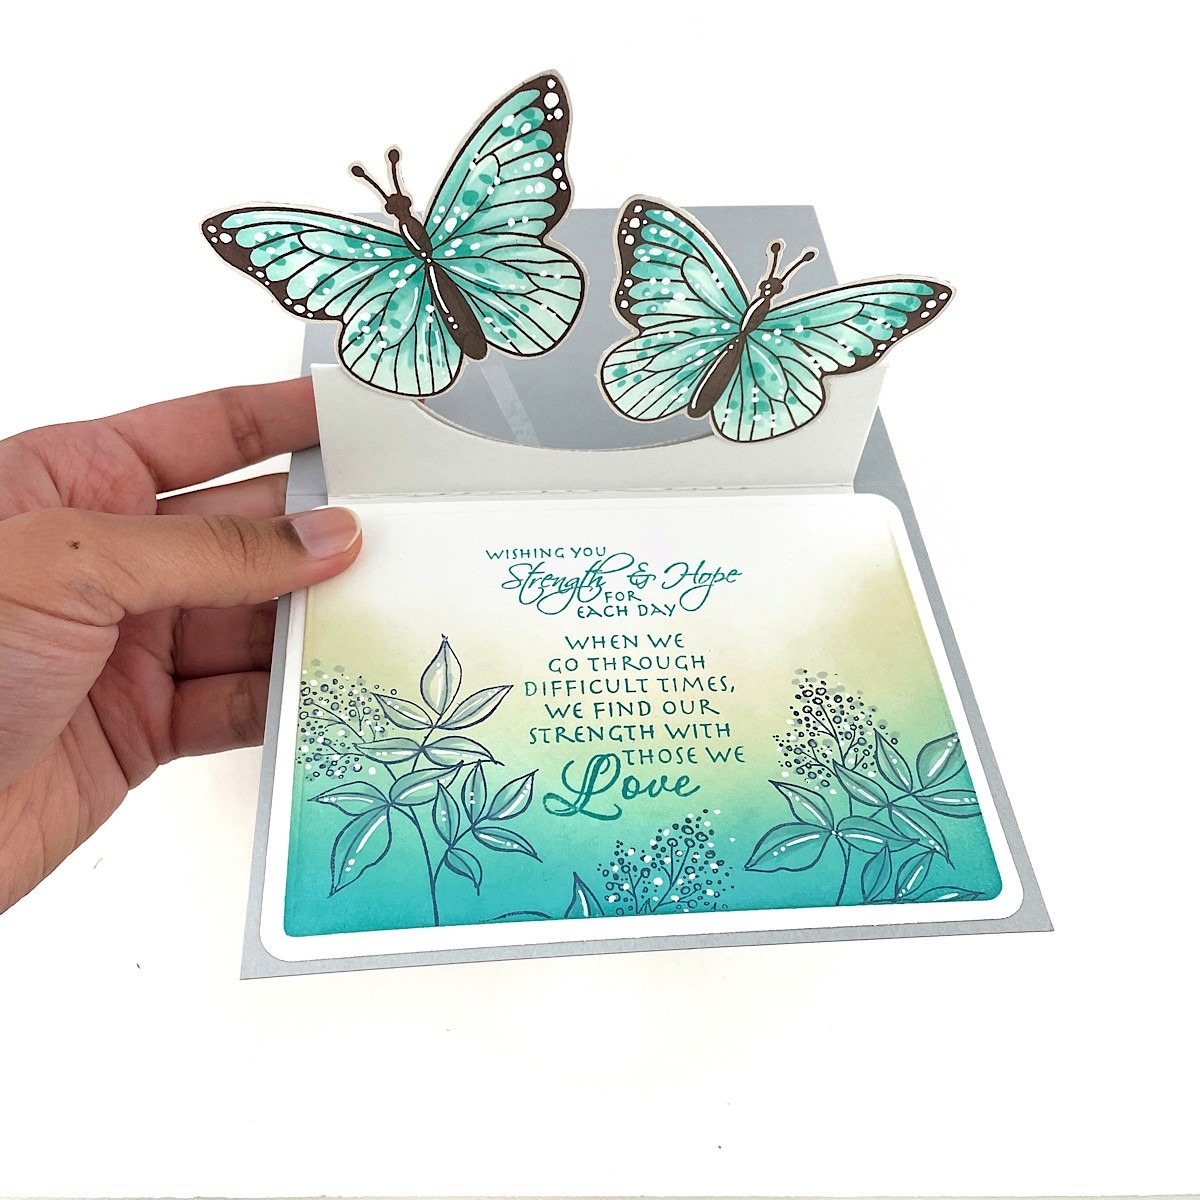
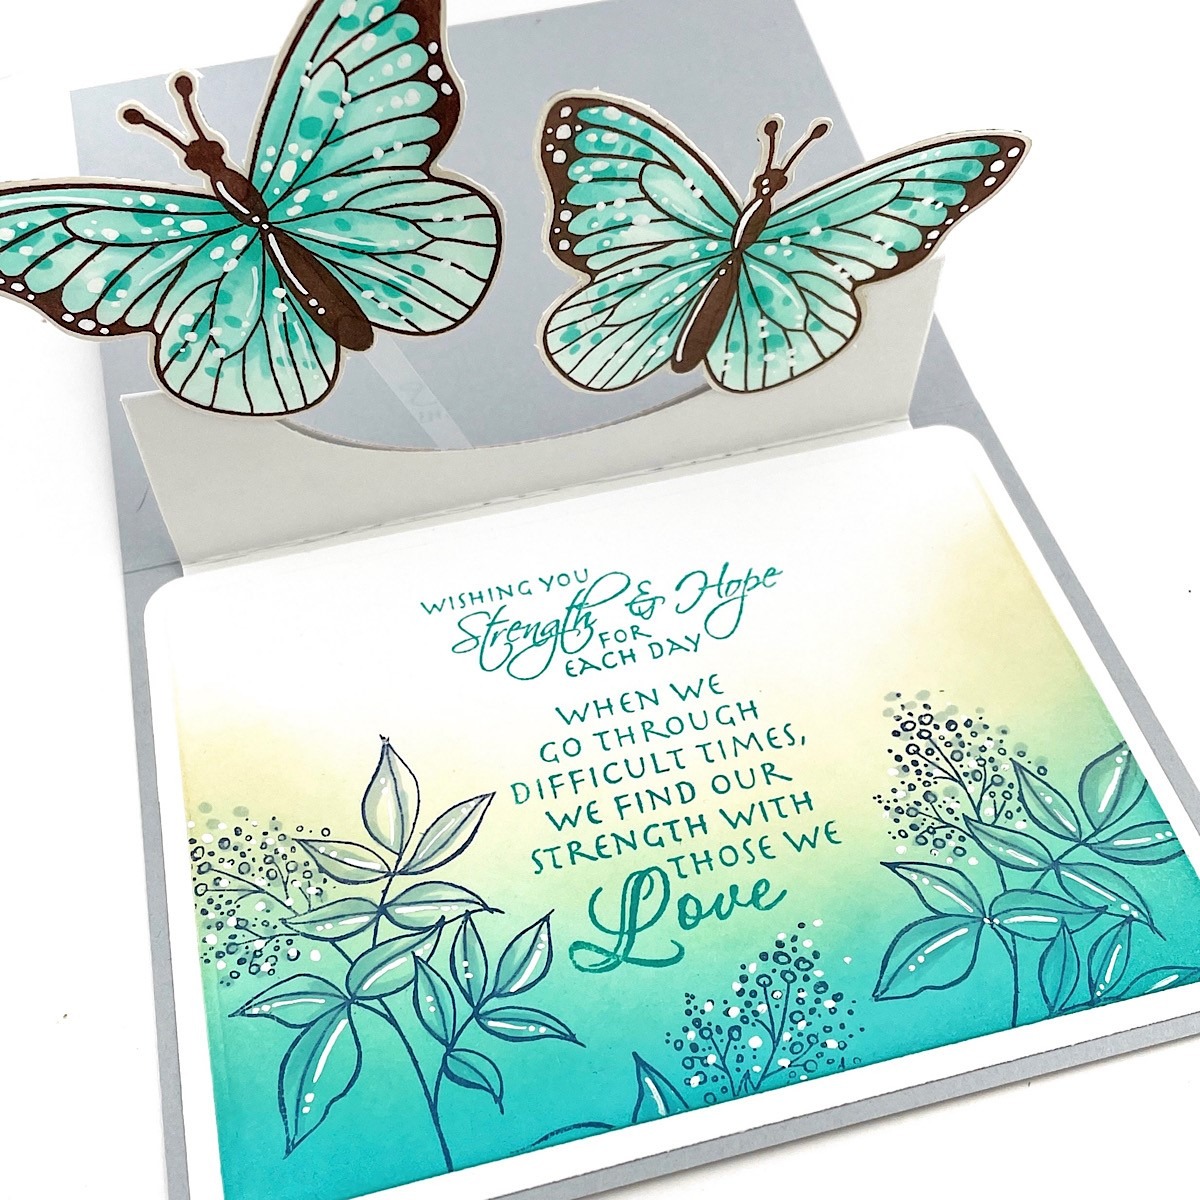
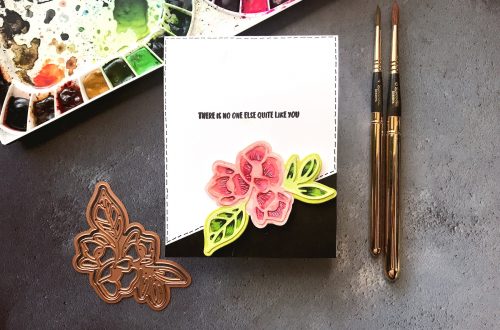
The Gift Card holder is meant for gift cards but this one is perfect for creating pop-up cards! Start off by assembling the gift card base as shown in the instructions. I used Sage, Fog, and Snowdrift cardstock for this. Then, for the part of the card with the message, I ink-blended the panel using Blue, Mint, and Linen dye ink. I stamped the floral element from the Sincere sentiment stamp set on the edge using Indigo dye ink. I also stamped a message from the Sincere stamp set using Teal dye ink. Now, take your pop-up element and attach it in the middle of the gift card holder (where the gift card is supposed to be placed) using some clear acetate strips or just attach it on the sides using adhesive. I used the butterflies from Bibi’s Butterfly Sentiments. I attached the left butterfly using acetate and the right butterfly directly to the gift card base! That’s it! Now think of all the fun ways in which you can use this technique. You could create a floral bouquet in the center too!
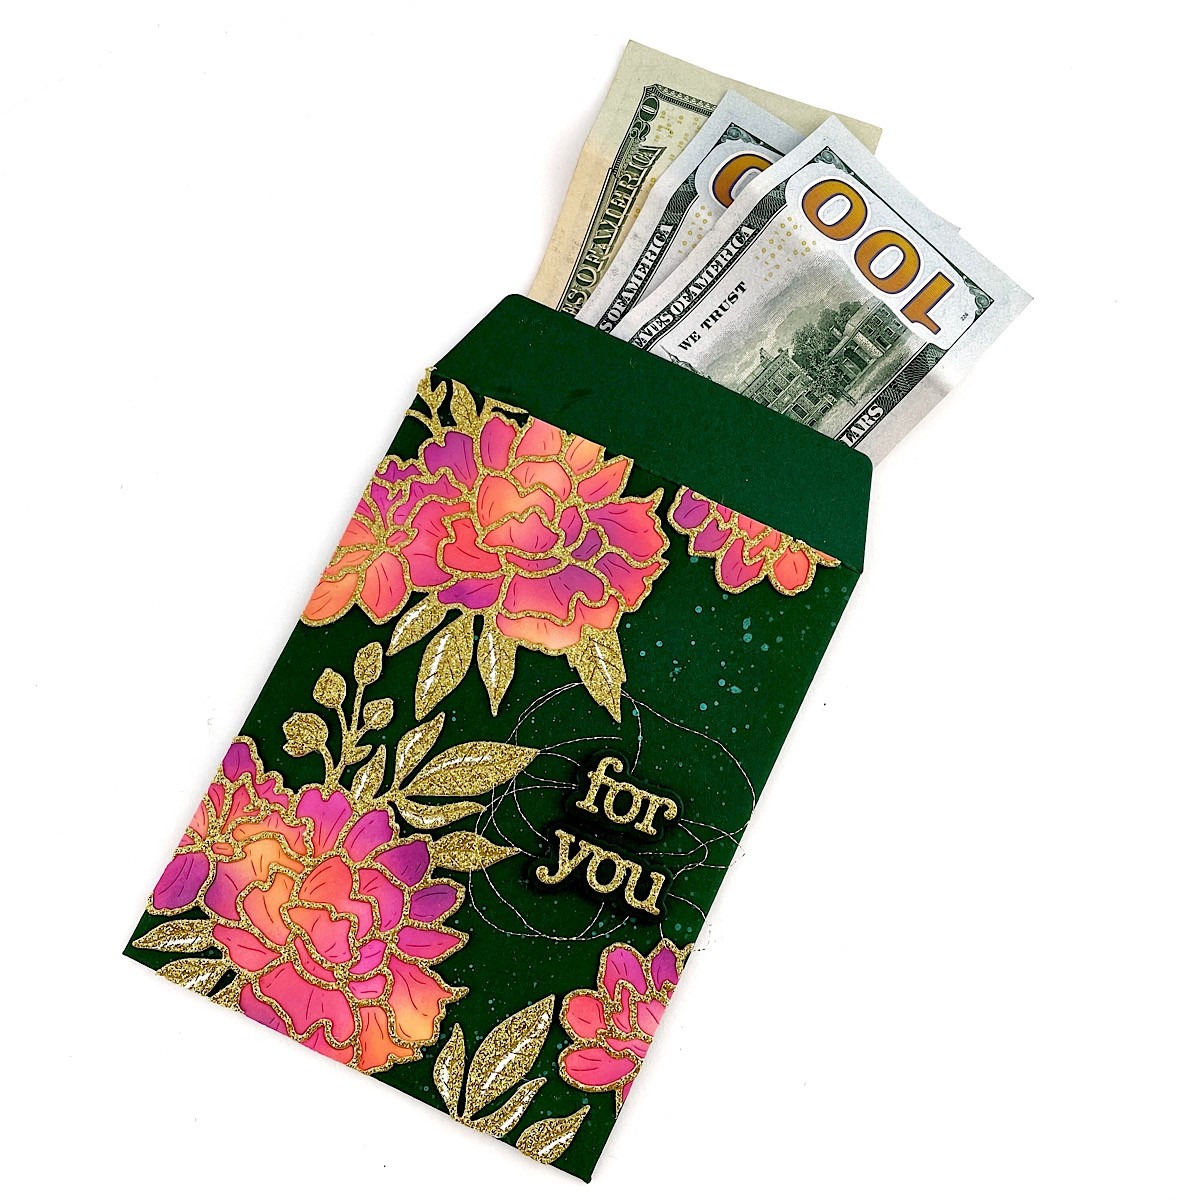
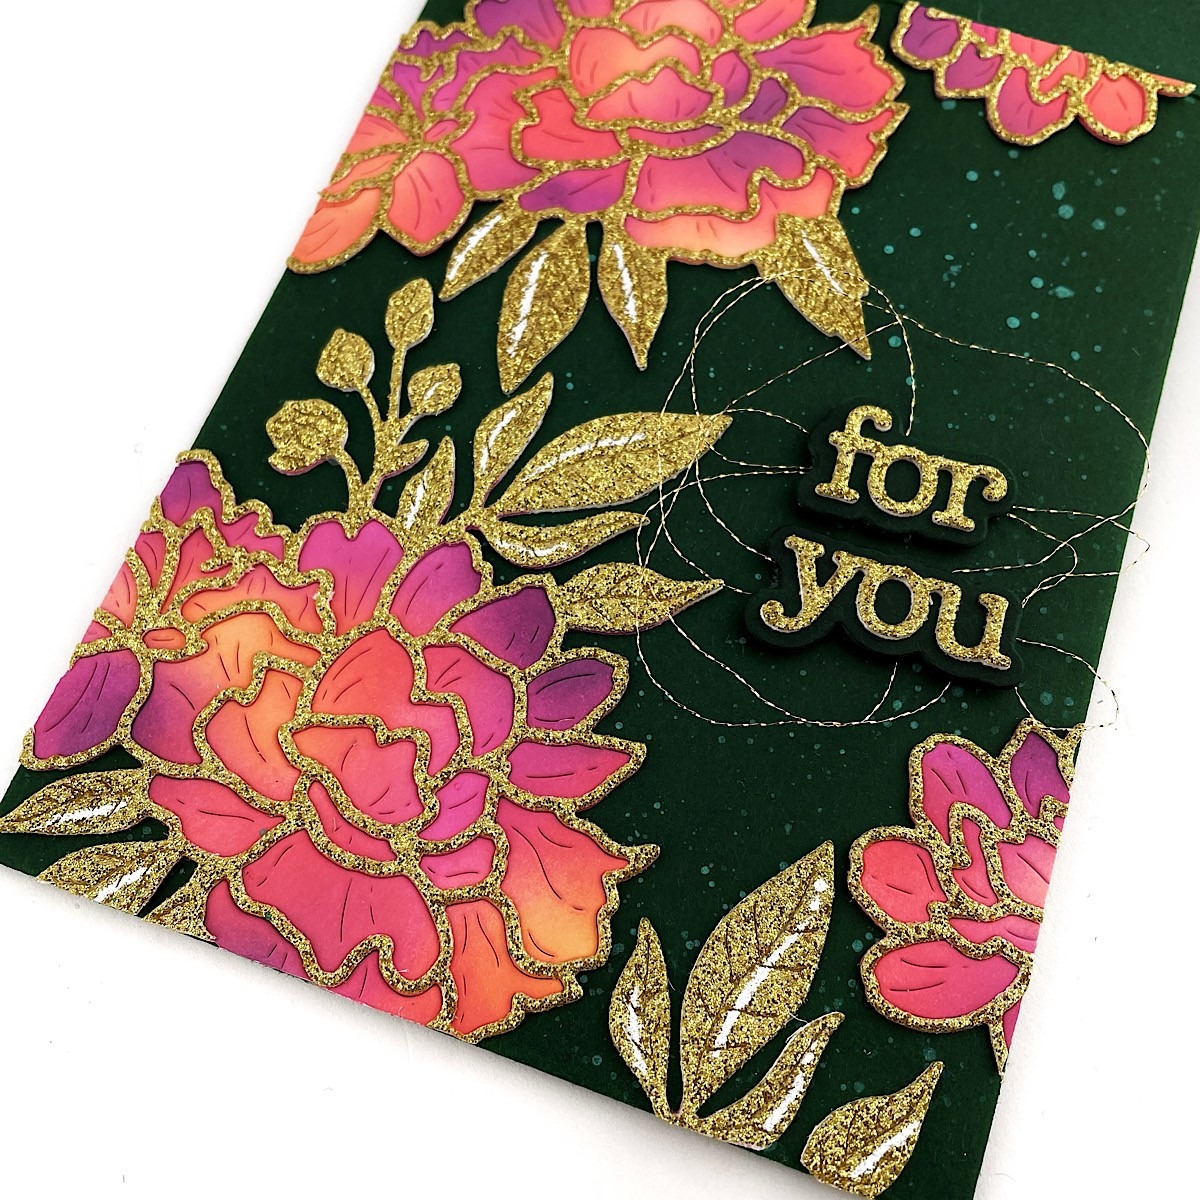
Money Envelope
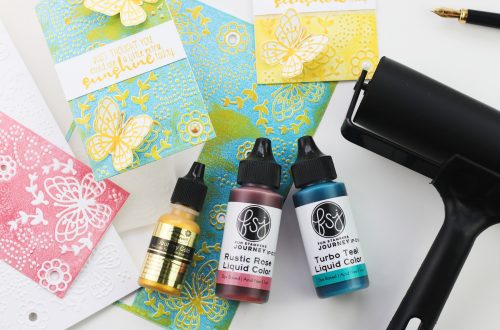
It’s common in a lot of cultures to gift money for special occasions. I find myself in need of special money envelopes and not just cards. The Envelope die can be used to create both a horizontal and a vertical envelope! For this project, I created a vertical envelope out of dark green cardstock. Then, I die-cut Yana’s Peony etched dies using gold glitter cardstock and snow drift cardstock. I ink-blended the flowers using purple, pink, warm red, and yellow dye inks. I ink-blended the edges of the envelope using coordinating dye ink and splashed some watercolors. Later, I adhered all the flowers around the envelope and adhered a sentiment from the Gift Card and Envelope die set on top of some gold thread. You can also use this envelope for tiny gifts like bracelets and all!
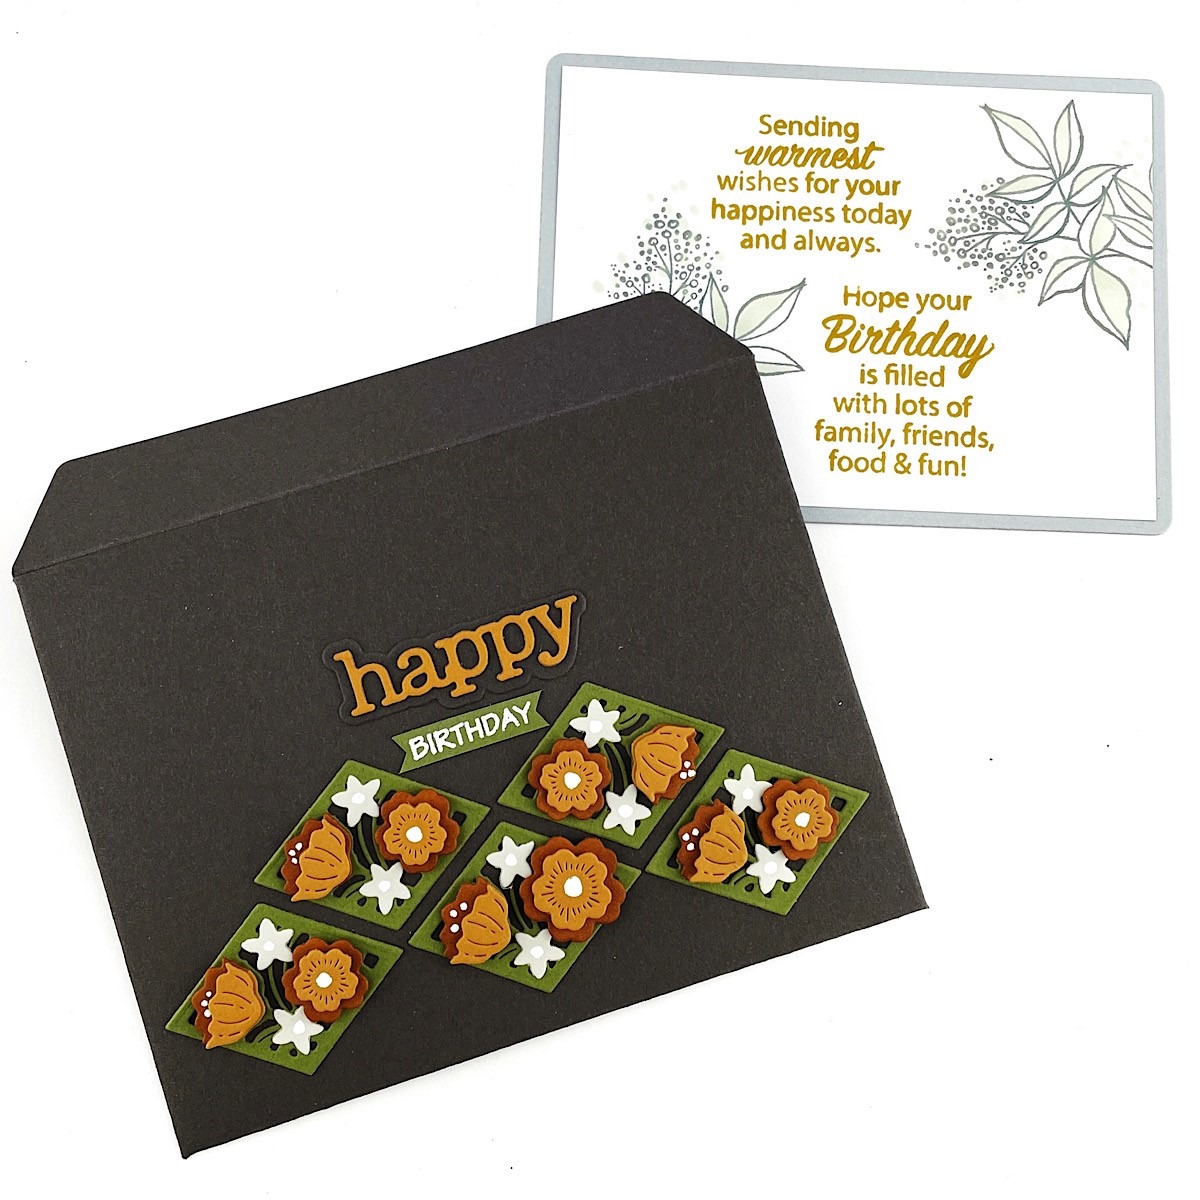
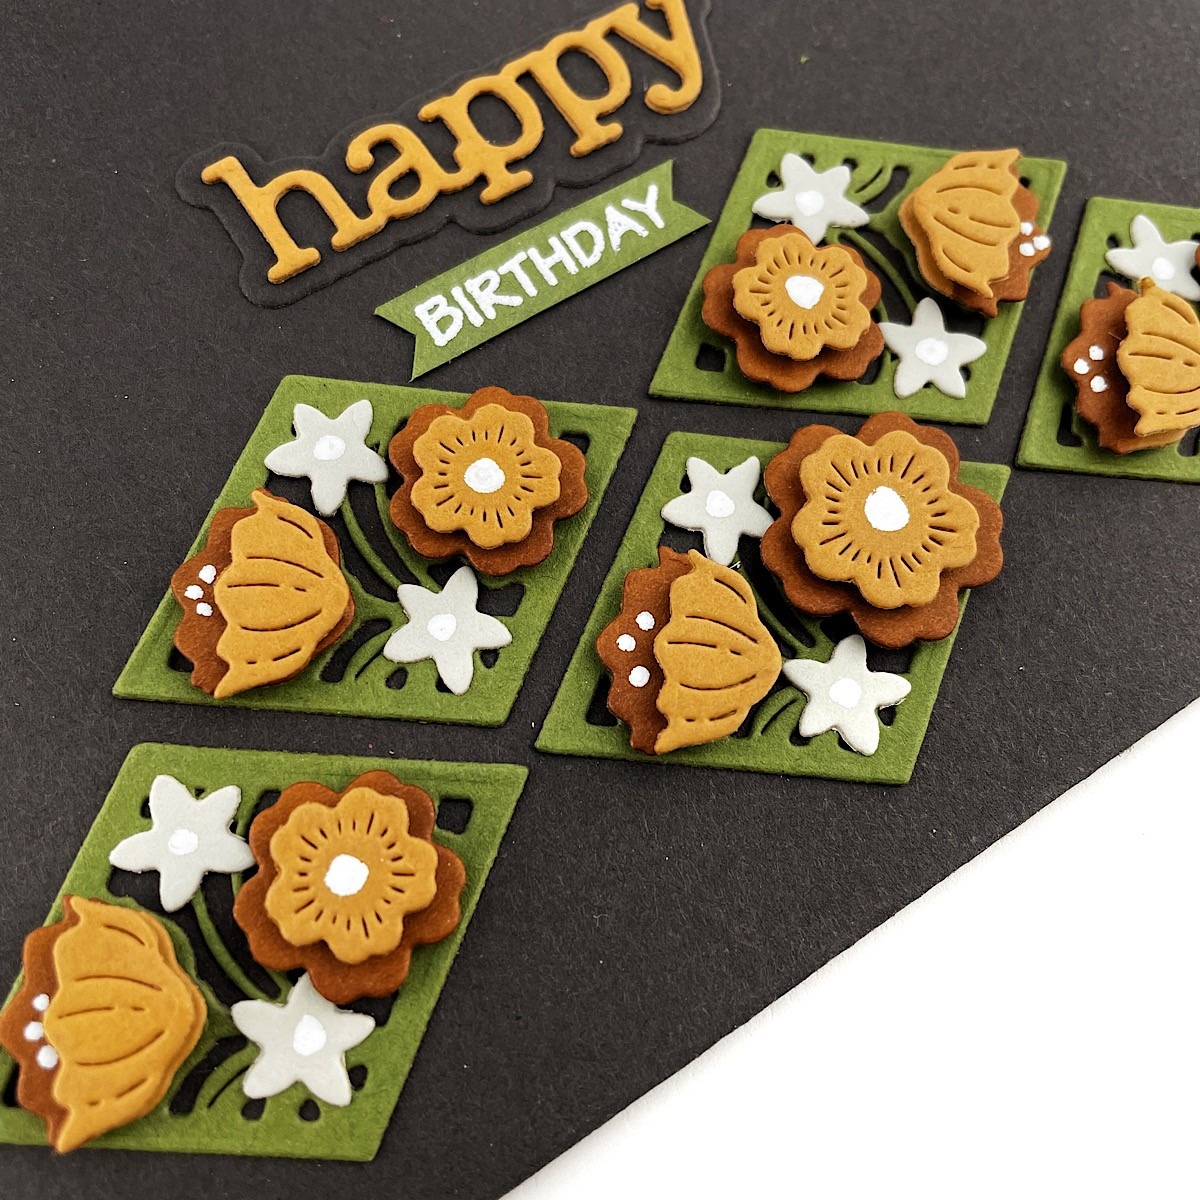
Note Card Holder
Don’t like making cards? Make a quick notecard using the die set. I created a horizontal envelope this time out of onyx cardstock and then added some floral tiles using the floral mini tiles dieset and fog, fern, and persimmon cardstock. Then, I added sentiments from the All the Sentiments stamp set and the die-cut words from the Gift Card die set. For the notecard, I layered the two die-cut panels and stamped elements from the Birthday Messages stamp set. That’s it! Took me less than an hour and absolutely love how this turned out!
Spellbinders Supplies:

That’s it! I hope you like all these projects! Can’t wait to see what you all make!
Happy Crafting,
Kavya

One Comment
MaryH
Love the variety of styles/layouts and very imaginative designs and tips!