Direct-to-Paper Backgrounds & Glimmer Cardfront Sentiments by Joan Bardee
Hello crafters! I’m Joan Bardee and I hope you are ready for some fun! Today I’m sharing some easy and colorful cards using the unique Glimmer Cardfront Sentiments collection. Bottom line – this collection, which has 6 separate glimmer plates, each with a large sentiment in a fun font – packs a big punch. The collection also includes a stencil and die that creates a beautiful floral.

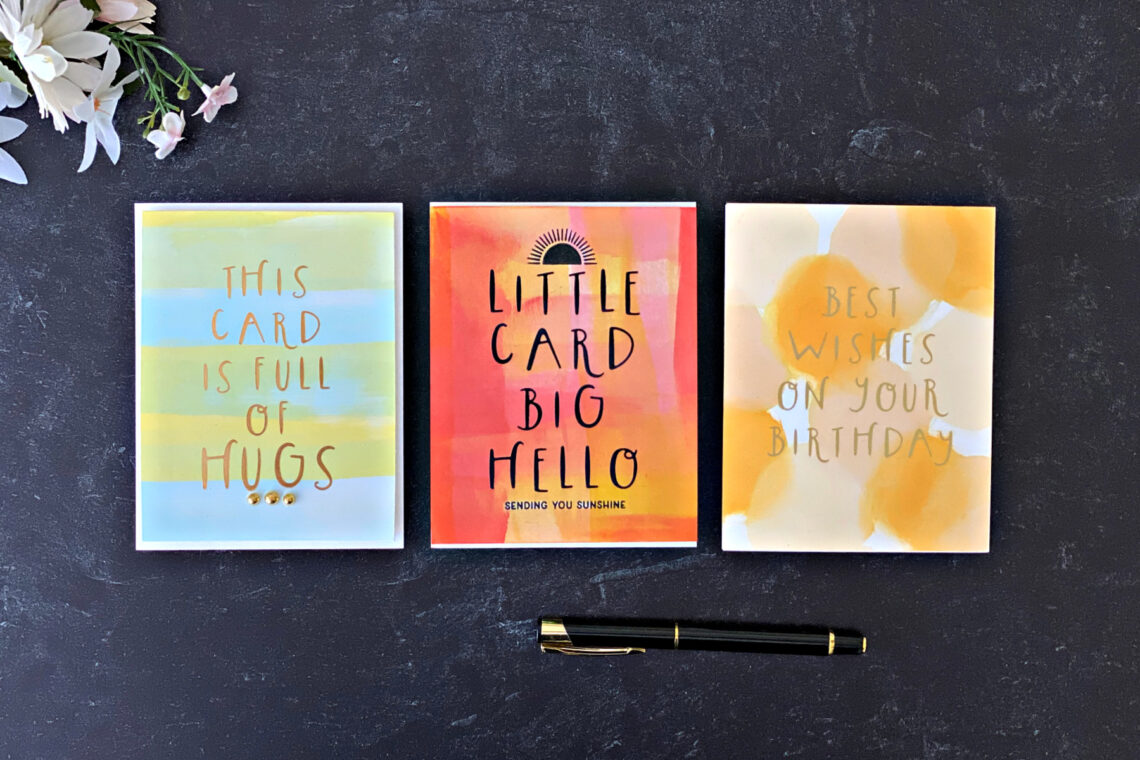
I paired 3 of these sentiments with a background made with the “direct-to-paper” technique. In this technique, you hold the ink pad in your hand and apply it directly to the paper. I decided on somewhat abstract versions of circles, stripes, and plaid.
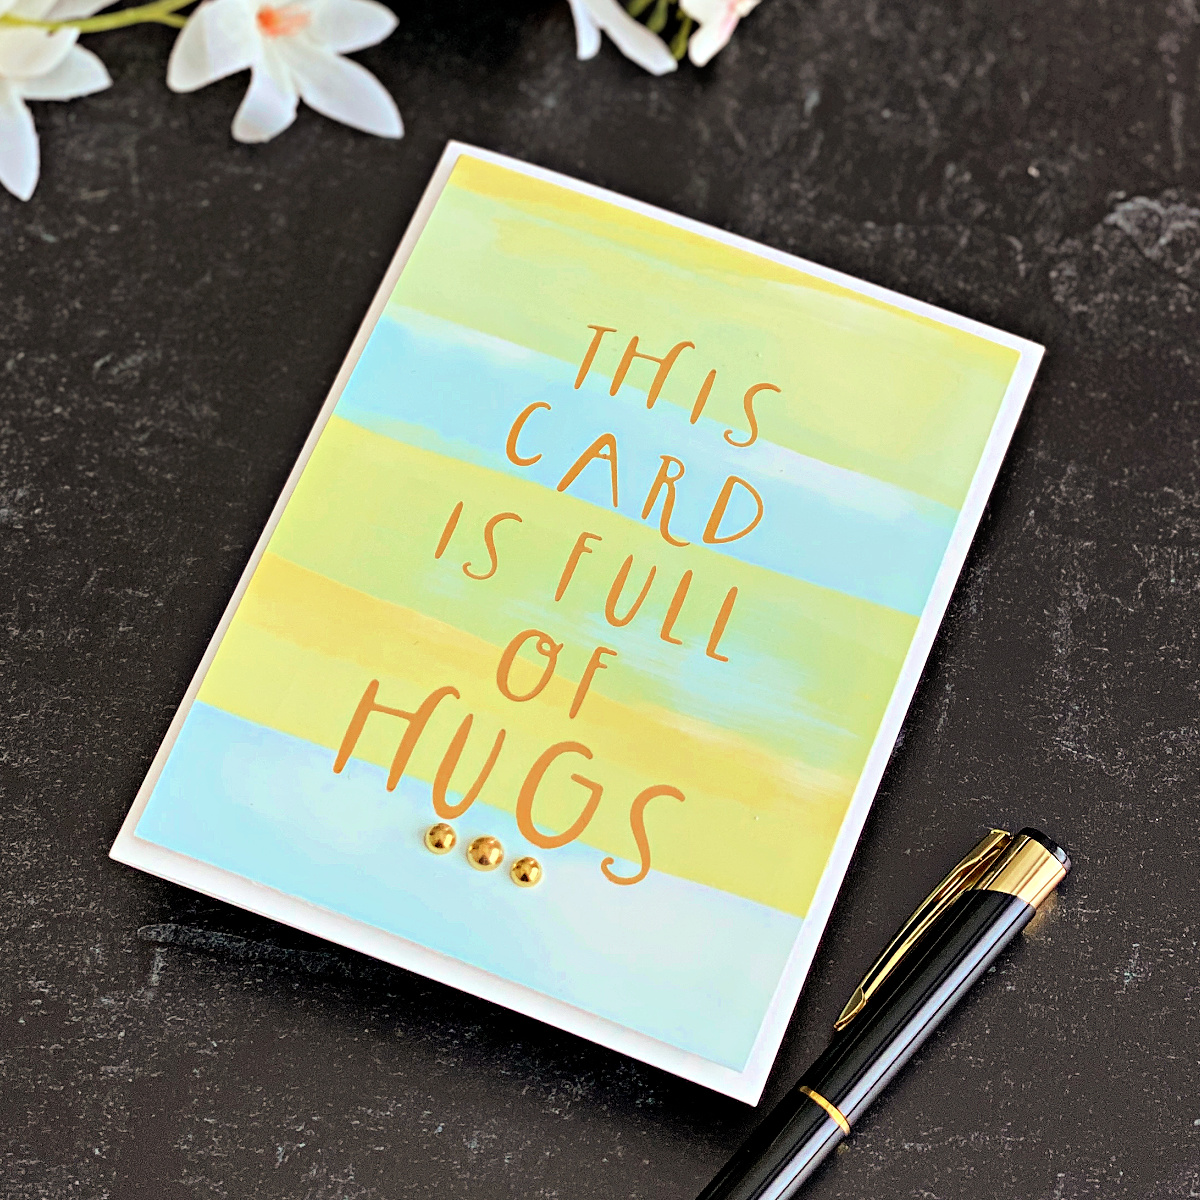
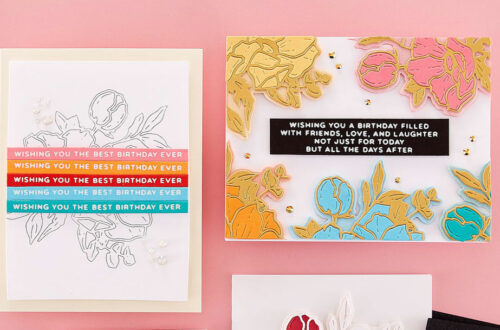
Easy Stripes
- Foiled the Full of Hugs plate in shiny gold foil on Spellbinders Glimmer Specialty Cardstock. This paper has a synthetic coating that allows you to move the ink around before it dries. (I stock up on it.)
- Took green, blue, and yellow full-size foam ink pads and spread the corner of each ink pad onto the foiled paper to create loose stripes.
- Trimmed the panel.
- Adhered the panel to a Spellbinders A2 card with foam tape.
- Added gold embellishments.
- Son’s comment: “That’s different.” Ha! What does that mean? Well, I love it and hope you do as well.
Tip: Using Spellbinders Glimmer Specialty Cardstock will result in softer or more muted shades if you rub the ink with your fingers or a cloth to smooth it out and let it dry more quickly. If you don’t rub the ink, it can take quite a while to dry.
Tip: You can foil first, and then add the background like I did for each of these cards or create a background and then foil. The foil resists ink so either approach works.
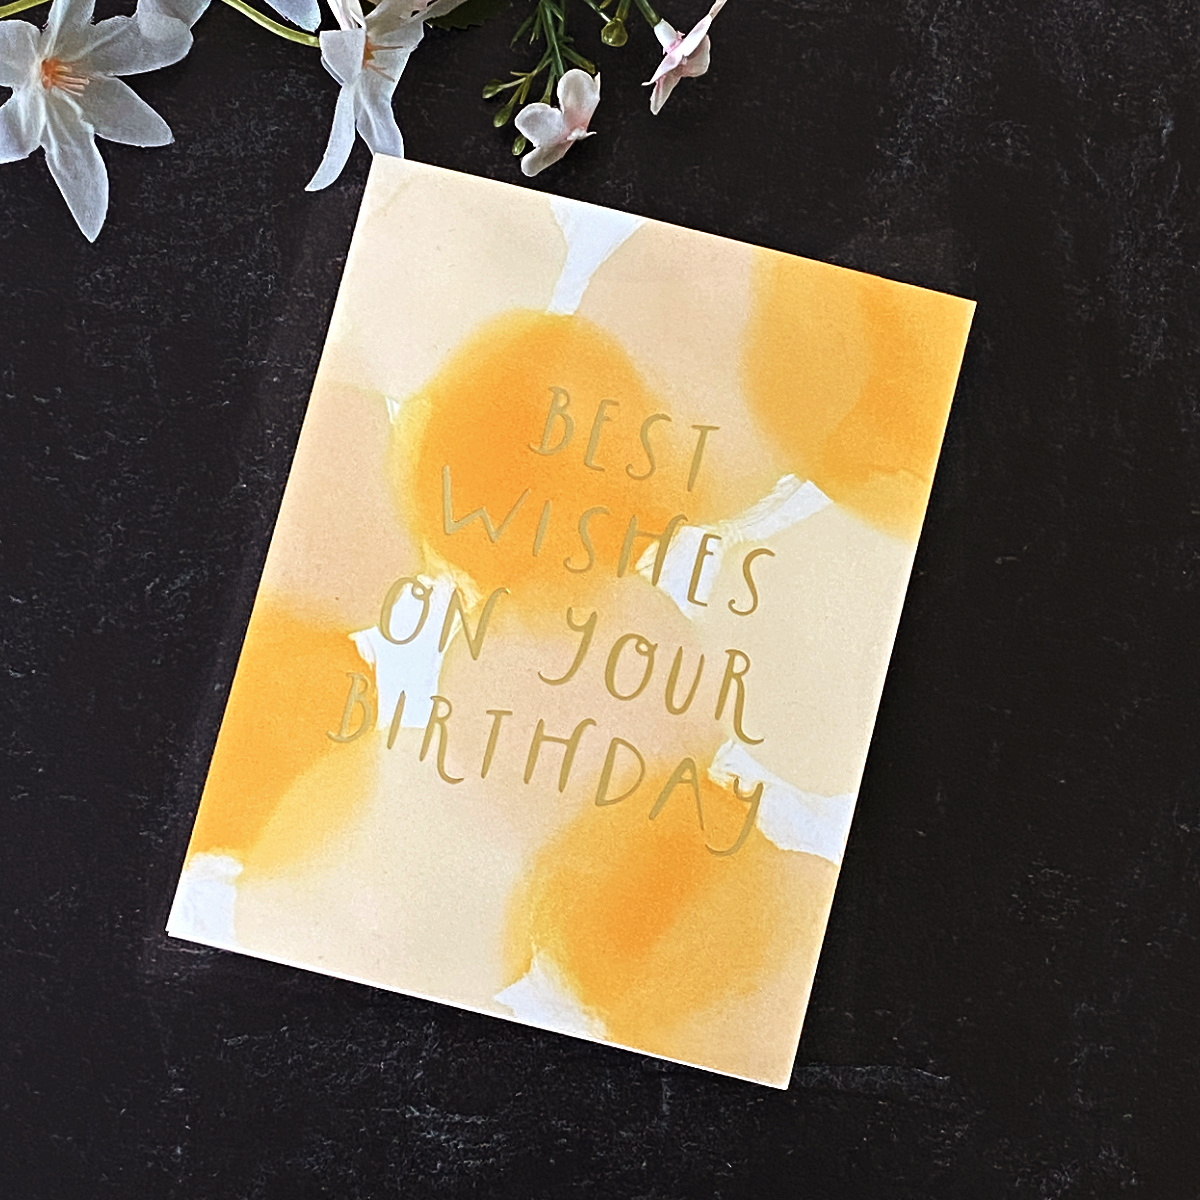
Circles
- Foiled the Best Wishes on Your Birthday glimmer plate in matte gold foil on Spellbinders Glimmer Specialty Cardstock.
- Chose beige and peach inks for a bit of a masculine look.
- Took felt dye ink cubes and swirled them directly onto the paper in the shape of circles. Used my finger wrapped in a microfiber cloth to spread the ink a bit so that it would dry faster and form more of a circle.
- Adhered the panel to a premade Spellbinders A2 card. (These cards save so much time and I no longer waste paper trying to come up with a perfectly even card.)
- Felt like an artist. Husband’s favorite of the 3.
Tip: A color wheel is your friend when making backgrounds – layering inks on the opposite side of the color wheel (for example, complementary colors such as orange and blue) will result in a muddy look.
Tip: This card benefits from leaving some of the background white. Too many abstract circles and I think the design would be lost.
Plaid
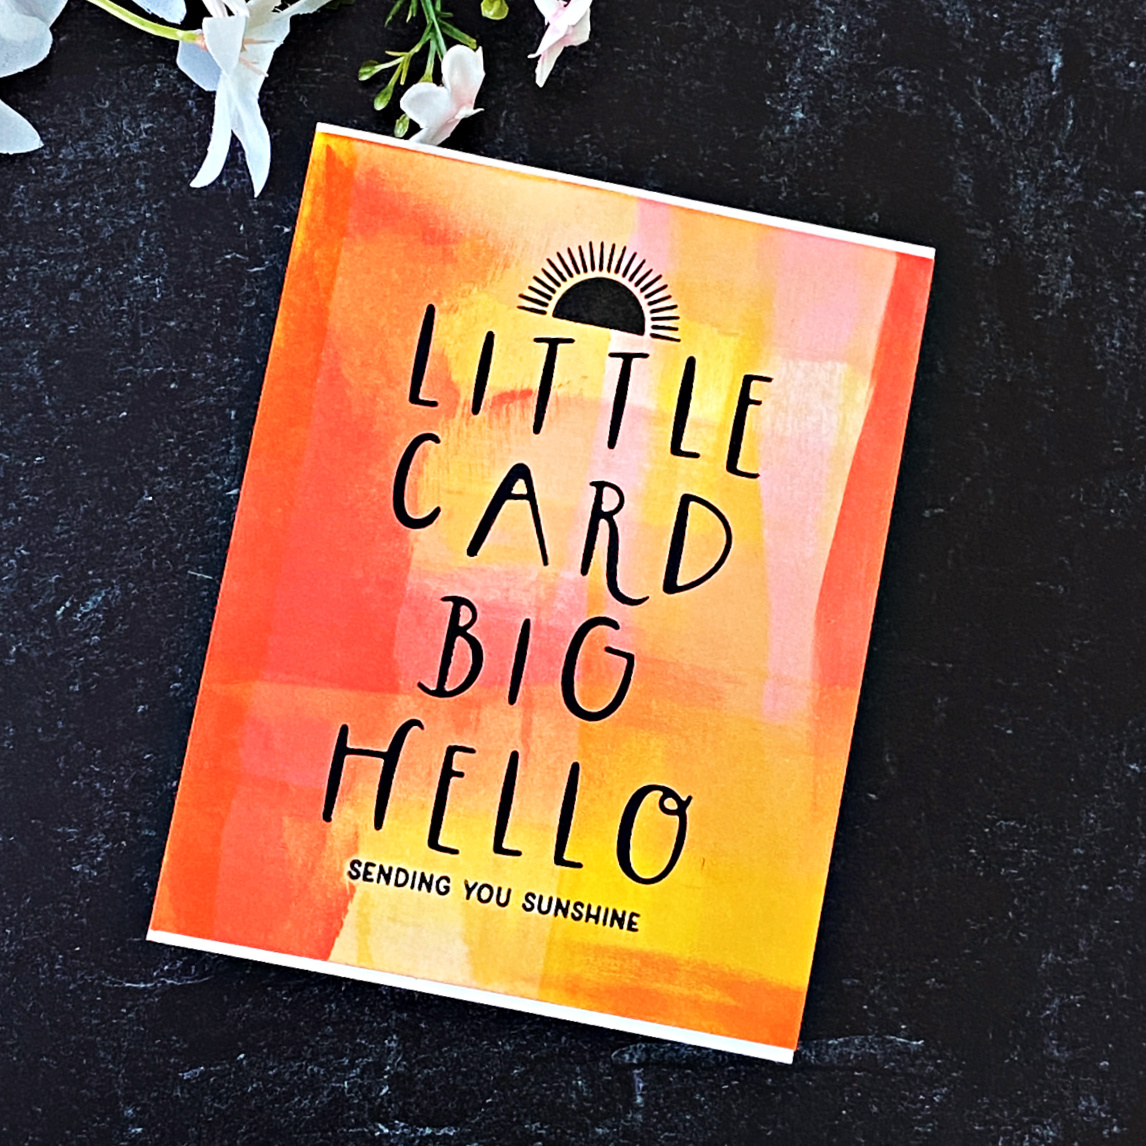
- Hot foiled Little Card Big Hello glimmer plate with black foil onto white cardstock from my stash.
- Stamped the sun and smaller sentiment from the Spellbinders Clear Stamp of the Month October 2021 (no longer available) in Versafine Onyx ink and embossed in clear.
- Using the same direct-to-paper technique, spread full-size dye foam ink pads onto the panel to suggest a plaid. Since this is regular cardstock, the ink dries almost immediately. By the time I finished, the plaid kind of got lost, but I love it anyway.
- Trimmed and adhered to a white A2 card.
- As soon as I took photos of this card, I popped it in the mail to a friend in need of some sunshine. That’s what it is all about, right?
Tip: This card reminds me of a modern book cover. Book covers are fantastic sources of inspiration because they contain a large sentiment (the title) and a background.
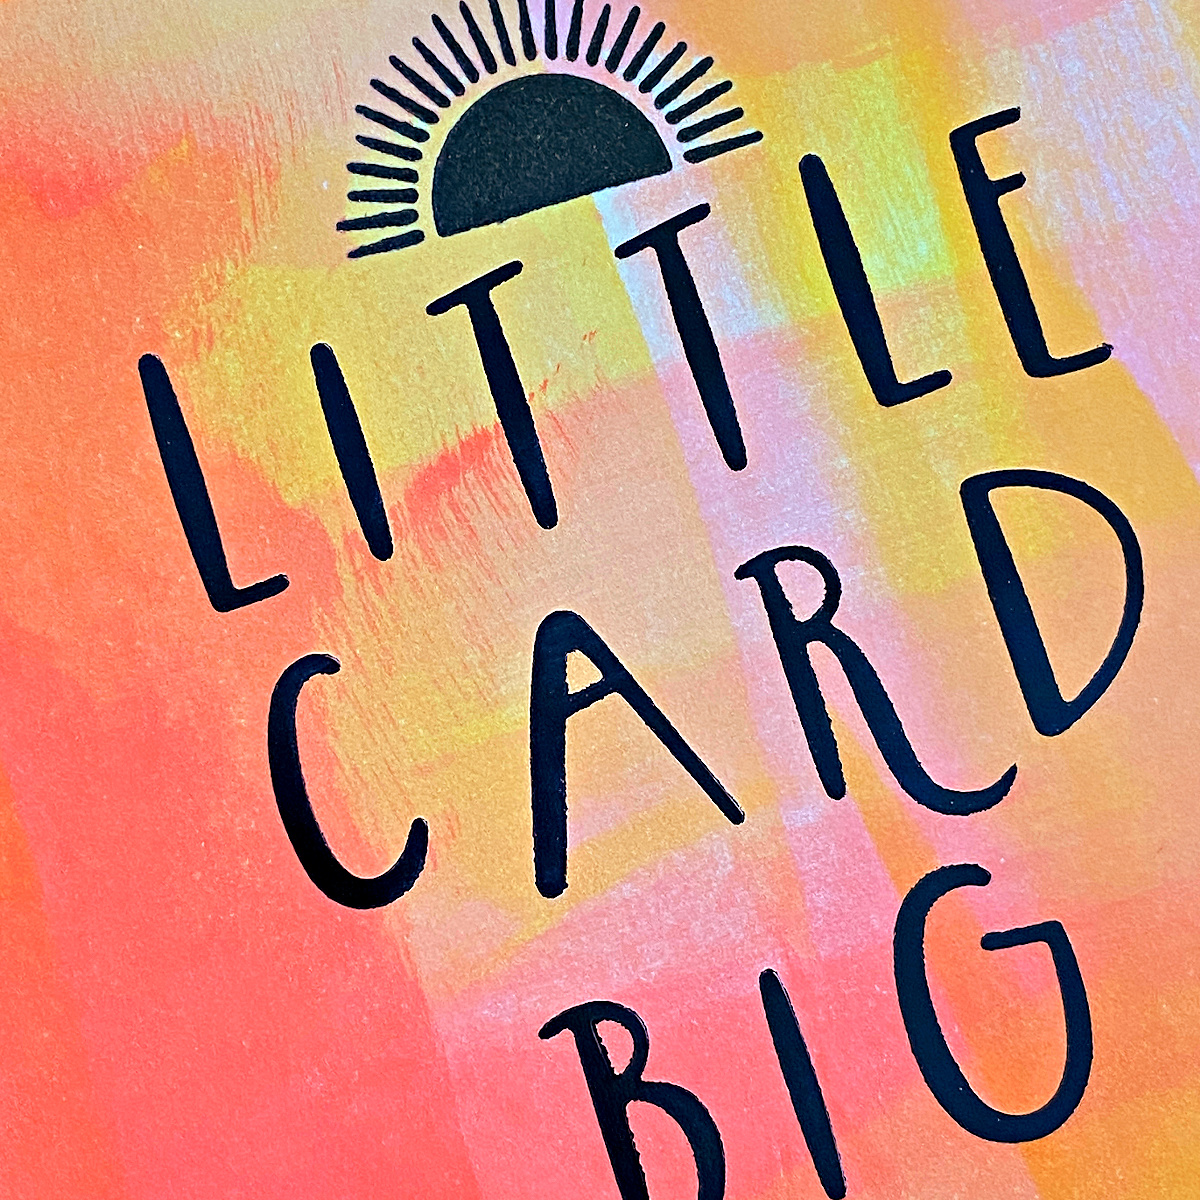
Tip: Choose colors, sentiments, and other images that work together. In this case, the large sentiment is happy and using warm colors is consistent with the sunshine sentiment and sun image.
Thanks so much for checking out this post and thank you to Spellbinders! I would love to see anything you make with this collection, so feel free to tag me on my Instagram account. I’m Dear Paperlicious if you are looking for me.
Spellbinders Supplies:

Other supplies
Ink pads, paper trimmer, gold embellishments, white cardstock, gloves, microfiber cloth.
2 Comments
Karen Brown
Joan, I love all three! Nicely done!
Michele F
Joan, your cards are incredibly fun! Well done!
=]