-
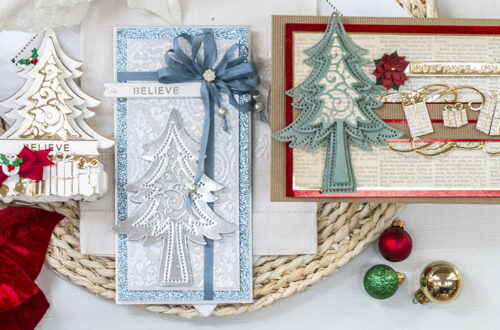
Fun Ways To Add Beautiful Sparkle To Your Cards
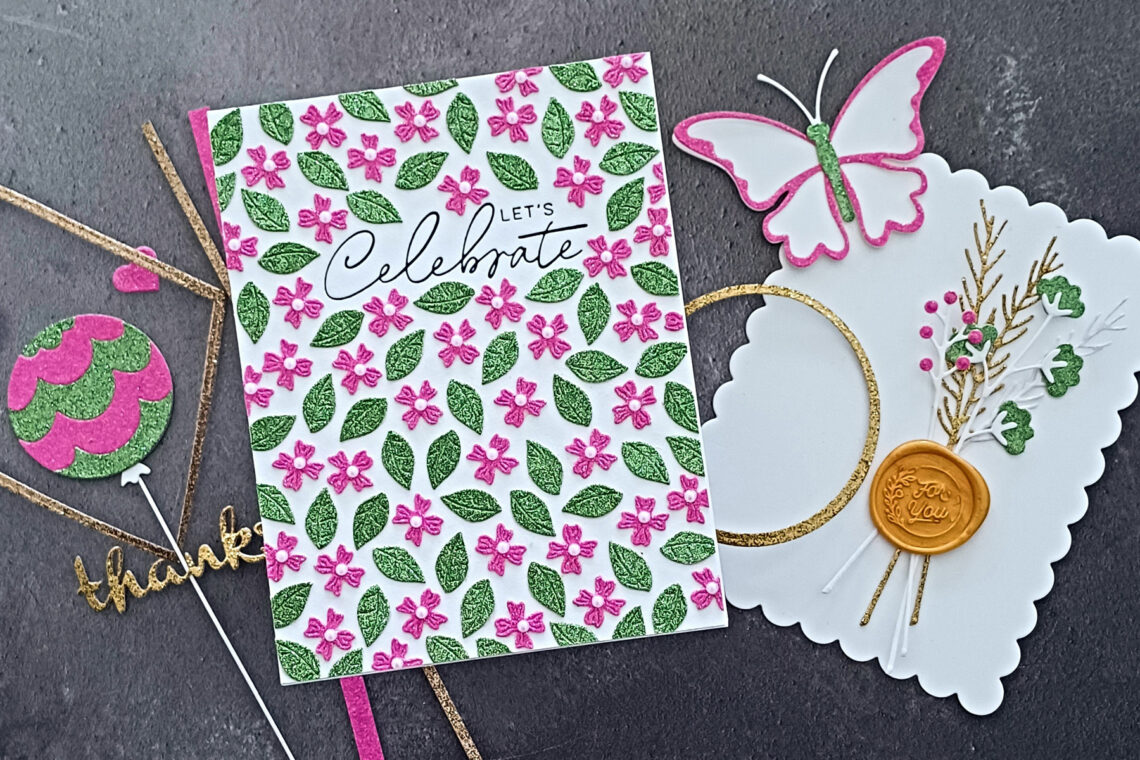
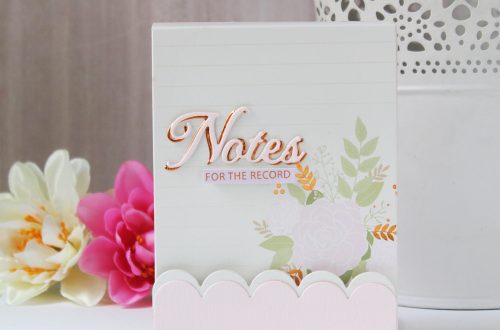
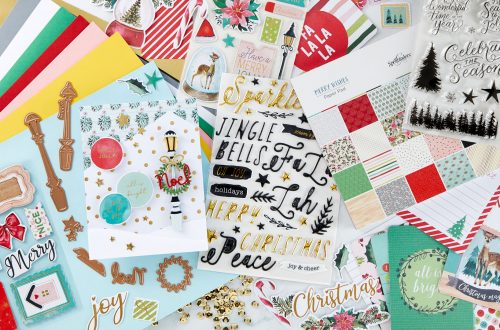
Hello there Spellbinders friends! Lisa Tilson is here with you today on the Spellbinders blog. Today we are going to be playing with glitter cardstock! I have lots of examples and ideas for you and some great tips to help you get the most out of your cardstock. I love to add glitter cardstock to my cards, often in fairly subtle ways, but there are also many ways of really showcasing the beautiful texture and sparkle. So first let’s take a look at the cardstock itself. Included in the picture are Champagne, Silver, Gold, followed by the five Spring Tones Glitter Cardstock colors, and then the five Jewel Tones Glitter…
-
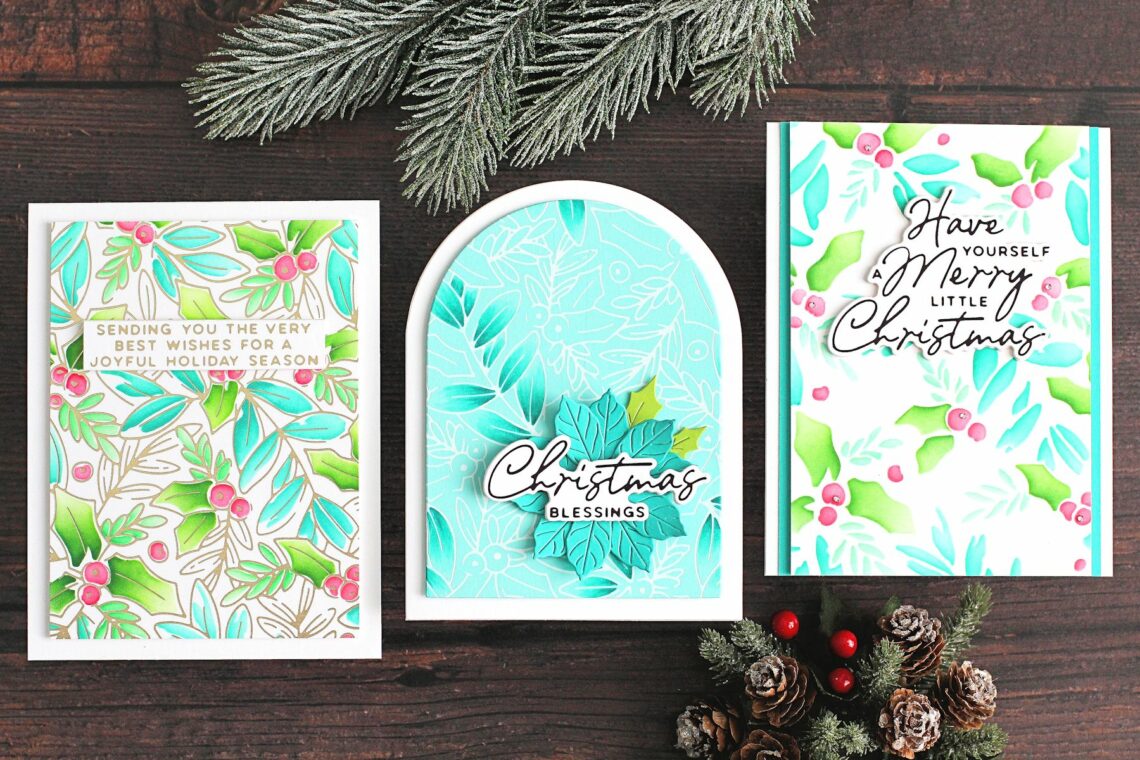
Glimmer Holly Background 3 Ways – How-to Step-by-step
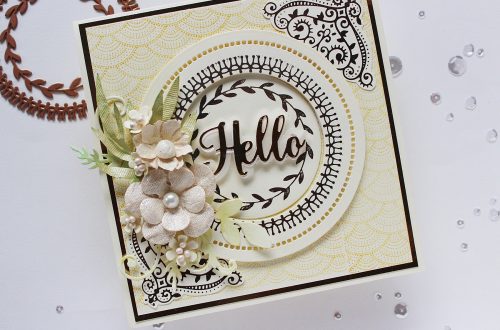
Hello there, Michelle Short here to share a step-by-step tutorial with you using the Glimmer Holly Background and Layered Glimmer Holly Background from the De-light-ful Christmas Collection by Yana Smakula. This is such a pretty background and can be used in lots of different ways. Today I have three cards to share with you – 1. Using the Glimmer Holly Background and Layered Glimmer Holly Background together. 2. Using the Glimmer Holly Background on its own, and 3. Using the Layered Glimmer Holly Background on its own. GLIMMER HOLLY BACKGROUND + LAYERED GLIMMER HOLLY BACKGROUND STEP 1 Let the Glimmer Hot Foil System platform heat up while you place Champagne…
-
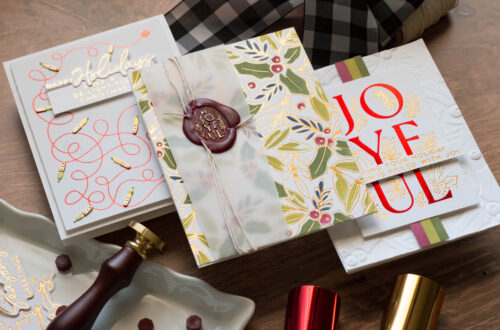
Making Clean and Simple Christmas Cards Special – Joyful Glimmer Step-by-Step Tutorial with Joan Bardee
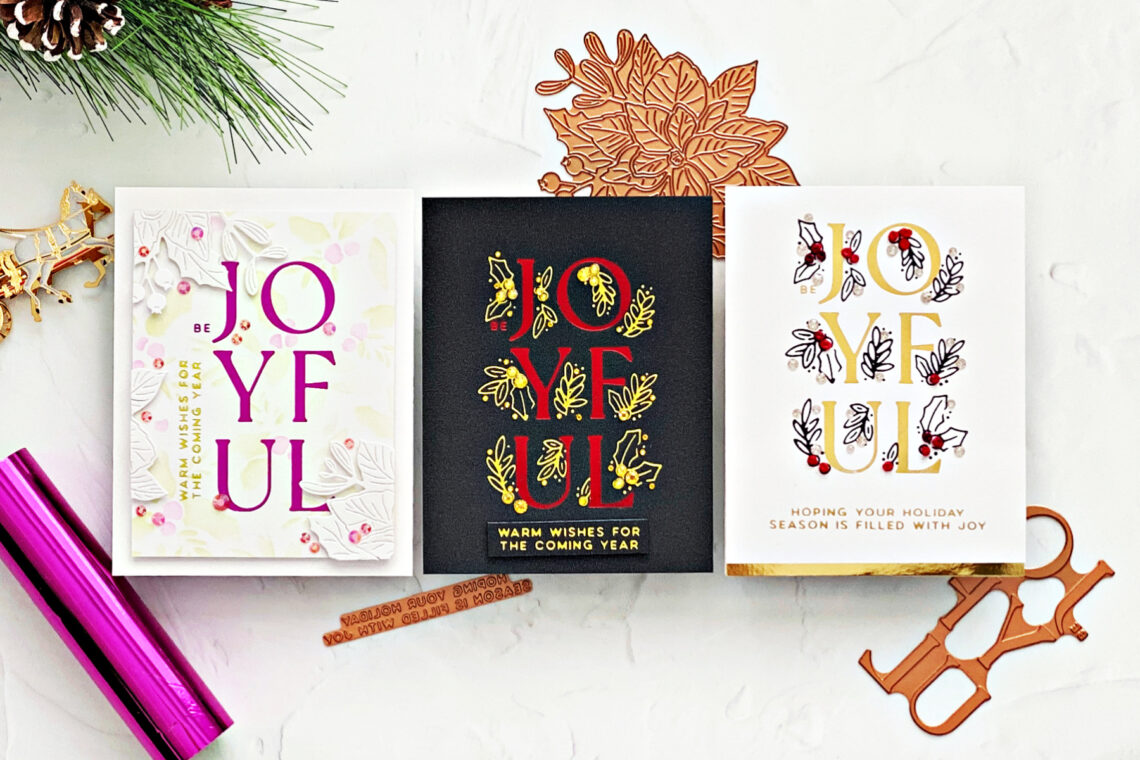
Hello crafters! Joan Bardee here and I’m thrilled to be back on the Spellbinders blog featuring part of Yana’s De-Light-Ful Christmas Collection. It’s an amazing collection full of everything we love – hot foil, dies, stencils, etc. I am focusing on Joyful Glimmer, which consists of 2 hot foil plates – one sentiment plate and one holly plate that cleverly wraps around the sentiment. I love to go all out when I make Christmas cards and add those special elements that make the recipient go Wow. Even so, I love “clean and simple” cards. So, today I’m sharing a few ideas to add special details to clean and simple Christmas…
-
Birthday Mini Album with Carissa Wiley’s collection It’s My Party with Angela Tombari
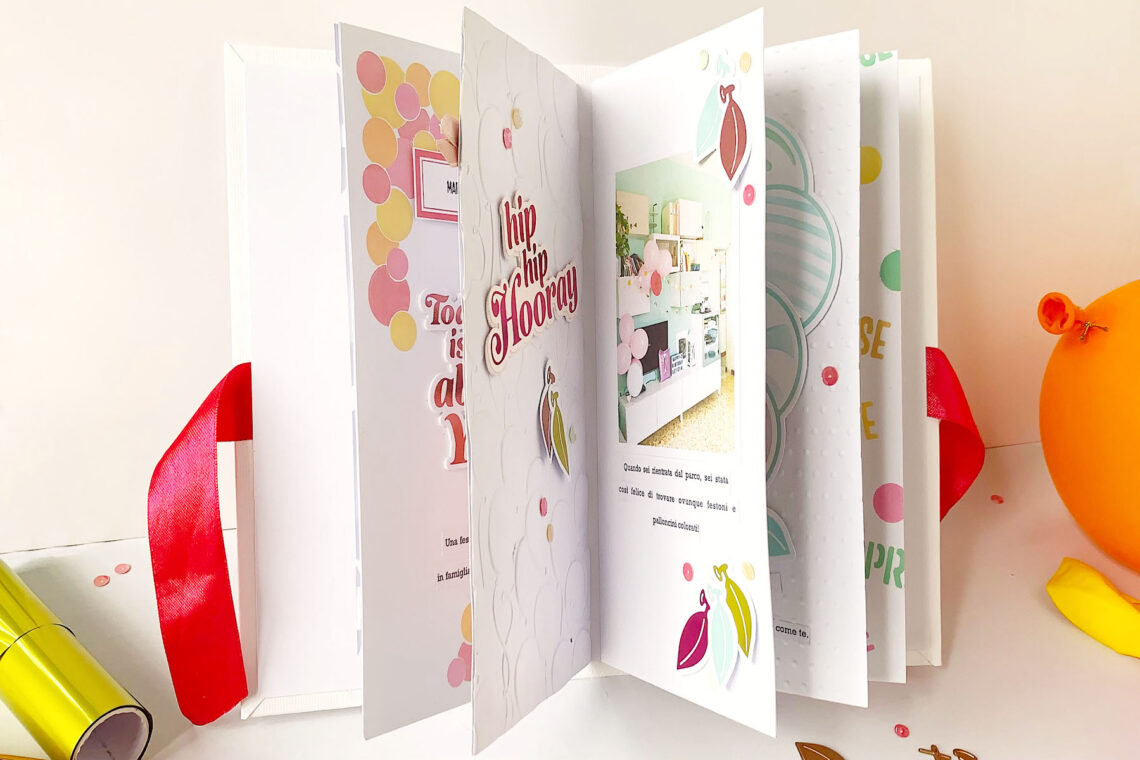
Hi crafty friends! It’s Angela Tombari from I Need Confetti blog. Today I would like to share the mini album I created with the fun It’s My Party collection signed by the amazing Carissa Wiley. I will show you how easy it is to create a beautiful memory-keeping project using this collection, It’s My Party, combined with some products from It’s My Party Too collection by Spellbinders. First thing first, the mini album cover measures 4,75 x 8,75 inches. The pages are 4,25 x 8,25 inches, about the size of a traveler’s notebook, so popular in scrapbooking. So, if you’d like to replicate this project and don’t want to create…
-
Enhance Die Cuts With Ink Blending With Michelle Short
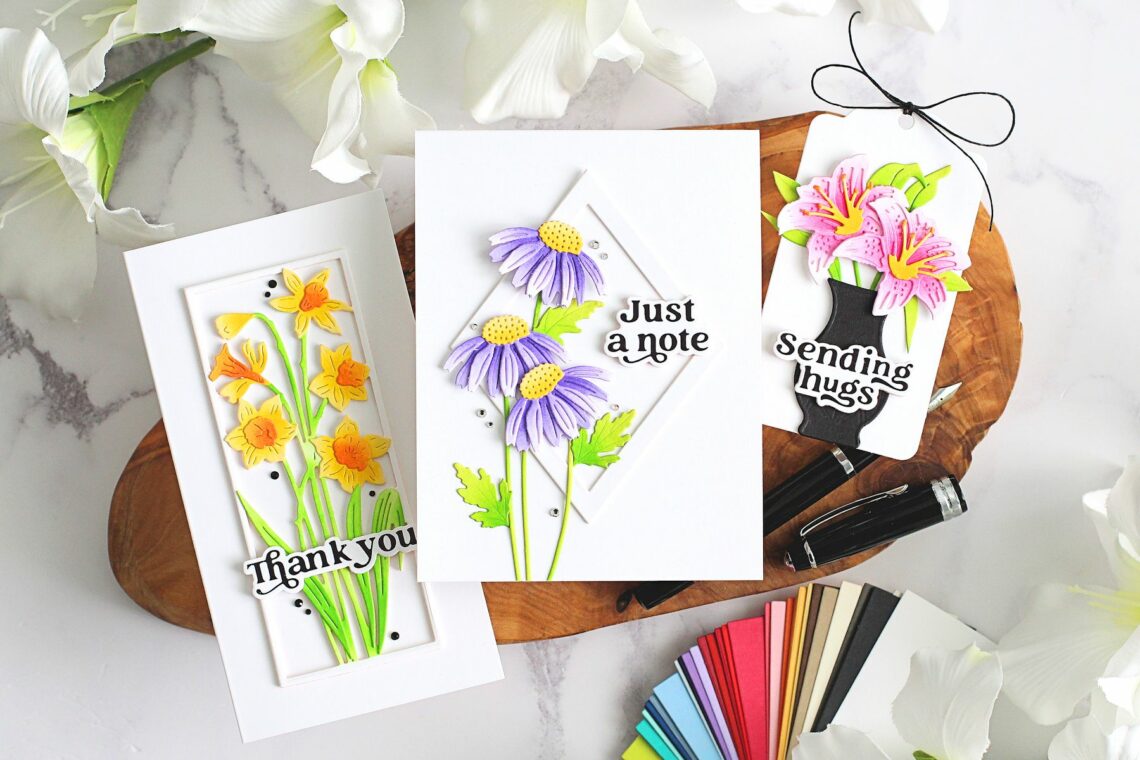
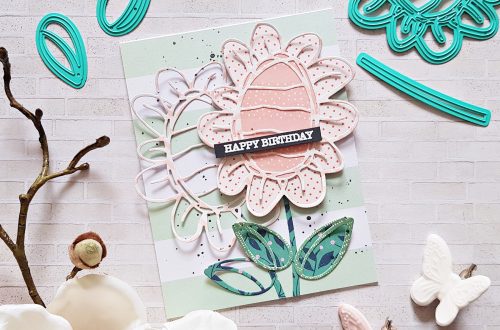
Hello there, Michelle Short here to share three projects with you using the new Photosynthesis Collection. This beautiful collection features lots of florals, which I love! Since it also features mainly die cutting, I wanted to show how you can enhance die cuts by adding ink blending. This really adds interest and dimension to clean and simple cards! My first card uses Floral Stems Etched Dies. I cut the cone flower top petal layer from Snowdrift cardstock and the bottom ones from Purple Mist. I then cut the flower centers from Chamomile and the stems and leaves from Peridot. Using Blending Brushes, I blended on Distress Oxide Inks, focusing the…
-
Direct-to-Paper Backgrounds & Glimmer Cardfront Sentiments by Joan Bardee
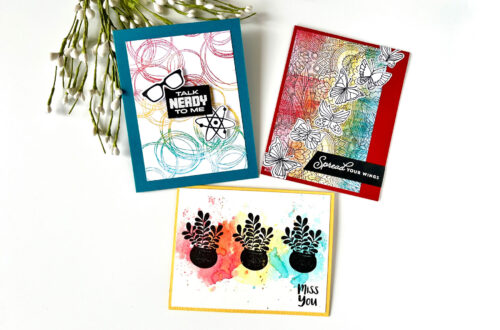
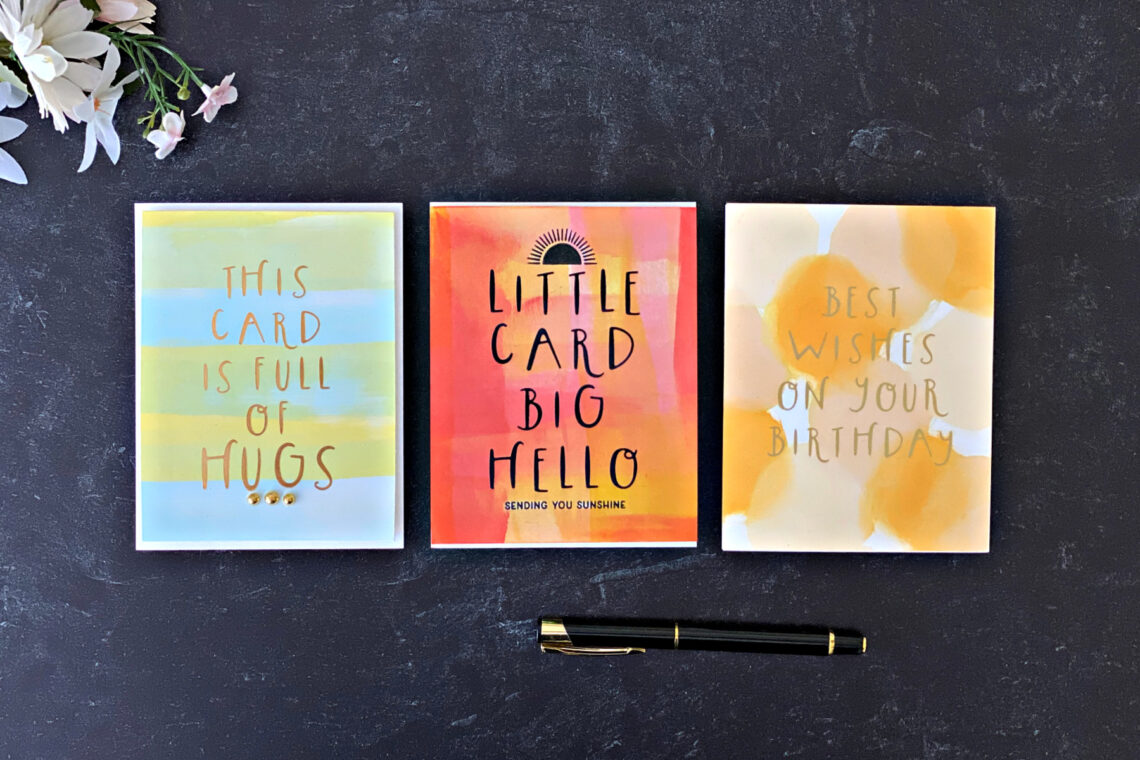
Hello crafters! I’m Joan Bardee and I hope you are ready for some fun! Today I’m sharing some easy and colorful cards using the unique Glimmer Cardfront Sentiments collection. Bottom line – this collection, which has 6 separate glimmer plates, each with a large sentiment in a fun font – packs a big punch. The collection also includes a stencil and die that creates a beautiful floral. I paired 3 of these sentiments with a background made with the “direct-to-paper” technique. In this technique, you hold the ink pad in your hand and apply it directly to the paper. I decided on somewhat abstract versions of circles, stripes, and plaid.…
-
Plant Joy Cards with Lisa Mensing
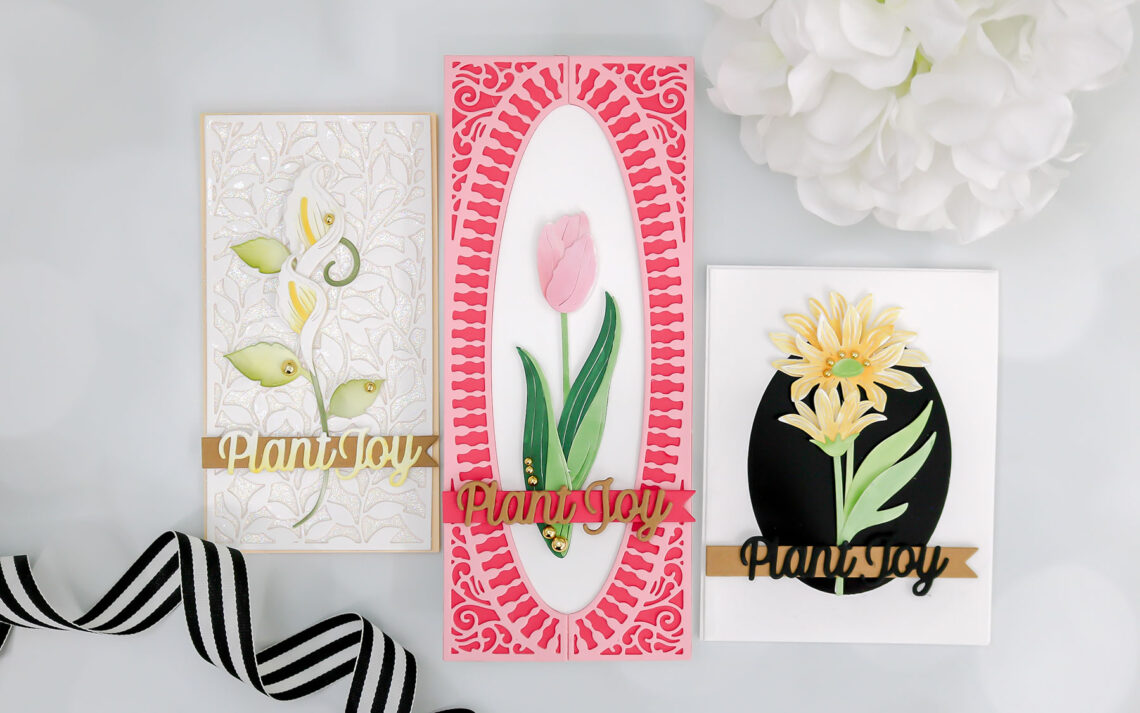
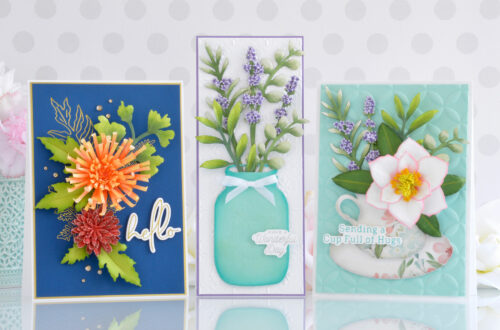
Hello, crafty friends. Lisa Mensing here from Confetti and Card with Lisa Mensing. It is my pleasure to share three projects featuring the Layered Fleur Bouquet Collection with you today. This is a gorgeous collection just in time for Spring and Summer projects. I love all the dimensions you get when layering the beautiful blooms. It is the sentiment from the Half Slimline Diamond, Plant Joy, which is the theme behind all my projects. Plant Joy Lilies My first card is the easiest card I created for this post. I used glitter cardstock under two layers of the Sweet Leaf Mini Slimline die and simply added the gorgeous lilies. Die-cut…
-
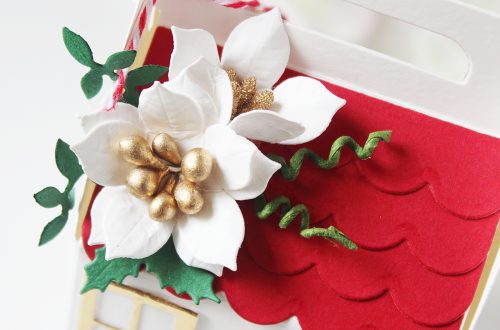
Holiday Medley Inspiration with Laura Evangeline
Hello, crafty friends! I am Laura Evangeline, and I am excited to join you here as a returning guest blogger. If you missed my last post, you can check it out here. I currently live just outside Nashville along with my recently retired husband, and 11-year-old son. We also have two Yorkies, Max and Penny, who always keep me company in my craft room. If you’d like to check out my craft room or other projects I’ve made, please feel free to visit me sometime on Instagram, Facebook, Pinterest, and YouTube. Today I am playing with the new Holiday Medley collection by Becca Feeken I was inspired to make today’s…
-
Truly Yours Collection Inspiration with Lisa Mensing
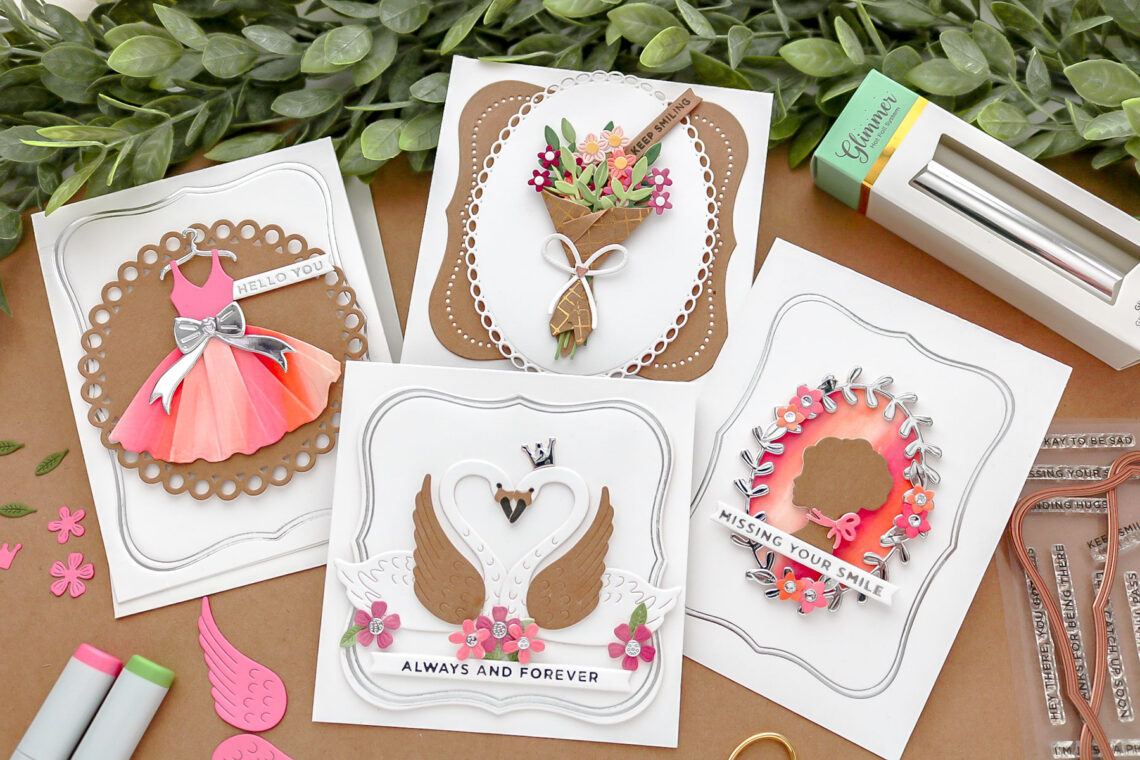
Hi, this is Lisa Mensing, and I am so excited to be sharing a few projects featuring the Truly Yours Collection. I love how so soft and elegant this collection is. I settled on pinks and orange, with silver to add a touch of bling, while the kraft card stock adds some much-needed contrast. I love that you can mix and match each set in this collection and create one-of-a-kind looks by simply using your favorite glimmer plate to add a fun design to the skirt, the swan’s wings, even the bouquet wrapper. Using the Woven Glimmer Plate foil a piece of kraft card stock with Glimmer Hot Foil –…
-
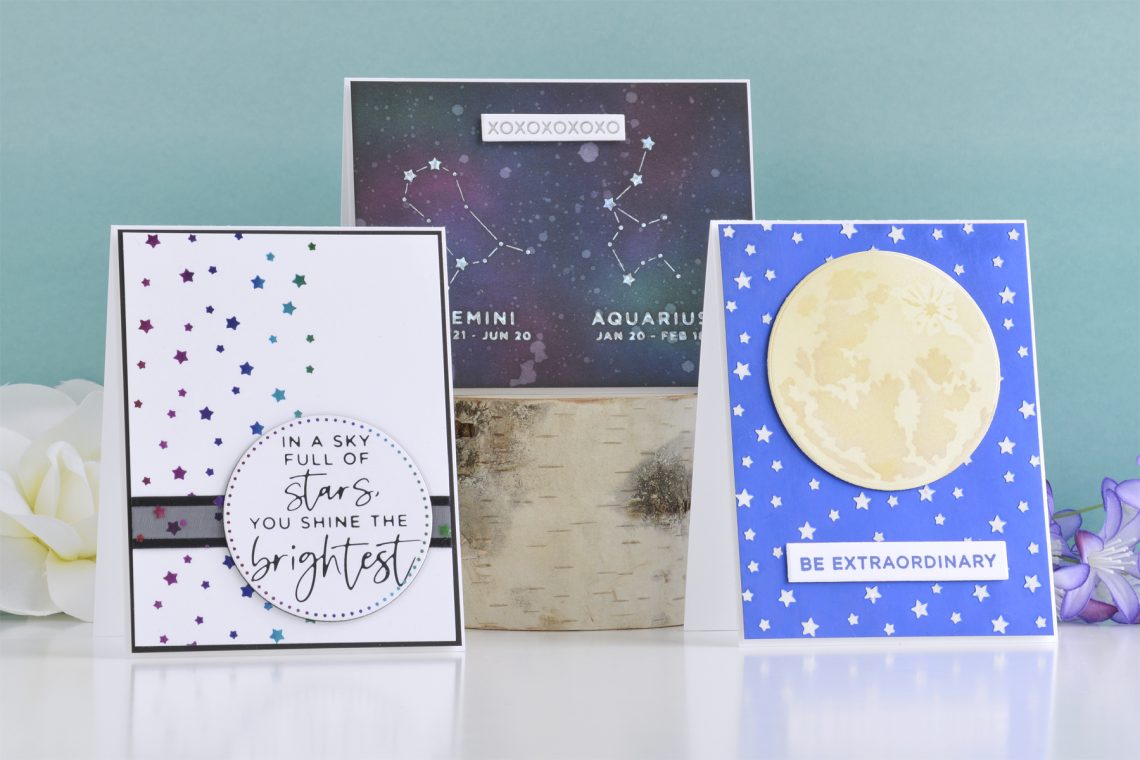
Celestial Zodiacs Collection – Clean and Simple Card Inspiration with Annie Williams
Hi there, this is Annie Williams and I’m so excited to have the opportunity to share a couple of projects using the new Celestial Zodiacs Collection. The twinkling star patterns, majestic moon image, and gorgeous sentiments inspired me to create three clean and simple cards for a variety of occasions. XOXO Zodiac Card The twelve zodiac foil plate sets in the collection are perfect for birthday cards and tags, but I thought they could also be used to make a fun and unique wedding or love card for a stargazing friend. Trim a piece of white cardstock to 4.125” x 5.375”. Apply Speckled Prism Hot Foil to the panel using…

