12 Days of Stitchmas Advent Calendar – Day 2 with Sandi MacIver
Welcome to day 2 of our 12 Days of Stitchmas 2023 Advent Calendar class! Join us and stitch your way through the season! We invited 12 guest artists to share inspiration with the 12 stitching surprises. Let’s welcome Sandi MacIver as she shares inspiration with the Day 2 surprise!
Don’t miss the other video tutorials from our free Youtube Class: Day 1 with Mindy Eggen.
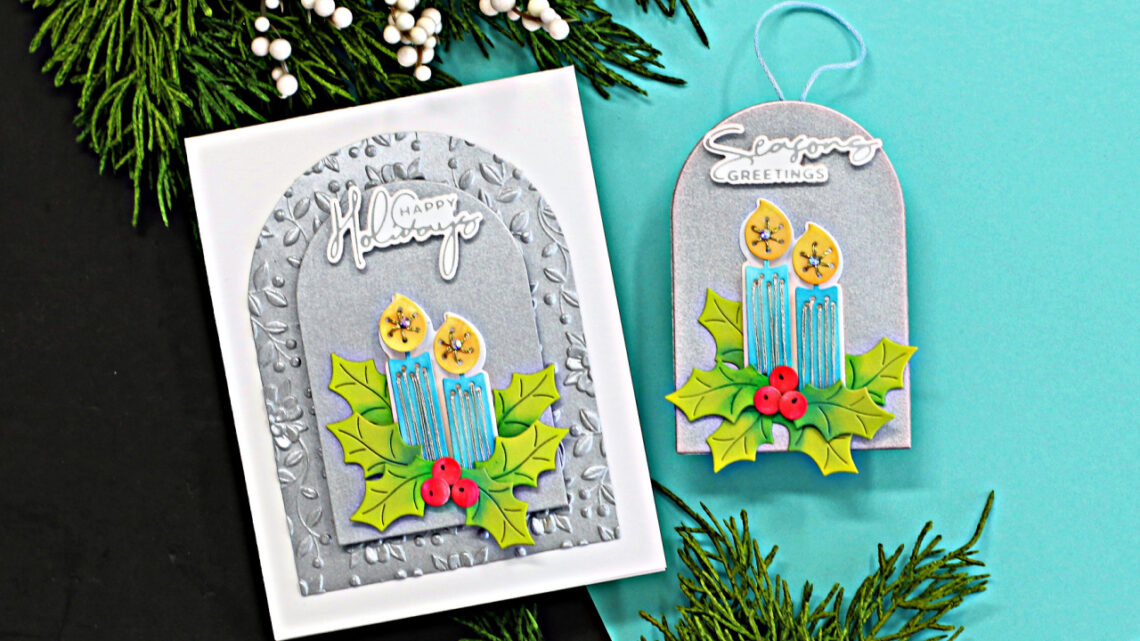
Hi, card-making friends and welcome back. It’s Sandi MacIver here and I’m sharing Spellbinders 12 Days of Stitchmas Day 2 of this fabulous Advent Calendar. It’s so exciting to cut open the box each day to see what the die set is and then create with it. We hope you are enjoying the daily inspiration videos as well as the design team comes up with their ideas for the stitching dies. When I opened Door #2 I was so excited to see it was a candle and holly set. I dove right in.
Watch video tutorial below or on our Youtube Channel:
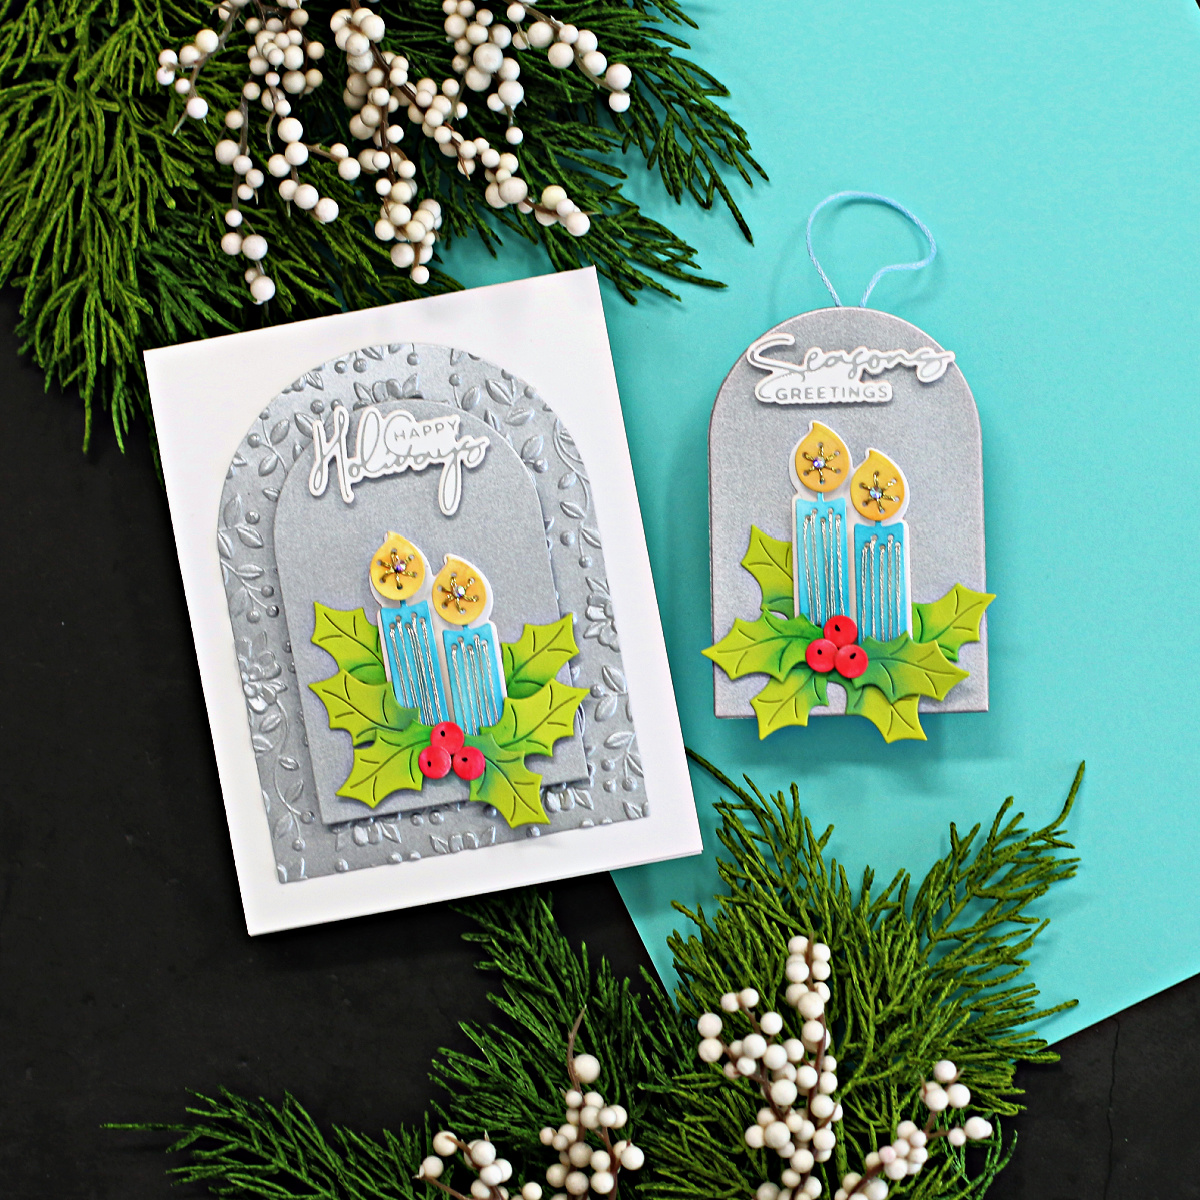
SPELLBINDERS 12 DAYS OF STITCHMAS DAY 2 – TREE ORNAMENT
- Start by die-cutting all the elements, two candles, 6 leaves, and 3 berries.
- Next, ink blend the pieces with Distress Oxide Inks and then attach them to the base.
- Distress Oxide Inks Used:
- Broken China, Pine Needles, Evergreen Bough, Scattered Straw, Spiced Marmalade, Festive Berries.
- Then, stitch the candles using the silver and gold thread included in the Kit.
- Next, Die cut two Arches from the Silver cardstock. Insert a piece of Blue DMC thread before gluing them together.
- Finally, mount the stitched art piece to the front, and the sentiment, using foam squares to pop them up.
SPELLBINDERS 12 DAYS OF STITCHMAS DAY 2 – CARD
- Start by repeating the steps in the first project above. The exception – cutting one small Arch in Silver.
- Next, cut a second arch bigger than the first one. This will help to balance the small art piece on the much larger card front. Embossing it also adds additional interest or “background noise”.
- Then, emboss this larger arch with the Floral and Vine Embossing Folder before attaching it to a top-folding A2 Sized white card base.
- Finally, add Spectrum AB color Essential Gems to the center of each flame, and another glimmer foiled sentiment to the top.
I hope you enjoyed these easy and fun stitched projects. You can find more card-making inspiration over on my blog sandimaciver.com and don’t forget to visit again tomorrow for the unveiling of Door #3.
Order your 12 Days of Stitchmas Advent Calendar and join in the fun. Don’t forget to include the 12 Days of Christmas Stitch Along Add-On Kit, full of everything you need for your 12 days of fun.
Spellbinders Supplies:

Other supplies
White heavyweight cardstock, foam adhesive, blending brushes,

One Comment
Cindy C.
Very nice! Thanks for the tutorial!