12 Days of Stitchmas Advent Calendar | Day 6 with Michelle Short
Welcome to day 6 of our 12 Days of Stitchmas 2023 Advent Calendar class! Join us and stitch your way through the season! We invited 12 guest artists to share inspiration with the 12 stitching surprises. Let’s welcome Michelle Short as she shares inspiration with the Day 6 surprise!
Don’t miss the other video tutorials from our free Youtube Class: Day 1 with Mindy Eggen | Day 2 with Sandi MacIver | Day 3 with Laura Bassen | Day 4 with Jaycee Gaspar | Day 5 with Yana Smakula.
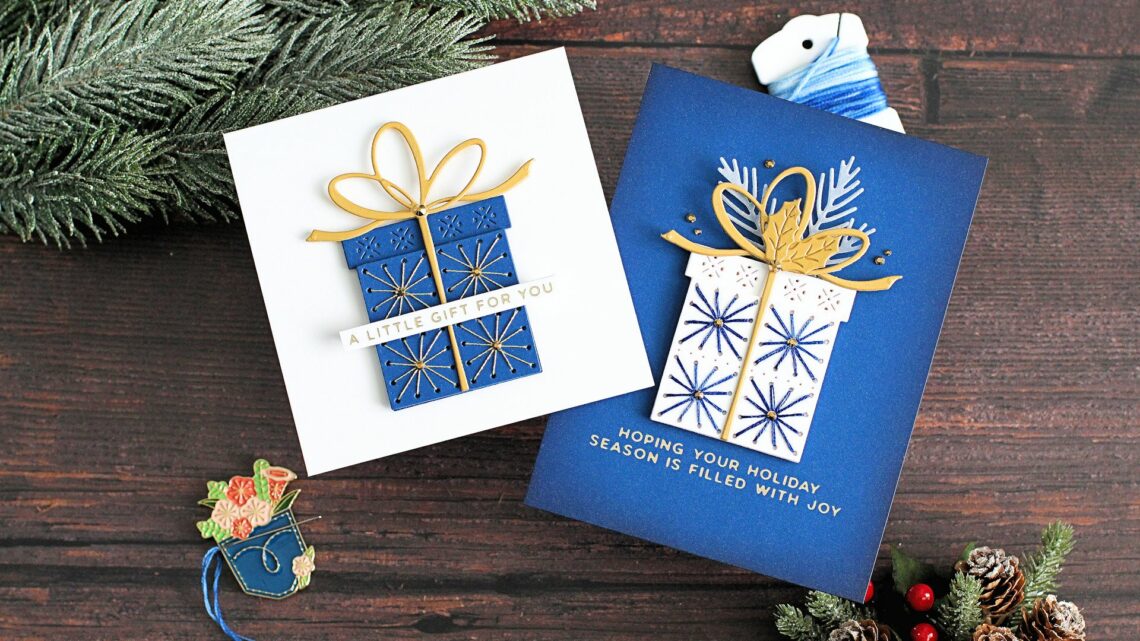
Hello there and welcome 12 Days of Stitchmas day 6! It’s Michelle Short here to share some inspiration with you using the 12 Days of Stitchmas 2023 Advent Calendar, incorporating supplies from the 12 Days of Stitchmas Stitch Along Add-On Kit. What is under the door of day 6? A gift!

Watch video tutorial below or on our Youtube channel:
A LITTLE GIFT FOR YOU
I started off my first card by taking the gift die and die-cutting the stitching layer twice, from Cosmic Sky Cardstock (from the kit). They were adhered together using Bearly Art Glue for added stability. In my opinion, this makes stitching so much easier! For the stitching, I used the DMC needles and Gold Diamant Metallic Thread from the kit.
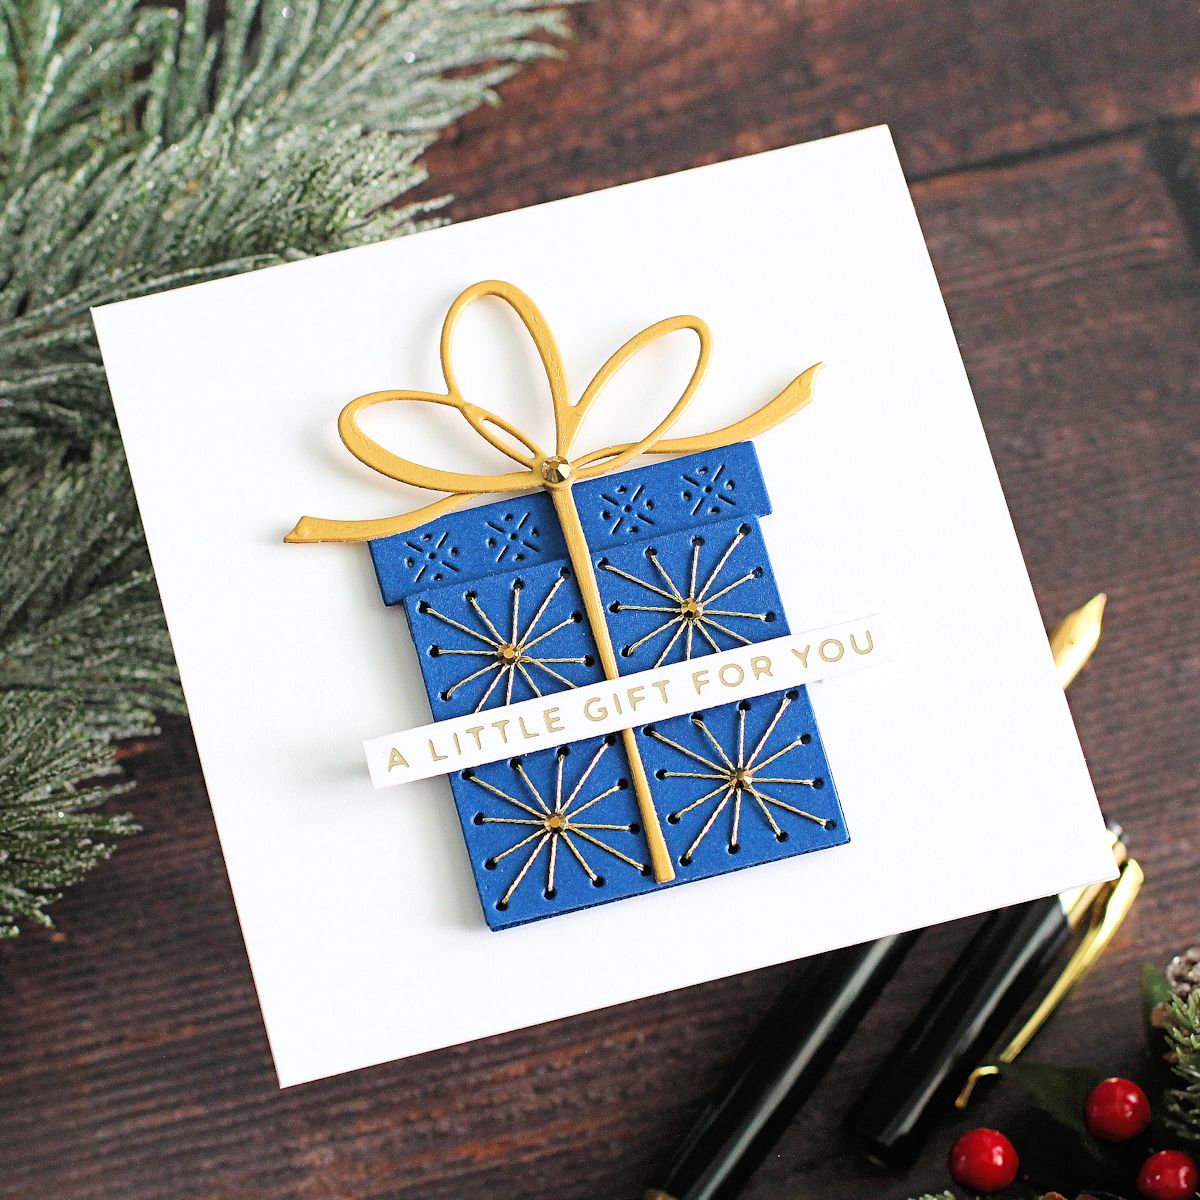
I secured the thread to the back of the piece using Best Ever Craft Tape. I adhered the gift topper piece, also cut from Cosmic Sky Cardstock twice, at the top, and then adhered the backer piece behind using 1/8” Liner Tape, to hide the thread. I die-cut the ribbon/bow twice from Brushed Gold Cardstock (from the kit), adhered them together first (for added dimension), and then onto the gift.
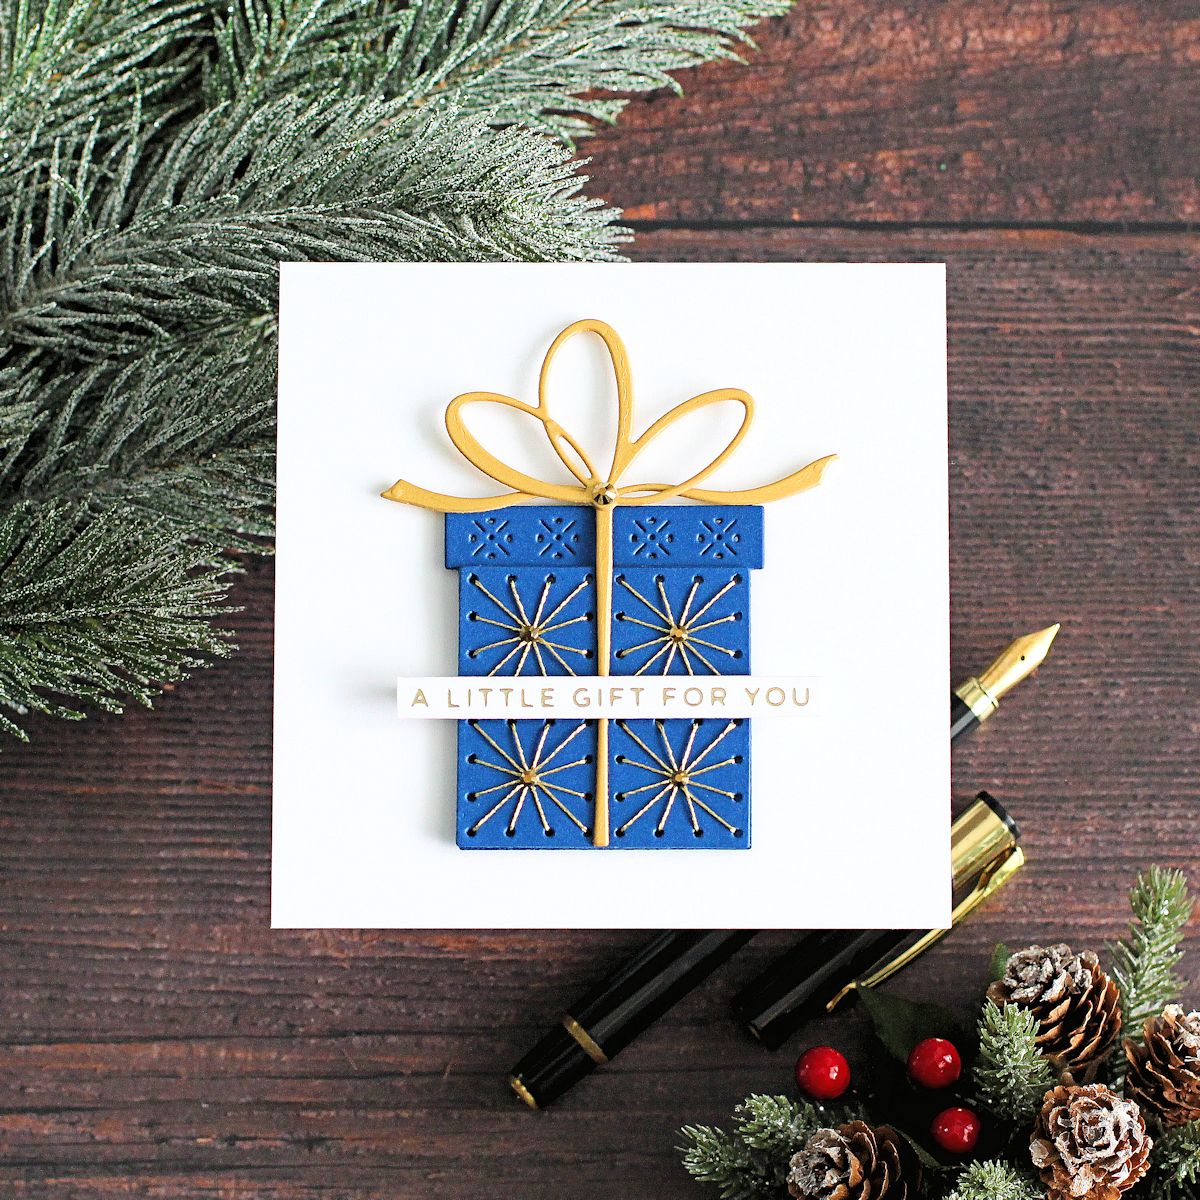
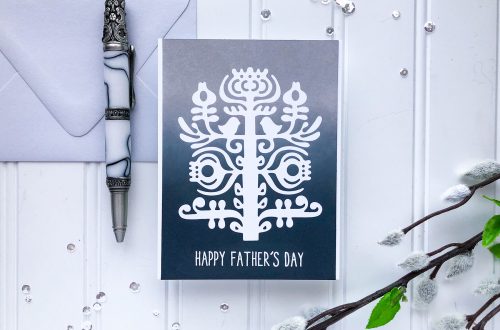
I adhered the gift to a white 4 ¼” x 4 ¼” card base using thin foam tape. I hot-foiled a sentiment from Glitter Wishes onto white cardstock using Champagne Foil. It was cut into a strip and adhered to the card using foam squares (in the kit). To finish off, I embellished it with Gold Mix Color Essentials Gems.
I thought this card would work well as a gift card/money holder. Perfect for the holidays, but also for birthdays and other occasions too!
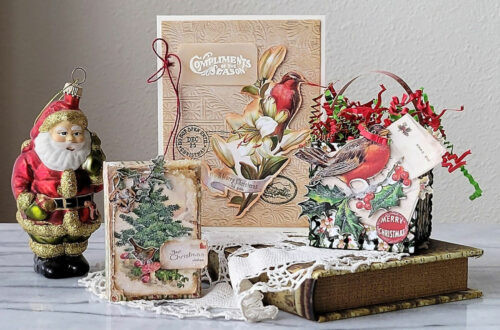
SEASON FILLED WITH JOY
For my second card, I wanted to keep to the same color palette, but reversed! I die-cut the gift from Snowdrift Cardstock (in the kit) twice and adhered them together. For the stitching this time, I used the Variegated 121 Delft Blue Floss from the kit. I focussed on the darker shades (the darkest blue and slightly lighter blue) of the floss to really make it pop from the white.

I separated the floss to three strands thick and stitched the gift so that the darker of the floss was in the top left and bottom right, and the slightly lighter shade was in the bottom left and top right. I adhered the gift together as per the first card but left off the bow at this point. I wanted to add some foliage (from Snowflake Card Creator) behind for a more Christmassy look!
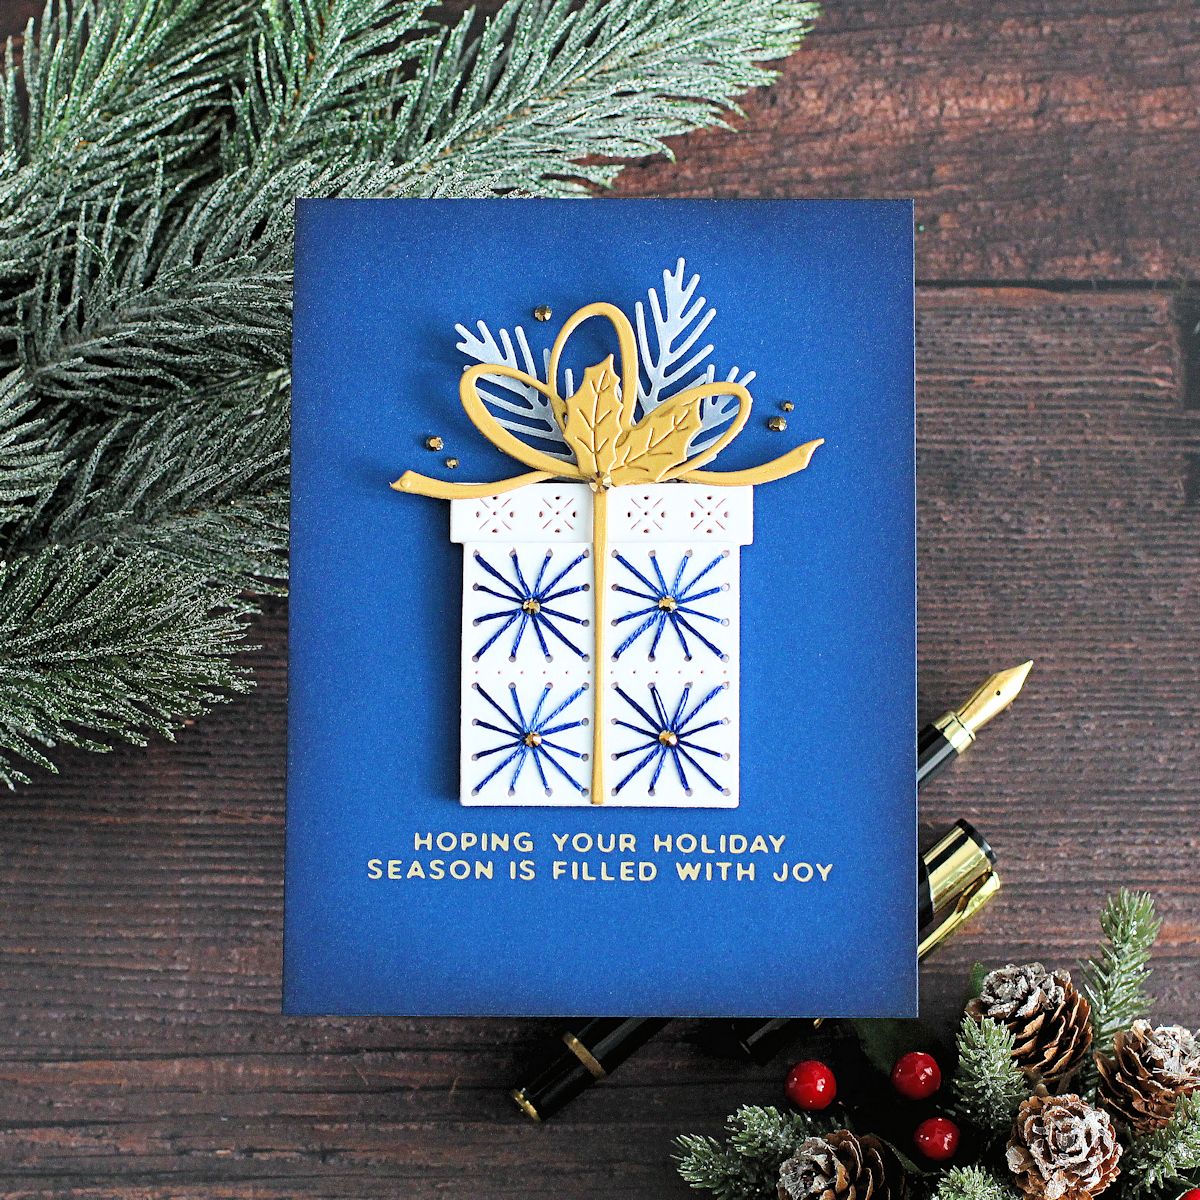
I die-cut the branches from Vellum and the holly leaves from Brushed Gold Cardstock. For the card base, I hot-foiled a sentiment from A Merry Little Christmas Sentiments onto Cosmic Sky Cardstock using Champagne Foil. I added ink blending around the edges using Betterpress Inks (Cosmic Sky and Letterpress Black) before adhering to an A2 Cosmic Sky card base. The gift was adhered on top using thin foam tape, and the foliage adhered with Bearly Art Glue. To finish, I embellished with Gold Mix Color Essentials Gems.
Spellbinders Supplies:

Other supplies
Thin foam tape.
I hope you have enjoyed seeing my projects. I think the gift die is fabulous and can be used all year round too! Thank you so much for stopping by today, happy stitchmas!

2 Comments
Cindy C.
Both so delightful!!
Julie Peddicord
These are stunning Michelle!