-
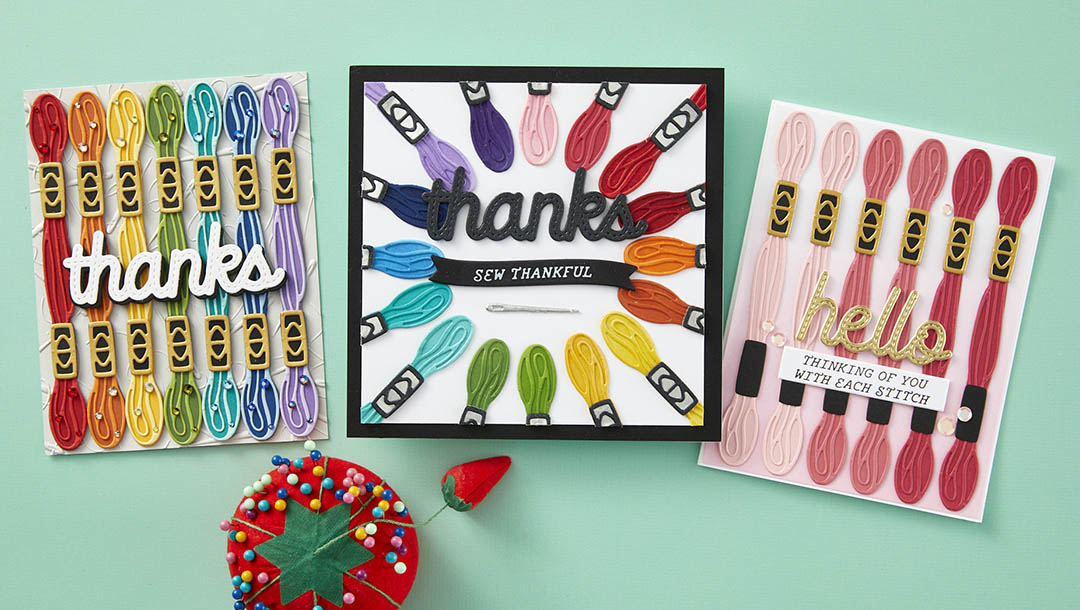
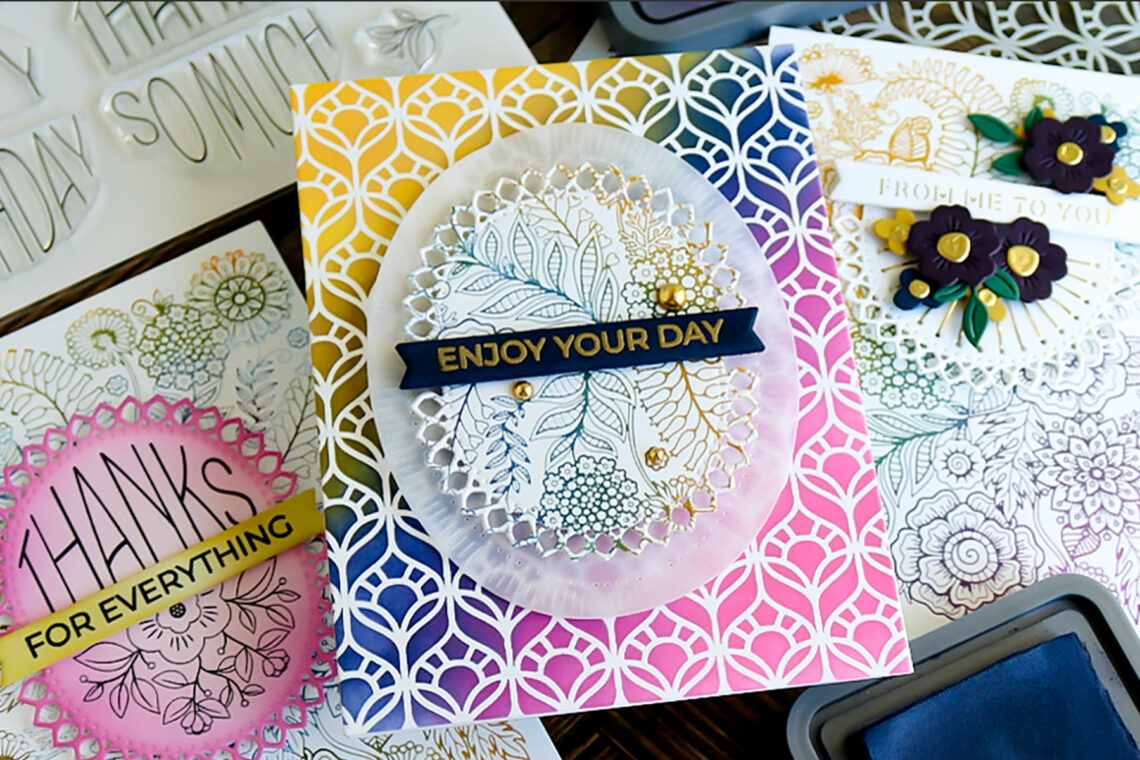
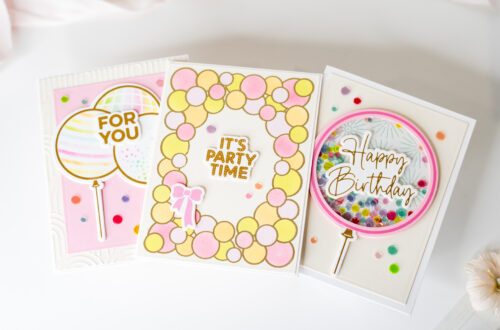
April 2024 Small Die of the Month Preview & Tutorials – Faux Stitched Sentiments & Floss
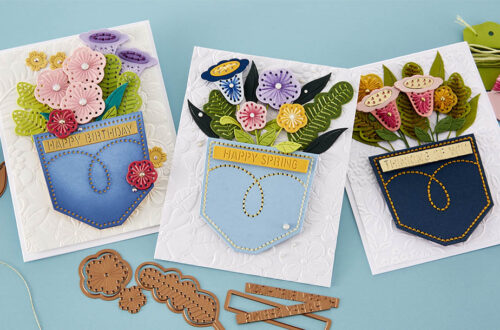
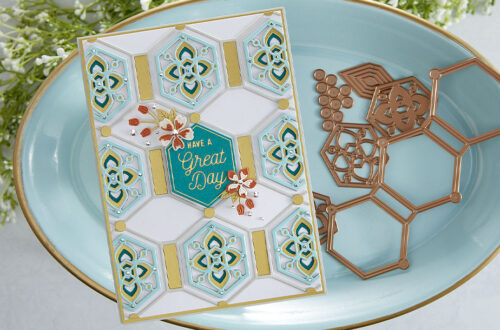
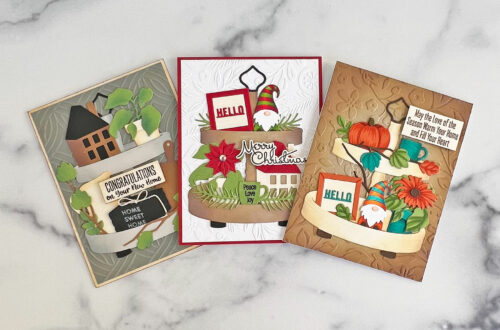
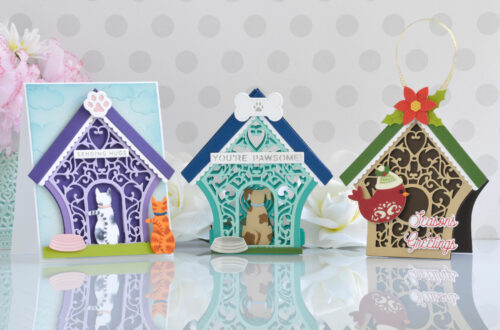
Our April 2024 Small Die of the Month preview & tutorials are here! This “Faux Stitched Sentiments & Floss” die set features 9 cutting dies. Enjoy the step-by-step tutorial below as well as the video tutorial to get you started with this month’s kit. Make sure to show us what you create by tagging #SpellbindersClubKits on social media! Please note, new Subscription Sign-Up Window will now open on the 6th of each month and close on the 27th (once existing club members subscriptions have been processed.) If there is additional inventory remaining, then they will be made available for new subscriptions and will have limited availability. Continuing Subscriptions will charge…
-
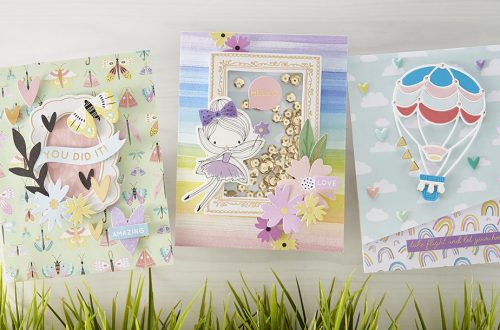
Stretching Your Stash: Pairing Dies with the New Card Maker’s Kit!
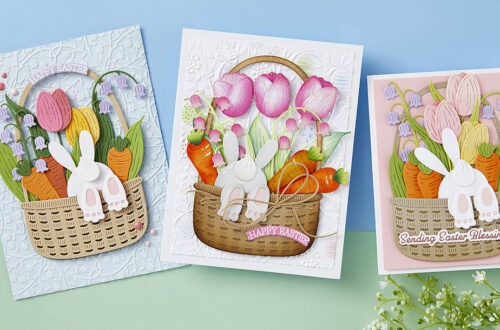
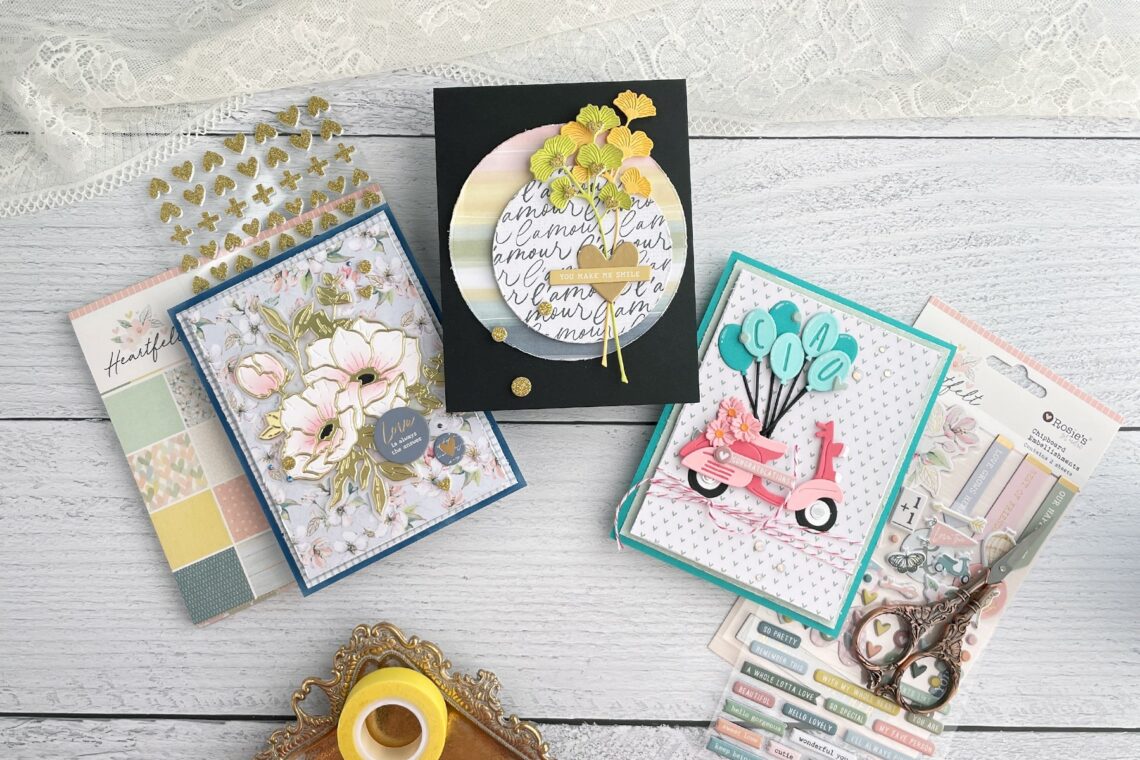
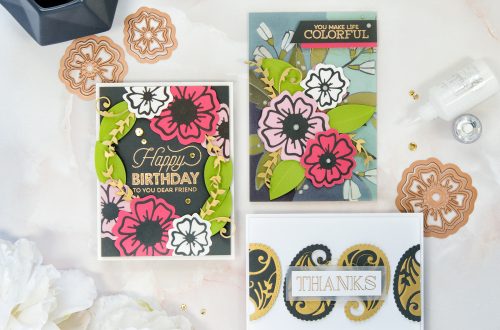
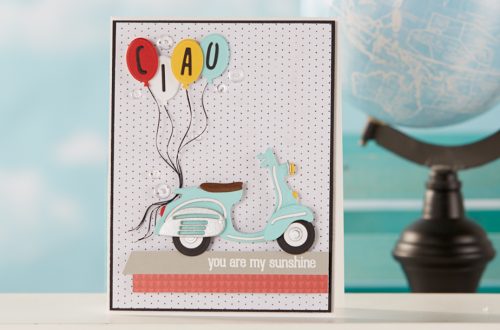
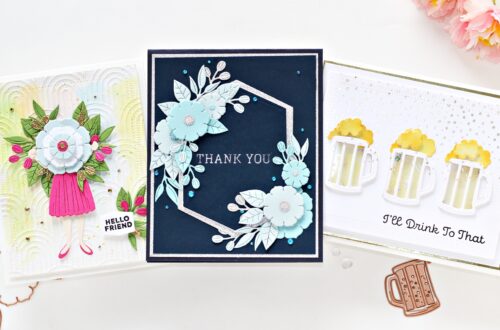
Hello, crafty friends, I’m Adrienne Boese, better known as Alice Scraps Wonderland online, and I’m thrilled to be on the Spellbinders blog for my first guest post! I’m known for my love of florals—I try to tuck in at least one floral element into every project I create. Today’s project features three cards made with Rosie’s Studio Heartfelt Card Maker’s Kit and the Ciao die. Each card is designed with some shabby chic touches and either features florals at the center, or has a few tucked in. This collection offers some fun opportunities to pull out Spellbinders dies you already have in your collection that allows you to match or…
-
Colorful Goodness with the Kaleidoscope Arch Collection
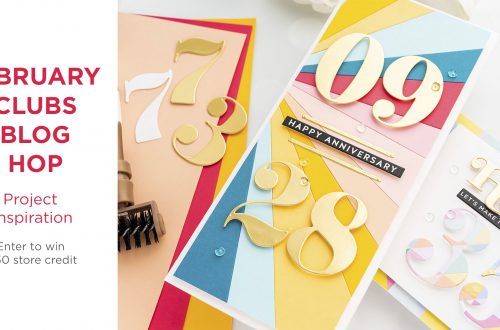
Are you ready to get crafty? Join me as we dive into Spellbinder’s Kaleidoscope Arch Collection and discover the joy of stitching on handmade cards for the first time. Of course, I share a vibrant color scheme for ink blending and inking letterpress plates plus share how this collection offers endless possibilities for creating beautiful and unique cards. In this blog post, I will walk you through three easy cards that you can make using the Spellbinders Kaleidoscope Arch Collection. So, grab your supplies, and let’s get started on this crafty adventure together! So, first things first, let’s talk about these stunning flowers press plate called the Kaleidoscope Flowers Press…
-
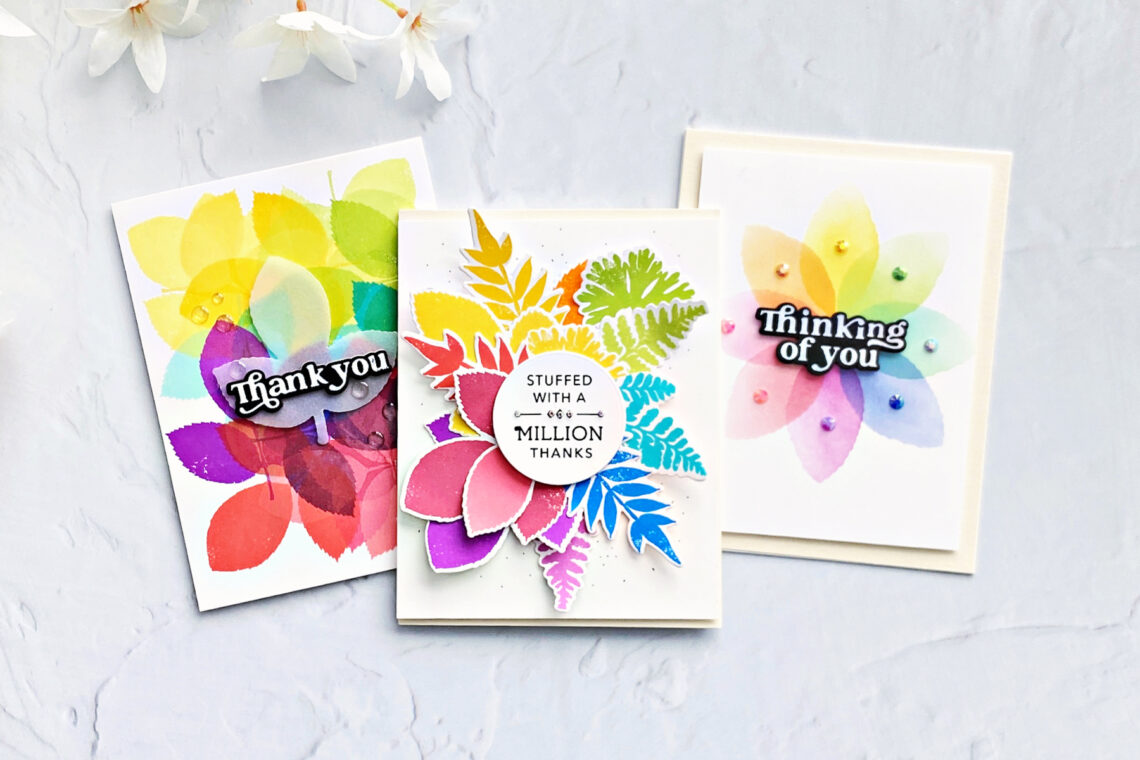
Vibrant Rainbow Palette Using Simon Hurley’s Leaf Prints
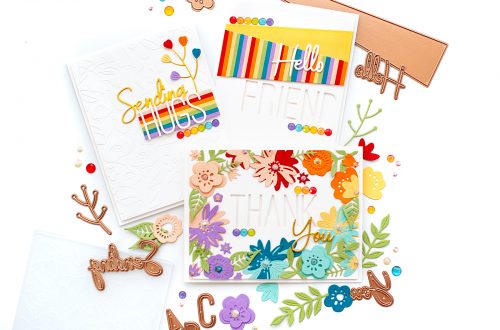
Hello crafters! Joan Bardee here and I’m happy to be back on the Spellbinders blog sharing 3 bright, colorful cards using Simon Hurley’s Leaf Prints stamps and dies. Leaf Prints is a set of beautiful solid (no coloring!!) red rubber stamps of leaves and there is a coordinating set of dies available. Leaf Prints is perfect for fall cards, and normally I would go with a typical autumn color palette, but I used a vibrant rainbow palette instead and I love how they came out. Although, when you get to the 3rd card, you’ll see I’m second-guessing myself. Let me know what you think. RAINBOW BOUQUET This card packs a…
-
Better Press Christmas – Letter Press and Hot Foil Card Ideas with BetterPress Plates
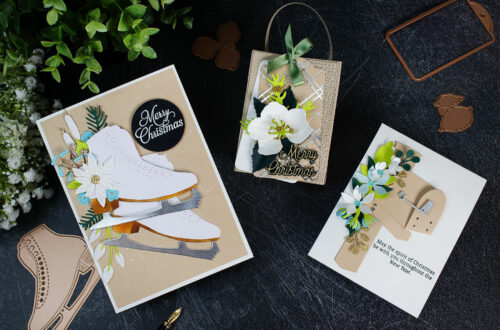
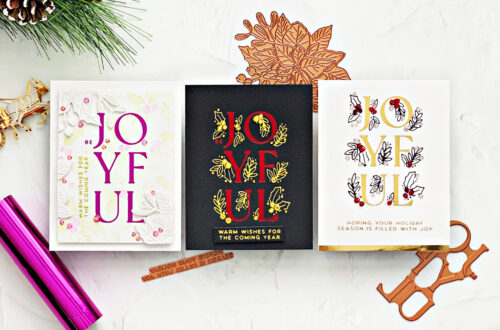
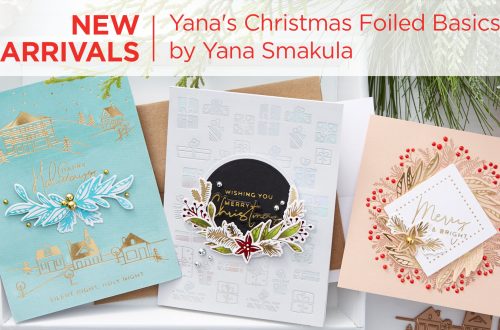
Hi friends! Emily Midgett from Sixth Street Sundries here with you today on the Spellbinders blog, and today I have some inspiration to share using a few products from the BetterPress Christmas Collection! One of my favorite things about the new BetterPress Letterpress plates is how beautifully they work with both your BetterPress letterpress machine and the Glimmer Hot Foil machine! The amount of detail that you can achieve with either machine using the super intricate images in the BetterPress lineup is truly impressive. I have created a quartet of projects to share with you today using several products from the BetterPress Christmas collection, so let’s get started with the…
-
12 Days of Stitchmas Advent Calendar | Day 6 with Michelle Short
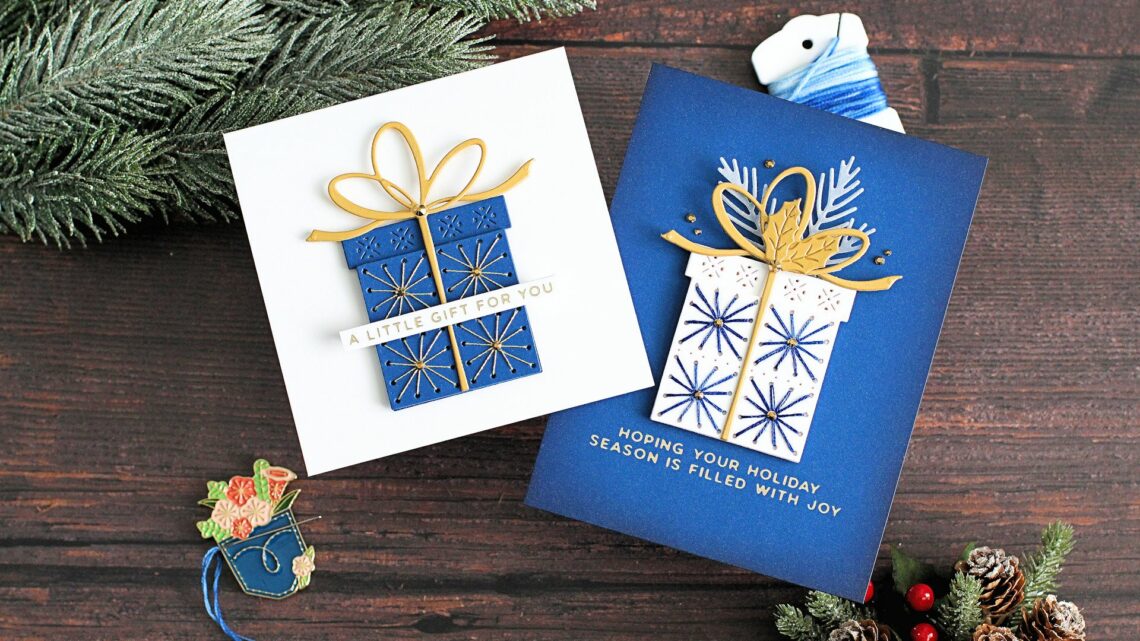
Welcome to day 6 of our 12 Days of Stitchmas 2023 Advent Calendar class! Join us and stitch your way through the season! We invited 12 guest artists to share inspiration with the 12 stitching surprises. Let’s welcome Michelle Short as she shares inspiration with the Day 6 surprise! Don’t miss the other video tutorials from our free Youtube Class: Day 1 with Mindy Eggen | Day 2 with Sandi MacIver | Day 3 with Laura Bassen | Day 4 with Jaycee Gaspar | Day 5 with Yana Smakula. Hello there and welcome 12 Days of Stitchmas day 6! It’s Michelle Short here to share some inspiration with you using…
-
Creating “Oceans” Without Watercoloring Using the Seahorse Kisses Collection with Joan Bardee
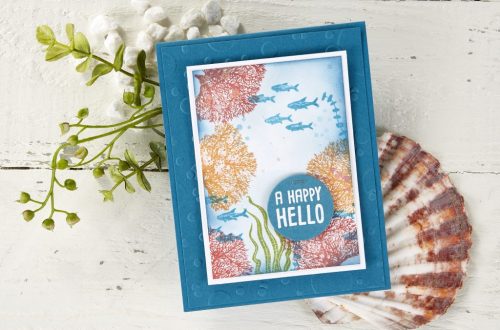
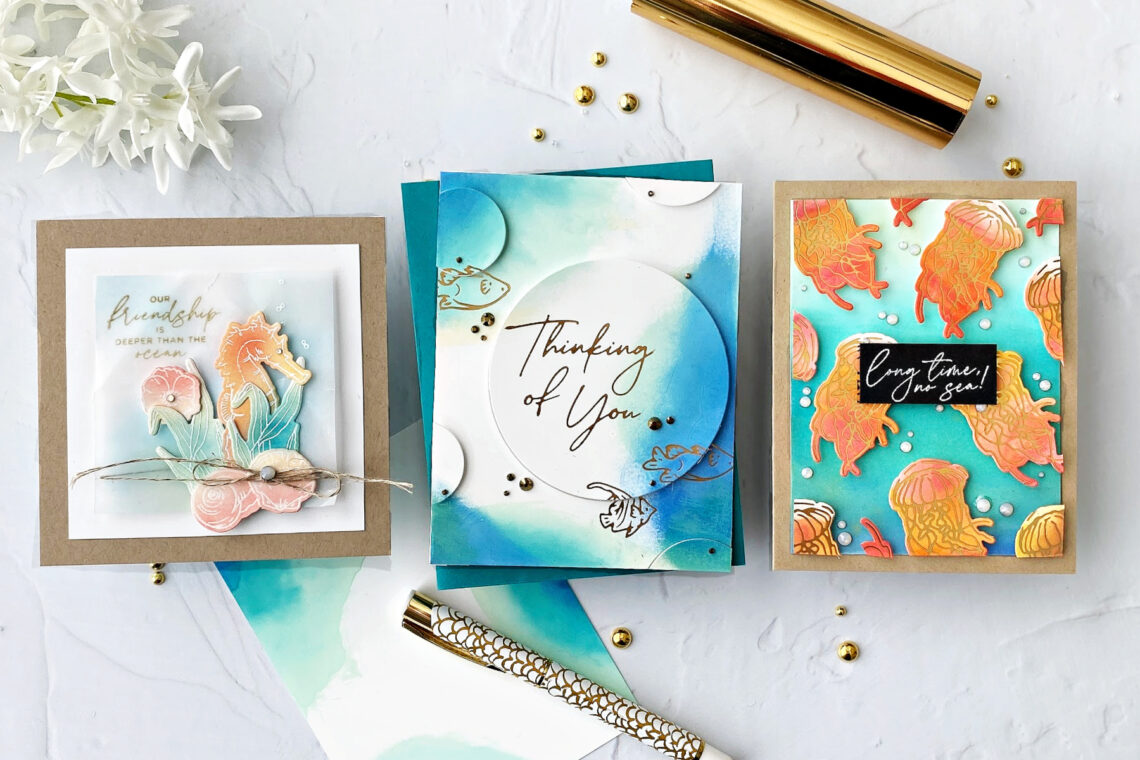
Hello crafters! I’m Joan Bardee and today I am sharing 3 ocean-themed cards using the beautiful Seahorse Kisses Collection designed by Dawn Woleslagle. As I’m sure many of you know, Dawn Woleslagle is an amazing watercolorist. The Seahorse Kisses Collection would be beautiful watercolored. However, since I’m not on speaking terms with watercolors, I decided to create ocean backgrounds with ink blending on specialty papers. I hope you like the results. A Modern Inky Tide This abstract modern take on ocean tides was inspired by these amazing cards that Yana Smakula made with Spellbinders Glimmer Specialty Cardstock. This paper, designed to be the perfect paper for hot foiling, has a…
-
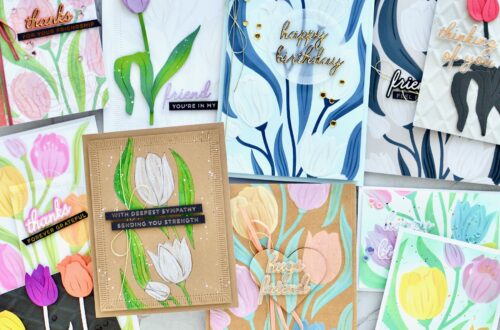
Metamorphosis Collection Cards & Tag Ideas
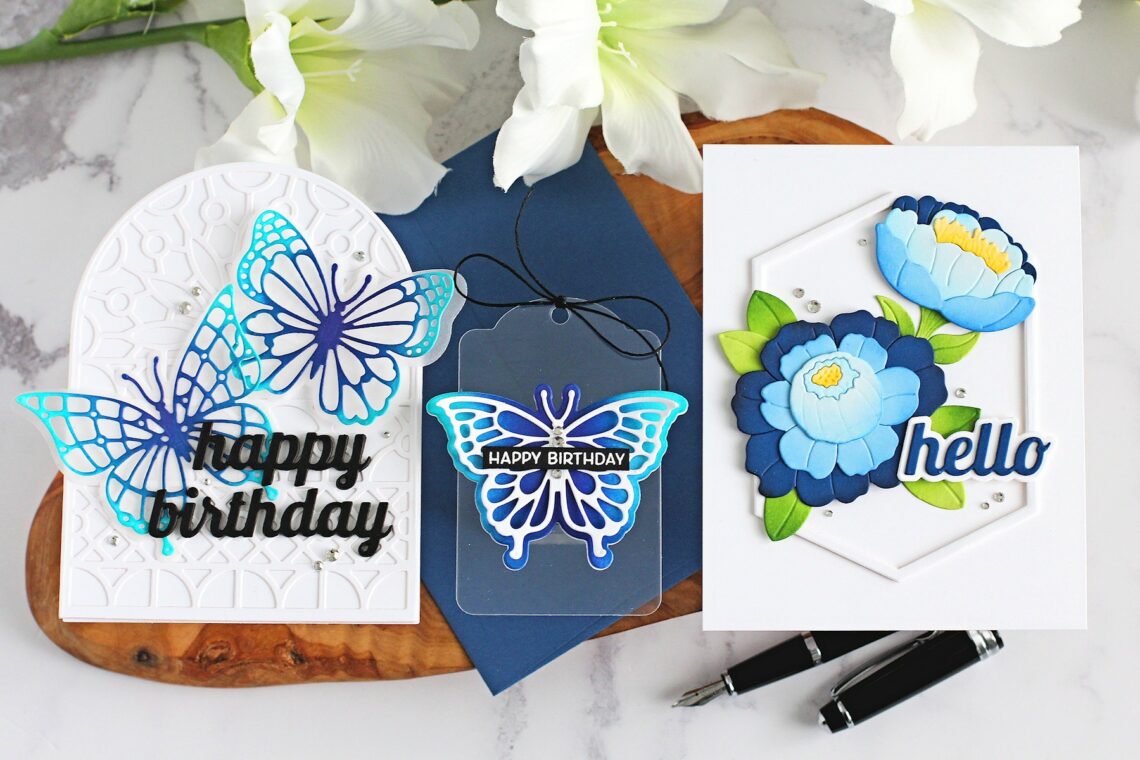
Hello there, Michelle Short here to share some inspiration using the Metamorphosis Collection by Simon Hurley. This is a wonderful collection that is perfect for cards, tags, scrapbook/art journals and so much more! I have two cards to share with you today, as well as a tag. HELLO I am using the In Bloom set for my first card, which is such a pretty layering floral die set. I die-cut the flower petals from Glacier, Raindrop, and Cosmic Sky Cardstock. I then cut the centers from Chamomile and the leaves and stem from Peridot Cardstock. All of the layers were ink blended on the edges using Distress Inks and then…
-
Metamorphosis Collection Cardmaking Ideas
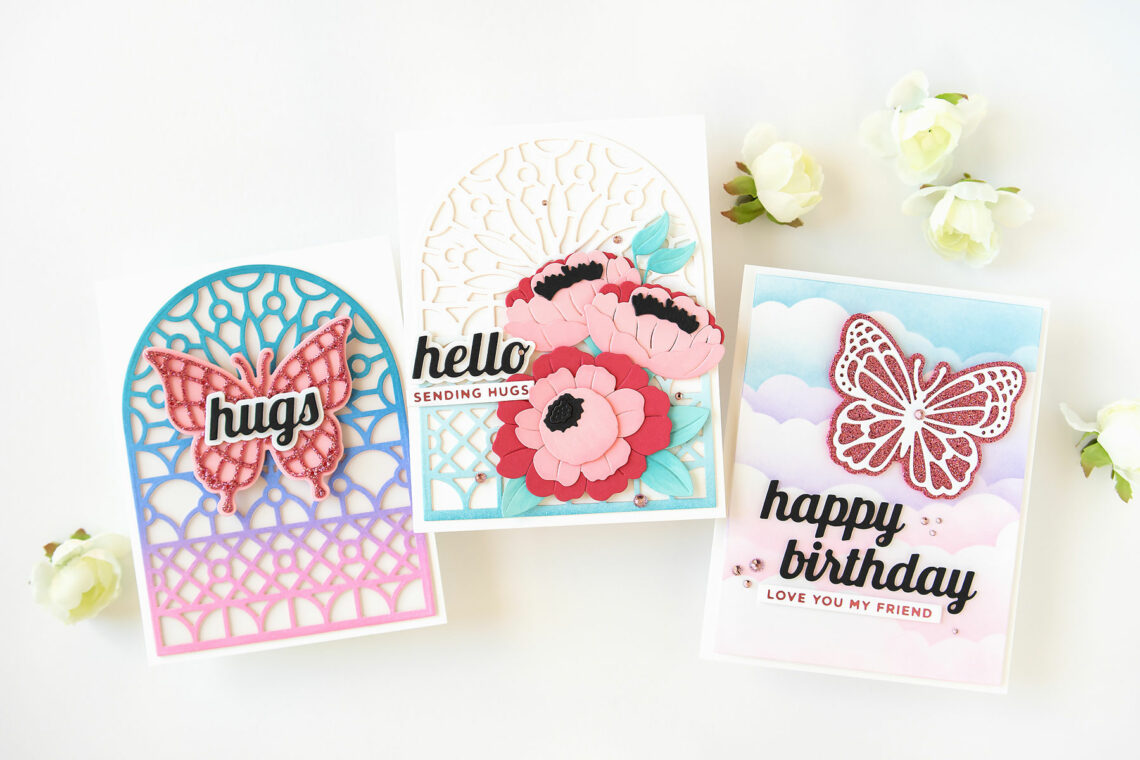
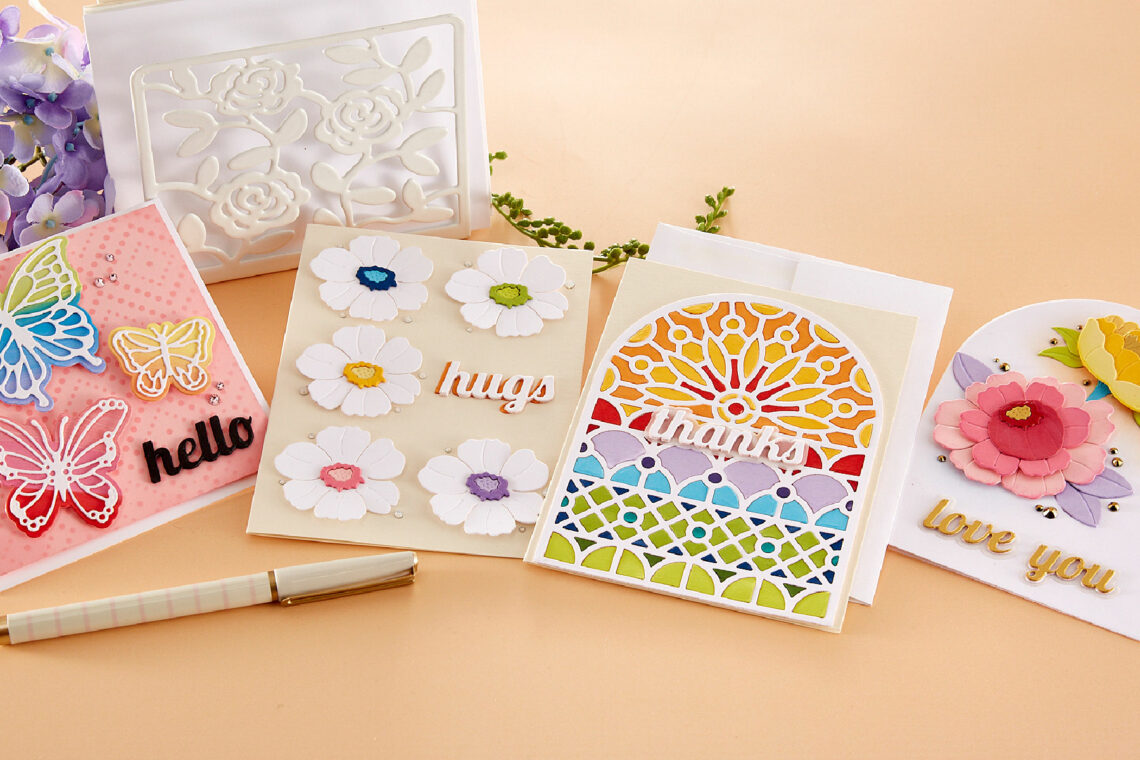
Hello crafty friends! It’s Jung here, and I am back with another guest post on the Spellbinders blog. Today, I made 3 cards using the new Metamorphosis collection by Simon Hurley. Butterfly Hugs Card For my first card, I used butterflies, stained glass window, and sentiment dies. I started out my card with the stained glass window. I used Distress inks to ink blend a panel of white cardstock. Next, I taped the outer die to the detailed die to keep the spacing the same. I die-cut my ink blended panel with the stained glass window die, and I diecut 3 more panels from white cardstock to layer behind for…
-
Metamorphosis: Rainbow Colored Fun
Hello and welcome! I’m Joan Bardee and today I’m featuring 3 cards using the gorgeous Metamorphosis Collection designed by Simon Hurley. (How does Simon create so many amazing products, videos, and samples??) This collection consists of 4 sets of dies: In Bloom, Stained Glass Window, Everyday Sentiments, and Brilliant Butterflies. I was particularly smitten with the arch shape in Stained Glass Window and the collection put me in the mood for rainbow colors, so get ready for rainbows. The Stained Glass Window base die is perfect to make an arched-shaped card, so I did. Die cut a fantasy rainbow-colored bouquet (with gold accents) using the In Bloom dies. Love how…