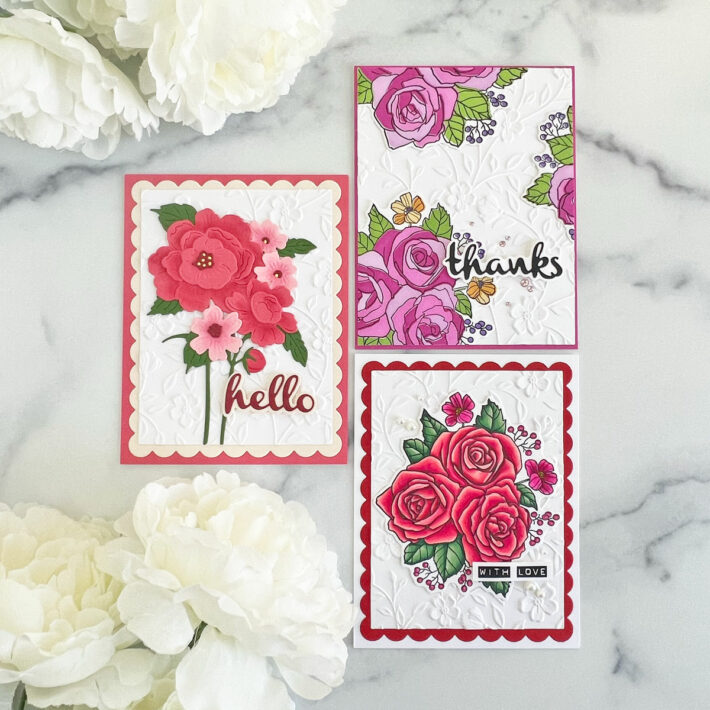
One Collection Three Ways
Hello, crafty friends!! Brenda Noelke here from My PaperCut Creations! I’m so excited to be a guest on the Spellbinders blog again today! I’m sharing three cards featuring the From the Garden Collection designed by Wendy Vecchi!! There are stamps, dies, stencils and shaped dies in this amazing collection!! I LOVE it!!
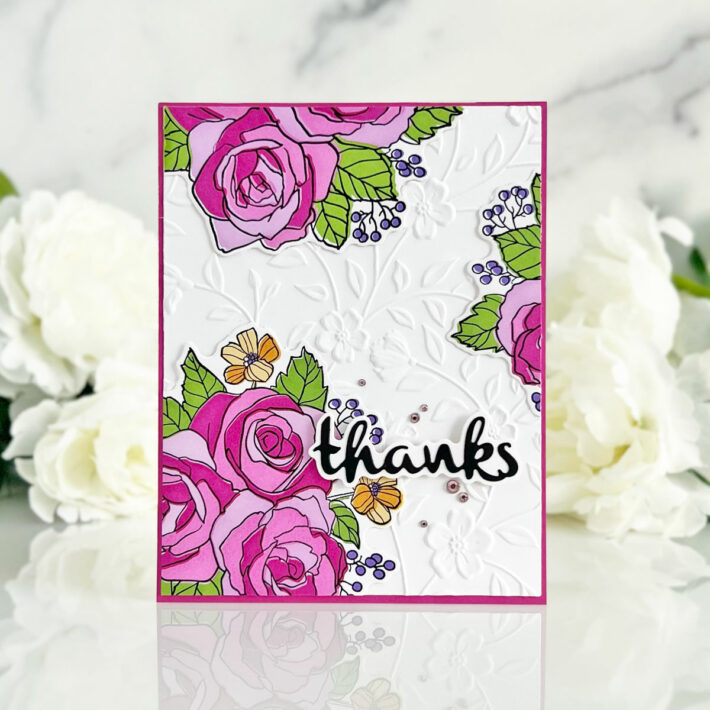
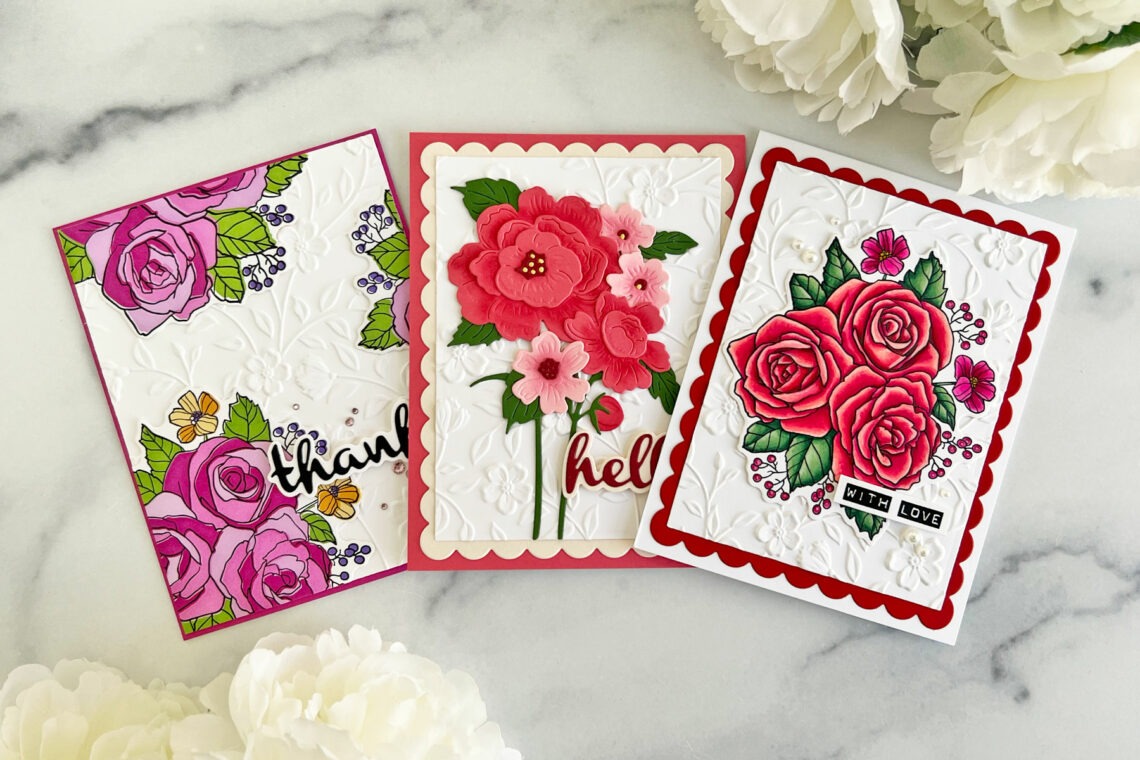
THANKS
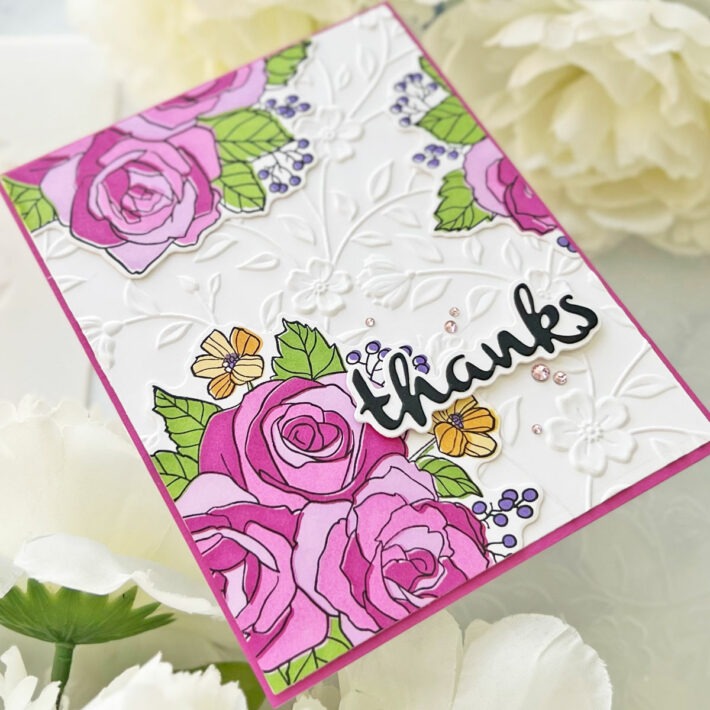
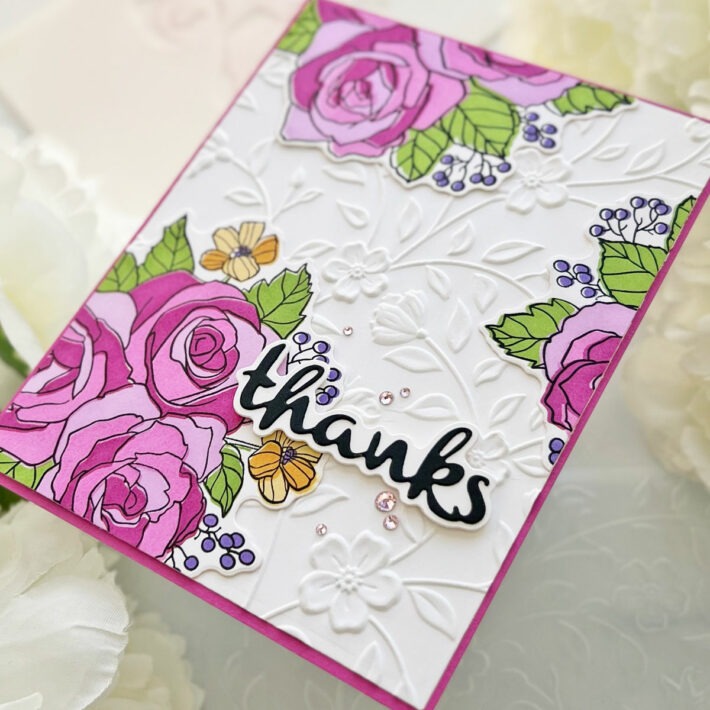
Layering stencils are all the rage right now and the Garden Party Stencil is absolutely beautiful!! I layered die inks onto two panels of white cardstock through the Garden Party Stencil with blending brushes, then stamped the outline with black dye ink using the Garden Party Clear Stamp & Die Set. I used the Coordinating Die included with either set to cut them out.
For the background, I die-cut a panel of white cardstock using the largest die in the A2 Matting Basics A die set and embossed it with the Flowers and Foliage 3D Embossing Folder.
I adhered the floral die-cuts to the background, trimmed the excess from the edges, then adhered it to a panel of bright pink cardstock. The sentiment was die-cut from Onyx and white cardstock using dies included in the Heartfelt Thanks and Scallops die set. It was popped up with foam tape and a few gems from the Pink Color Essentials Gems Pack finish off the card.
HELLO
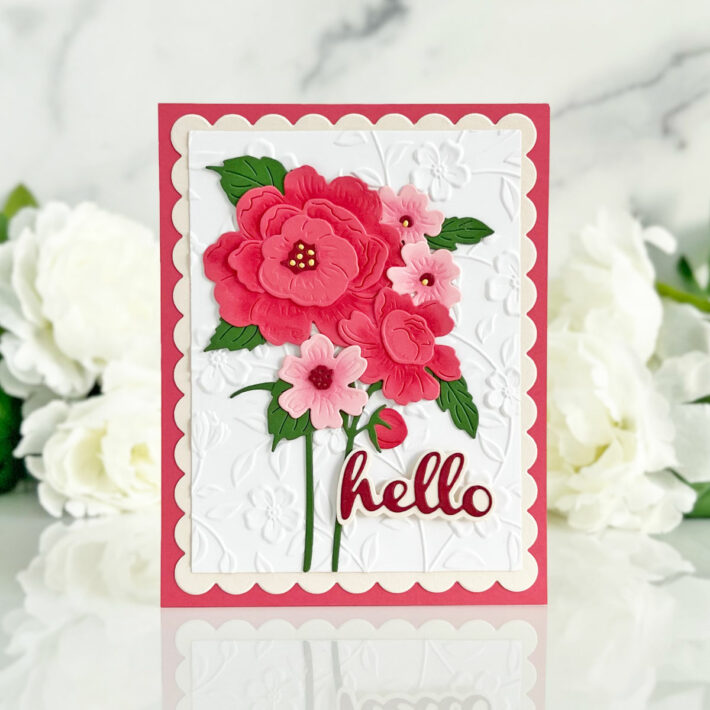
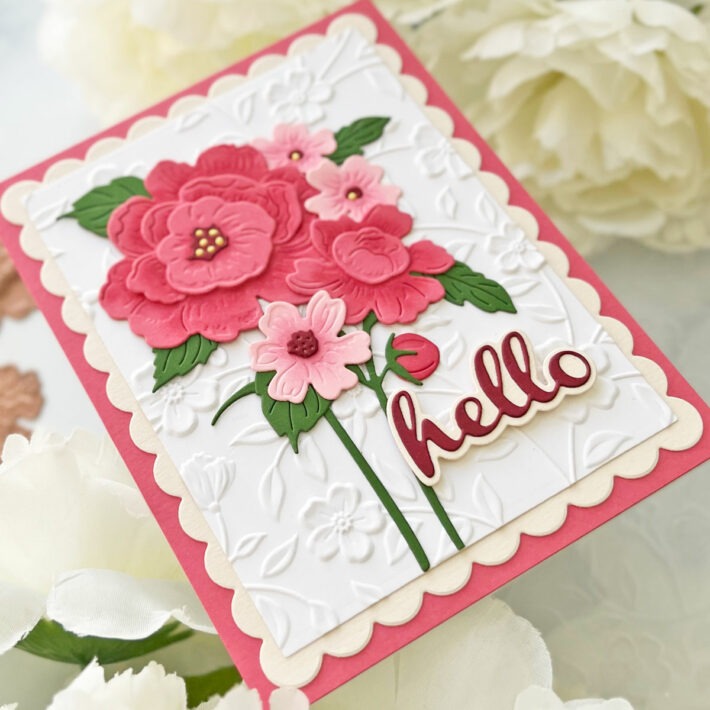
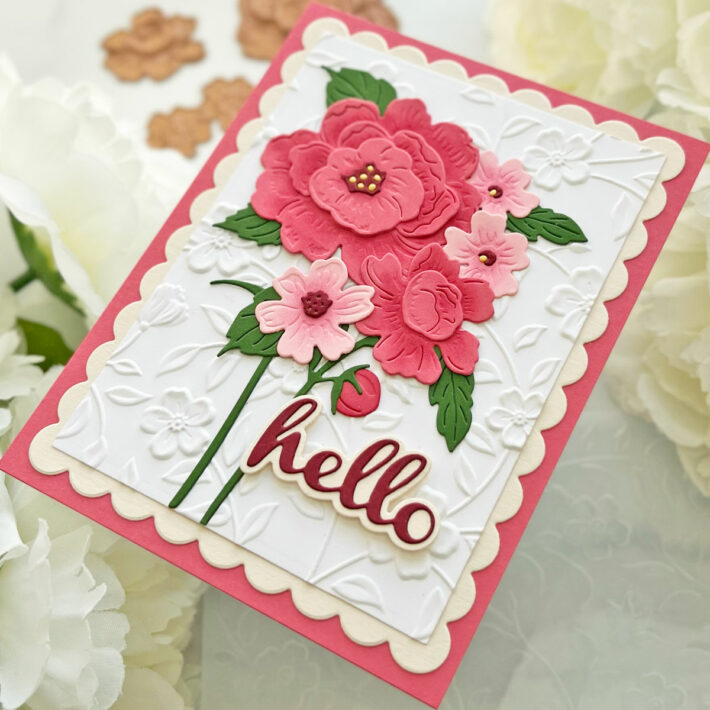
My second card features the Vintage Florals Etched Dies. I die-cut the flowers from Pink Sand and Dahlia cardstock and added some shading to the centers with Distress Oxide Inks. The stems and leaves were die-cut from Fern cardstock and the centers of the flowers were cut from Crimson and Beeswax cardstock. The “hello” sentiment die is also included in the Vintage Florals Etched Die Set. It was cut from Barely Peach and Crimson cardstock.
For the background on this one, I die-cut a panel of white cardstock with the second largest die in the A2 Matting Basics A die set and embossed it with the Flowers and Foliage 3D Embossing Folder.
A panel of Barely Peach cardstock was die-cut with the largest scalloped rectangle die in the Heartfelt Thanks and Scallops die set. Both panels were adhered to an A2 panel of Dahlia cardstock, then the flowers and foliage were arranged and adhered with liquid glue. The sentiment was added in the lower, right corner with foam adhesive.
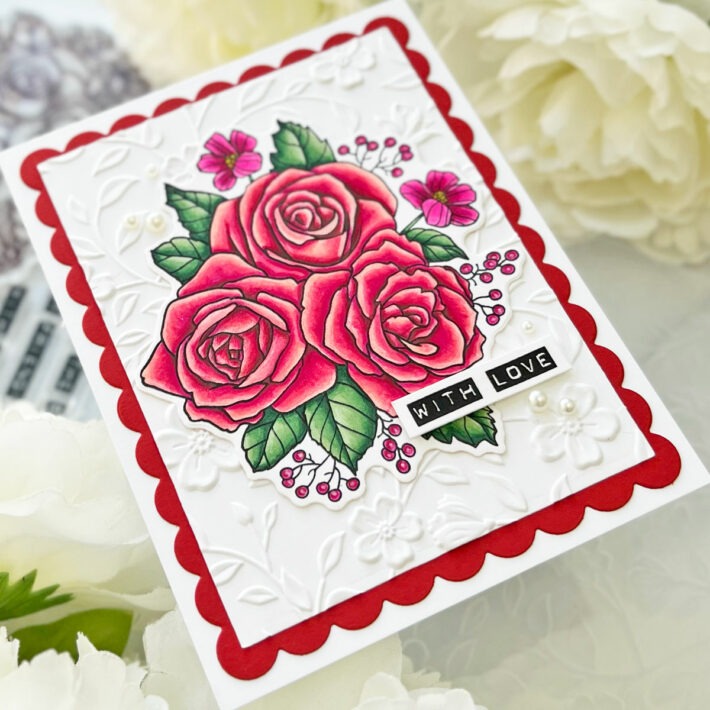
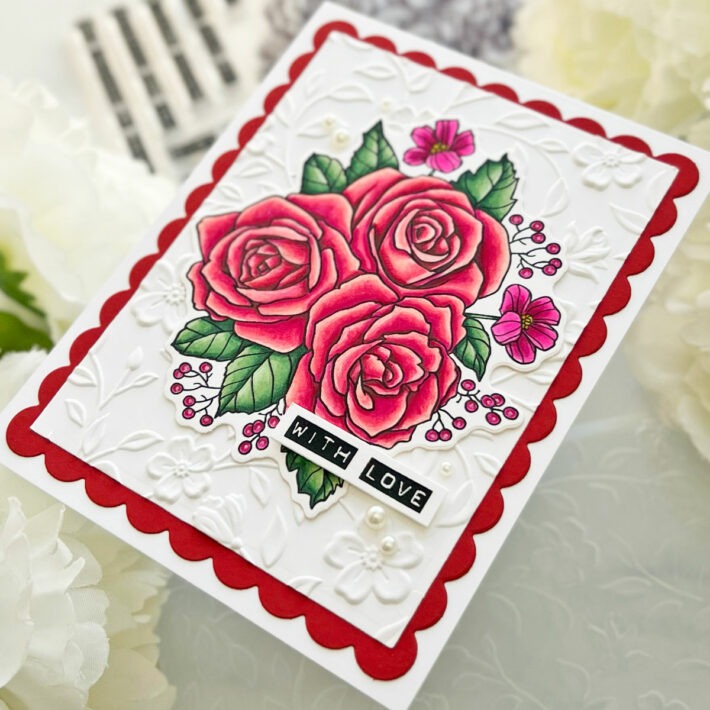
WITH LOVE
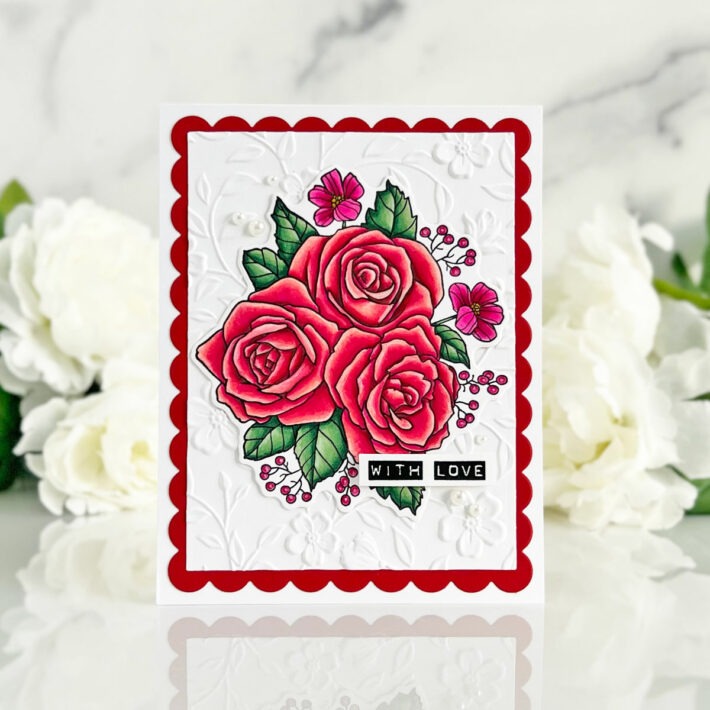
I began the third card by stamping the rose image and sentiment from the Garden Party Clear Stamp onto white cardstock with Copic-friendly black ink. I colored the image with Copic markers, added shading with colored pencils, then used the dies included in the set to cut them out.
The background was created the same way as the previous card. This time I used Pomegranate cardstock to cut out with scalloped rectangle using the Heartfelt Thanks and Scallops die set.
The floral image was adhered with liquid glue and the sentiment was trimmed down and adhered with foam tape. A few Fashion Oyster Pearls finish this one off.
Spellbinders Supplies:

Other Supplies
Liquid glue, 80 & 110 lb. white cardstock, bright pink cardstock, dye inks, Copic-friendly black ink, Copic markers, colored pencils, Candied Apple & Kitsch Flamingo Distress Oxide Ink
Thank you so much for stopping by today!! Happy crafting!

