-
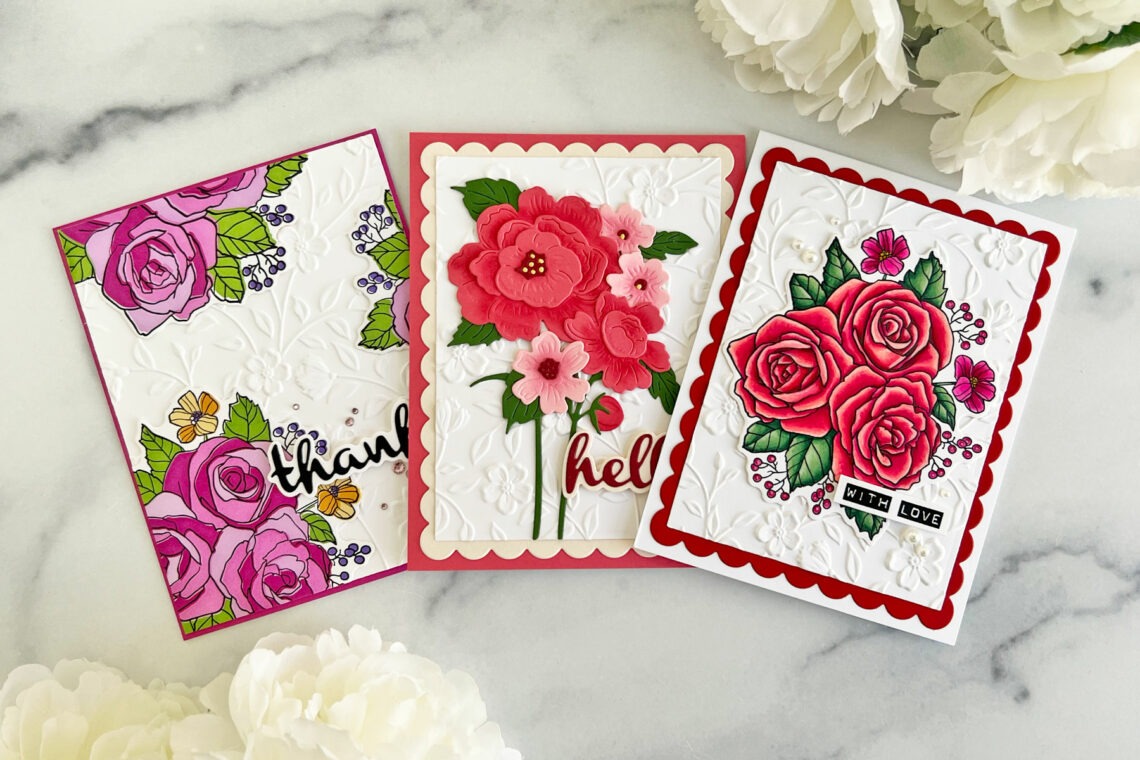
One Collection Three Ways
Hello, crafty friends!! Brenda Noelke here from My PaperCut Creations! I’m so excited to be a guest on the Spellbinders blog again today! I’m sharing three cards featuring the From the Garden Collection designed by Wendy Vecchi!! There are stamps, dies, stencils and shaped dies in this amazing collection!! I LOVE it!! THANKS Layering stencils are all the rage right now and the Garden Party Stencil is absolutely beautiful!! I layered die inks onto two panels of white cardstock through the Garden Party Stencil with blending brushes, then stamped the outline with black dye ink using the Garden Party Clear Stamp & Die Set. I used the Coordinating Die included…
-
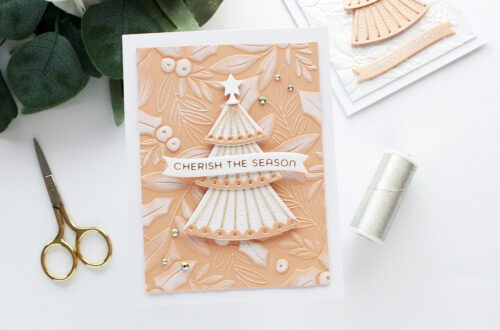
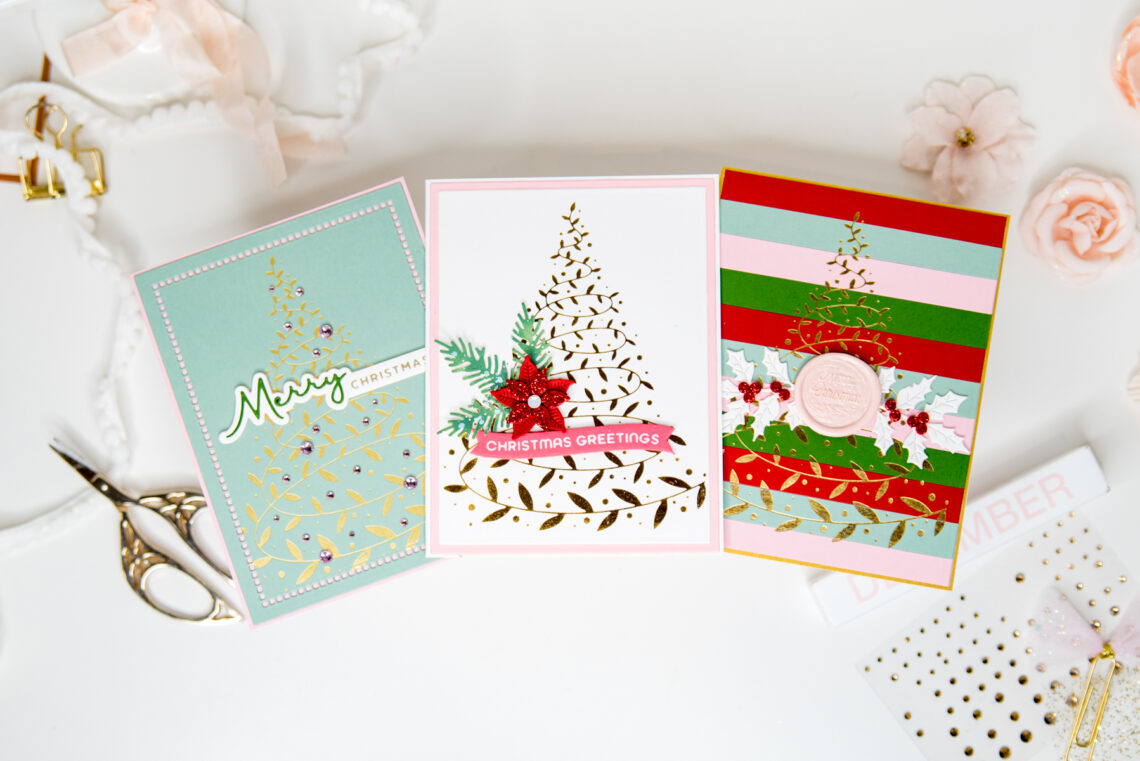
Swirling Foliage Tree 3 Ways
Hello, dear friends! It’s Leica, and today I want to share three fun ways to use the Swirling Foliage Tree from the Glimmer for the Holidays collection. This hot foil plate creates a beautiful swirling foliage design that’s perfect for making stunning Christmas cards. Let’s dive in! For my first card, I cut up strips of colorful cardstock and glued them onto white A2-sized paper. Then, I hot-foiled the Swirling Foliage Tree in gorgeous gold foil and trimmed it down, adding a gold border around it. The result was absolutely stunning! To complete the look, I added some white foliage, red berries, and topped it off with a pink Merry…
-
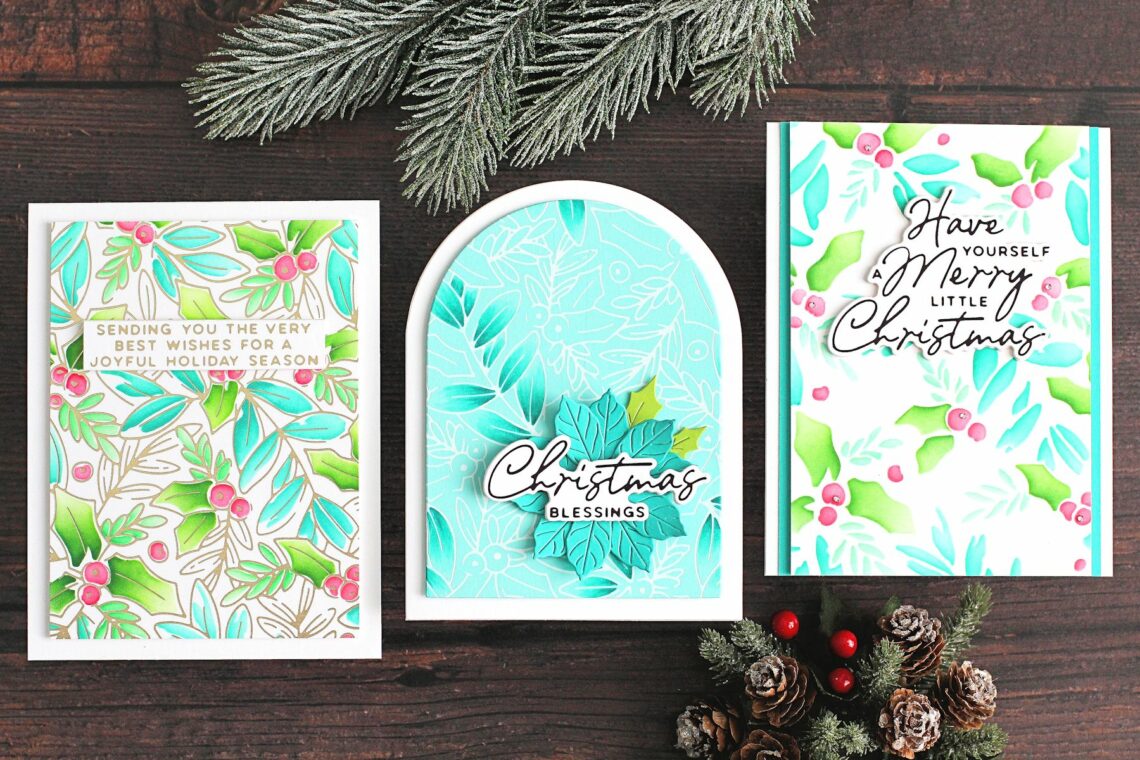
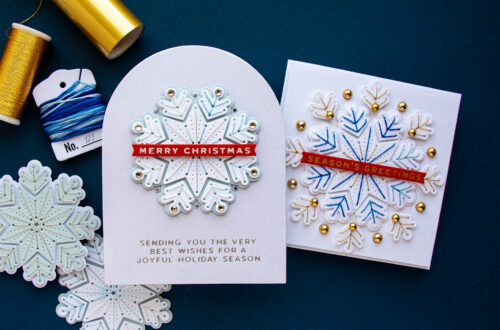
Glimmer Holly Background 3 Ways – How-to Step-by-step
Hello there, Michelle Short here to share a step-by-step tutorial with you using the Glimmer Holly Background and Layered Glimmer Holly Background from the De-light-ful Christmas Collection by Yana Smakula. This is such a pretty background and can be used in lots of different ways. Today I have three cards to share with you – 1. Using the Glimmer Holly Background and Layered Glimmer Holly Background together. 2. Using the Glimmer Holly Background on its own, and 3. Using the Layered Glimmer Holly Background on its own. GLIMMER HOLLY BACKGROUND + LAYERED GLIMMER HOLLY BACKGROUND STEP 1 Let the Glimmer Hot Foil System platform heat up while you place Champagne…
-
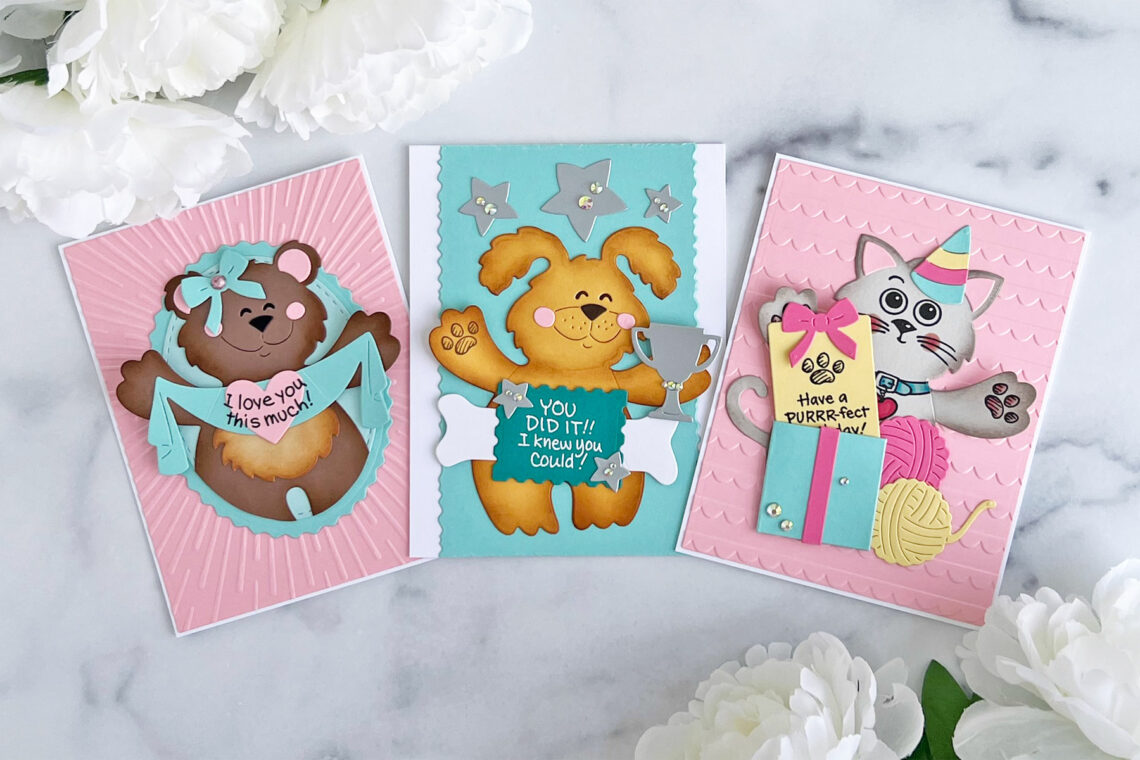
Stampendous Hugs With Brenda Noelke
Hello, crafty friends!! Brenda Noelke here from My PaperCut Creations! I’m super excited to be guest posting on the Spellbinders blog again today! I’m sharing three cards using the Stampendous Hugs Collection!!! This collection is soooo adorable!! There is the most darling bear, kitten, and puppy included with so many different options for personalizing them for your specific occasions!! I LOVE YOU BEAR For my first card, I die-cut the largest bear from the Bear Hugs Die Set from Latte, Alabaster, Onyx and Pink Sand cardstock. I blended a bit of Distress Oxide Inks around the outside of the die-cuts for dimension, then adhered all of the pieces together with…
-
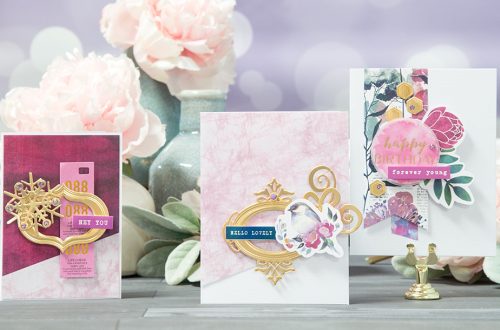
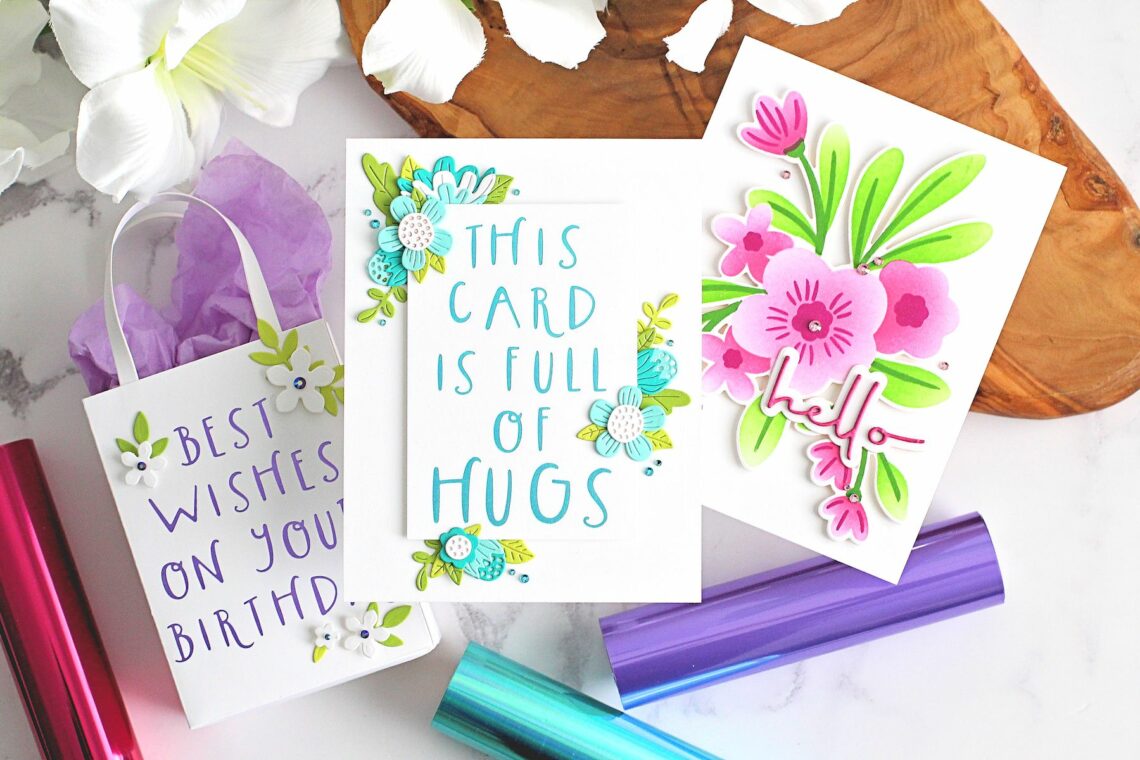
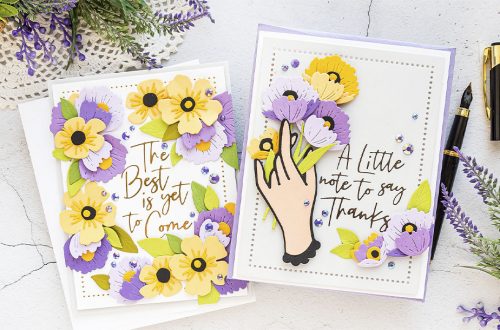
Mainly Monochrome With Michelle Short
Hello there, Michelle Short here to share three projects with you using the new Glimmer Cardfront Sentiments Collection. I don’t know about you, but I often struggle with picking out color combinations. Whilst there are different ways to combat this (like using a color wheel), I often like to forget about combinations and go monochrome instead. Or in this case mainly monochrome, as I did add in green for the leaves! FULL OF HUGS For my first card, I am using the This Card is Full of Hugs Glimmer Hot Foil Plate. I love the quirky font on these sentiments! It was foiled onto a panel of white cardstock using…
-
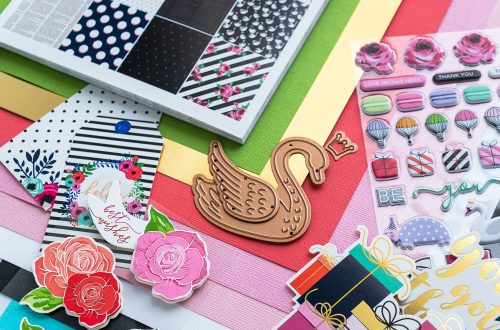
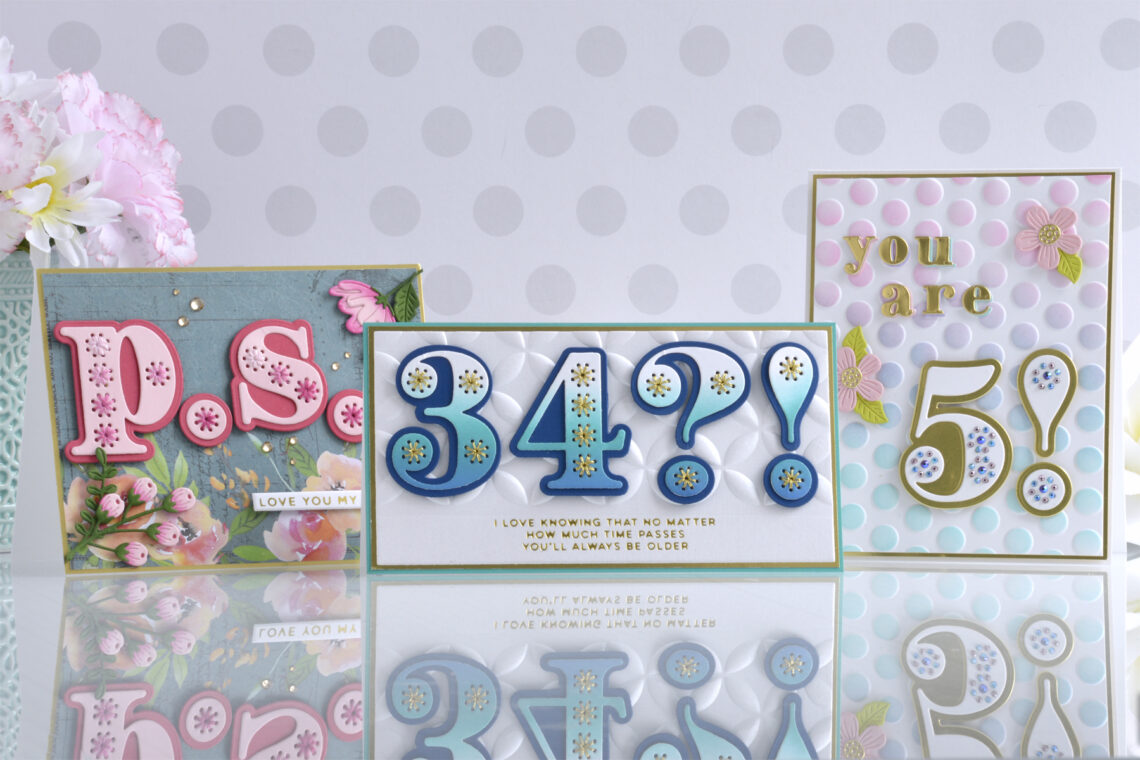
Stitched Numbers & More Collection – Card Inspiration with Annie Williams
Hi there, this is Annie Williams and I’m thrilled to be back on the blog today to share a couple of projects using the new Stitched Numbers & More Collection from Spellbinders. There are so many ways to incorporate these bold new stitched numbers and symbols into cards and I was inspired to create three fun cards with them for birthdays and every day. 34th Birthday Card Naturally, the new Stitched Numbers Dies are perfect for birthday cards and even better for kinda funny birthday cards. Here I used some fun punctuation and a snarky greeting along with my stitched numbers for this cute birthday card for a friend. I…
-
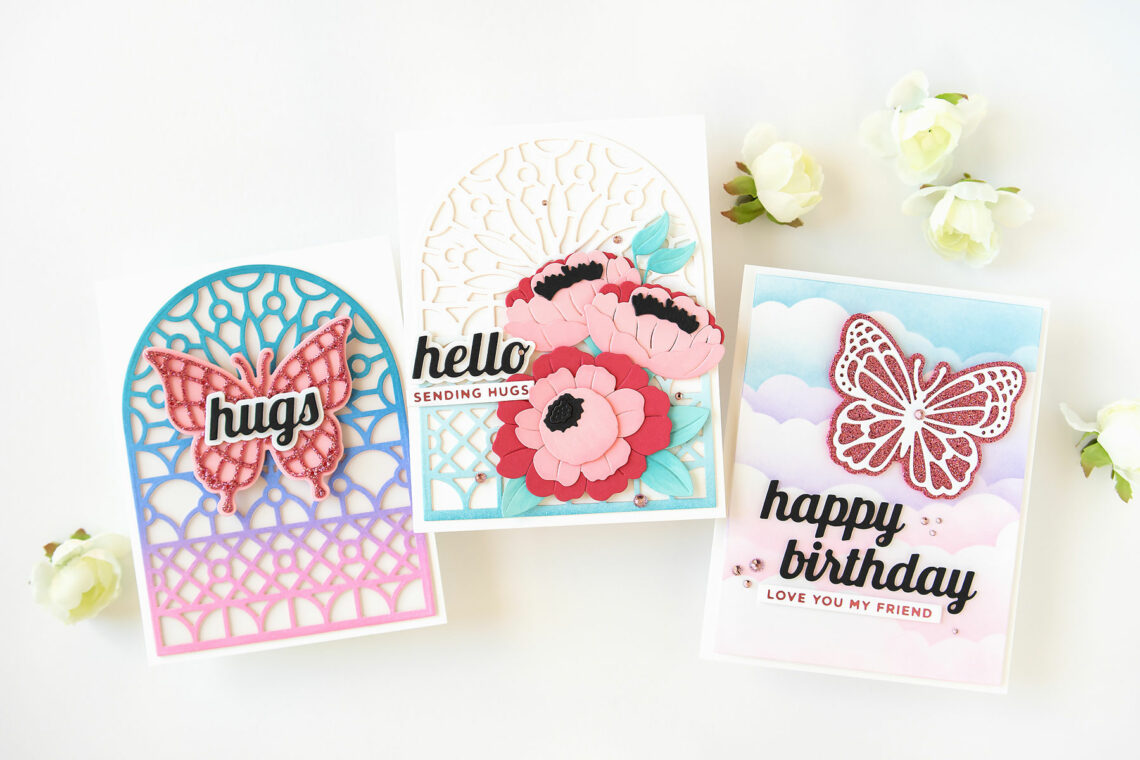
Metamorphosis Collection Cardmaking Ideas
Hello crafty friends! It’s Jung here, and I am back with another guest post on the Spellbinders blog. Today, I made 3 cards using the new Metamorphosis collection by Simon Hurley. Butterfly Hugs Card For my first card, I used butterflies, stained glass window, and sentiment dies. I started out my card with the stained glass window. I used Distress inks to ink blend a panel of white cardstock. Next, I taped the outer die to the detailed die to keep the spacing the same. I die-cut my ink blended panel with the stained glass window die, and I diecut 3 more panels from white cardstock to layer behind for…
-
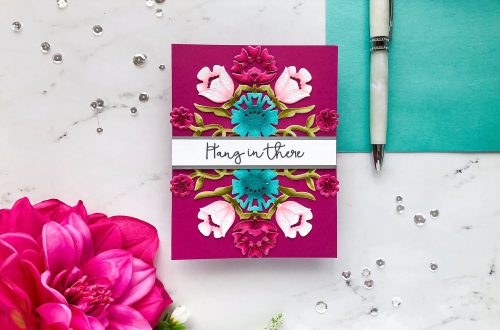
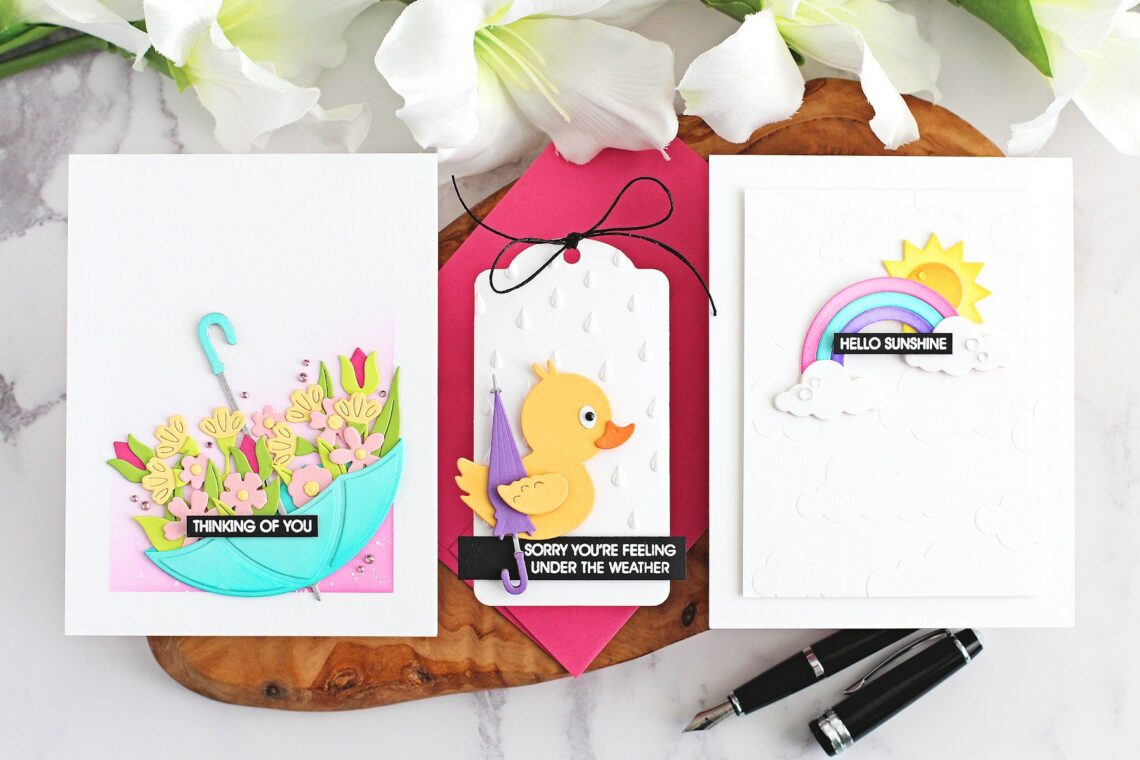
Showered With Love Clean & Simple Card Ideas
Hello there, Michelle Short here to share some inspiration using the Showered With Love Collection by Vicky Papaioannou. This is such a fun collection that can be used for lots of different occasions – love, get well, thinking of you, encouragement, and lots more! THINKING OF YOU I am using Umbrella Bloom for my first card, which is such a beautiful set! I cut the umbrella from Waterfall and Brushed Silver Cardstock and added a little ink blending to the aqua pieces with Peacock Feathers Distress Ink for added interest. I then cut the leaves from Peridot and Rainforest Cardstock. The flowers were cut from Pink Sand, Wild Berry, and…