Pretty Wax Seal Projects Made With All New Wax Beads & Bead Mixes
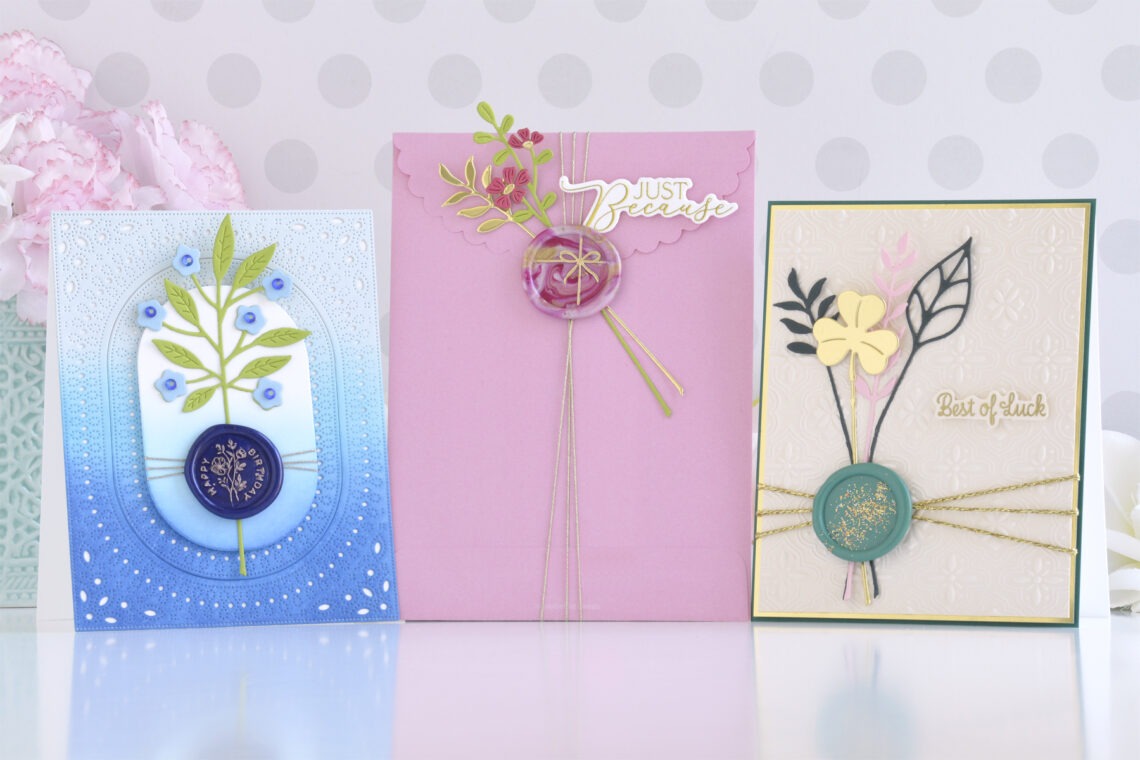
Hi there, this is Annie Williams and I’m thrilled to be back on the blog today to share a couple of projects using wax seals made with the latest wax bead colors and bead mixes from Spellbinders. The fun new colors and mixes give you so many more color scheme possibilities when adding wax seals to your projects and I was inspired to create two cards and a pretty embellished envelope.
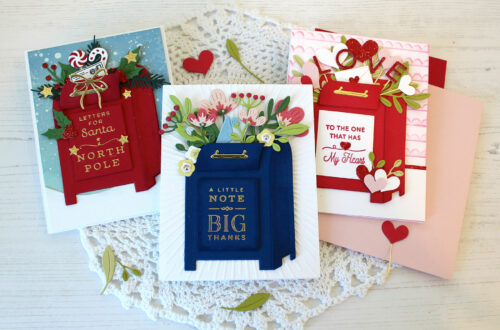
Birthday in Blues Card
I loved the richness of the new Ink Wax Beads and thought it would be fun to create a monochromatic (mostly) birthday card with all of my favorite blue Spellbinders supplies.
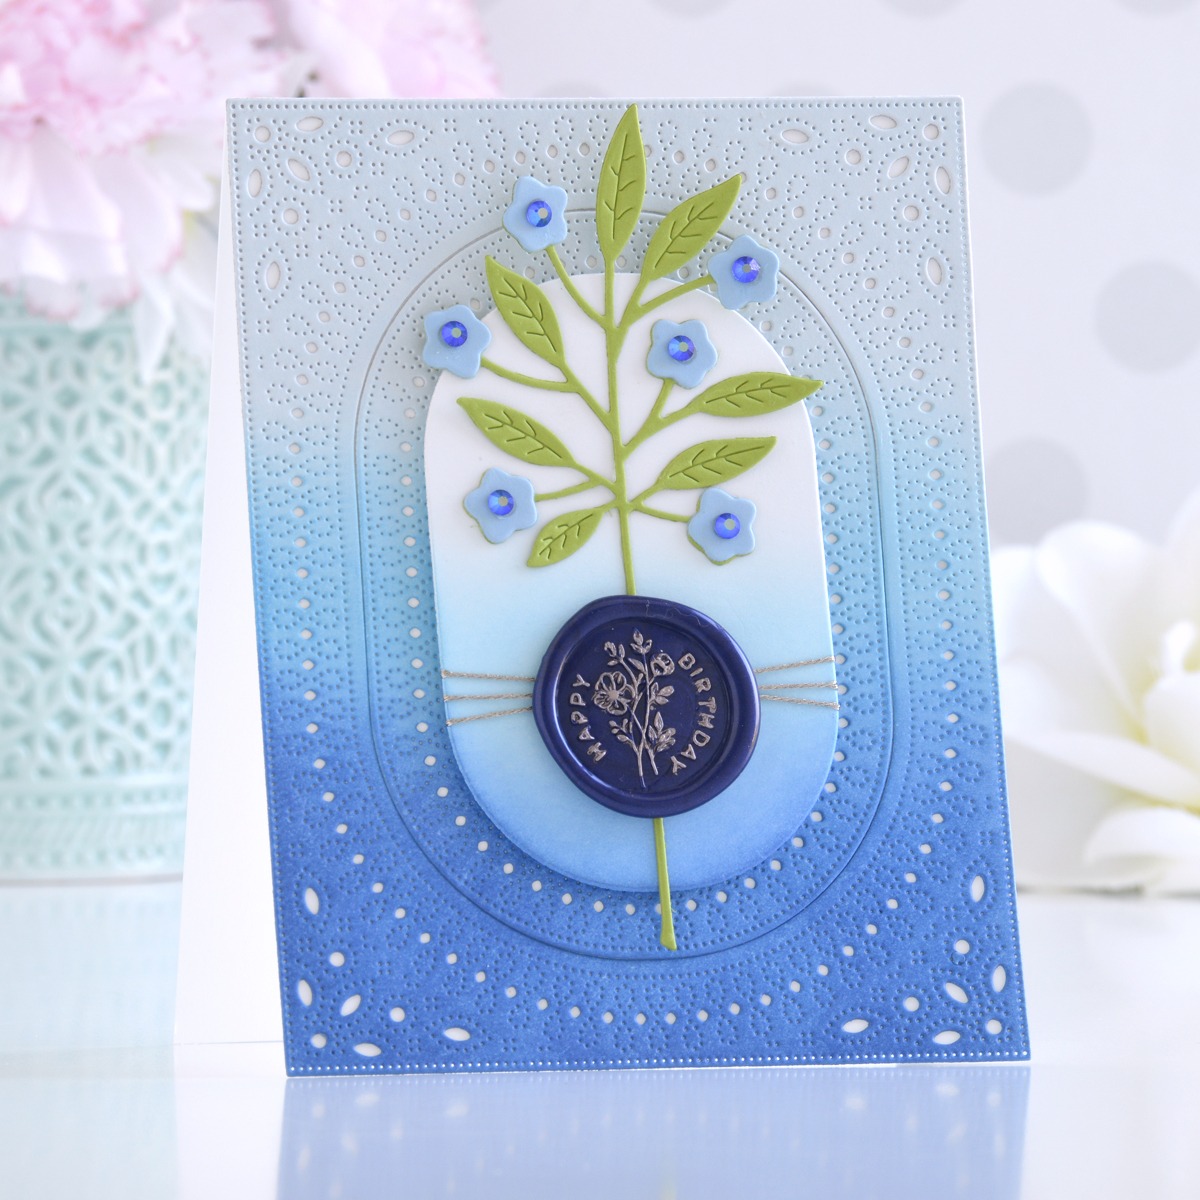
Melt Ink Wax Beads and press it with the Wildflower Happy Birthday Wax Seal Stamp. Once hardened, trace over the raised areas with a rose gold metallic marker. Die cut Glacier Cardstock using the Infinity Pierce & Punch Plate and blend Salty Ocean and Prize Ribbon Distress Ink over the die-cuts before adding them to a top-folding A2-sized white card base with liquid glue. Die-cut white cardstock using one of the Essential Stylish Ovals Dies and blend the same inks over the bottom half of the die-cut.
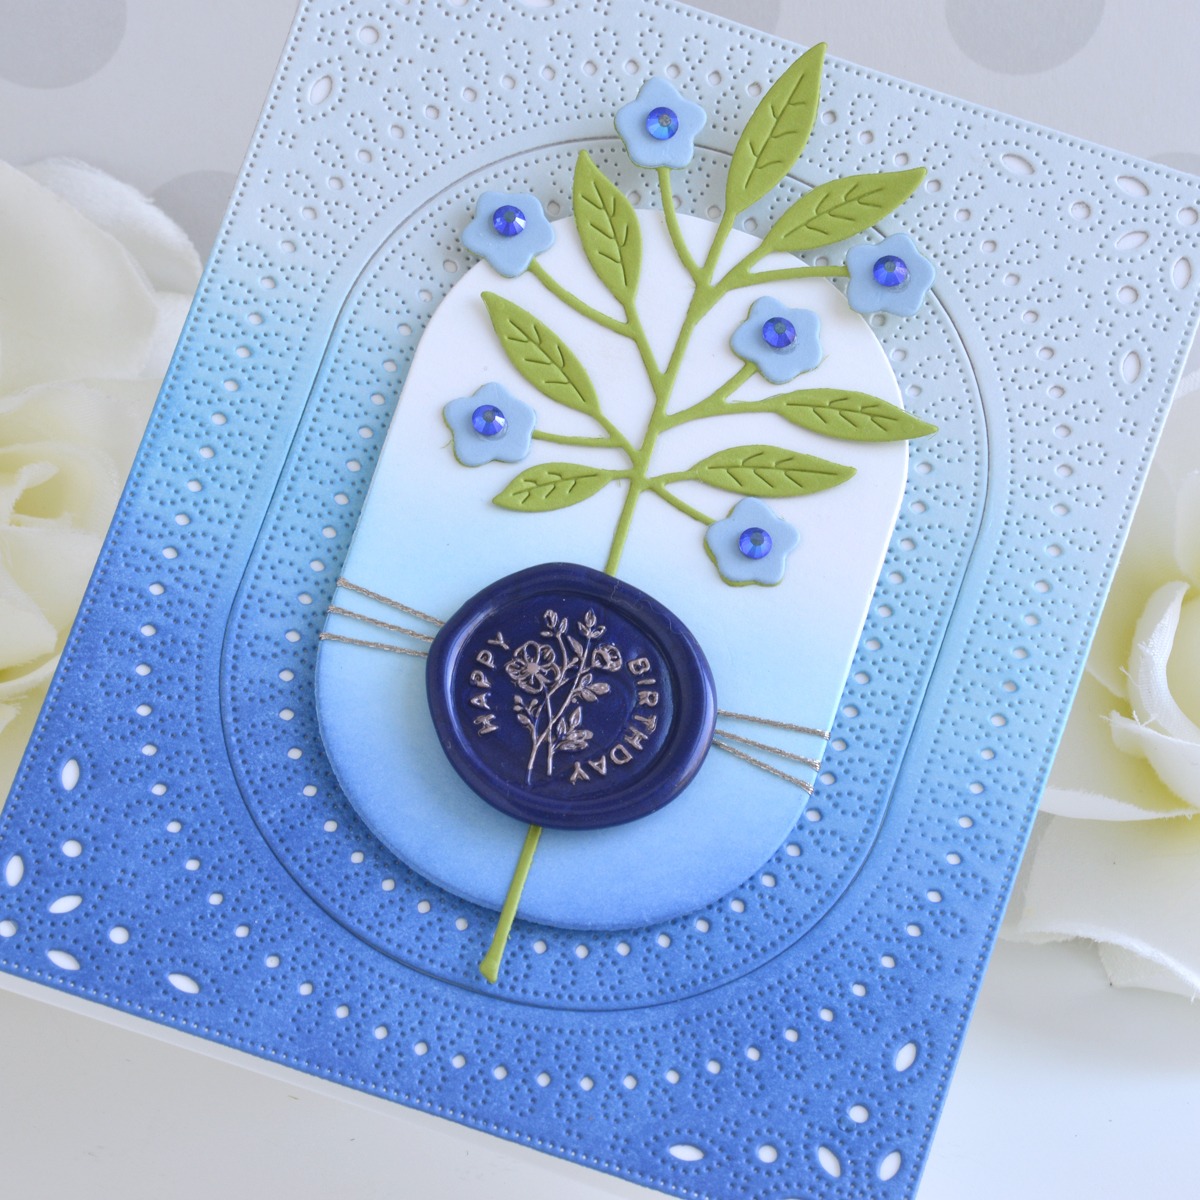
Wrap Vivant Finn Gold Metallic Cord around the bottom of the oval die-cut before adding it to the center of the card front with foam adhesive. Die cut Rainforest and Raindrop Cardstock using the Sealed Flowers Die and assemble with liquid glue, using Sapphire AB Gems for flower centers. Slip the sprig underneath the metallic cord and adhere the wax seal over top.
Glittered Wax Seal Good Luck Card
The new Spruce Wax Beads looked like a beautiful emerald green to me, so I was inspired to try to create a pretty card for St. Patrick’s Day next.
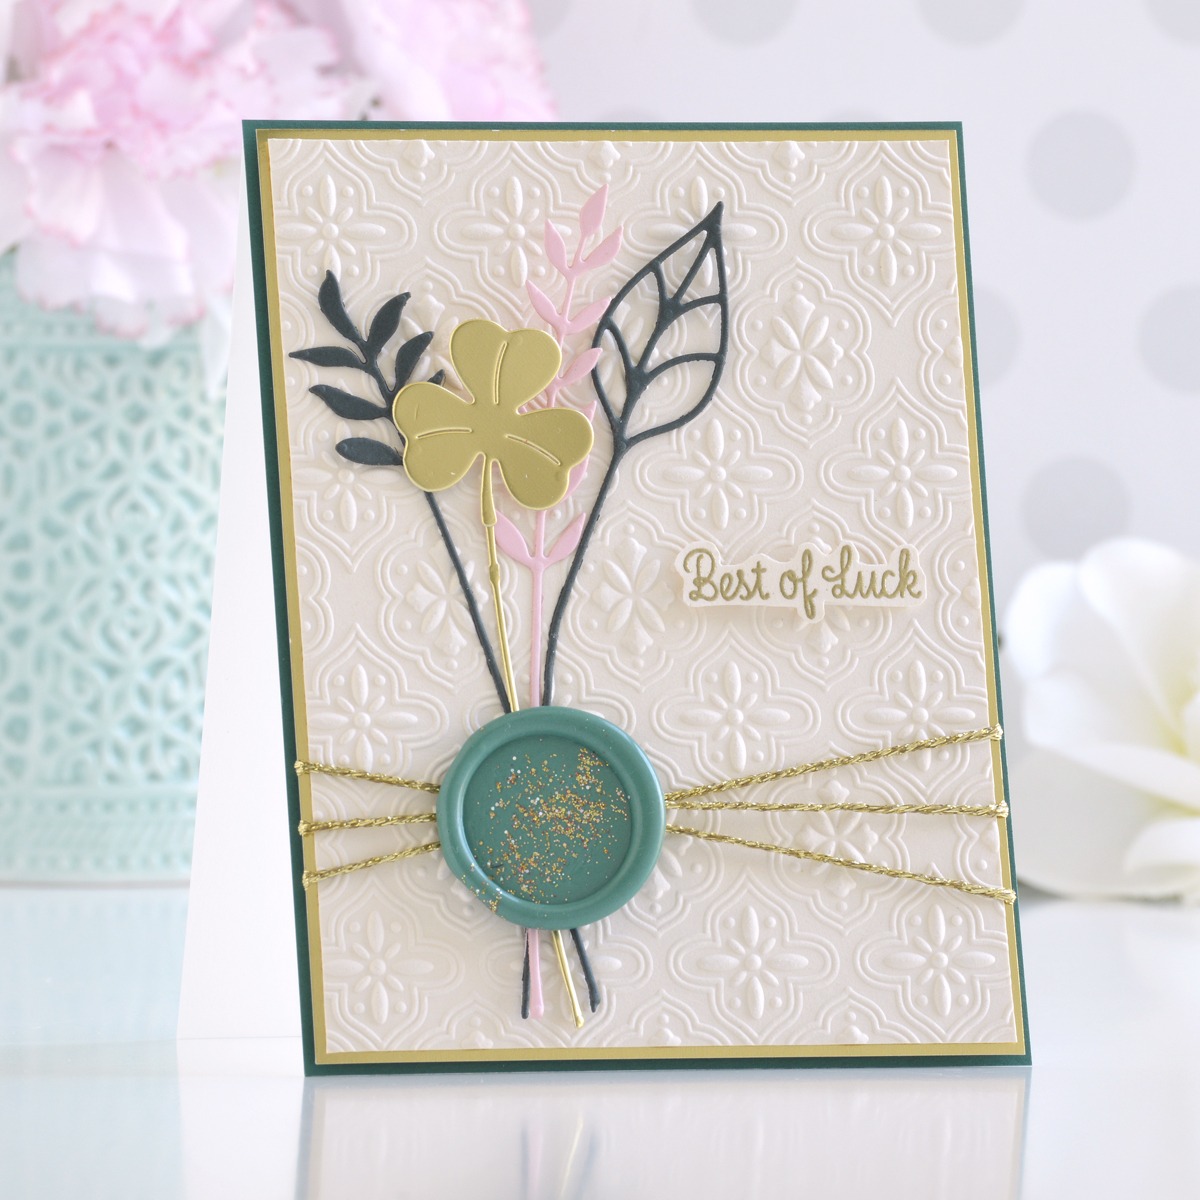
Melt Spruce Wax Beads and pour onto a silicone mat, adding a bit of Solaria Gold Glitter before pressing it with the 1” Solid Circle Wax Seal Stamp. Trim a piece of Barely Peach Cardstock to 4” x 5.25”, emboss it with the Tile Reflection 3D Embossing Folder, and mat it with Mirror Gold and Blue Spruce Cardstock before wrapping it with Vivant Flashy Gold Metallic Cord and adding it to a white card base.
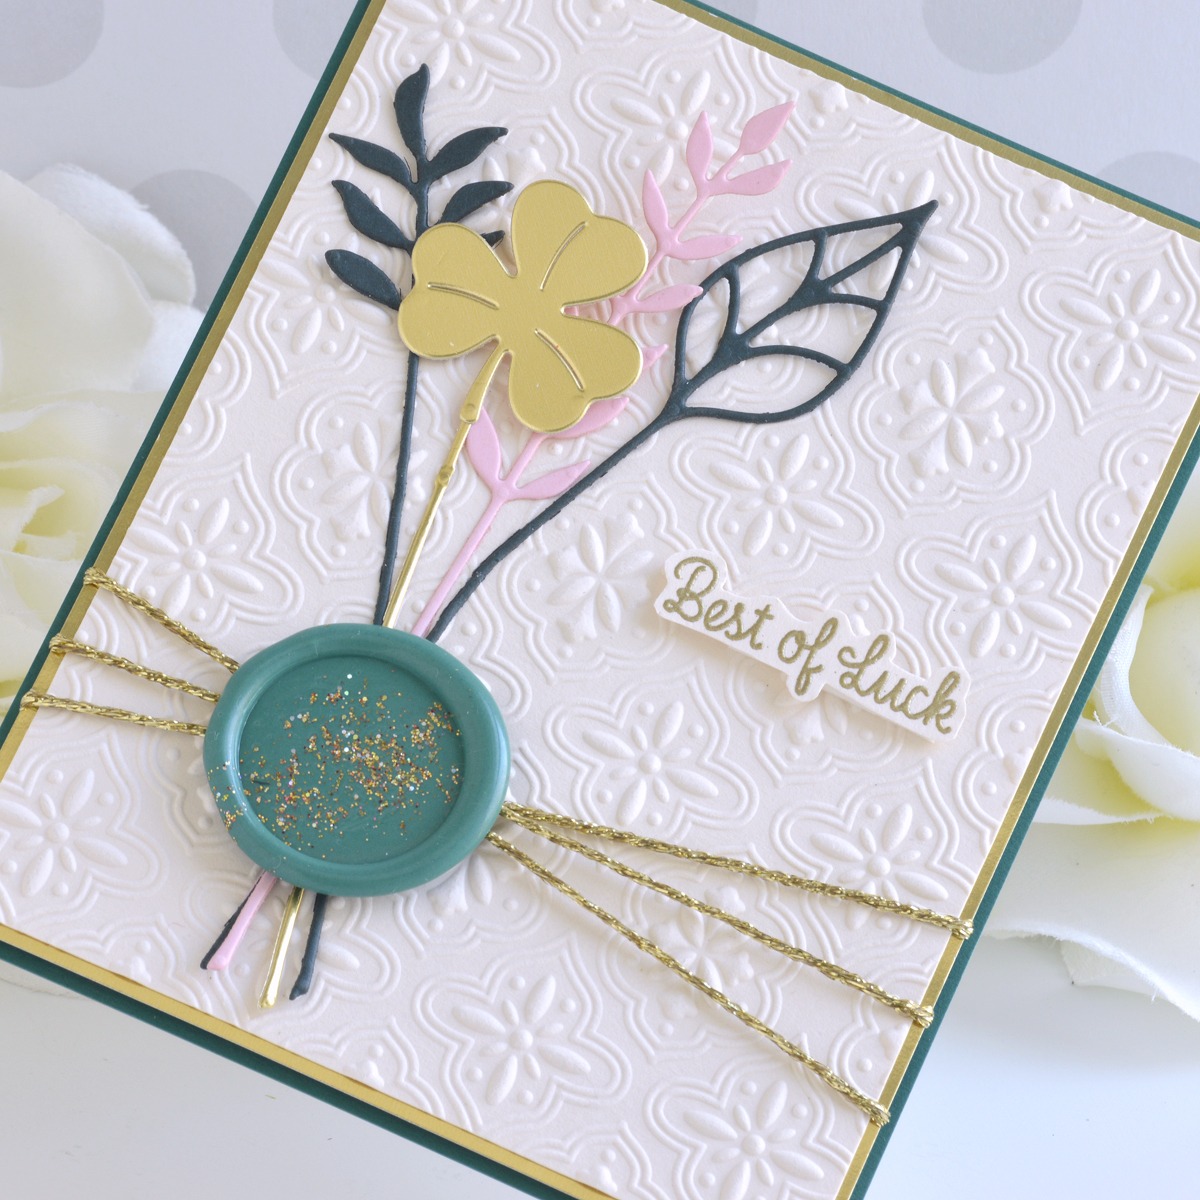
Die cut Forest and Pink Sand Cardstock using the Sealed Squiggles and Sealed Wildflowers Die Sets. To create the shamrock sprig, I die-cut Mirror Gold Cardstock using one of the Sealed Wildflower Dies and glued the shamrock from the Seasonal Décor Die Set on top. Tuck the sprigs behind the metallic cord and adhere the wax seal on top. Emboss a greeting from the Gnome Drive Sentiments Stamp Set onto Barely Peach cardstock in gold, fussy cut it out with scissors, and add it to the card front with foam adhesive.
Embellished Gift Envelope
Lastly, I love the color blends in the new wax bead mixes…it makes creating beautiful and unique seals so easy! Here I swirled the pink mix of beads to press a pretty marbled wax seal for this embellished gift envelope.
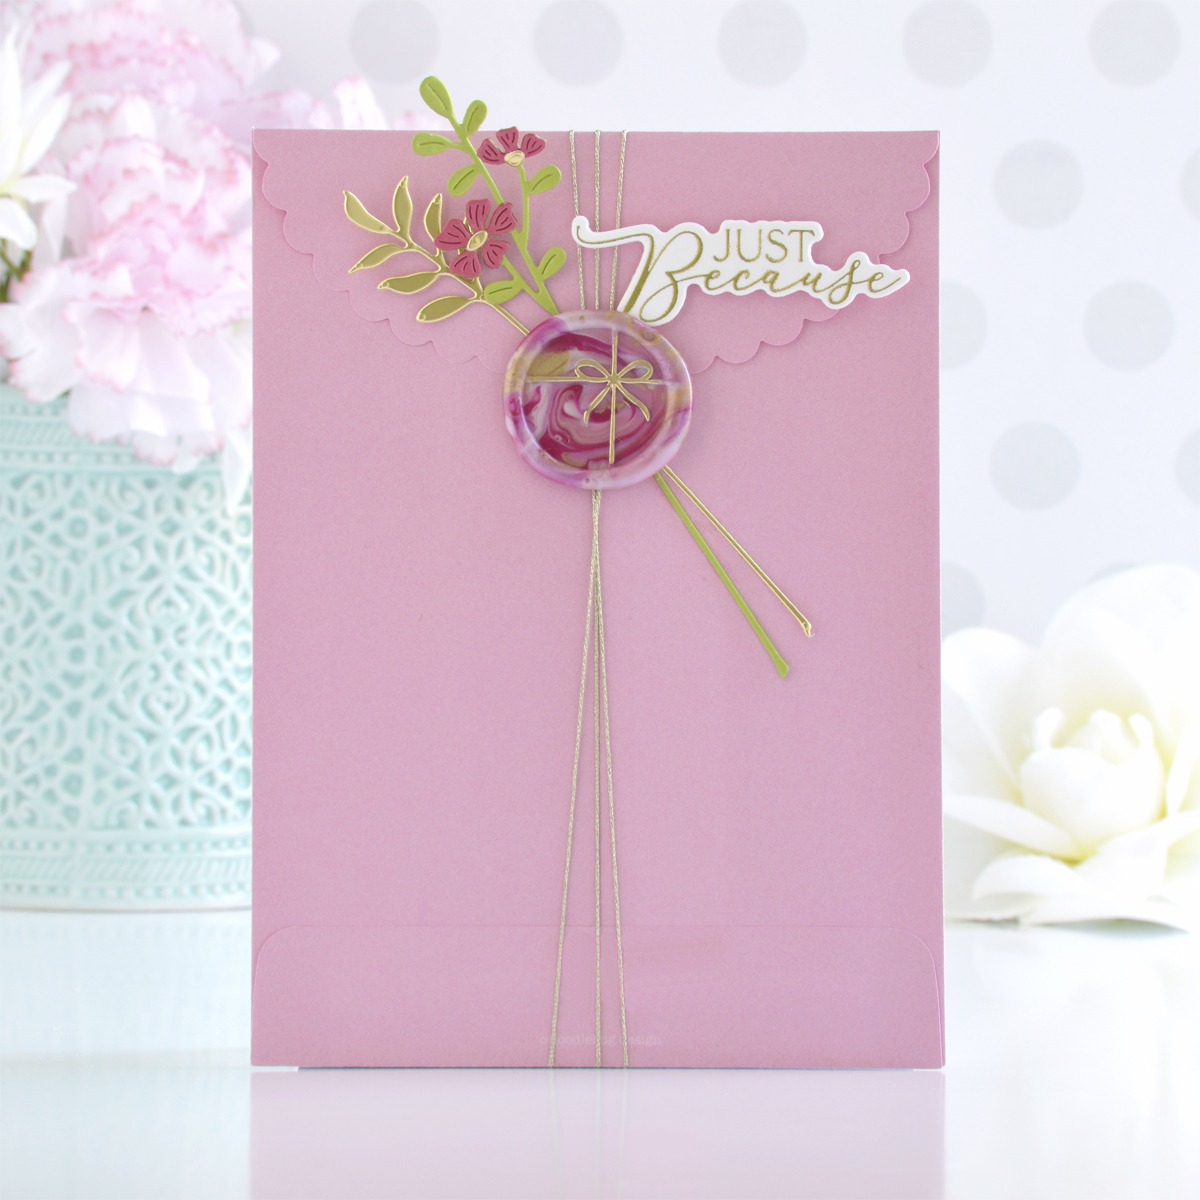
Melt one of each color bead in the Pink Wax Bead Mix, swirl the spoon as you pour the mixture onto a silicone mat, and press it with the Gift Box Wax Seal Stamp. Once cooled, trace over the raised design with a gold metallic marker. Die cut Mirror Gold, Rainforest, and Wild Berry Cardstock using the Sealed Wildflower and Sealed Blooms Die Sets and assemble the sprigs with liquid glue.
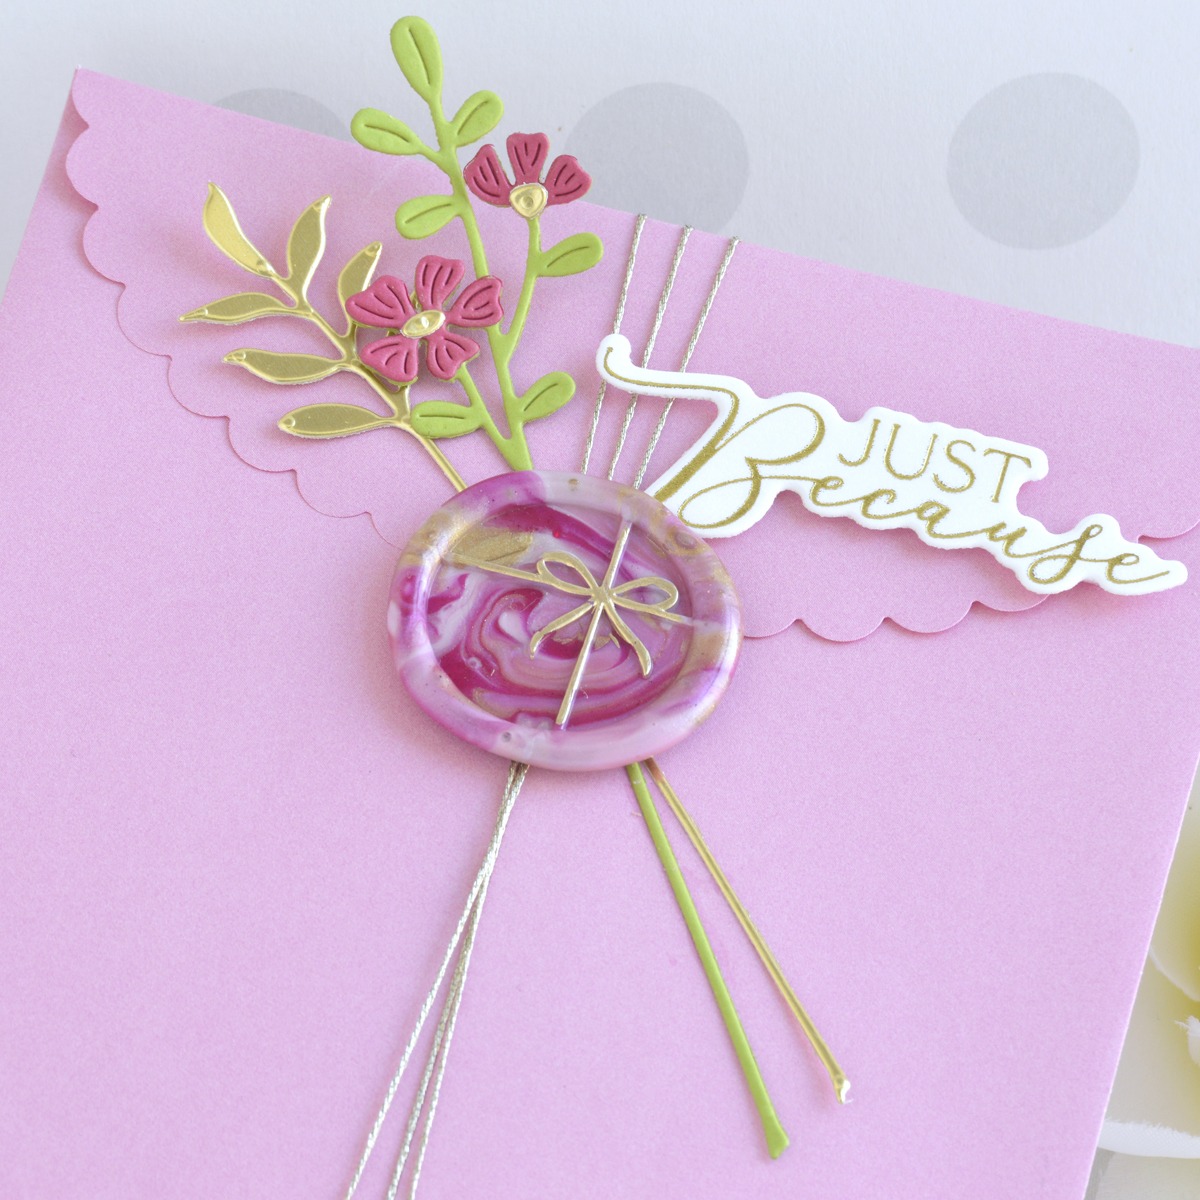
Wrap the pink envelope (after filling it) from the Doodlebug Christmas Assortment of Cards & Envelopes with Vivant Finn Gold Metallic Cord and tuck the die-cut sprigs underneath before adhering the marbled wax seal on top. Apply Gold Hot Foil to white cardstock using the You Are Everything Sentiments Press Plate & Die Set, die cut it out with the coordinating die, and adhere to the envelope with foam adhesive.
Spellbinders Supplies:

Other supplies
White heavyweight cardstock, Salty Ocean and Prize Ribbon Distress Ink, blending tool, tape runner, foam adhesive.
I hope you enjoyed these fun wax seal projects and thanks so much for stopping by today. You can find more inspiration over at my blog AnnieBWills.com or on Instagram.
One Comment
Ann
Beautiful work! I’m amazed, and I admit a little envious, of all if your seemingly perfectly circular wax spots. What I would give !