-
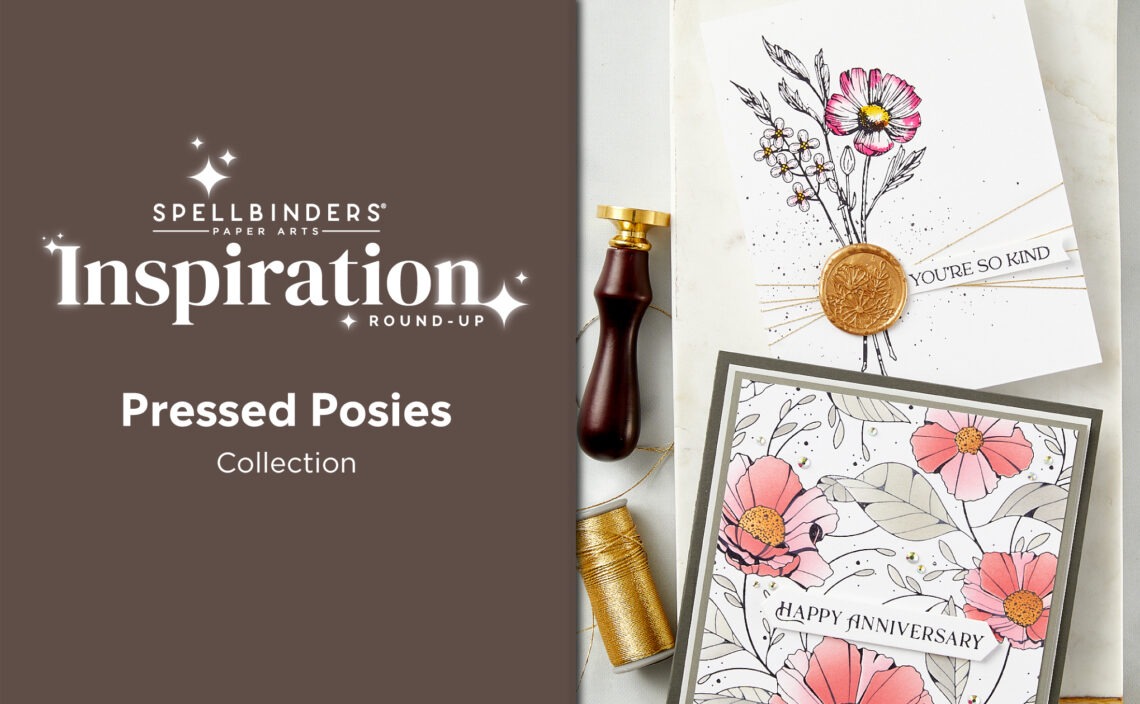
Pressed Posies Collection Inspiration Round-Up
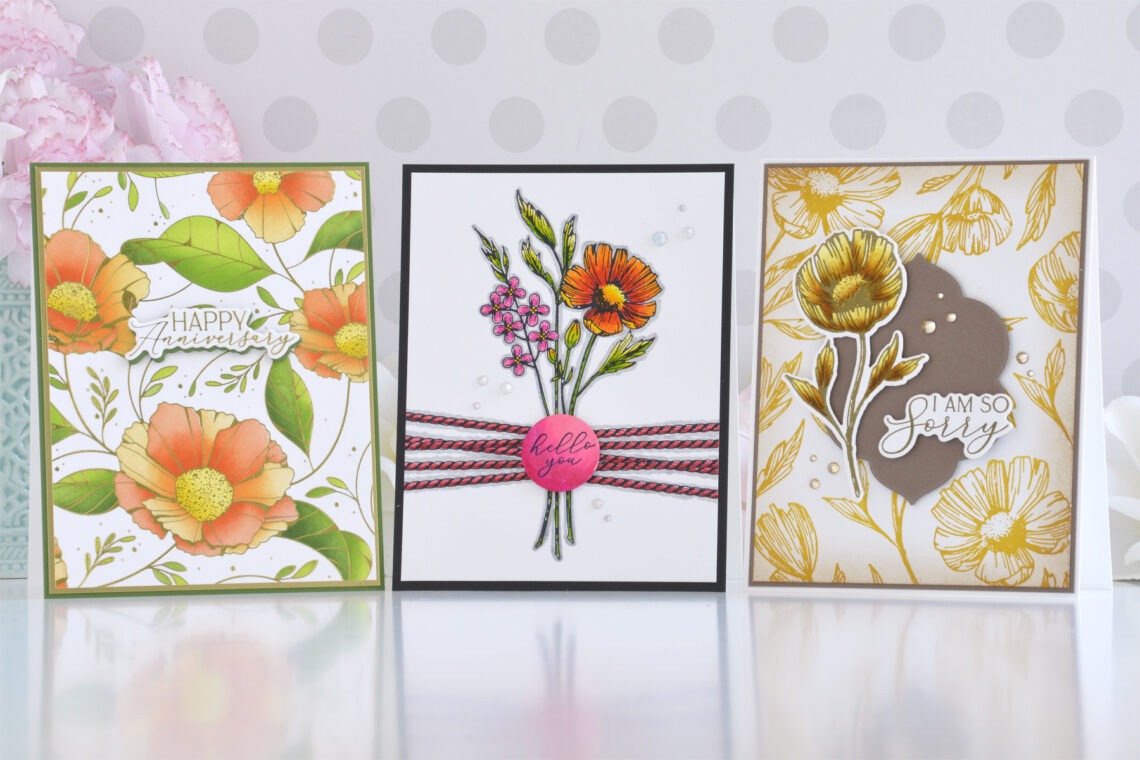
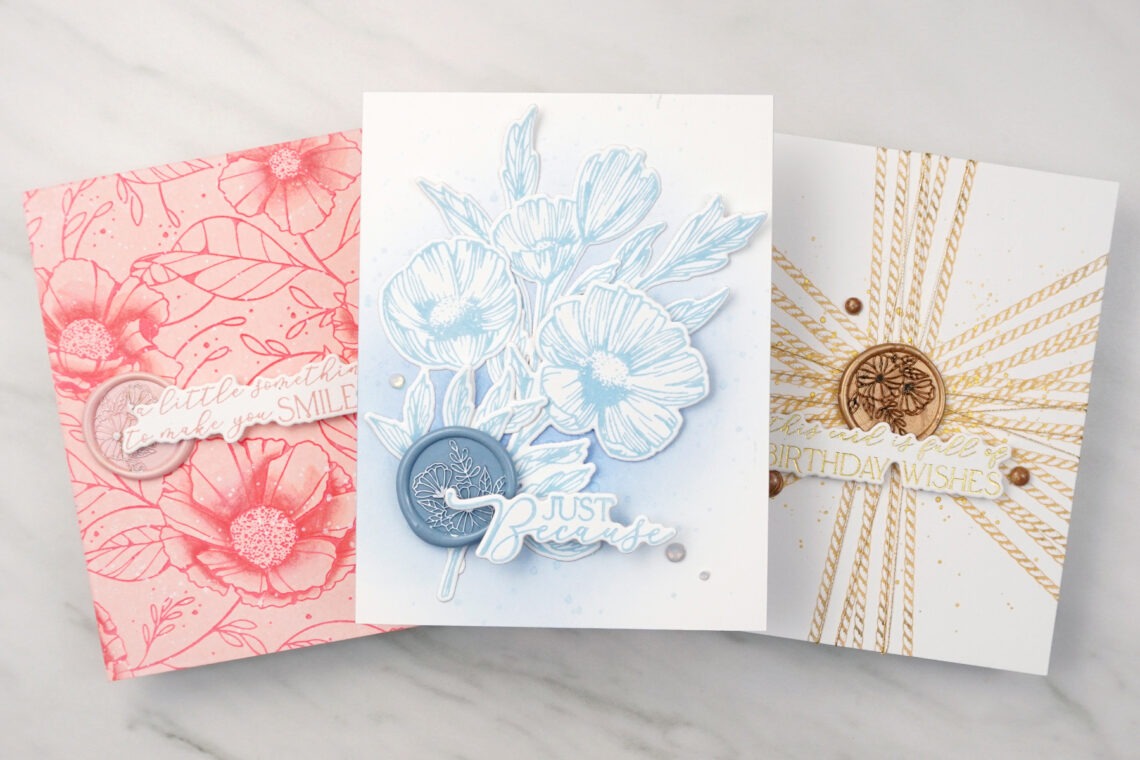
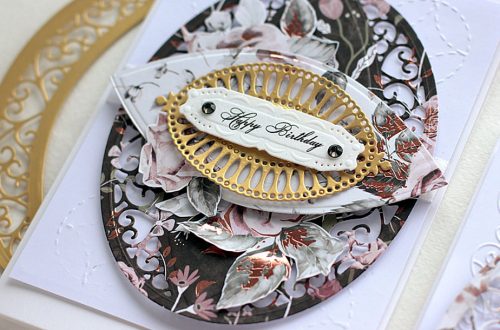
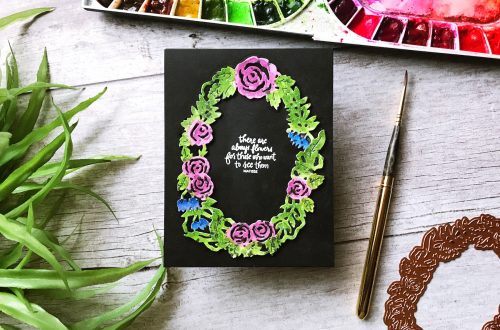
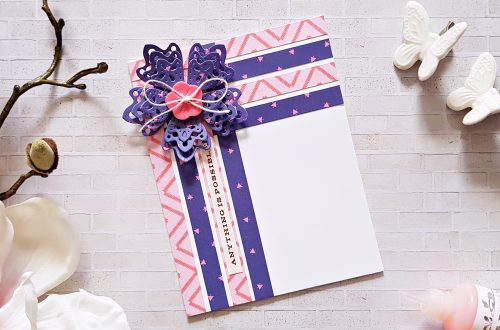
Hey there, Spellbinders fans! We’re thrilled to welcome you back on our blog for another edition of “Inspiration Round-Up” series. We hope to fuel your creative juices with handmade projects, and showcase the stunning ideas our talented community created with our products. < p style=”text-align: center;”> Get ready for an unbelievable lineup of beautiful inspiration featuring the Pressed Posies Collection. We’re hoping this will be a valuable source of inspiration for all of your card-making and paper crafting! You are invited to the Inlinkz link party! Click here to enter But that’s not all! We invite you to dive even deeper into the festive magic by exploring the incredible projects…
-
Fun Ways to Use Patterned Paper in Your Cardmaking Projects
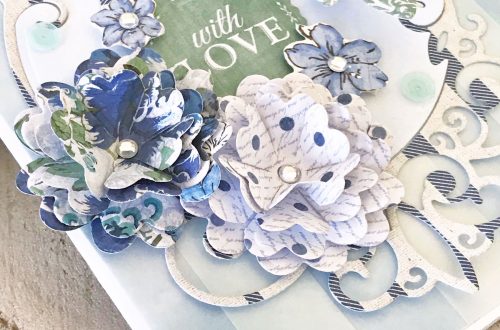
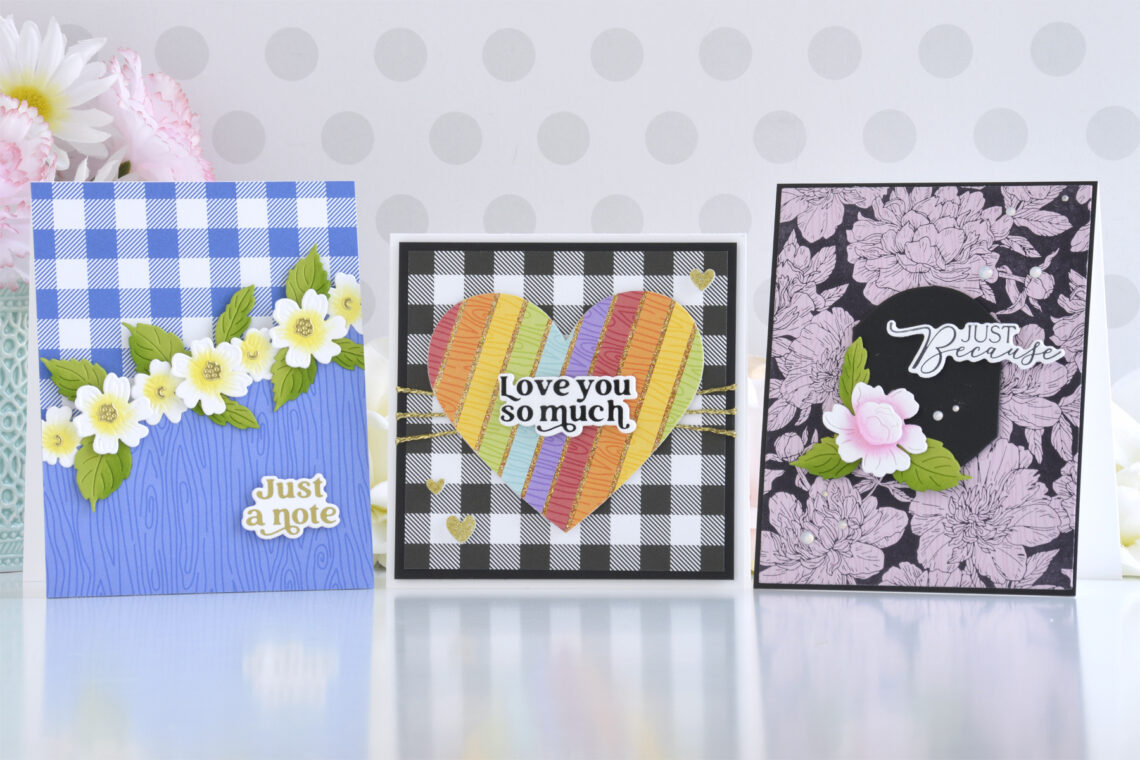
Hi there, this is Annie Williams and I’m excited to be back on the blog today to share a couple of easy and fun ways to use patterned paper in your cardmaking projects. Patterned papers can be a little intimidating to some due to busy patterns or bright colors, but I hope these techniques can help to show how easily they can add texture and color to an otherwise plain card. Pretty Floral Hello Card I love buffalo plaid, but it can be a very bold look and draw too much attention away from your focal point sometimes. Here I toned this blue plaid pattern down a bit by splitting…
-
Exploring Modeling Paste and White Glitter Magic
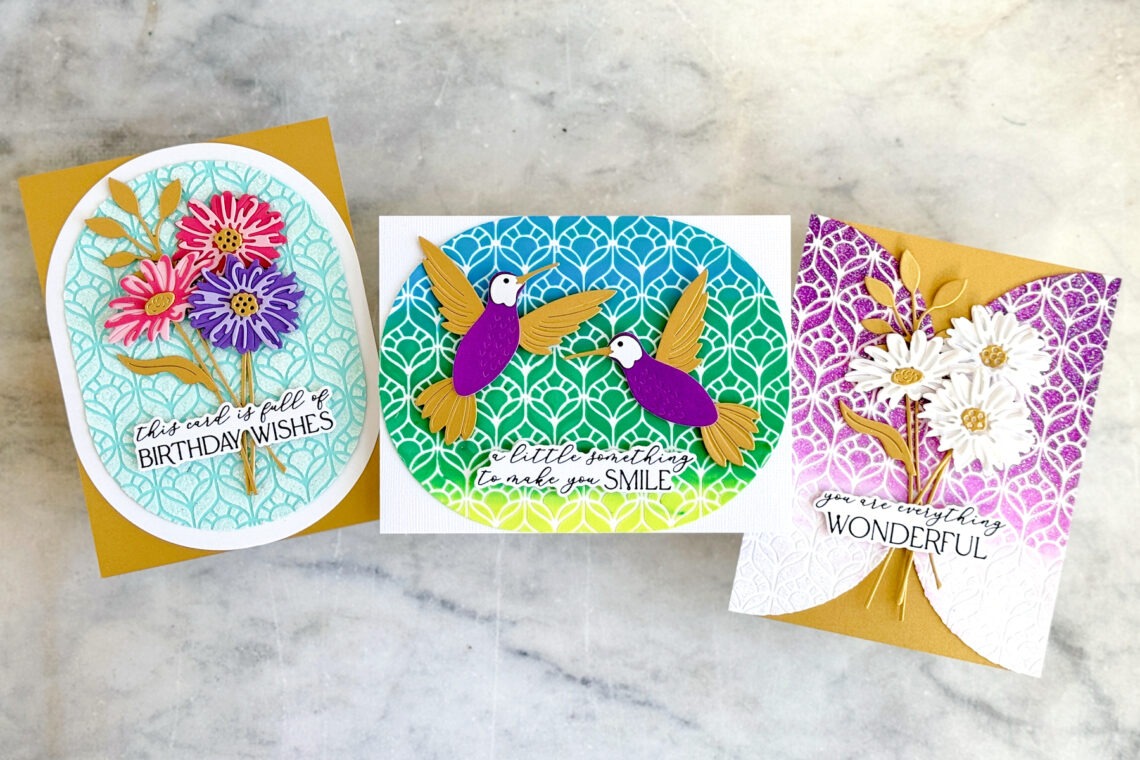
Hello! Jean Manis here to share inspiration for impactful stenciled card backgrounds using the Light & Fluffy Modeling Paste and Baby Baubs White Glitter. Let’s take a look at the transformative magic of modeling paste on three cards–from the elegant sparkle of glitter-infused paste to a mesmerizing ombré effect and finally to the impact of blended watercolor hues. Modeling Paste and White Glitter For subtle, understated shimmer on a stenciled background, add white glitter to modeling paste. The reflective properties of the glitter enhance the overall visual appeal and create a captivating finish. Create an A2-size card base from Brushed Gold Mix the Baby Baubs White Glitter in with the…
-
Let’s Get Realistic … With a Modern Twist!
Hello there, Michelle Short here and I am delighted to be back on the Spellbinders blog to share three projects with you using the Through the Arbor Garden Collection by Susan Tierney-Cockburn. I love how realistic these flowers are. You can create them in a few different ways. I went with traditional, but with a modern twist! TAKE CARE DELPHINIUMS These delphiniums are so pretty! I love blue and purple tones, so have always loved these flowers! To make this card: I cut the Bamboo Trellis Background four times from Alabaster Cardstock. I added ink blending on top using Distress Inks and Blending Brushes. The pieces were assembled (two base…
-
Fun Floral Cards with the BetterPress Spring Collection
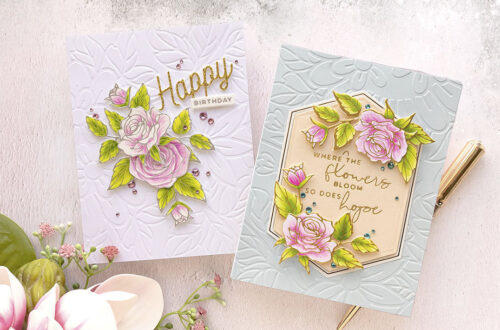
Hi there, this is Annie Williams and I’m excited to be back on the blog today to share a couple of cards made with the new BetterPress Spring Collection from Spellbinders. The delicate floral images and beautiful sentiments in this collection inspired me to create three pretty cards for a variety of occasions this spring. Muted Floral Sympathy Card I thought the dainty floral images in the Flower Stems Press Plate Set were so beautiful that I pulled these out first. Here I inked them up in muted colors and created both a background and focal point for this easy sympathy card. Arrange the plates from the Flower Stems Press…
-
3 Expert Monochrome Techniques featuring Letter Pressed Cards
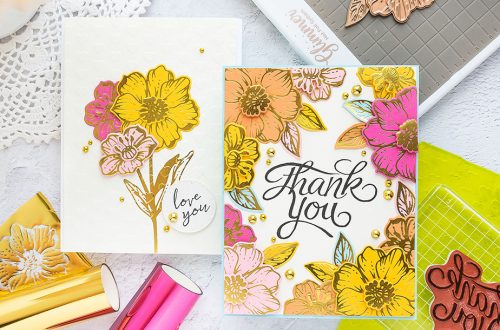
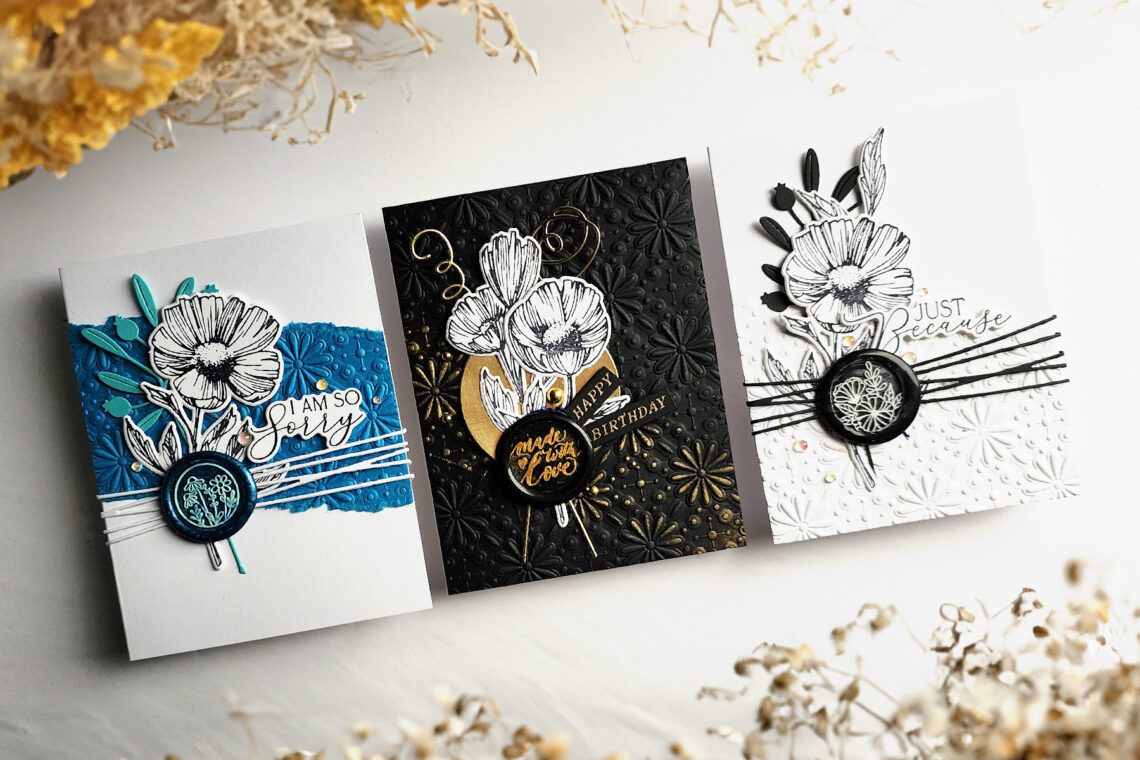
Hi there my Spellbinders’ friends! My name is Jaycee Gaspar and I’m so excited to share three cards featuring the Pressed Posies Collection. This collection features eight sets with one of the products being a Wax Seal Stamp. Let’s focus on monochromatic cards centered around the Timeless Blooms Wax Seal Stamp with designer tricks on getting perfect single-tone letter-pressed cards. This first card focuses on the Sealed Cord & Faux Seal Sentiments Press Plate and Die Set. I love the whimsical feel of this baker’s twine card which is sure to make a simple yet stunning focal element on your card. The coordinating sentiments also act as faux wax seals for…
-
Pretty Wax Seal Projects Made With All New Wax Beads & Bead Mixes
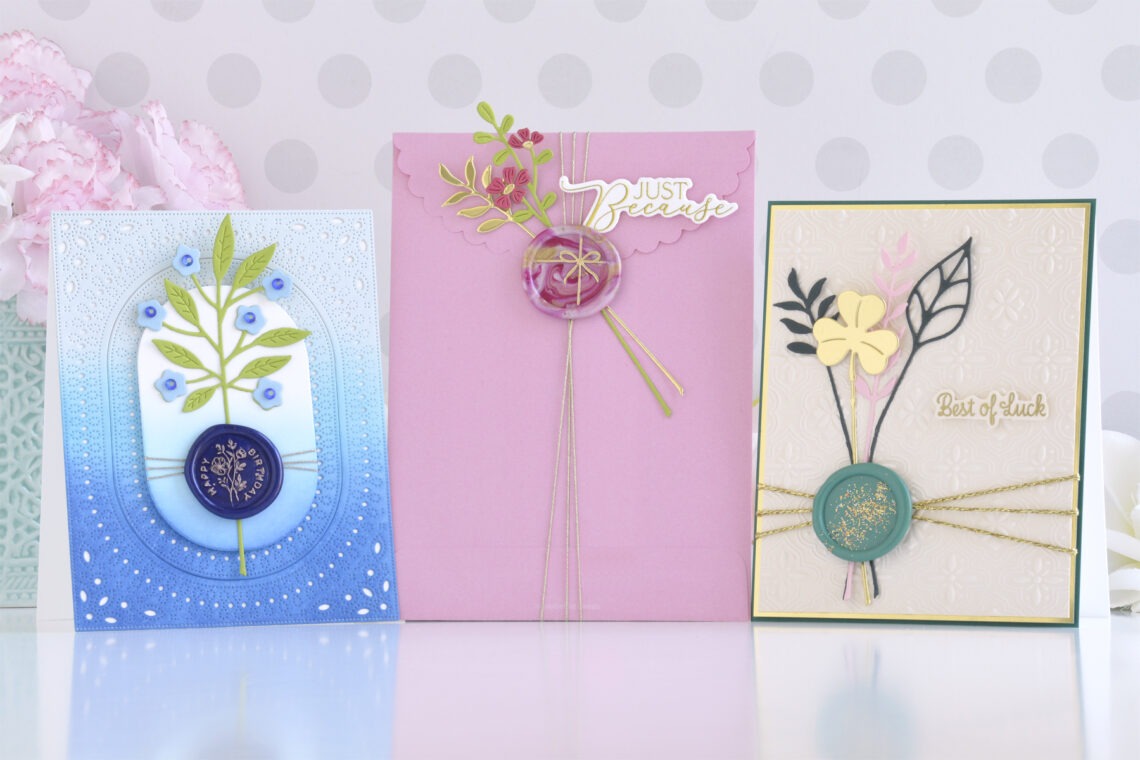
Hi there, this is Annie Williams and I’m thrilled to be back on the blog today to share a couple of projects using wax seals made with the latest wax bead colors and bead mixes from Spellbinders. The fun new colors and mixes give you so many more color scheme possibilities when adding wax seals to your projects and I was inspired to create two cards and a pretty embellished envelope. Birthday in Blues Card I loved the richness of the new Ink Wax Beads and thought it would be fun to create a monochromatic (mostly) birthday card with all of my favorite blue Spellbinders supplies. Melt Ink Wax Beads…
-
Mixing and Layering Wax Beads to Level Up Your Seals
Hey there! Daniel West, here, with some great tips on mixing and layering wax beads to take your seals to the next level. If we graded this tutorial for difficulty, I would say it ranks a 5 out of 10. I prefer this method of layering seals to coloring them with a marker because it makes for a very sharp and clear seal impression with contrast. It also is permanent and won’t wipe off with your finger. Later in January, I will have a YouTube tutorial on my channel. Instructions for layering waxes on seals: Warm your seal a bit over the flame of your votive candle or just let…

