-
Creating Unique Backgrounds For Cards With Modeling Paste
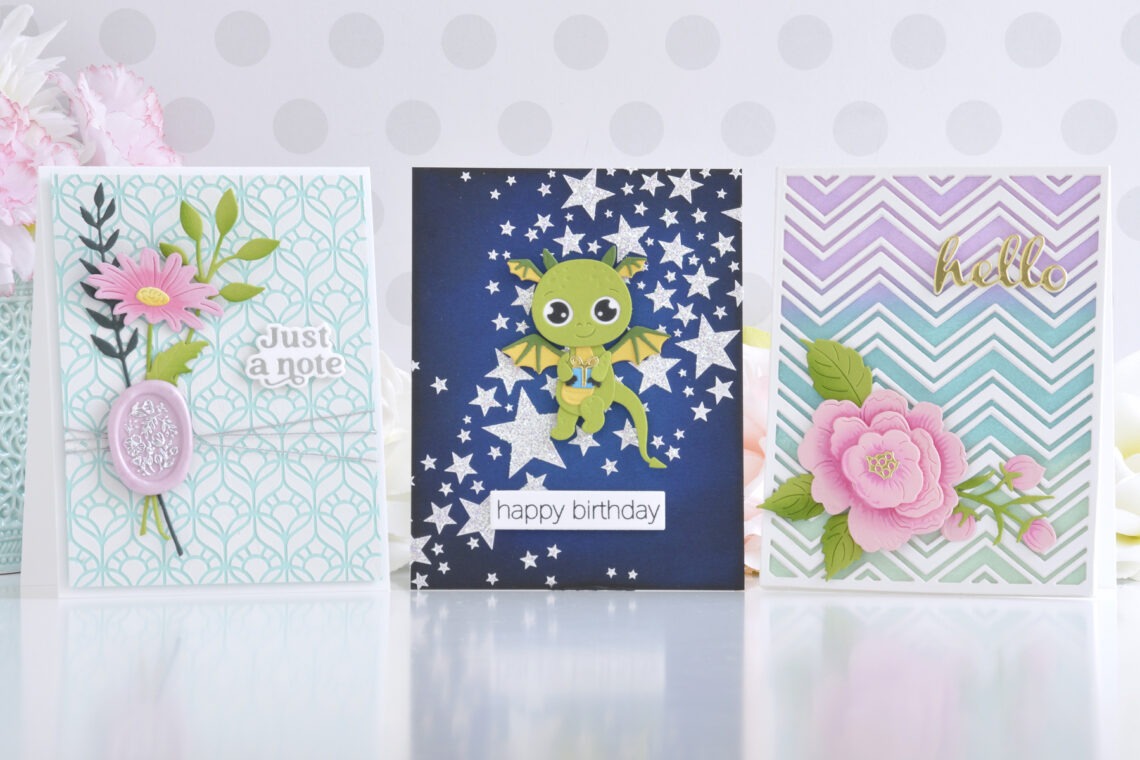
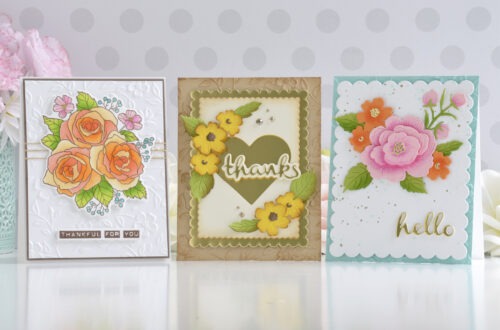
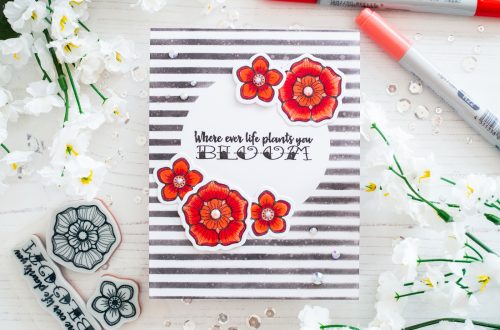
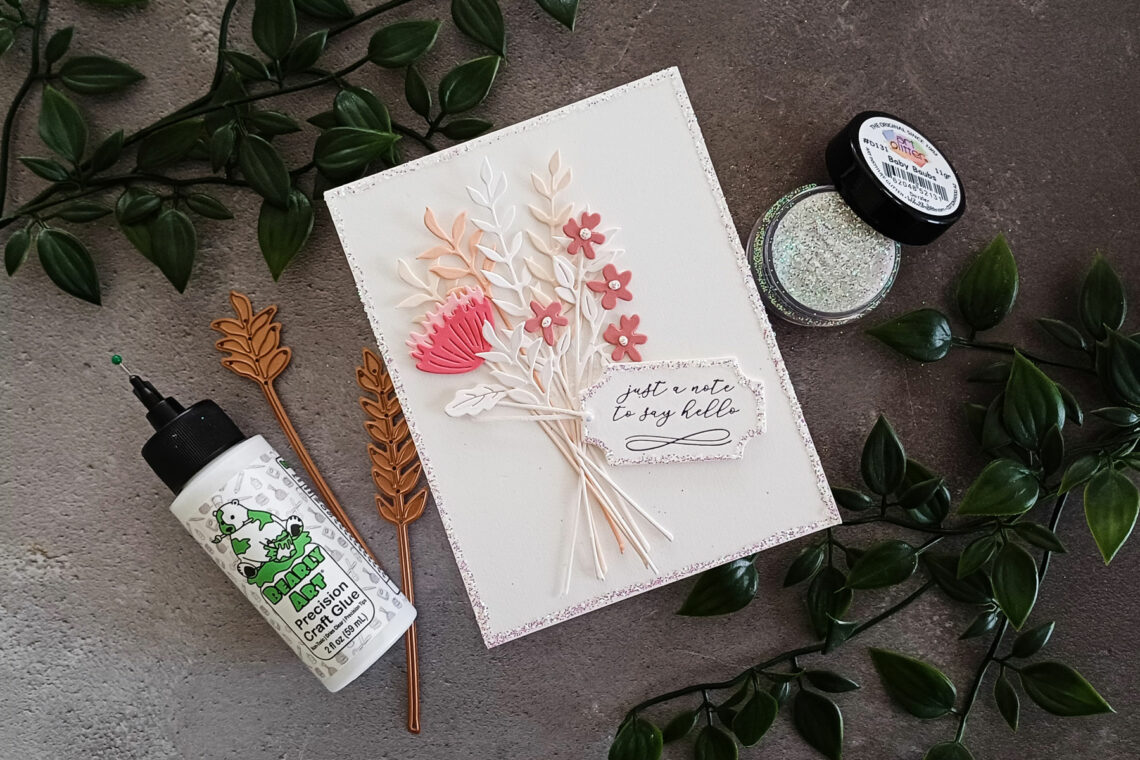
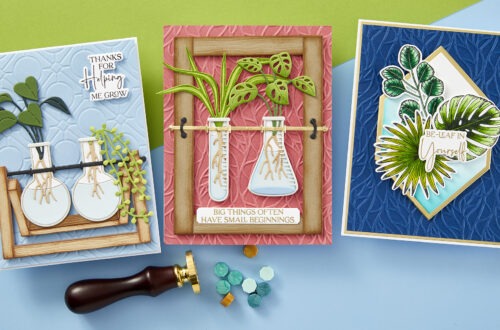
Hi there, this is Annie Williams and I’m excited to be back on the blog today to share a couple of cards using white modeling paste as a fun background element. White modeling paste can be used as-is, with stencils, or mixed with a variety of other mediums for endless possibilities in your paper crafting projects. Modeling Paste & Stencils There are lots of ways to alter modeling paste to suit your project, but with a thick and creamy consistency, it also looks great applied through stencils right from the jar. Here I created a pretty textured background for this soft spring flowers card. Apply white modeling paste through the…
-
Spring Has Sprung – 3 Ways To Create CAS and Contemporary Floral Designs
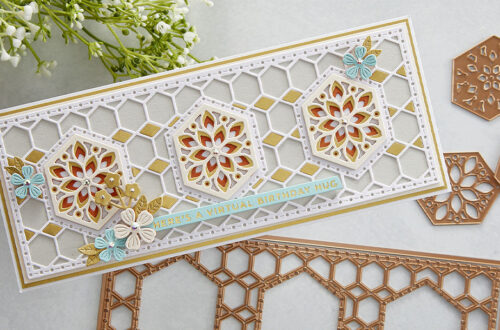
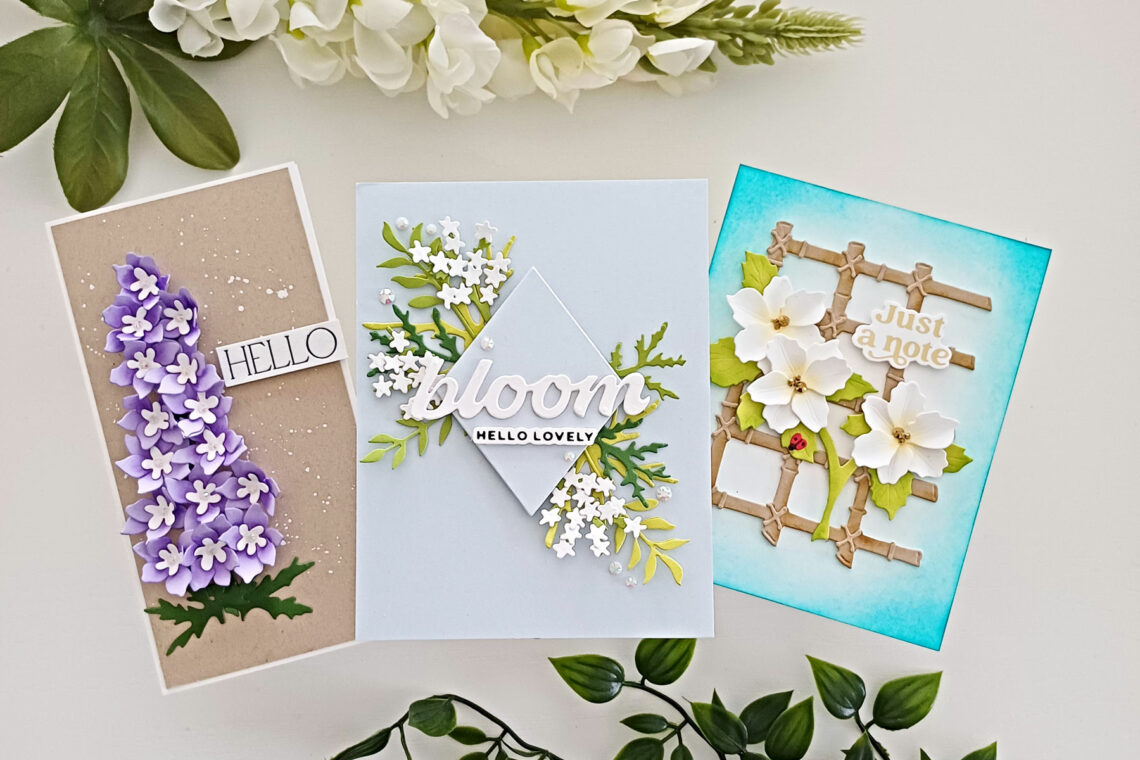
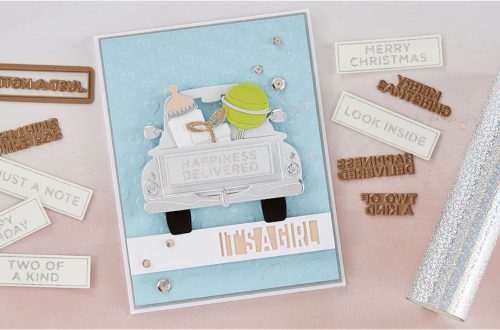
Hello there! This is Lisa from My Card Trip and I am delighted to be a guest here on the Spellbinders blog. Today I am sharing some ideas using the newly released Through The Arbor Garden Collection and I have three cards to show you. This is the latest collection from Susan Tierney-Cockburn and it includes five new floral etched die sets, along with a couple of embossing folders and a background die. As a keen amateur gardener, I was pleased to see a few of the die sets were for flowers we already have in our garden! So, let’s kick off with the first of my three cards. Bloom…
-
Pretty Wax Seal Projects Made With All New Wax Beads & Bead Mixes
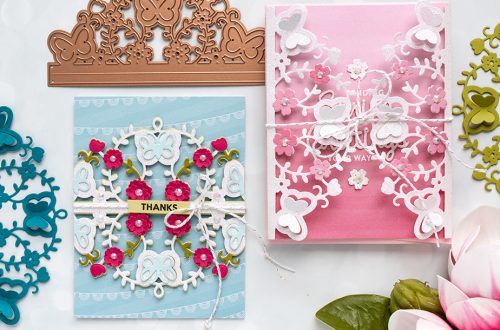
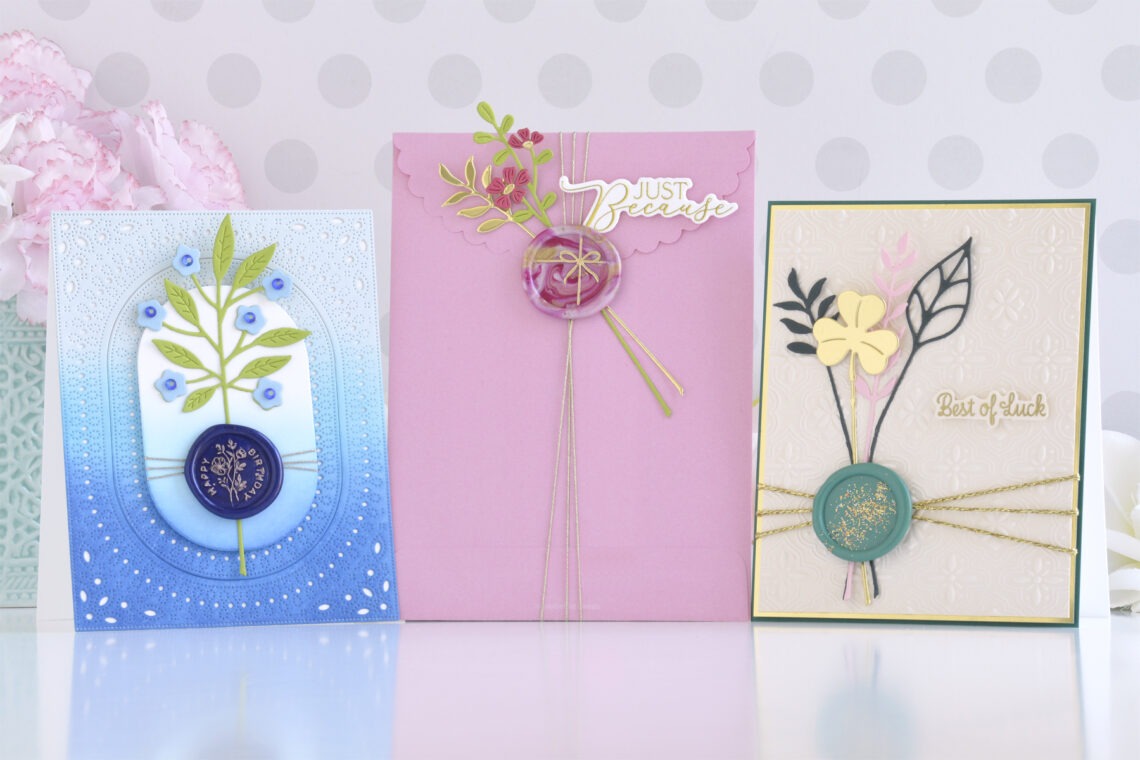
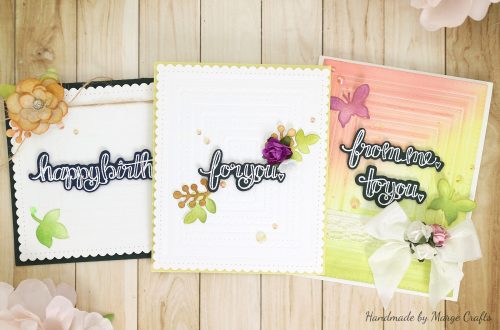
Hi there, this is Annie Williams and I’m thrilled to be back on the blog today to share a couple of projects using wax seals made with the latest wax bead colors and bead mixes from Spellbinders. The fun new colors and mixes give you so many more color scheme possibilities when adding wax seals to your projects and I was inspired to create two cards and a pretty embellished envelope. Birthday in Blues Card I loved the richness of the new Ink Wax Beads and thought it would be fun to create a monochromatic (mostly) birthday card with all of my favorite blue Spellbinders supplies. Melt Ink Wax Beads…
-
Packaging Ideas With Clear Boxes You Need To Try!
Hello there! This is Lisa from My Card Trip and I am excited to be a guest again on the Spellbinders blog. Today I am sharing a few ideas for gift wrapping clear acetate boxes using beautiful papers and ribbons and also my own decorations. The Crystal Clear boxes I am using today come in a pack of 25. They are so simple to put together as all you need to do is open the box up and tuck the flaps in. The acetate is scratch resistant and the tabs fold very easily. Not only that but the boxes have been made with a material that won’t brittle or crack…
-
3 Techniques To Try With Art Glitter
Hello friends! This is Lisa from My Card Trip and I am excited to be a guest on the Spellbinders blog today. I am here to share some sparkly fun with you as I am going to be showing some different ways to use Art Glitter on your projects. All of the three techniques are simple to do and I have lots of tips and tricks to share along the way. After each of the techniques, I have a card which shows the final project using that particular technique. It’s always nice to see an end result, right?! But first, a bit about Art Glitter. I am using five different…
-
Crafting with Vivant Ribbons, Cords and Twines
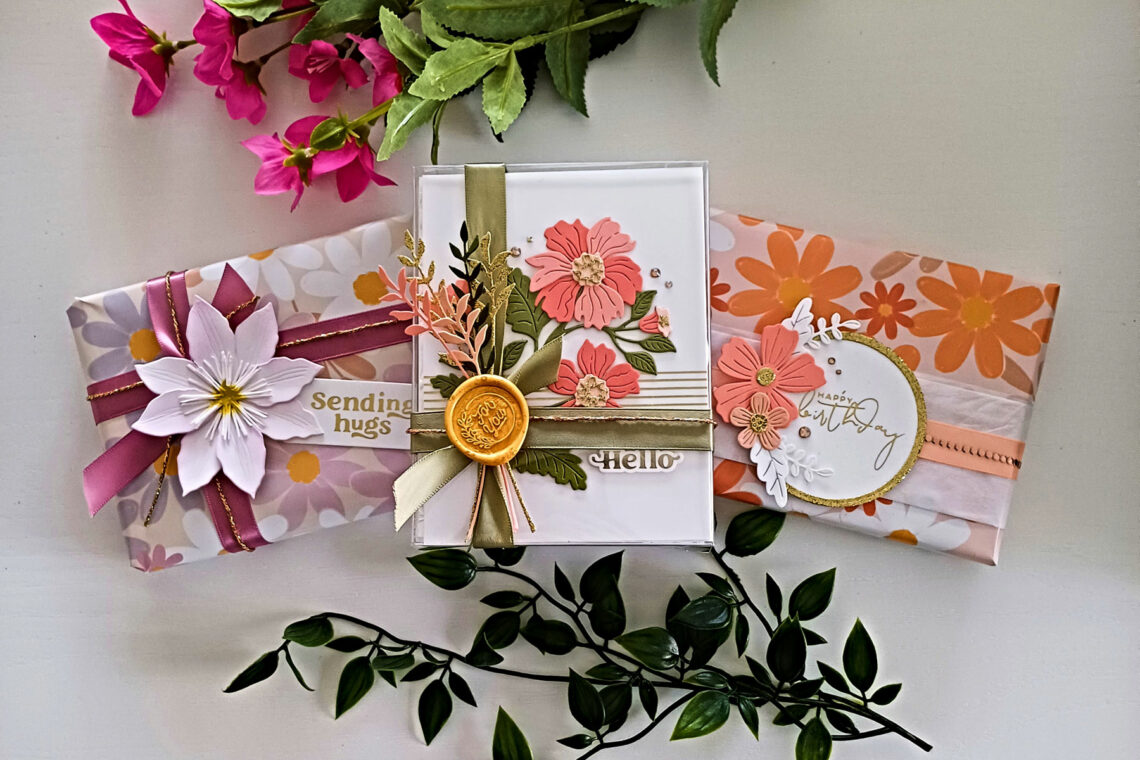
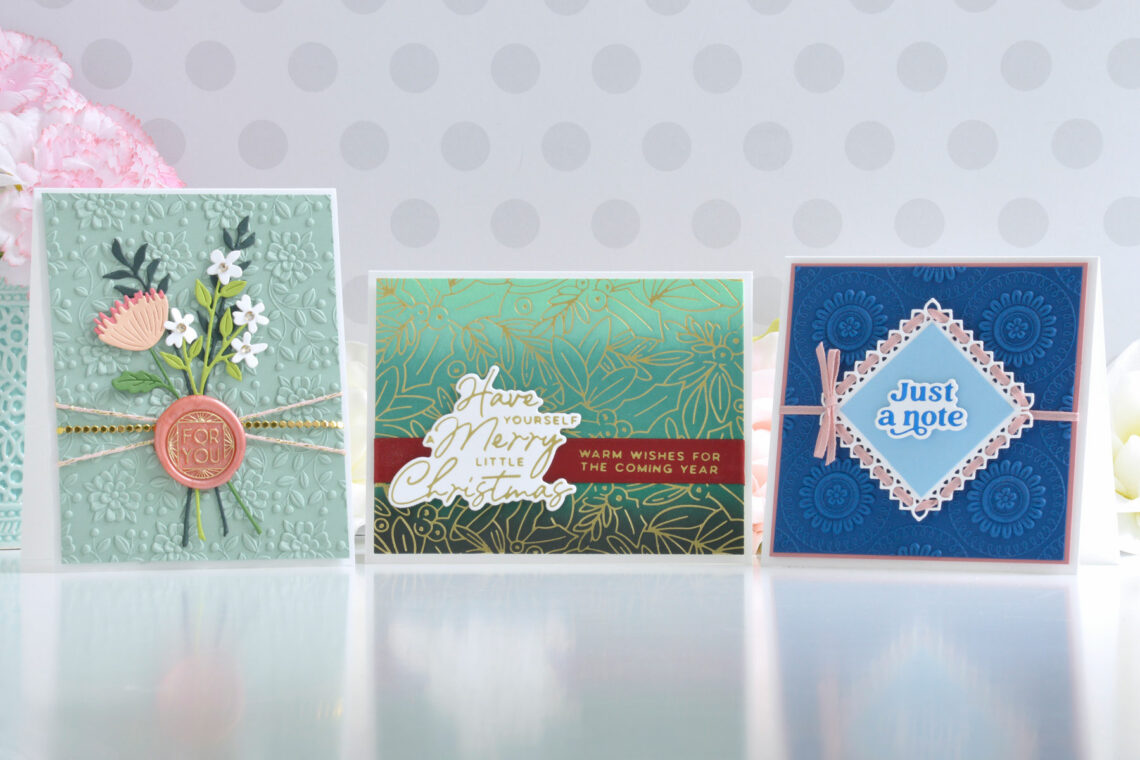
Hi there, this is Annie Williams and I’m excited to be back on the blog today to share a couple of cards made with some of the beautiful new ribbons, cords, and twines from Vivant available in the Spellbinders shop. I chose my favorite ribbon techniques and paired them with some gorgeous Spellbinders products to create these three easy cards with tons of texture and a little something extra. Floral Wax Seal Card With all of the beautiful wax seal products released recently, it would be hard to craft with ribbons and not consider using this technique first. Here I paired a floral bouquet and wax seal with a couple…
-
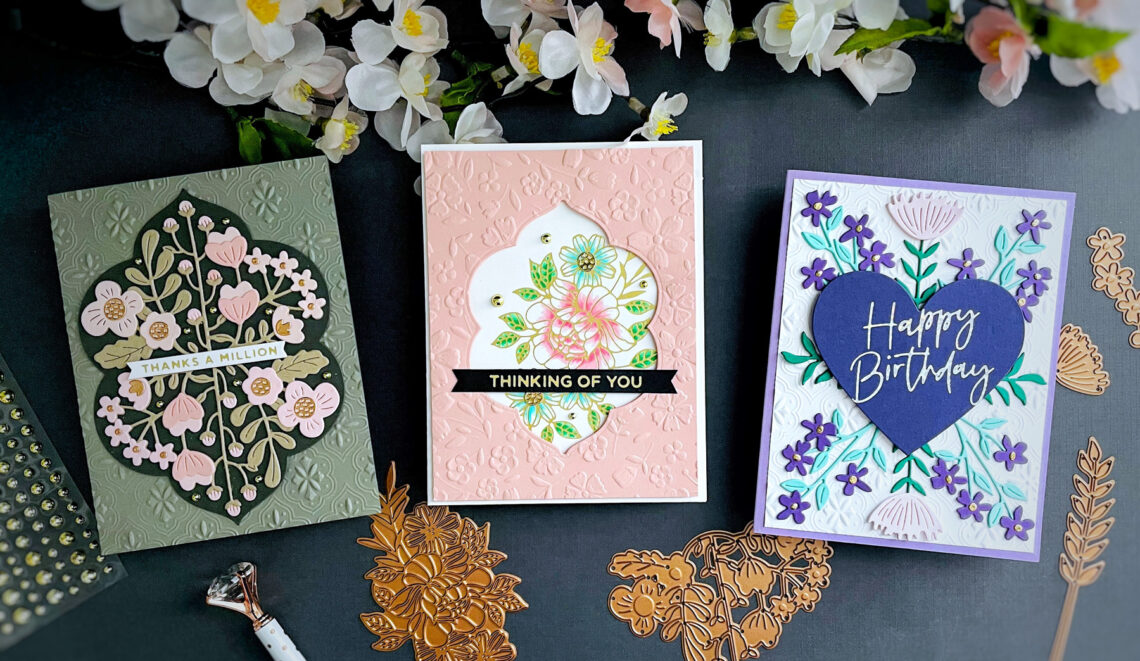
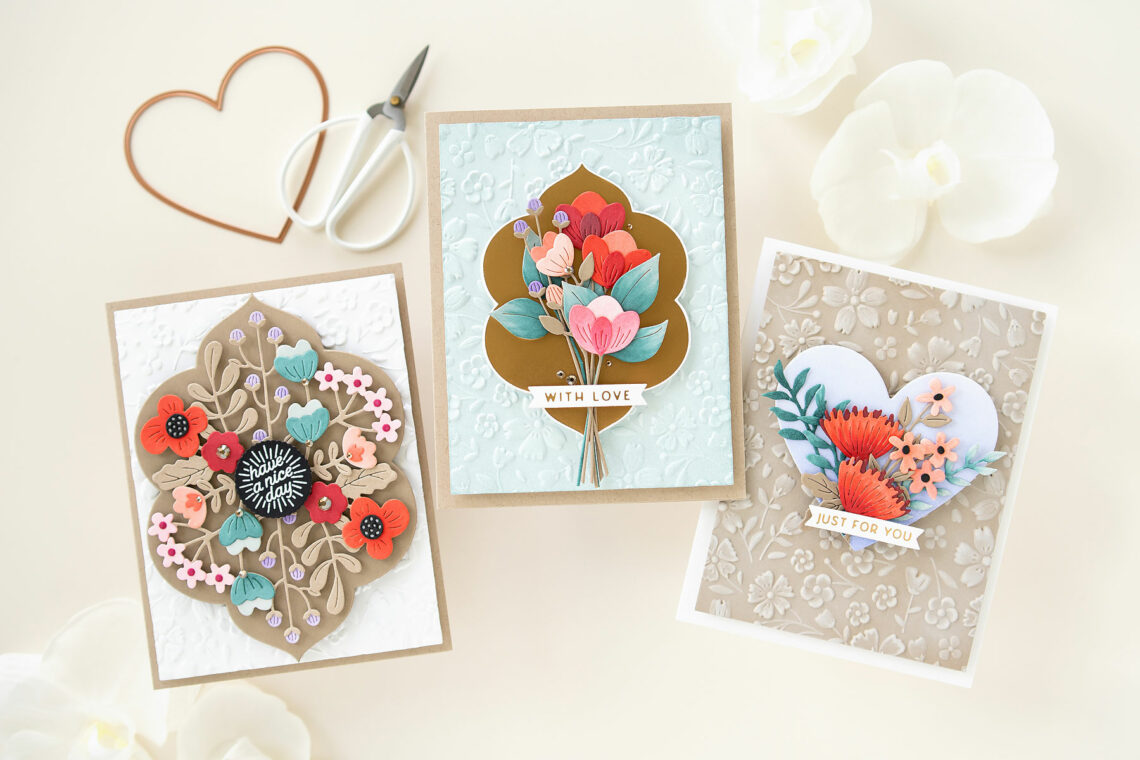
Floral Reflection Collection | Various Occasion Cards Inspiration with Heejung Hunsberger
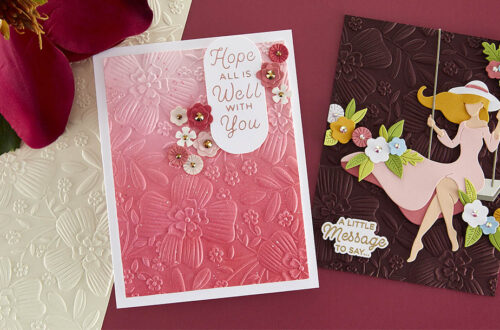
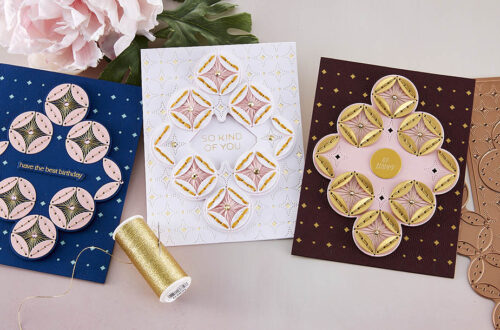
Hello crafty friends, this is Heejung Hunsberger and I am thrilled to be a guest designer this month. I share a few of my projects using the Floral Reflection Collections from Spellbinder. If you want to know me better, you can visit my blog or Instagram. I also have a YouTube channel, where I post a lot of video tutorials. FLORAL REFLECTION THANKS CARD My favorite part of this collection is the variety of stems, and flowers it offers. I combined the Floral Reflection die and the Essential Floral Reflection die on this thank you card. CARD RECIPE: Trim a piece of Lunar Gray Cardstock to 4.25” x 5.5, and emboss it with the Tile…
-
Trio of Floral Reflection Collection Cards with Jung AhSang
Hello crafty friends! It’s Jung here, and I am so happy to be returning for another guest post on the Spellbinders blog. For my projects today, I’m working with some products from the Floral Reflection collection. I love all the florals in the collection, and especially the heart dies! For my first card, I started with the Floral Reflection dies, along with the Essential Floral Reflection die. First, I die-cut all the dies in the Floral Reflection die set on white cardstock for the flower pieces, and craft cardstock for the larger foliage piece. I die-cut everything twice since you need 2 of the floral pieces to cover the shaped…
-
Floral Reflection Collection Easel Cards with Jen Kotas
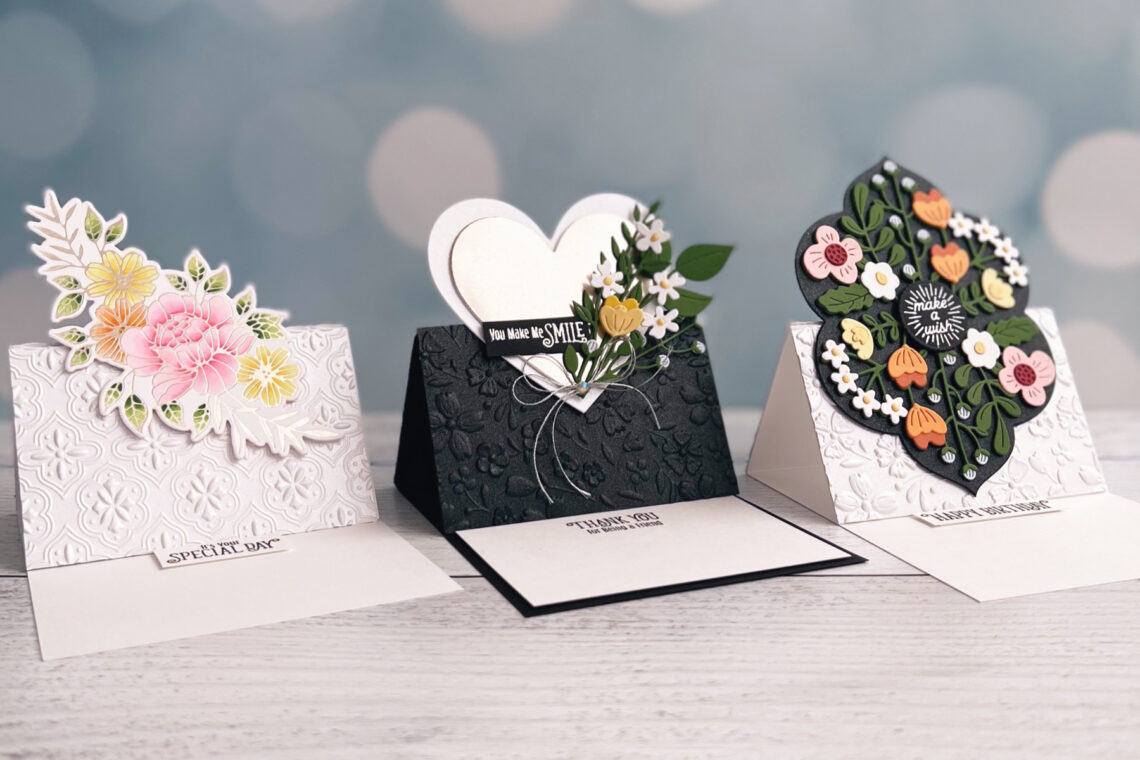
Hello! I’m Jen Kotas from whostolemyglitter.com and I’m happy to be here today to share three Floral Reflection Collection easel cards. Easel cards are simple to make and the size of the dies and glimmer plate meant not much else would be needed. To create the easel card base, cut a piece of cardstock 4 ¼” x 11”. Score at 2 ¾” and again at 5” then fold on score lines. Cut the 4 ¼” x 5 ½” embossed cardstock in half at 2 ¾”. Adhere the pieces above and below the 2 ¾” score line on the card base. Anything you wish to pop up when open can only…

