Coloring BetterPress Images with Colored Pencils
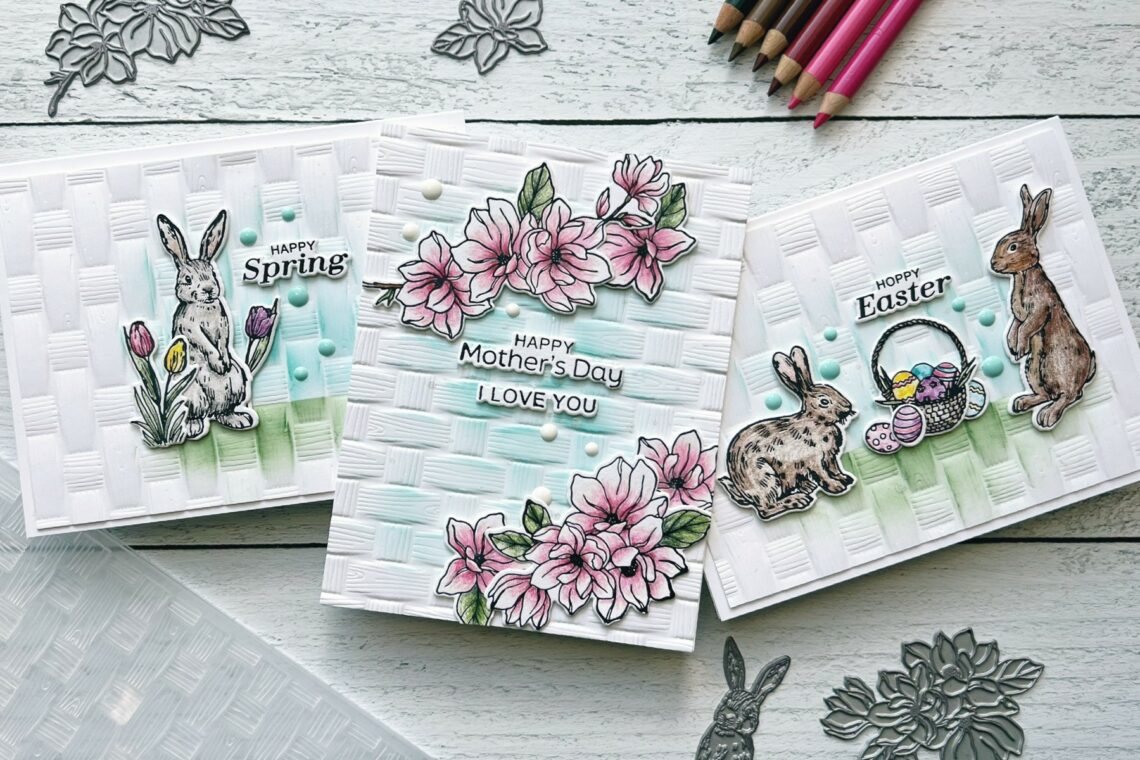
Hello! I’m Jen Kotas from Who Stole My Glitter and I’m happy to be here today to share three cards featuring the Spring Sampler Collection from Simon Hurley. There are two BetterPress sets along with a 3D embossing folder.
I’m not great with watercolor no matter what type I’m using. I’m most familiar and comfortable with alcohol markers but they don’t work well with the BetterPress ink or cardstock. My preferred medium for coloring BetterPress images is colored pencils.
Before I got to work, I embossed three A2 panels using the Woven 3D Embossing Folder. I added ink later to customize the backgrounds.
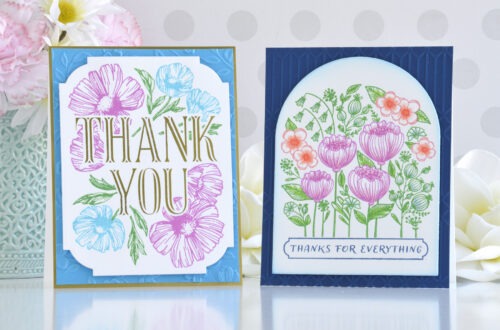
After impressing all of the Spring Magnolias Press Plates and the Spring Bunnies Press Plates using Black BetterPress Ink on the Porcelain Card Panel, I colored the images with colored pencils. I paired one darker and lighter pencil for each color and added a white pencil for the flowers. One drawback to using colored pencils is that they can dull the black ink, especially the white pencil. No bleeding or dry time makes colored pencils a great option, though.
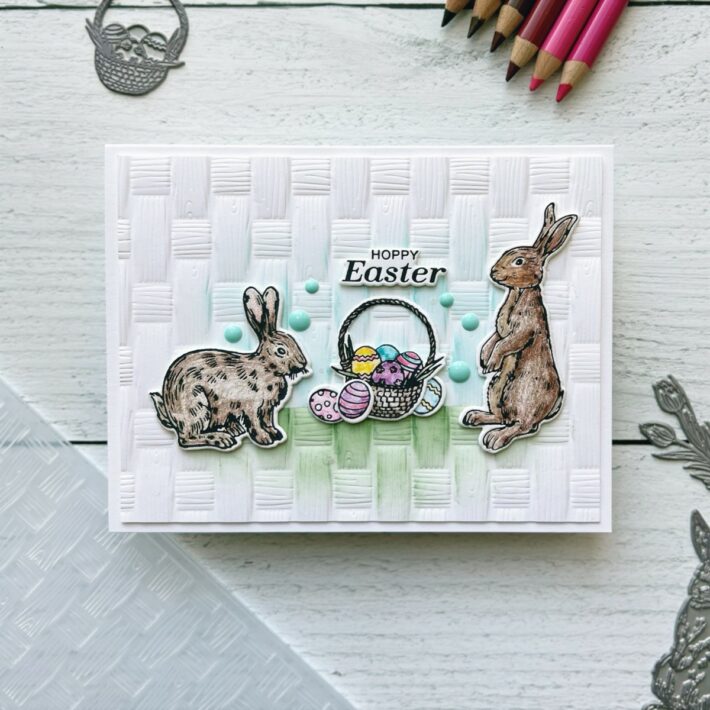
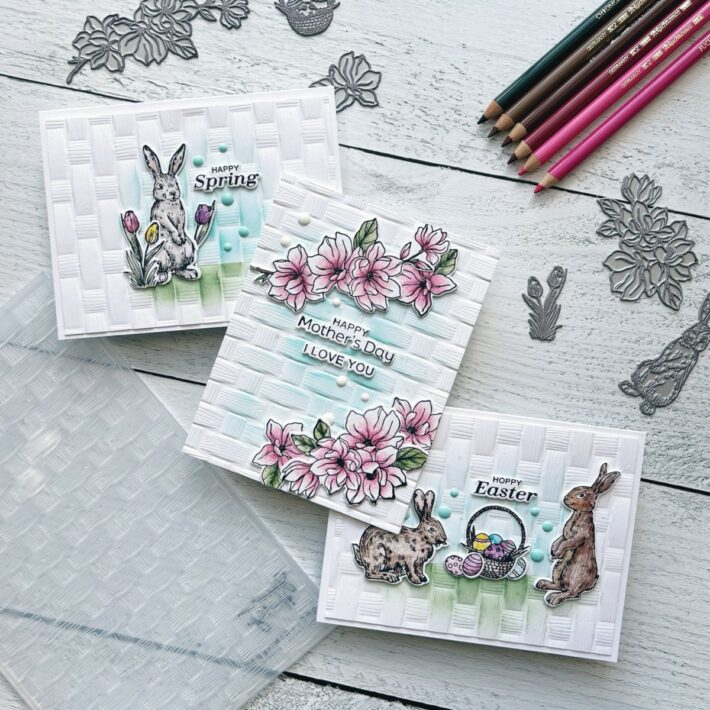
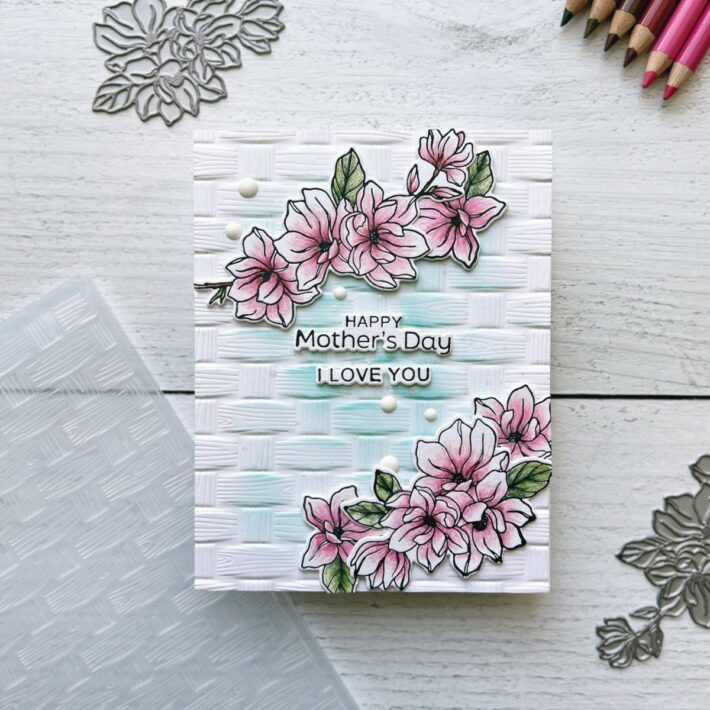
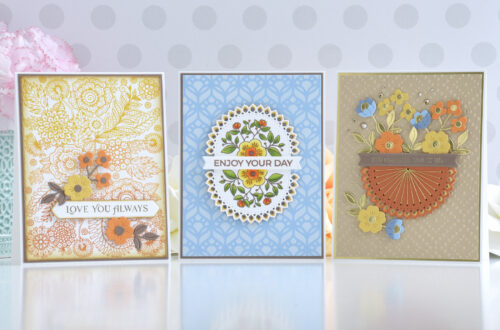
Next, I die-cut all the images, being certain to protect my cardstock from any markings on my top cutting plate. I cut two of the woven backgrounds to 4 x 5 1/4” and then got to work adding ink. For the two bunny cards, I used Best Ever Craft Tape to mask off the top and bottom while ink blending. I only inked as far as necessary to ground the die-cut images, allowing the ink to fade as I went. For the magnolia card, I started at the center adding blue ink and fading to edges.
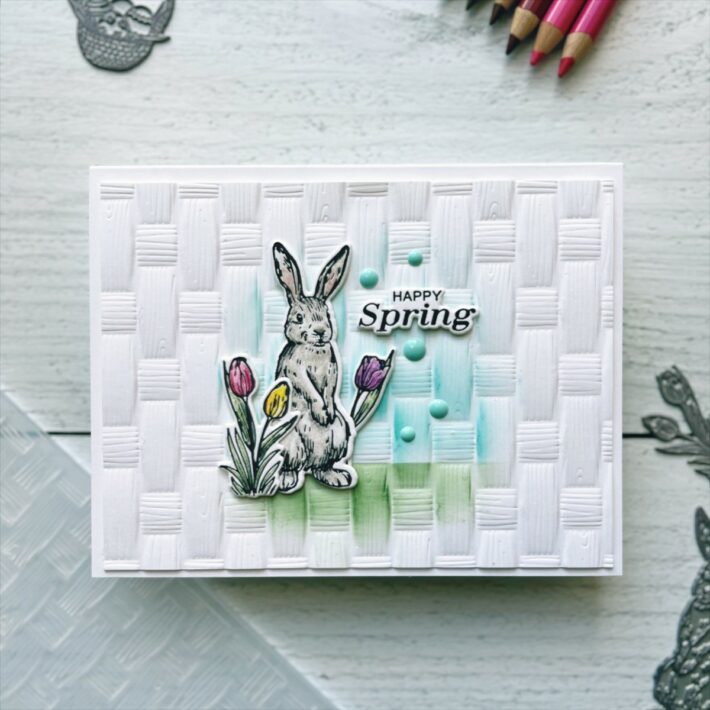
All images were added to the backgrounds with thin foam squares and then liquid glue where they overlapped. I cut off any overhang from the magnolias then added Dimensional Two Tone Teal Enamel Dots and Dimensional Black and White Enamel Dots throughout. I place each card on an A2 card base.
You can see more card-making tutorials, including shaped cards, on my blog, Who Stole My Glitter or visit my Instagram page for more inspiration. Thanks for visiting!
Spellbinders Supplies:

Other Supplies
Salvaged Patina Distress Oxide Ink, Rustic Wilderness Distress Oxide Ink, scrapbook Adhesives Thin Foam Squares, Bearly Arts Precision Glue, Polychromos Colored Pencils

One Comment
Donna Muhs
Jen Kotas..really beautiful work!
I love the look with the colored pencils..as I am just starting to try using watercolor and that’s a whole new level of skill for me!
Thanks for sharing your works ❤️