
Let’s Get Realistic … With a Modern Twist!
Hello there, Michelle Short here and I am delighted to be back on the Spellbinders blog to share three projects with you using the Through the Arbor Garden Collection by Susan Tierney-Cockburn. I love how realistic these flowers are. You can create them in a few different ways. I went with traditional, but with a modern twist!
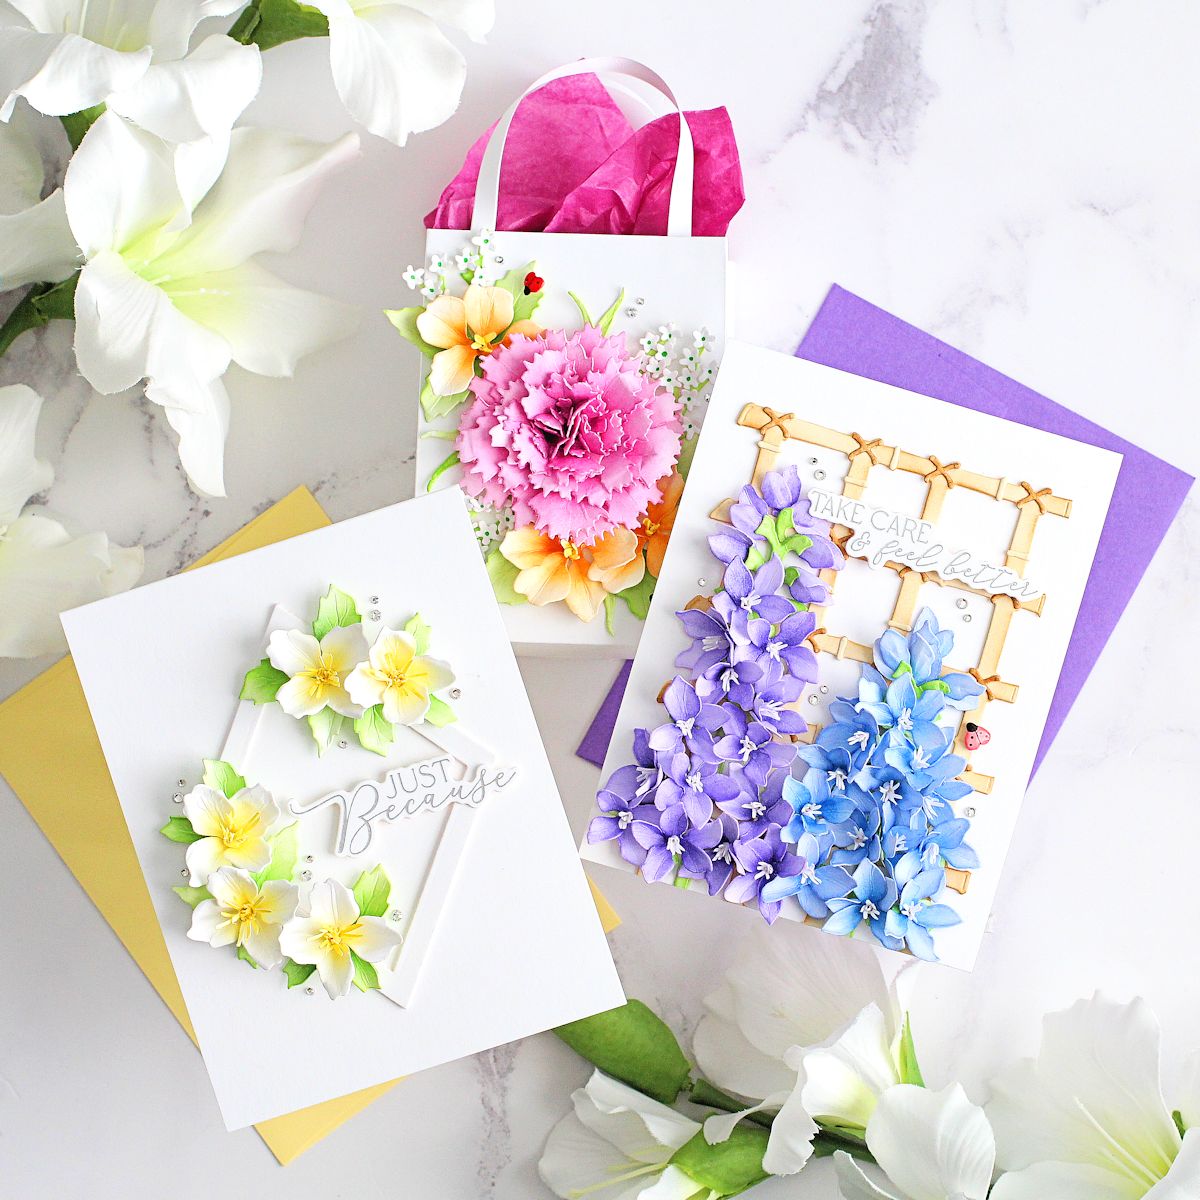
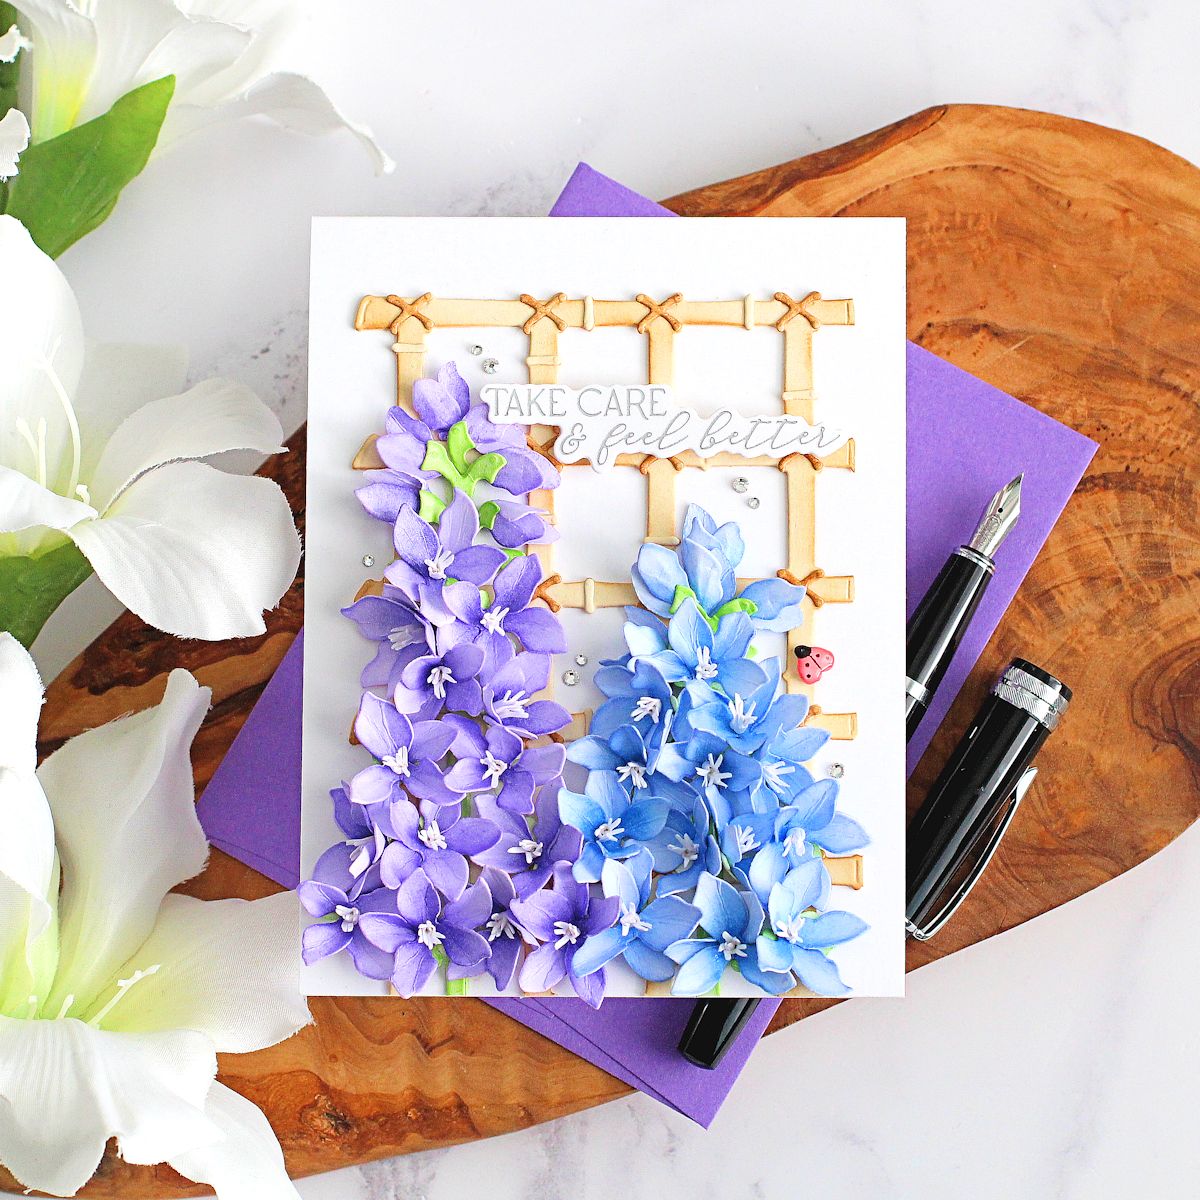
TAKE CARE DELPHINIUMS
These delphiniums are so pretty! I love blue and purple tones, so have always loved these flowers!
To make this card:
- I cut the Bamboo Trellis Background four times from Alabaster Cardstock.
- I added ink blending on top using Distress Inks and Blending Brushes.
- The pieces were assembled (two base pieces stacked one on top of another) and the ties and detail pieces adhered on top.
- The trellis was cut using scissors (to make it smaller in width) and adhered to an A2-sized white card base with Bearly Art Glue.
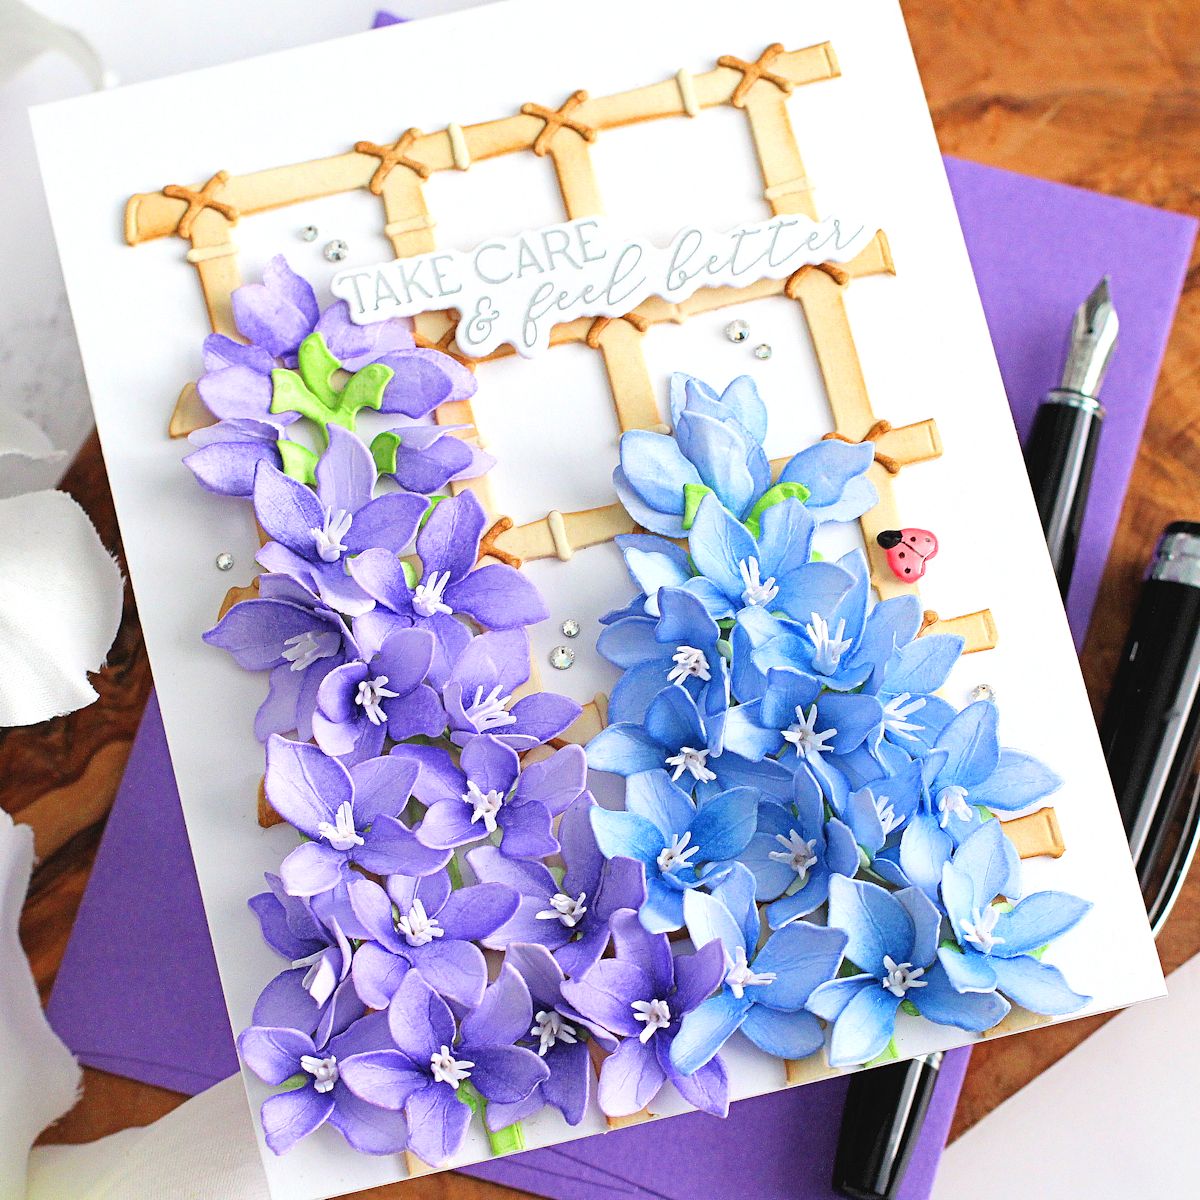
- I die-cut the Delphiniums from Snowdrift Cardstock multiple times.
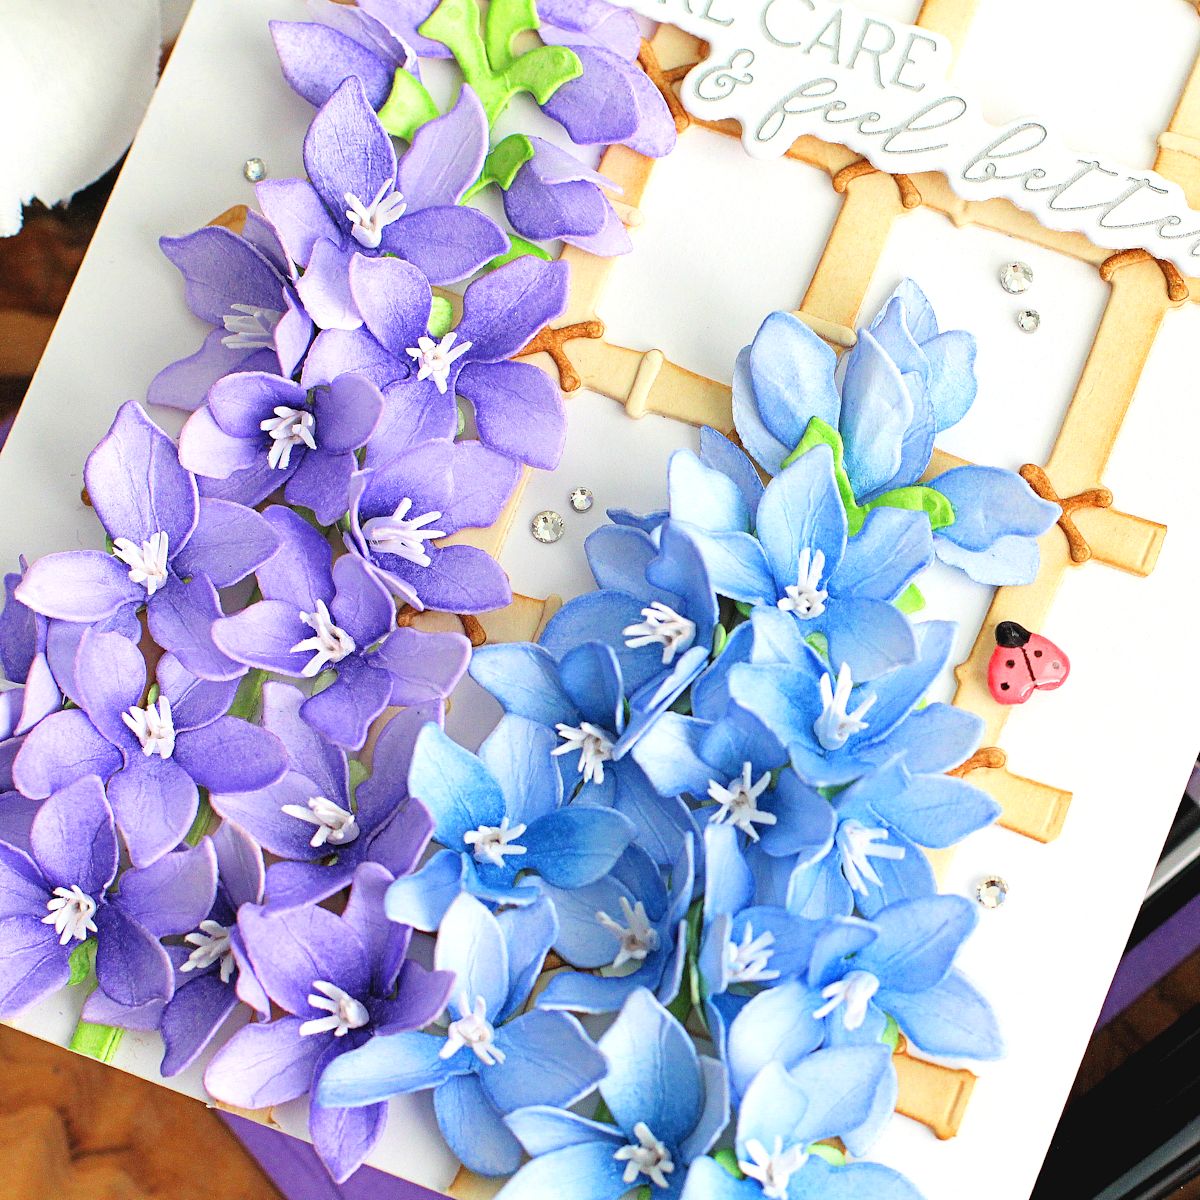
- I added ink blending to the layers with Distress Inks – green for the stems and calyx, and blues and purples for the petals.
- Using Susan’s video as a guide, I shaped the flowers using Susan’s Garden Ultimate Tool Kit and adhered them using Bearly Art Glue.
- The flowers were adhered to the card using Bearly Art Glue.
- I then adhered the stamens to the centers of the flowers.
- I die-cut a ladybug from the Queen Anne’s Lace & Ladybugs set, added ink blending and black details with a fine liner pen, before adhering to the card with a foam square.
- I hot foiled the You Are Everything Sentiments Press Plate onto white cardstock using Silver Foil and die cut out. The “take care & feel better” sentiment was adhered to the card using foam squares.
- I embellished it with Silver Mix Color Essentials Gems and added Crystal Glaze to the ladybug.
TIP: I made the tops of the delphiniums only so that they fit on an A2 sized card base. Don’t be afraid to change the look of the flowers to suit your design!
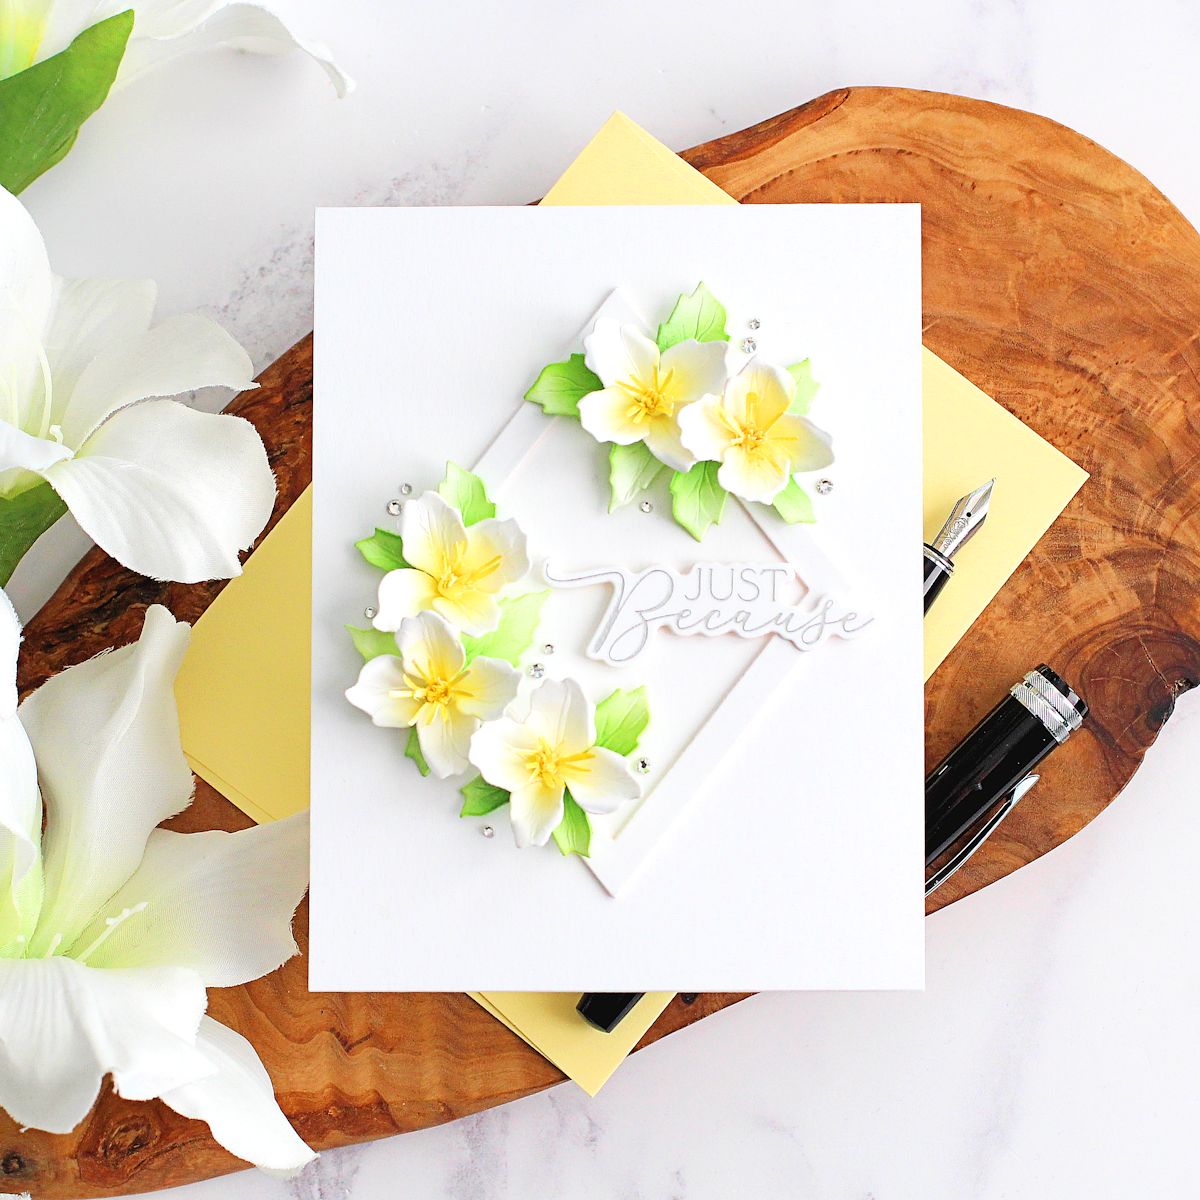
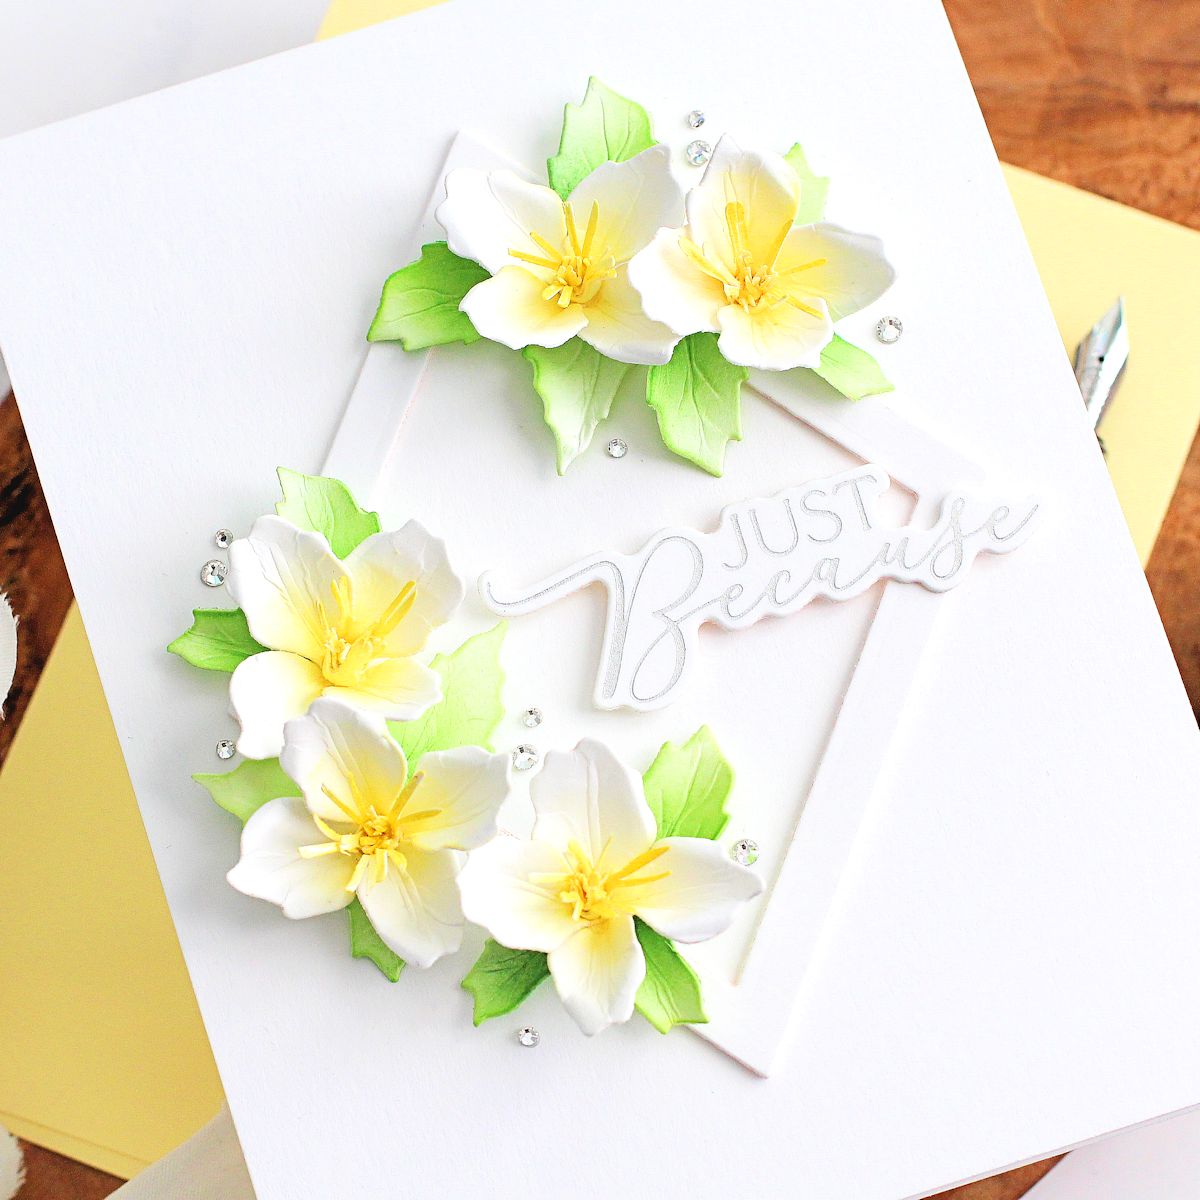
JUST BECAUSE BLOSSOMS
My next card uses the Mock Orange flowers. I thought these looked a little like blossoms, so kept my card light and airy to match! Whilst the flowers look great on the stem as intended, I decided to cut them apart to embellish my frame instead.
To make this card:
- I die-cut the Mock Orange petals and stamens from Snowdrift Cardstock.
- I cut the stem and leaves from white cardstock and cut the leaves off to use separately.
- I added ink blending using Distress Inks and Blending Brushes.
- Using Susan’s video as a guide, I shaped the flowers and leaves using Susan’s Garden Ultimate Tool Kit and adhered the pieces together using Bearly Art Glue.
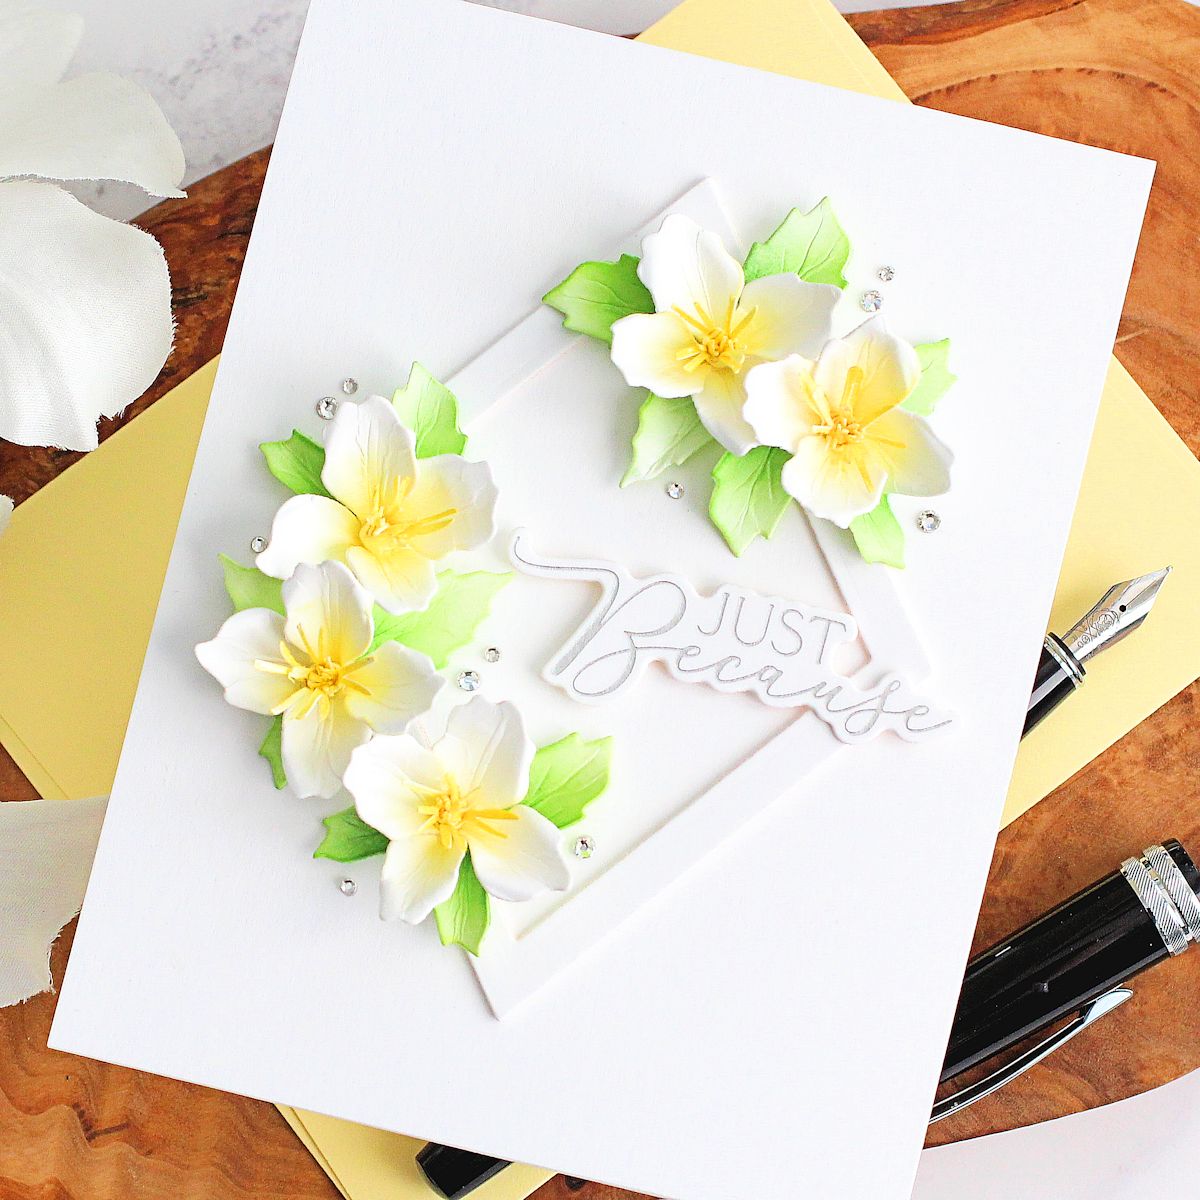
- I die cut a frame using two of the Essential Diamonds dies, three times.
- I stacked them one on top of another and then adhered to an A2 sized white card base.
- The flowers and leaves were adhered on top using Bearly Art Glue.
- I took the “just because” sentiment that was foiled from You Are Everything Sentiments Press Plate (when making he first card) and adhered it to the card using foam squares.
- I embellished it with Silver Mix Color Essentials Gems.
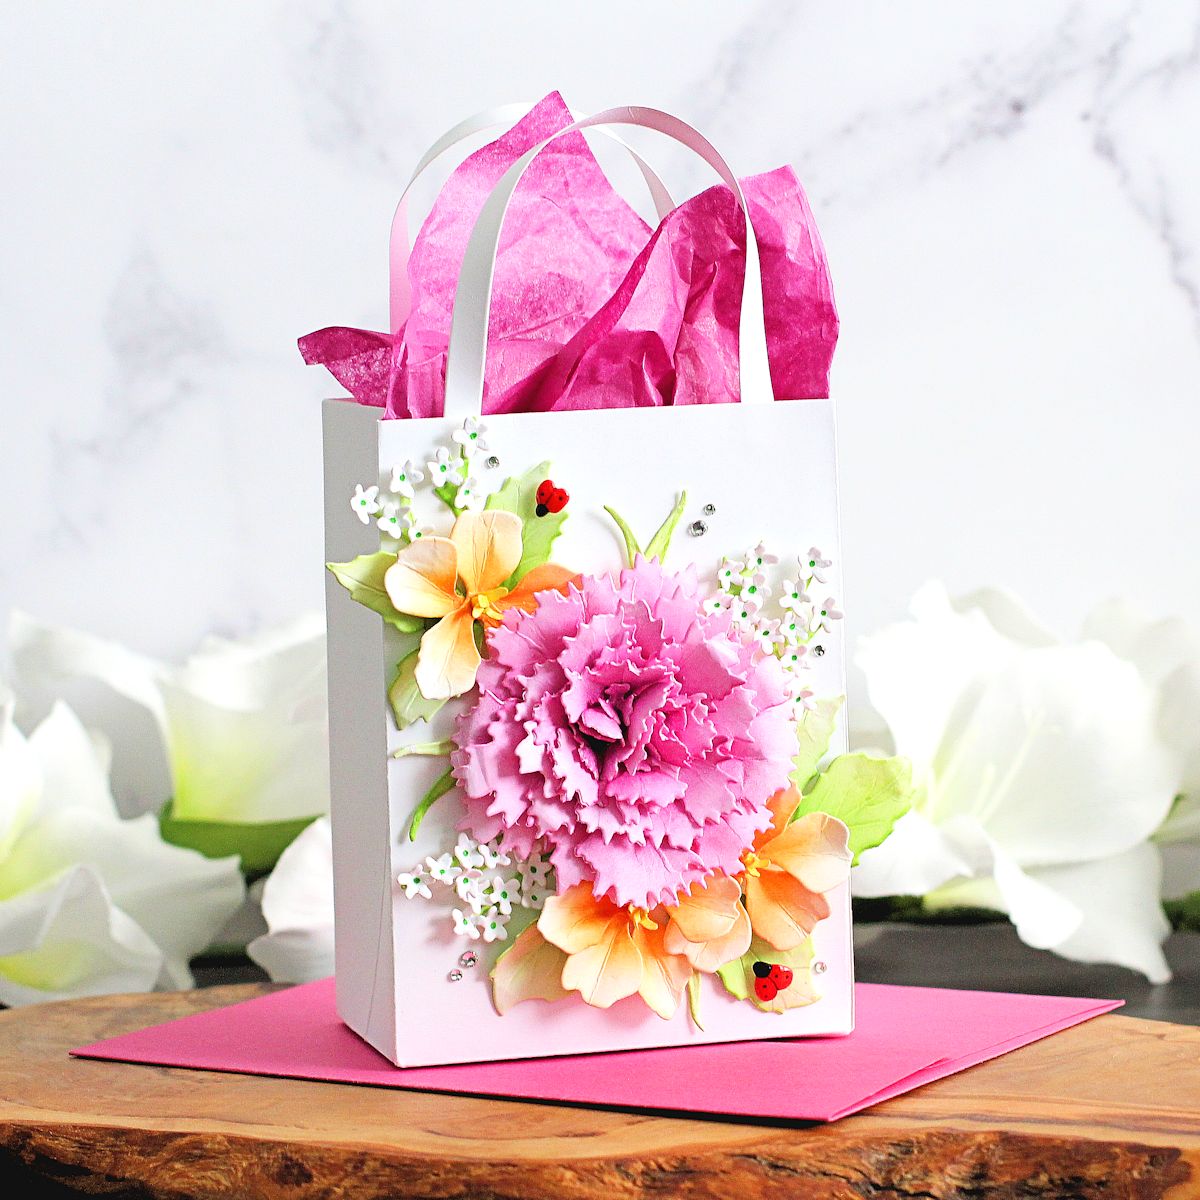
FLORAL BOUQUET GIFT BAG
For my last project, I thought it would be fun to create a whole bouquet of flowers to decorate a gift bag.
To make the gift bag:
- I die cut the Carnation (petals and leaves), Queen Anne’s Lace (flowers, bases, and ladybugs), and Nasturtium (petals and stamens) from Snowdrift Cardstock.
- I added ink blending with Distress Inks and Blending Brushes.
- Using Susan’s video as a guide, I shaped the flowers, leaves, and ladybugs using Susan’s Garden Ultimate Tool Kit and adhered the layers together using Bearly Art Glue.
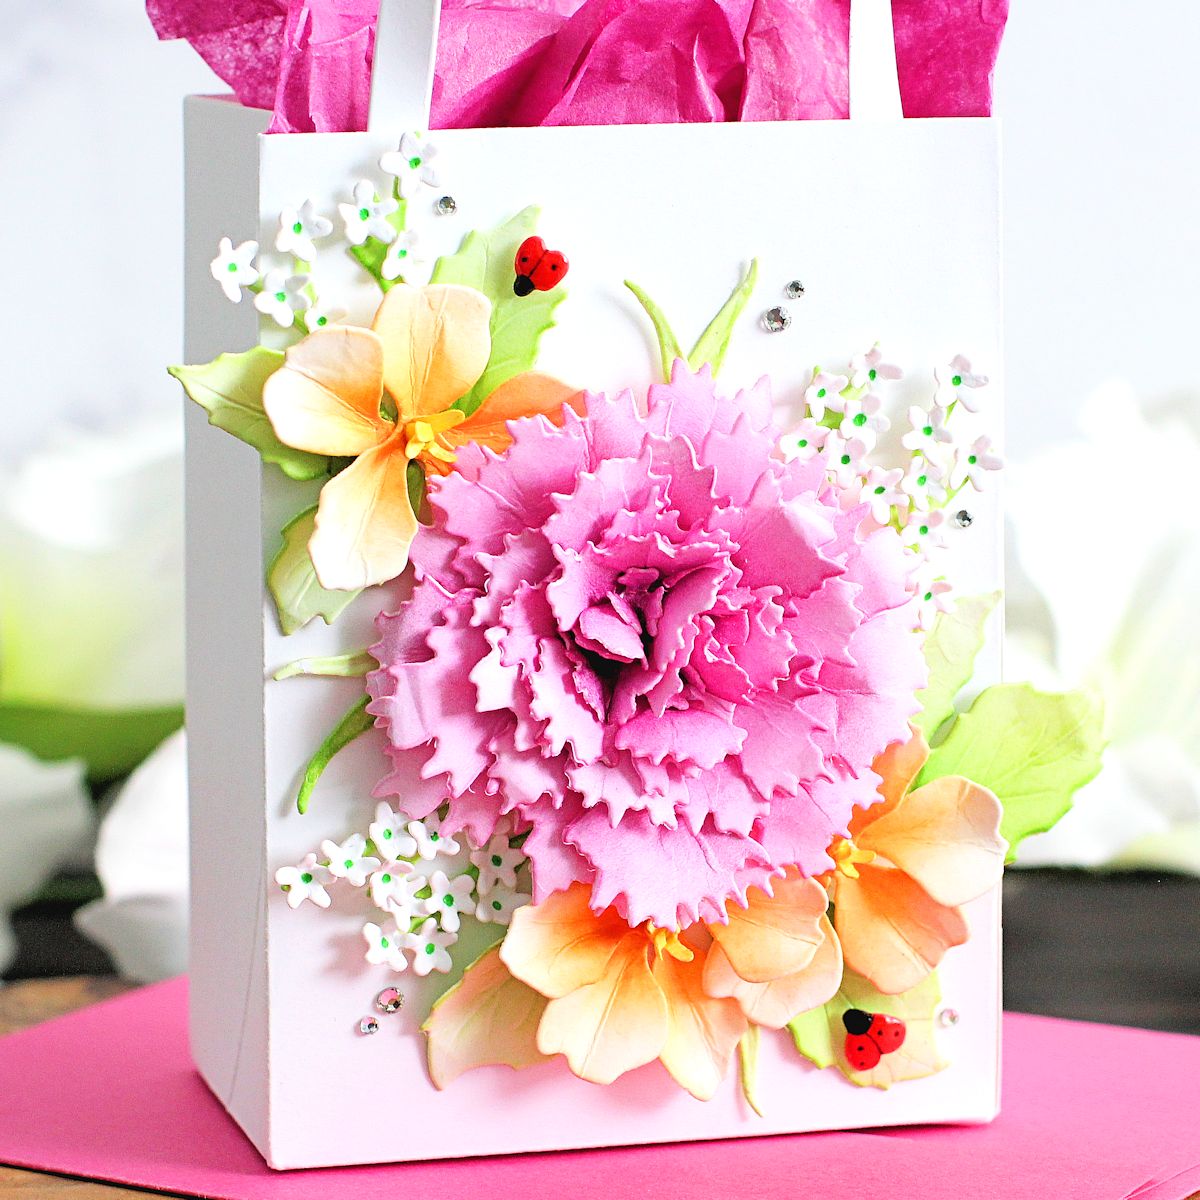
- I die-cut the Gift Bag from Snowdrift Cardstock and assembled it.
- The flowers were adhered to the bag using Bearly Art Glue.
- I had leaves left from the Mock Orange card, so added those to the arrangement.
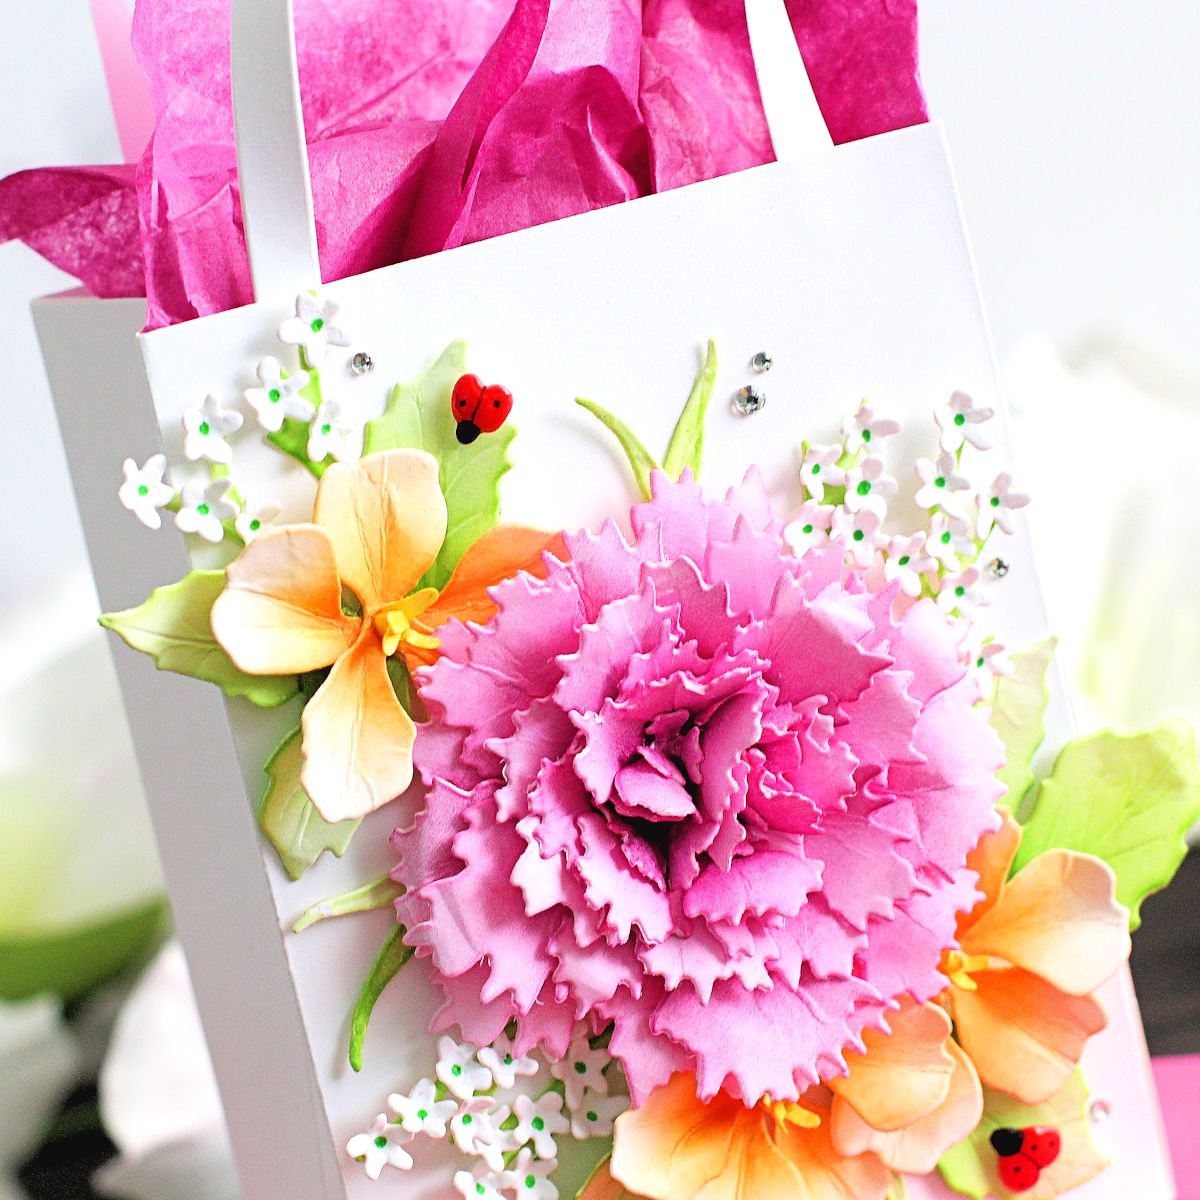
- I cut the Queen Anne’s Lace flower using scissors to create sprays and added them to the arrangement.
- I embellished with Silver Mix Color Essentials Gems and added Crystal Glaze to the ladybugs.
TIP: I mixed and matched the flowers and leaves to create an arrangement that suited my design and personal aesthetics. Whilst the mock orange leaves are not meant to be with nasturtium flowers in nature, I think they work well on the bag!
Spellbinders Supplies:

Other Supplies
Antique Linen Distress Ink, Vintage Photo Distress Ink, Twisted Citron Distress Ink, Mowed Lawn Distress Ink, Rustic Wilderness Distress Ink, Blueprint Sketch Distress Ink, Prize Ribbon Distress Ink, Wilted Violet Distress Ink, Villainous Potion Distress Ink, Festive Berries Distress Ink, Squeezed Lemonade Distress Ink, Mustard Seed Distress Ink, Picked Raspberry Distress Ink, Dried Marigol Distress Ink, Spiced Marmalade Distress Ink, Black Fine-Liner Pen, Crystal Glaze.
I hope you have enjoyed seeing my projects today and I have inspired you to add realistic flowers to your projects but change them up to fit your needs! Thank you so much for visiting and I hope you have a wonderful day!
One Comment
scrapperatheart
Your cards are just incredible, Michelle! I so enjoyed your post!