Spread Some Love With Florals!
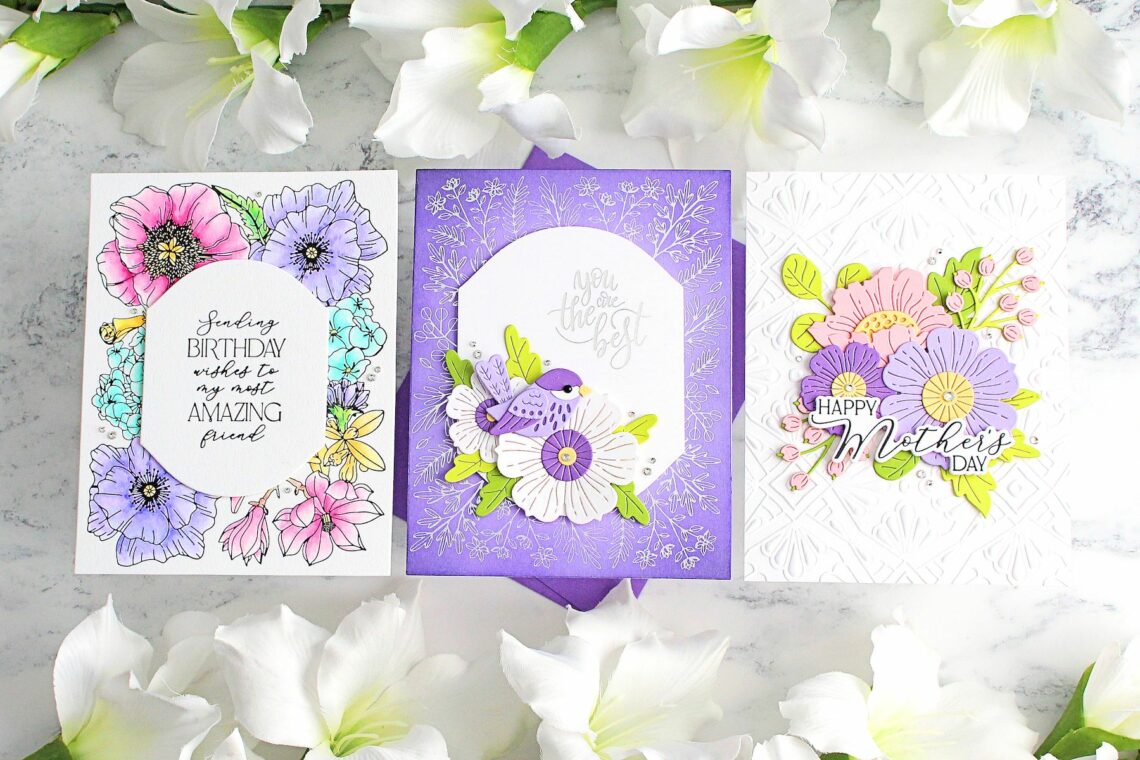
Hello there, Michelle Short here and I am delighted to be back on the Spellbinders blog using the Mirrored Arch collection. This beautiful collection is perfect for sending love to friends and family.
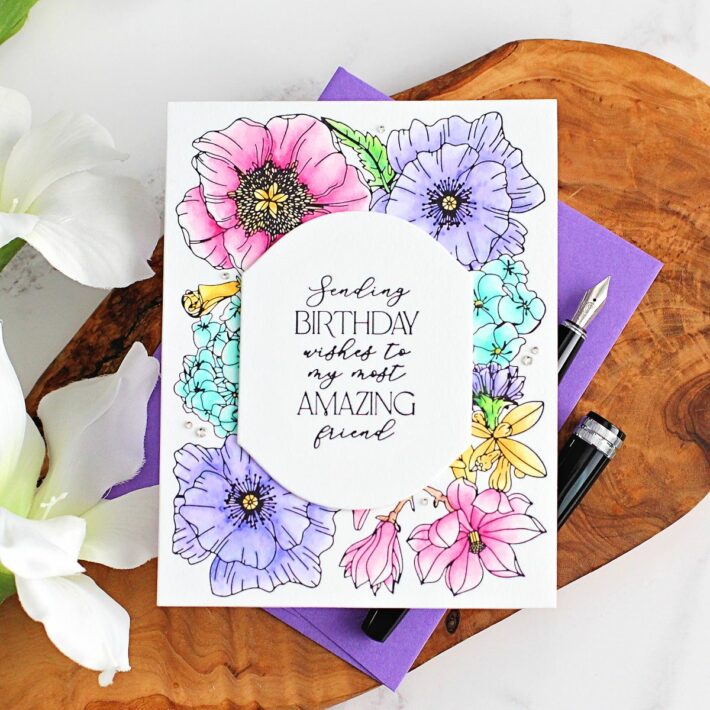
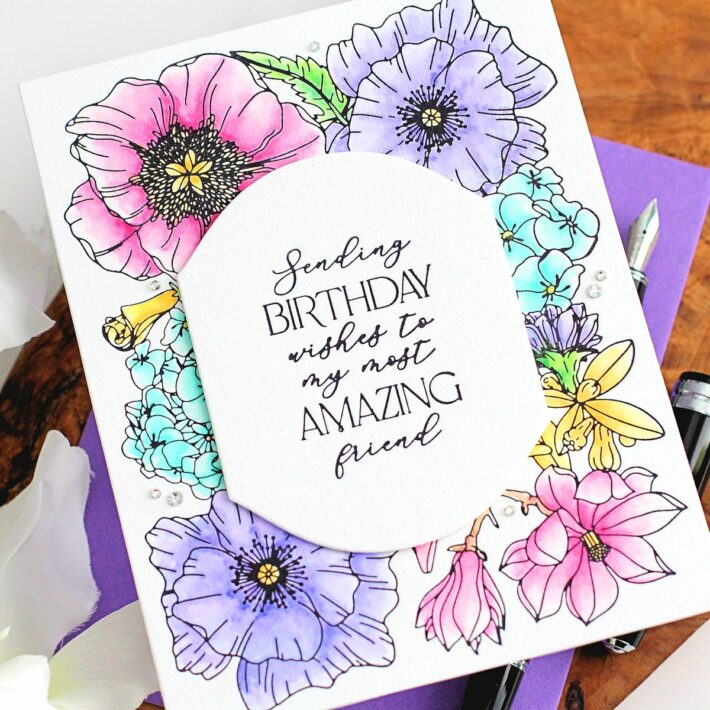
AMAZING FRIEND
For my first card, I wanted to show how you can create a card with minimal supplies. I used just one plate set, plus one die set (although not necessary).
To make this card:
- I placed the Mirrored Arch Blooms Press Plate (not including the sentiment) onto the chase of the BetterPress Letterpress System.
- I added a Porcelain BetterPress A2 Cotton Card Panel on the platen and held it in place with Best Ever Craft Tape.
- I inked up the plate with BetterPress Black Ink, placed the platen on top, and ran it through my Platinum Six.
- The panel was colored using watercolor pens, water, and a paintbrush.
- I took the sentiment from the set and pressed it onto another Porcelain BetterPress A2 Cotton Card Panel using the same BetterPress Black Ink.
- It was die-cut out using the Mirrored Arch Labels Etched Dies.
- The floral panel was adhered to an A2-sized white card base with tape runner adhesive.
- The sentiment panel was adhered on top with thin foam tape.
- To finish off, I embellished it with Silver Mix Color Essentials Gems.
Whilst I do love one-layer cards, I wanted to add a little dimension to my card, so pressed the sentiment onto a separate panel. If you wanted a one-layer card though, you could press both plates at the same time.
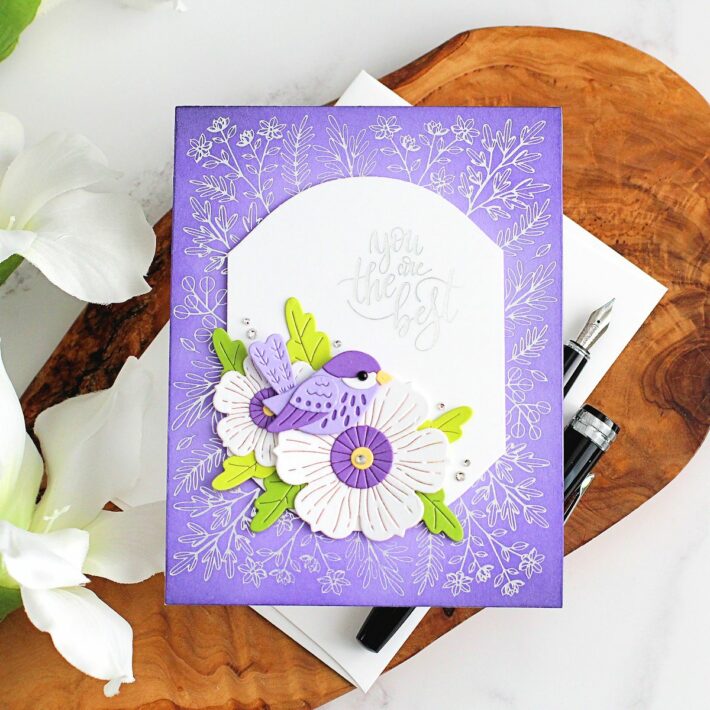
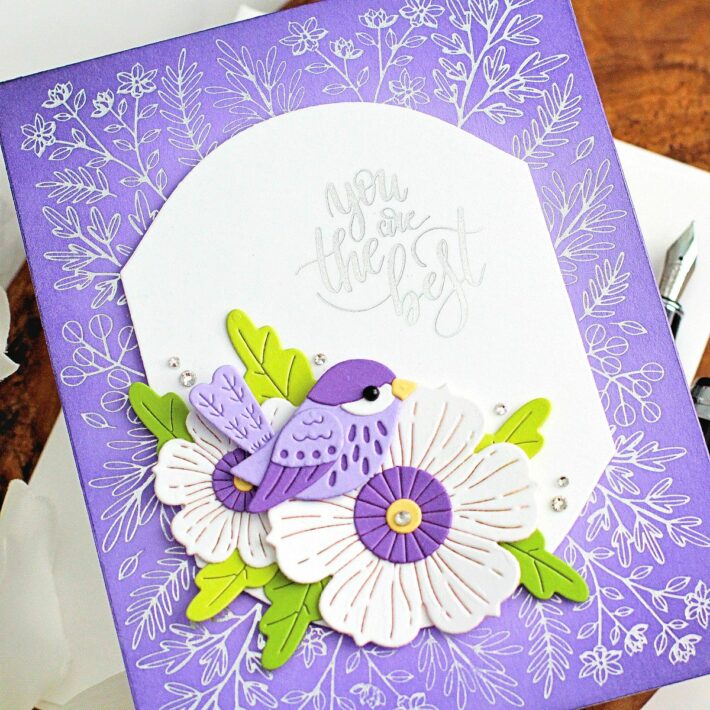
YOU ARE THE BEST
My next card uses foiling instead of pressing. Have you tried foiling with BetterPress plates? The results are beautiful!
To make this card:
- I placed a piece of Silver Foil (shiny side up) onto a panel of Lilac Blossom Cardstock and placed the outside layer of the Mirrored Arch Nested Sprigs Press Plate on top (face down), holding down with Best Ever Craft Tape.
- I placed it on the Glimmer Hot Foil System platform and let it heat up before running through the Platinum Six.
- I carefully removed the plate and foil and using Blending Brushes, blended Distress Inks around the edges (Wilted Violet, Villainous Potion & Black Soot).
- The panel was adhered to an A2-sized white card base with tape runner adhesive.
- I took the sentiment from the set and foiled it using Silver Foil onto white cardstock.
- The panel was die-cut out using the Mirrored Arch Labels Etched Dies and adhered to the card using foam tape.
- I die-cut flowers from Club Blooms and foliage from Be Bold Blooms (Snowdrift, Lilac Blossom, Chamomile, Peridot, and Rainforest Cardstock) and adhered them to the sentiment panel.
- I die-cut the Little Chickadee from Purple Mist, Lilac Blossom, Snowdrift, and Chamomile The pieces were assembled with Bearly Art Glue and then adhered to the card with foam tape.
- To finish, I adhered a black pearl to the bird’s eye and embellished the card with Silver Mix Color Essentials Gems.
TIP: Whilst BetterPress plates give a beautiful finish when hot foiled, I do find that for me, I get the best results when heating the platform up for longer. I press the button once, let it heat up, remove the platform from the base, re-insert it, and then press the button again. Experiment with your machine and see what works best for you!
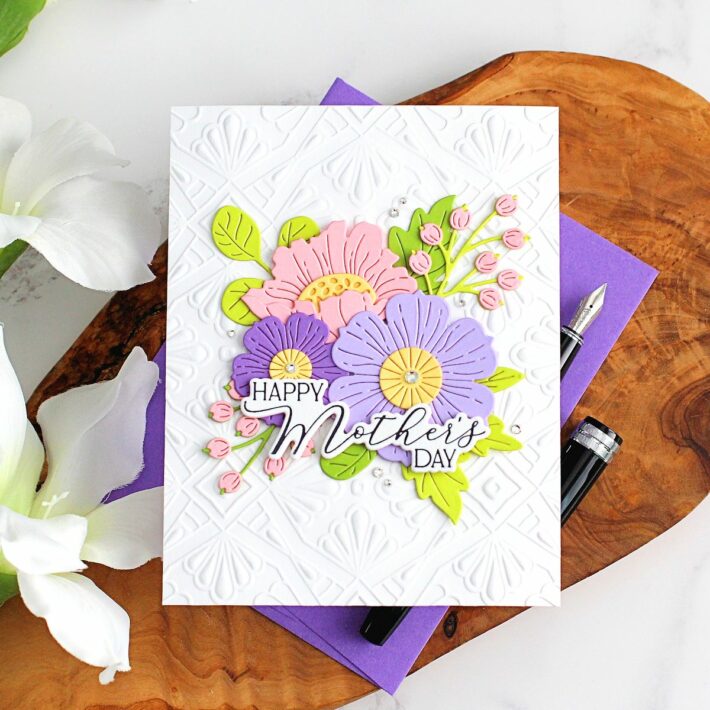
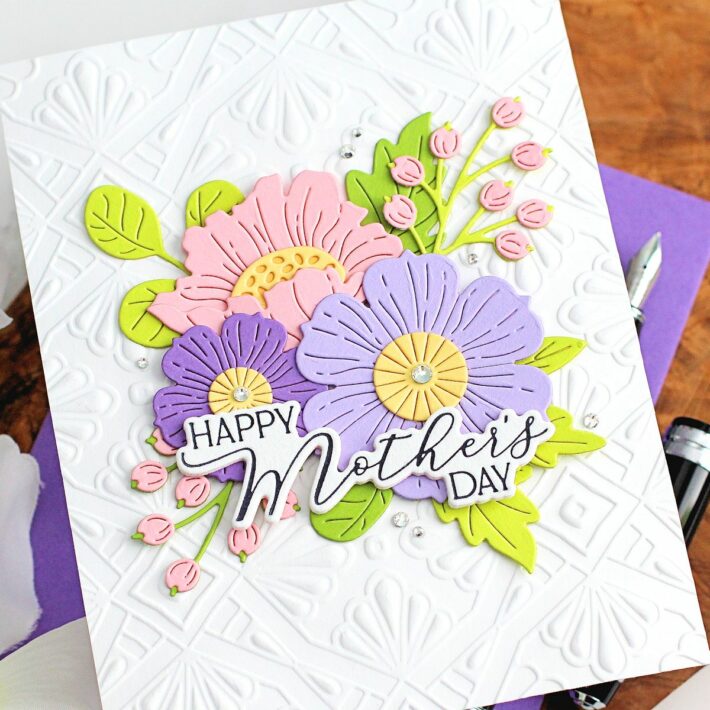
HAPPY MOTHER’S DAY
For my last project, I wanted the flowers to be the focal point but still have some interest in the background. Embossing Folders are a great way to do this!
To make the card:
- I placed an A2-sized panel of white cardstock inside the Luxe Backdrop and Border 3D Emboss & Cut Folder and ran it through my Platinum Six.
- It was adhered to an A2-sized white card base with tape runner adhesive.
- I die cut flowers and foliage from Club Blooms (Purple Mist, Lilac Blossom, Pink Sand, and Chamomile for the flowers, and Peridot and Rainforest for the leaves).
- The leaves were adhered to the card using Bearly Art Glue.
- The flowers were adhered on top with thin foam tape.
- I placed the Mother’s & Father’s Day Sentiments Press Plate onto the chase of the BetterPress Letterpress System.
- I added a Porcelain BetterPress A2 Cotton Card Panel on the platen and held it in place with Best Ever Craft Tape.
- I inked up the plate with BetterPress Black Ink, placed the platen on top, and ran it through my Platinum Six.
- The sentiments were die cut out using the coordinating die. I also cut them another two times from white cardstock.
- I adhered the “Happy Mother’s Day” sentiment pieces one on top of another (to create dimension) and then adhered to the card.
- To finish, I embellished it with Silver Mix Color Essentials Gems.
I love adding florals to cards! As you can see, they work well as both a focal point and as an accompanying image. I hope you have enjoyed seeing my projects today and I have inspired you to try the Mirrored Arch collection. Thank you so much for visiting and I hope you have a wonderful day!
Spellbinders Supplies:

Other Supplies
Black pearl, thin foam tape, Altenew Dual Tip Pens, Wilted Violet Distress Ink, Villainous Potion Distress Ink, Black Soot Distress Ink.

2 Comments
Dee
Beautiful cards Michelle. I do the same thing with my Gimmer when I have a large solid plate. The extra heat makes all the difference and ensures perfect results.
Shelice Walker
Gorgeous cards, Michelle.