Joyful Christmas Inspiration with Jen Kotas
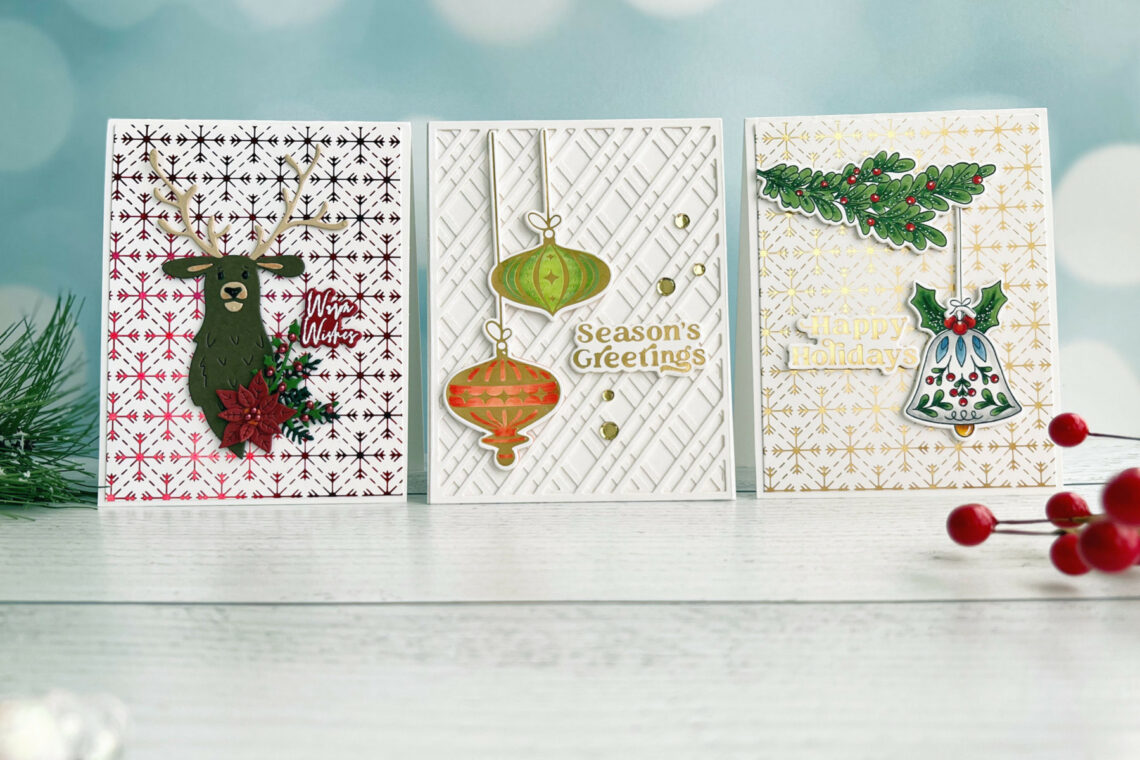
Hello! I’m Jen Kotas from Who Stole My Glitter and I’m happy to be here today to share three cards featuring the Joyful Christmas Collection from Simon Hurley. This is a large and thorough collection with fabulous stamps, dies, and hot foil plates.

Retro Ornaments Season’s Greetings Card
The Joyful Christmas Sentiments Glimmer Plates are designed to be foiled and die-cut as one. That is how I created the sentiments for the first and third cards.
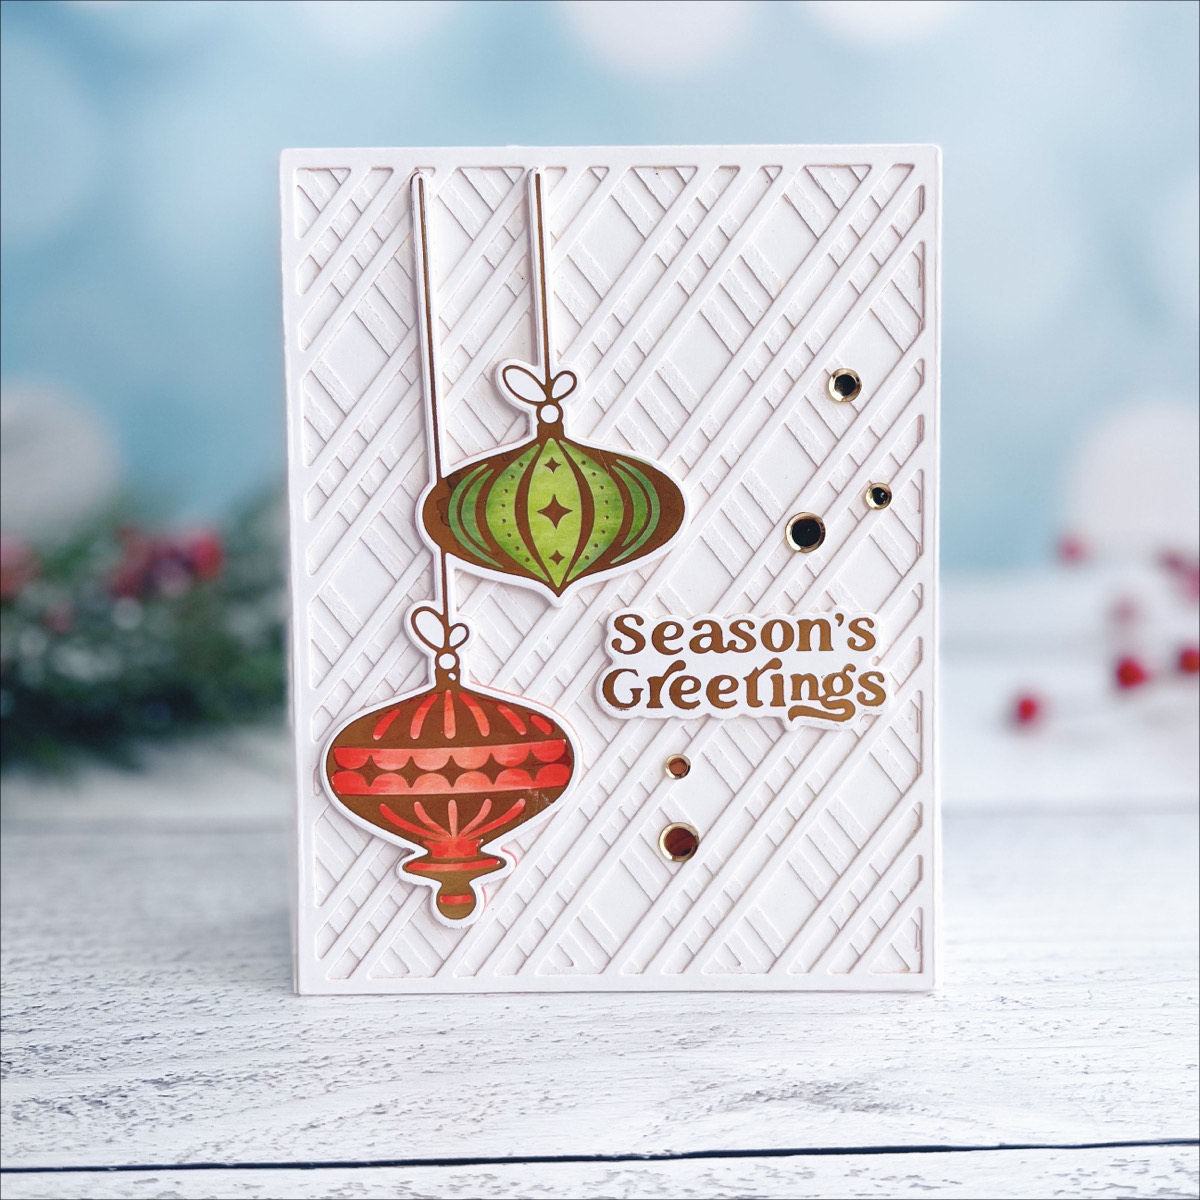
- Hot foil the Retro Ornaments Hot Foil Plate and Joyful Christmas Sentiments Hot Foil Plate on white cardstock using Satin Gold Hot Foil Roll. Die cut with included dies and color with Copic markers.
- Die cut the Candy Stripes Die twice from white cardstock.
- Adhere one die cut wrong side up onto an A2 card base. Adhere the second right side up over the first.
- Die cut blanks of the Retro Ornaments and Joyful Christmas Sentiments and adhere to respective die cuts to create dimension. Adhere to the card.
- Add Gold Smooth Disc Sequins with liquid glue.
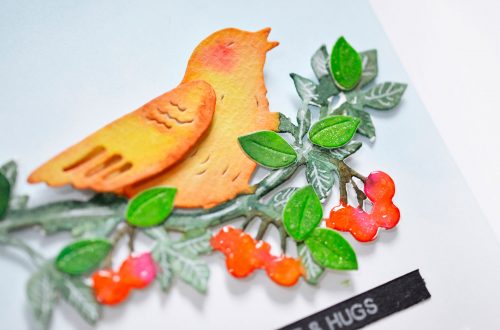
Geo Snowflakes Warm Wishes Card

- Hot foil the Geo Snowflakes Hot Foil Plate on white cardstock using Red Hot Foil Roll. Die cut to size using the Candy Stripes Outline Die. Adhere to an A2 card base.
- Die cut the pieces from the Floral Stag Etched Dies from the following Color Essentials cardstocks: Crimson, Dune, Forest, Timber, Fern, Onyx, and Terra Cotta
- Assemble the die cut using liquid glue.
- Adhere die cuts to card with foam squares and liquid glue.
- Heat emboss the sentiment on Phone Booth cardstock with embossing ink and white embossing powder. Die cut with coordinating die plus two extra die cuts. Adhere together and to card.
- Add Fashion Rouge Color Essentials Pearl Dots to the florals and glossy accents to the eyes and nose.
Geo Snowflakes Happy Holidays Card
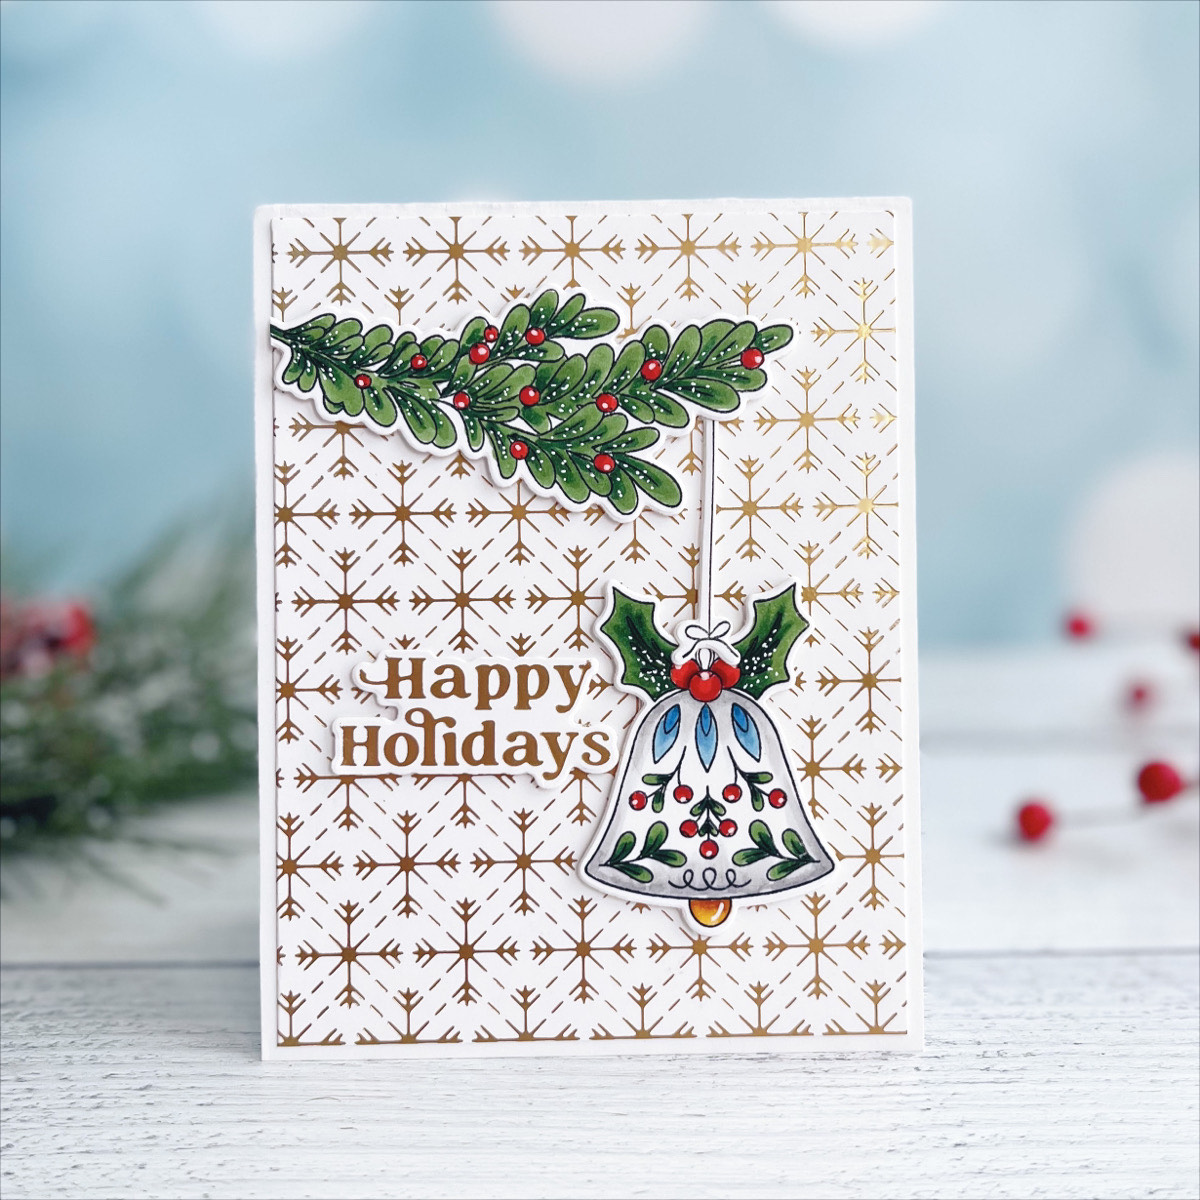
- Hot foil the Geo Snowflakes Hot Foil Plate on white cardstock using Satin Gold Hot Foil Roll. Die cut to size using the Candy Stripes Outline Die. Adhere to an A2 card base.
- Stamp the images from Ranger Clear Stamp Set Folk Art Ornaments with black ink on white cardstock. Color with Copic markers and cut out with coordinating dies.
- Hot foil the Joyful Christmas Sentiments on white cardstock using Satin Gold Hot Foil Roll. Die cut with included die.
- Adhere the die cuts with thin foam squares.
Spellbinders Supplies:

Other Supplies
Neenah Solar White Cardstock, Hamermill cardstock, Copic markers, Bearly Arts Precision Glue, White Gellyroll Pen, Thin Foam Squares, Hero Arts Intense Black Ink, Glossy Accents, Embossing and Watermark Ink, White Detail Embossing Powder.
I took the time to hot foil the glimmer plates in different colors and on different color cardstock so I have plenty yet to use. The stamp sets are so large and fun. There’s so much to create with them. You can see more card-making tutorials on my blog, Who Stole My Glitter or visit my Instagram page for more inspiration. Thanks for visiting!

Santa Paws Unboxing 3 Ways with Jung

Colorful Toolbox Essentials Cardmaking Ideas