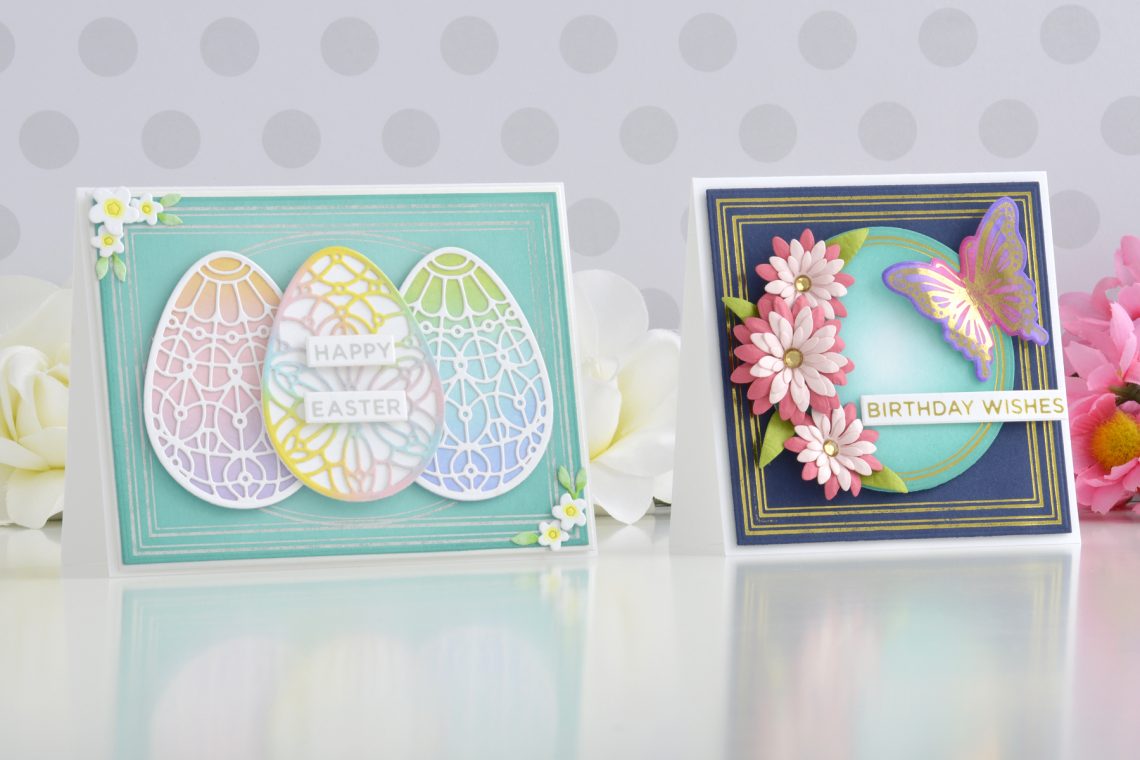
Glimmer Essentials Collection – Springtime Card Inspiration with Annie Williams
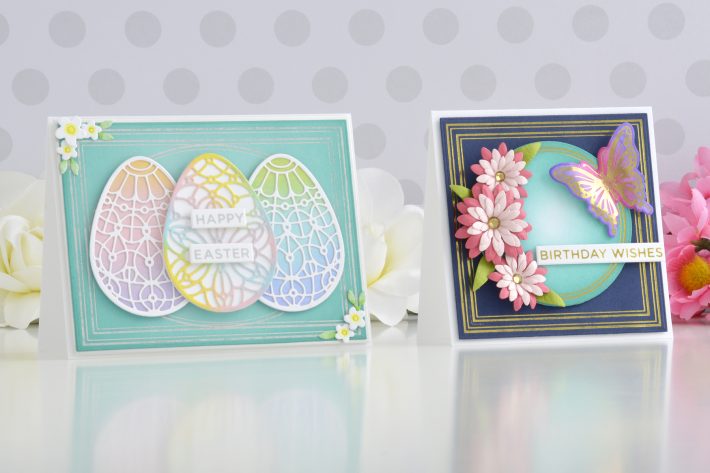
Hi there, this is Annie Williams and I’m so happy to have the opportunity to share a couple of projects using the new Glimmer Essentials Collection from Spellbinders. The Essential Duo Line Glimmer plates create the perfect accent border for any background, sentiment, or focal image and I was inspired to create two bright springtime cards combining all of the different shapes.
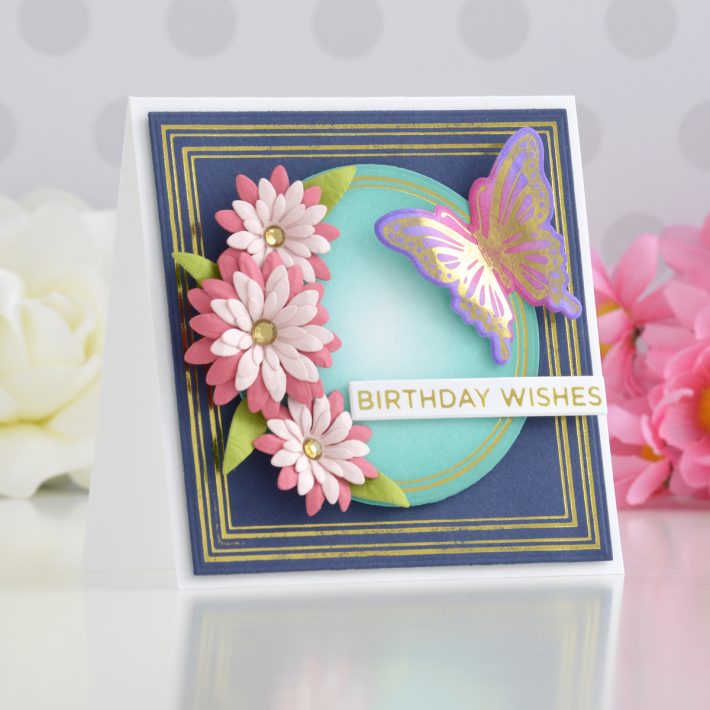
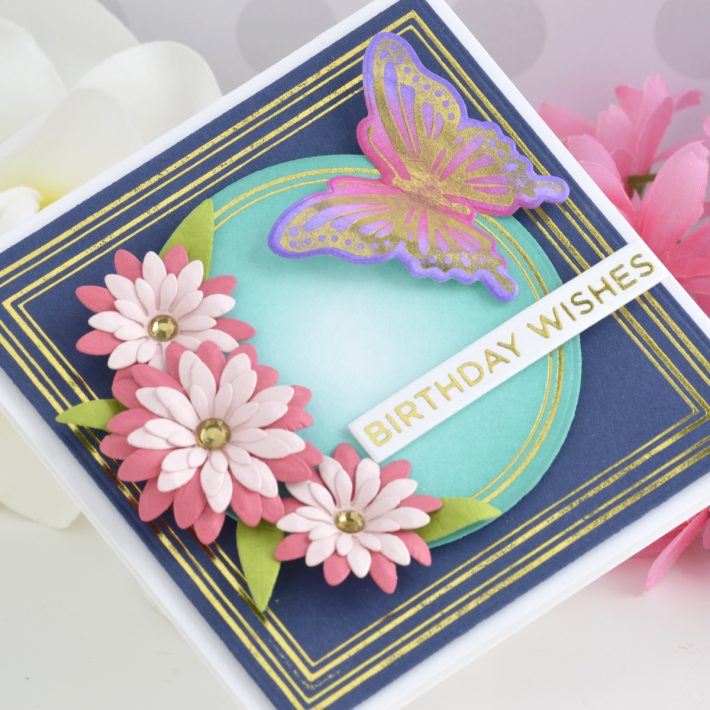
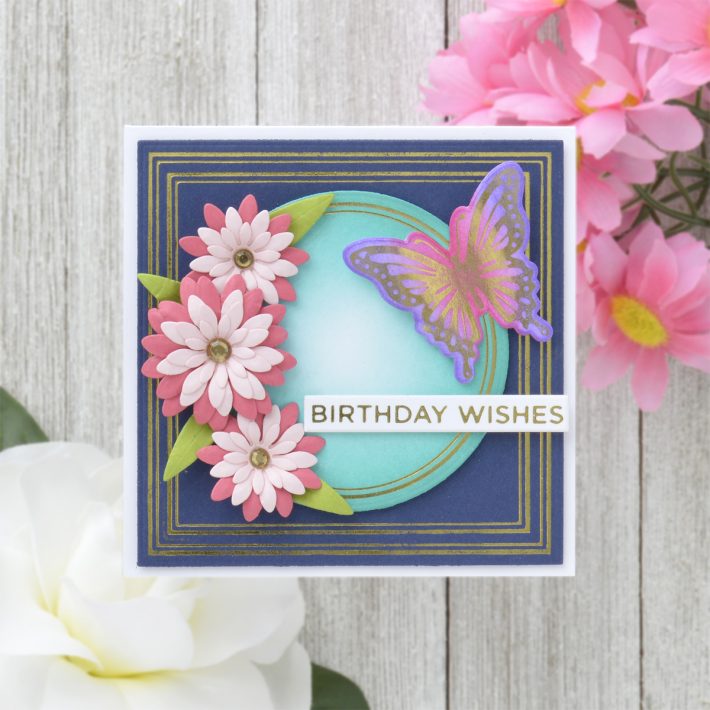
Simple circle borders are always the perfect backdrop for a rustic wreath, so I created this cheerful floral birthday card using both the Essential Duo Line Glimmer Circles and Squares.
- Apply Gold Hot Foil to navy blue cardstock using the two largest plates from the Essential Duo Line Glimmer Squares Plate Set and the Glimmer Hot Foil Machine.
- Die cut it out using the Square Shape Extra Large Die from the Essential Squares Die Set.
- Apply Gold Hot Foil to white cardstock using the Circle 3 plate from the Essential Duo Line Glimmer Circles Plate Set.
- Die cut it out using the Circle Shape Large Die from the Essential Circles Die Set.
- Blend Peacock Feathers Distress Ink around the edges of the circle with a blending brush, leaving the center mostly white.
- Apply Gold Hot Foil to white cardstock using one of the sentiments in the Everyday Sentiments II Foil Plate Set and the Glimmer Hot Foil Machine.
- Die cut it out using the strip die from the same foil plate set.
- Apply Gold Hot Foil to white cardstock using one of the butterfly plates from the Glimmering Butterflies Foil Plate Set. Die cut it out with the coordinating die.
- Blend Picked Raspberry and Wilted Violet Distress Ink over the image with a sponge dauber.
- Die cut pink and green cardstock with the Cinch & Go V Die Set. Shape the petals and adhere the layers together with liquid glue, adding a rhinestone in the middle if desired.
- Adhere the navy blue background panel to a top-folding 4.25” square white card base with foam adhesive.
- Pop the inked and foiled circle up in the center with more foam adhesive.
- Adhere the butterfly, leaves and flowers to the circle panel with liquid glue.
- Add the sentiment to the lower right corner with foam adhesive.
Spellbinders Supplies:
Other Supplies:
Heavyweight white cardstock, navy blue, pink, and green cardstocks, rhinestones, Peacock Feathers, Picked Raspberry, and Wilted Violet Distress Inks, blending brush, sponge daubers, liquid glue, foam adhesive
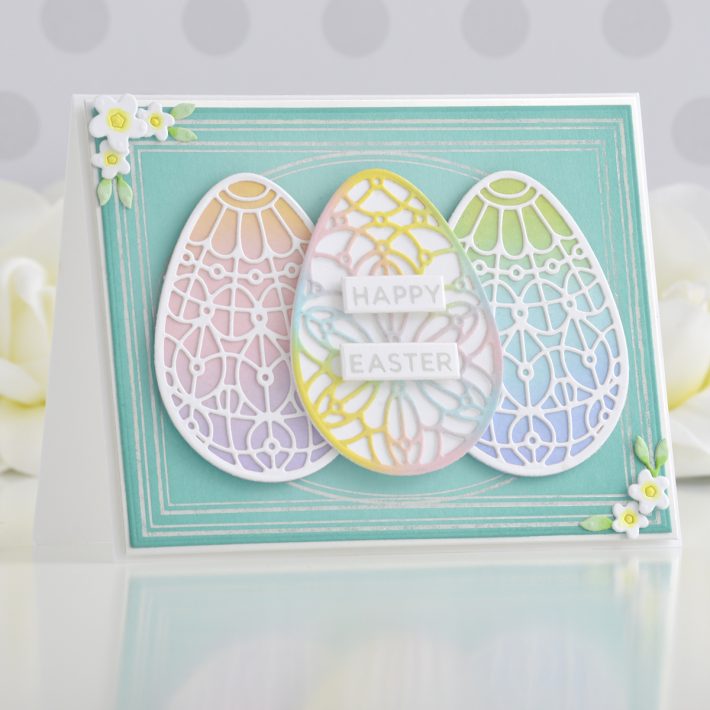
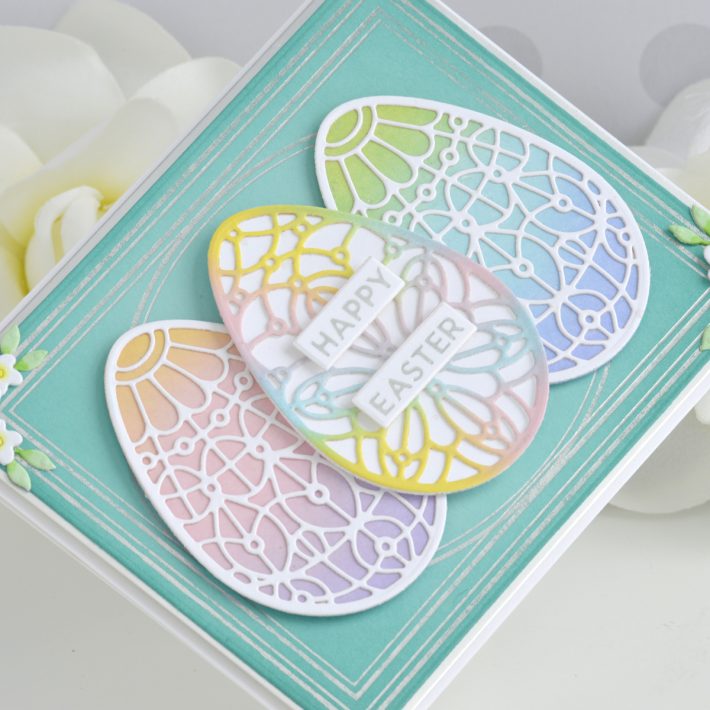
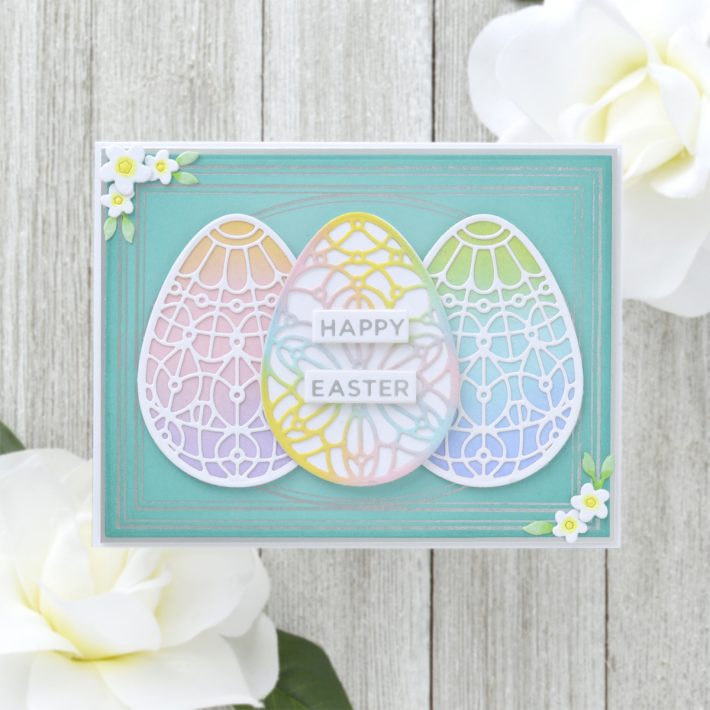
When you have a large focal image on your project, the Essential Duo Line Glimmer plates are perfect for making elegant frames and background designs to draw attention to them. Here I combined the rectangle and oval shapes to create a layered frame for these pretty die-cut Easter eggs.
- Apply Matte Silver Hot Foil to teal cardstock using the two largest plates from the Essential Duo Line Glimmer Rectangles Plate Set and the Glimmer Hot Foil Machine.
- Next center the Oval 2 Plate from the Essential Duo Line Glimmer Ovals Plate Set within the foiled frame and apply Matte Silver Hot Foil with it (it will overlap the inner rectangle frame just a bit).
- Die cut the background panel out using the Rectangle Shape Extra Large Die from the Essential Rectangles Die Set.
- Lightly blend a little Peacock Feathers Distress Ink around the edges of the background panel with a blending brush to add a little depth.
- Apply Matte Silver Hot Foil to white cardstock using the sentiments from the Eggstra Special Foil Plate Set and die cut them out using the coordinating strip die.
- Die cut white cardstock four times using the Egg Outline die from the Forever Spring Eggs Die Set.
- Blend Spun Sugar, Squeezed Lemonade, Shaded Lilac, and Tumbled Glass Distress Oxide Ink over three of the shapes to mimic dyed eggs.
- Cut one of the inked eggs with the Decorative Egg Insert die from the Forever Spring Eggs Die Set and layer it over the solid white egg with liquid glue.
- Die cut two more Decorative Egg Inserts from white cardstock and layer each one over a solid inked egg with liquid glue.
- Die cut white cardstock with the flower dies from the Glimmering Butterflies Plate Set and color them with Copic markers.
- Mat the teal background panel with silver matte mirror cardstock and adhere it to a top-folding A2-sized white card base with foam adhesive.
- Pop the three layered Easter eggs up on top of the card front with more foam adhesive.
- Adhere the flowers and leaves in the corners using liquid glue.
- Add the sentiment strips to the center egg with foam adhesive.
Spellbinders Supplies:
Other supplies:
White cardstock, teal cardstock, silver matte mirror cardstock, Tumbled Glass, Squeezed Lemonade, Spun Sugar, and Shaded Lilac Distress Oxide Inks, Peacock Feathers Distress Ink, blending brushes, Copic markers, tape runner, liquid glue, foam adhesive
I hope you enjoyed these bright springtime cards and thanks so much for stopping by today. You can find more inspiration over at my blog AnnieBWills.com.

2 Comments
Natasha Vacca
These are so beautiful! I love both of these cards! GORGEOUS!
Donna de Gale-Kalloo
Wow! Gorgeous cards@