It’s Time to Get Stitching with Stitched for Christmas!
Hello crafters! Joan Bardee here and I’m happy to be back on the Spellbinders blog sharing some holiday cards using the Stitched for Christmas collection. Yes, Christmas! I’ve been crafting long enough to remember when companies would release their Christmas products in November, which never left me enough time to use them. So, I am thrilled to see Christmas in July.
Chose a slightly nontraditional Christmas color palette, substituting aqua or teal for green. Note: I made these cards before the sentiments in this collection were available, so I used sentiments from last year’s collections.
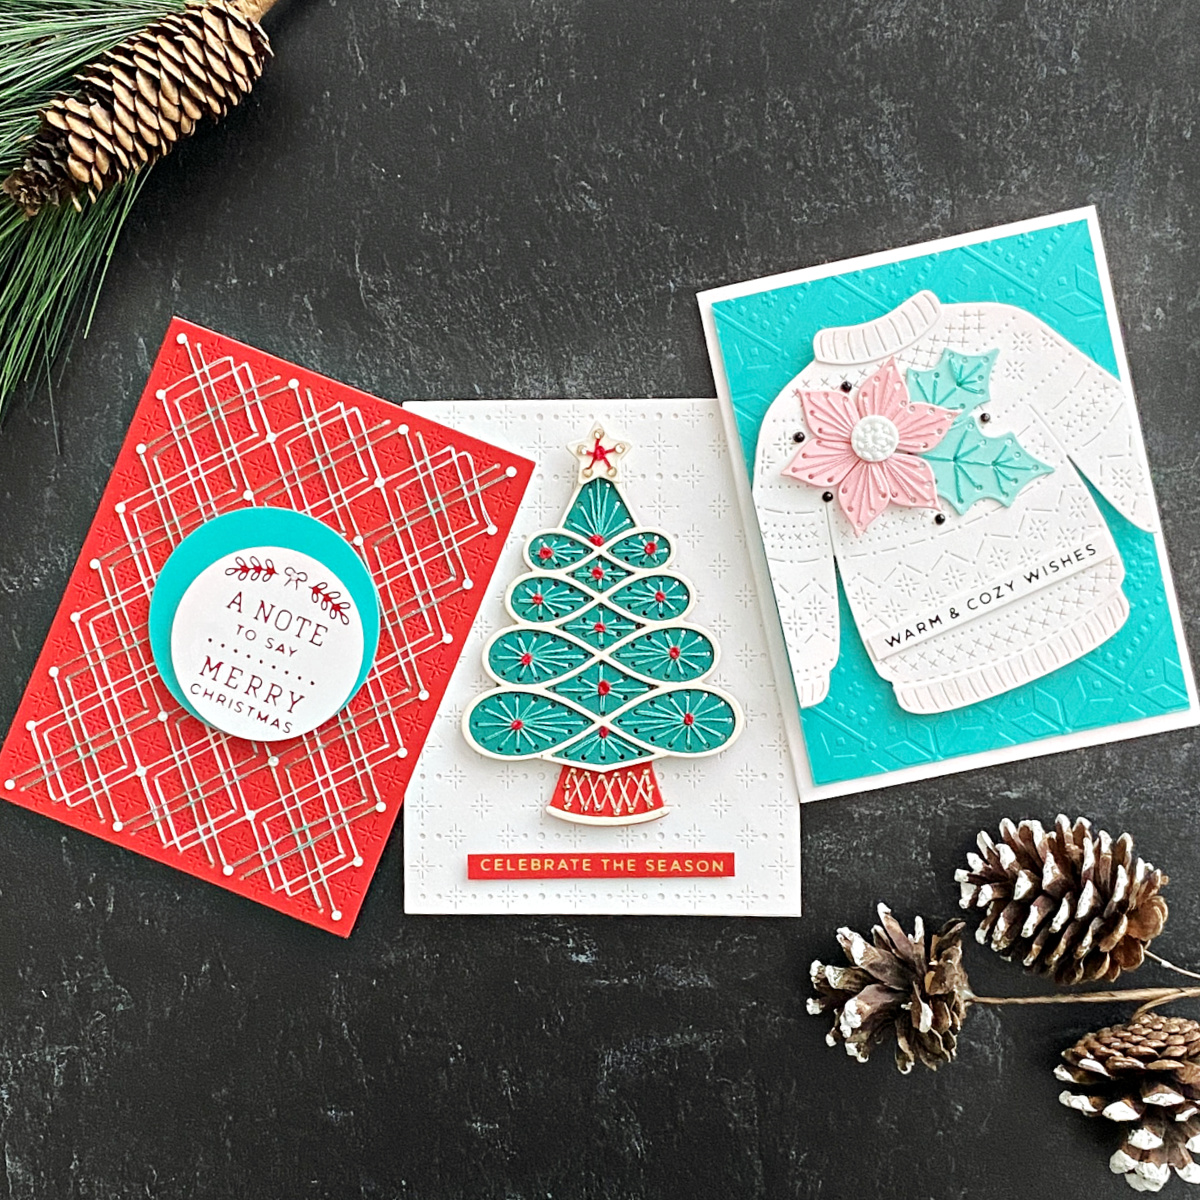
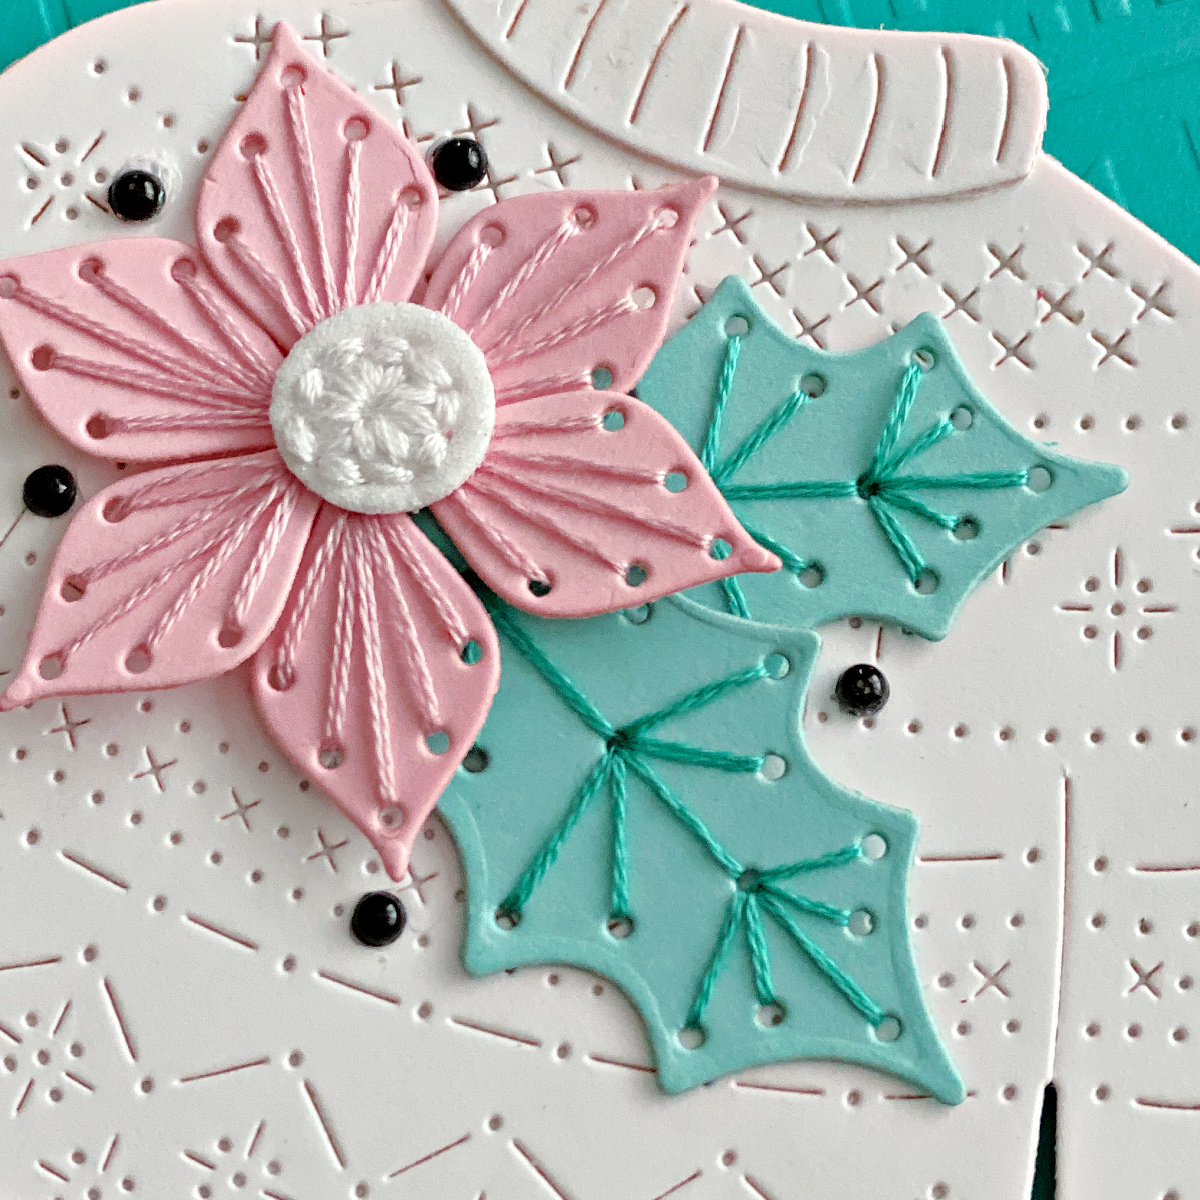
Warm & Cozy Sweater
This card was inspired by all the sweaters my mom made me – and there were dozens and dozens. She was a master knitter, often creating her own intricate patterns. I miss her and her talent. So, I had to use the Stitched Christmas Sweater die.

- Die cut the main die from Stitched Christmas Sweater twice in white and 3 times in white for the neck, sleeves, and bottom trims.
- Die cut Stitched Poinsettia and Holly dies twice in Spellbinders Pink Sand, Lagoon, and White cardstocks, and stitched them with Very Light Dusty Rose, Light Seagreen, and white embroidery floss.
- Embossed a Lagoon panel with the Ski Lodge Embossing Folder and trimmed.
- Hot foiled a sentiment from Glitter Wishes Hot Foil Plate & Die in gold and die cut.
- Assembled everything onto an A2 white card and added Onyx Color Essential Gems.
- Addressed the envelope for the card so Christmas Card 2023 #1 is done!
Tip: A sentiment with the word “warm” works particularly well with this sweater die.
Tip: The Stitched Christmas Sweater die looks fantastic stitched. However, I did not stitch it here because I thought there would be too much stitching with the Stitched Poinsettia and Holly. But maybe I’m wrong!
Tip: Stitching adds bulk to a card. Most of the time I also add embellishments and additional layers. I mail my bulky cards in thin cardboard mailers. In the US, it requires a stamp for a 2 oz. letter, which is currently $.87. It’s worth it to protect the handiwork!
Stitch a Tree
There is so much detail in this unique tree, yet it took me only 15 minutes to stitch.
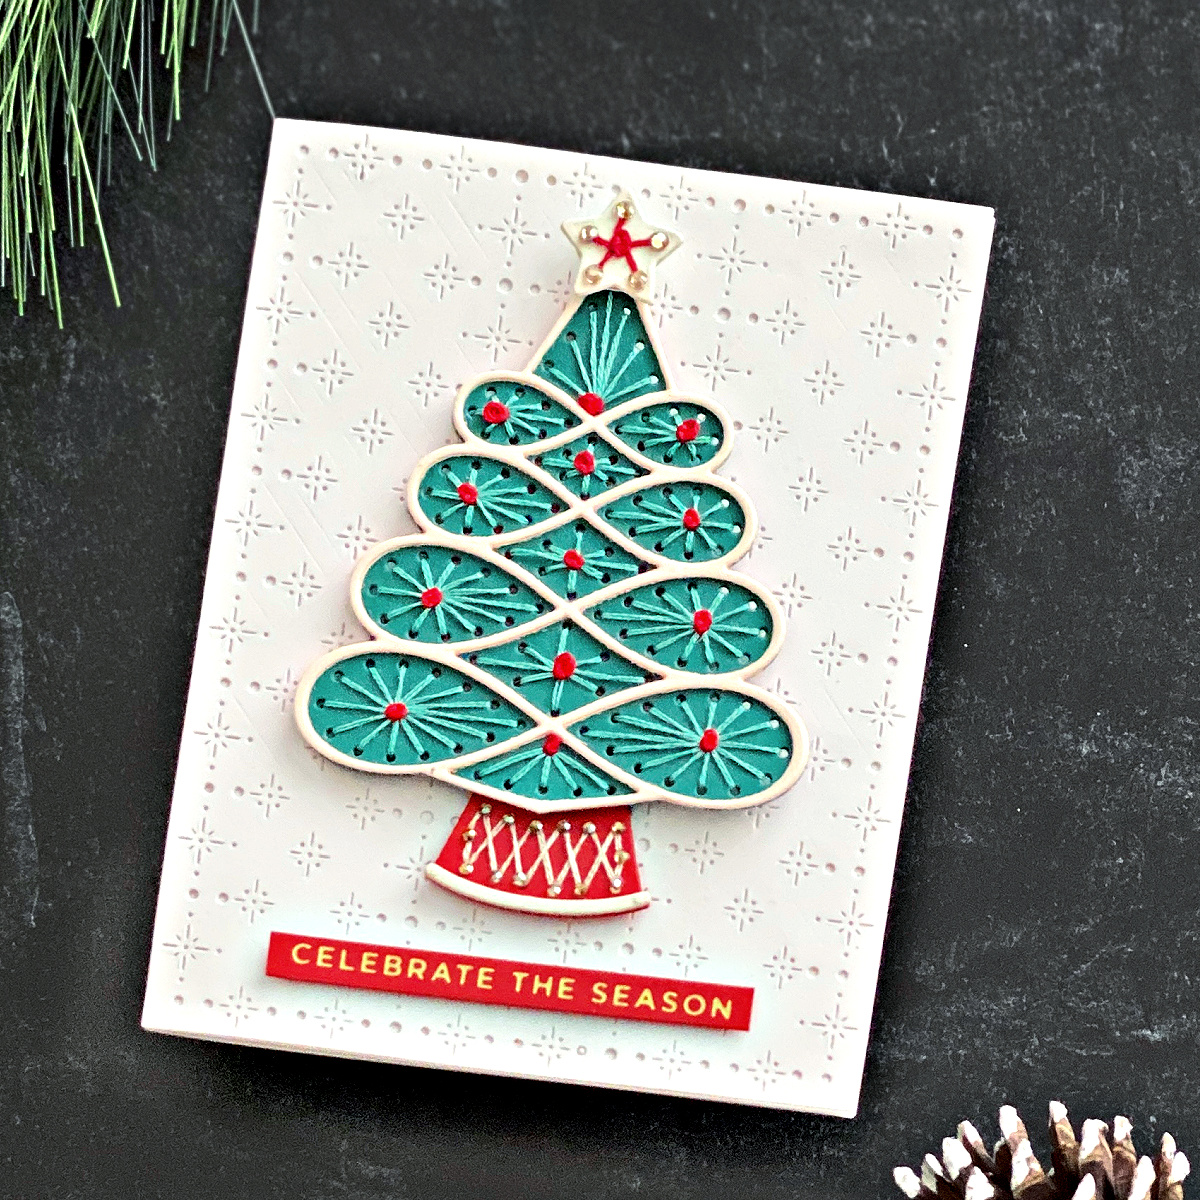
- Die cut twice all 8 pieces of the tree in Spellbinders’ Alabaster, Lagoon, and Poppy Field cardstocks. I die-cut the Alabaster pieces (the trim on the tree, the star, and the trunk) 3 times.
- Stacked the die-cut pieces and adhered them with glue.
- Stitched the pieces as shown – the tree in Very Dark Seagreen floss and the trunk in gold.
- Added French knot embroidery stitches for the red centers. It is easy to do. Yana Smakula demonstrates this stitch in this fantastic video.
- Die cut the Stitched Starry Argyle in white. This is a stitching die but works beautifully as a textured background.
- Hot foiled Celebrate the Season from Glitter Wishes Hot Foil Plate & Die set in gold onto Poppy Field cardstock and die cut.
- Added some tiny gold gems to the tree trunk and star.
Tip: Spellbinders cardstock coordinates with/matches DMC Embroidery Floss as indicated in the Spellbinders Shop.
Tip: Practice the french knot embroidery stitch on scrap paper. It’s easy to do after a few tries.
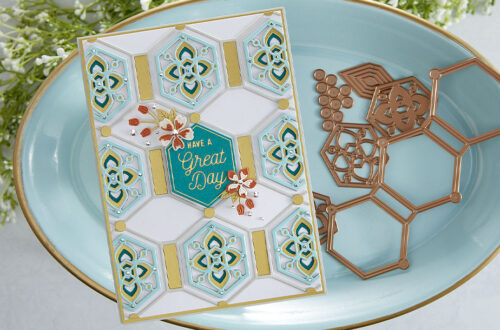
Stitched Background
Isn’t this fun? I love this Starry Argyle background stitching die.
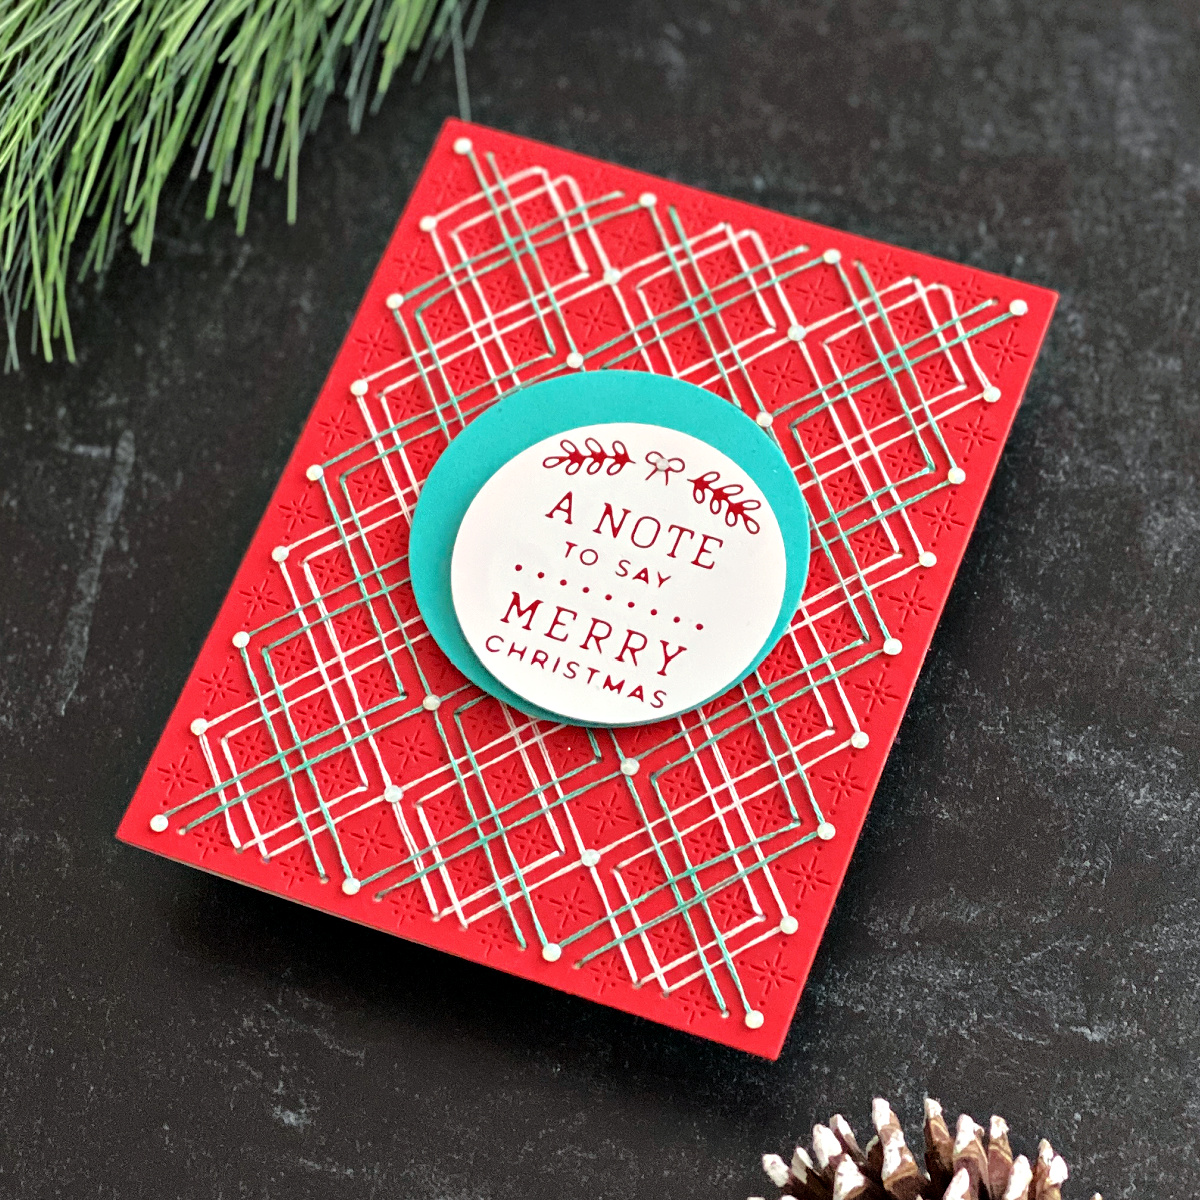
Stitched or not this is a great background.
- Die cut the Starry Argyle Stitching die twice in Poppy Field. Adhere together.
- Following the sample provided by Spellbinders, stitched in Light Seagreen, Very Dark Seagreen, and white DMC embroidery floss.
- Added a few Opal gems.
- Hot foiled a sentiment from Christmas Mailbox Greetings Glimmer Hot Foil Plate using red glimmer hot foil (obsessed) onto white cardstock.
- Die cut the sentiment with a circle die and another larger circle with Lagoon cardstock.
- Glued it all together and popped up the white circle with foam tape.
Tip: The Starry Argyle Stitching die is perfect for masculine birthday cards, Father’s Day, etc. – it’s not limited to the holidays.
Tip: Die cut the rectangle-shaped sentiment with a circle because the lines of the background die are straight. A curved element paired with straight lines adds interest to a design.
Thanks so much for checking out this post and thank you to Spellbinders! I would love to see anything you make with this collection, so feel free to tag me on my Instagram account. I’m Dear Paperlicious if you are looking for me.
Spellbinders Supplies:

Other Supplies
Paper trimmer.
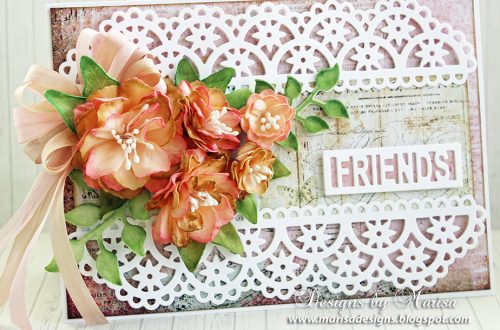
Flowers and Lace by Marisa Job
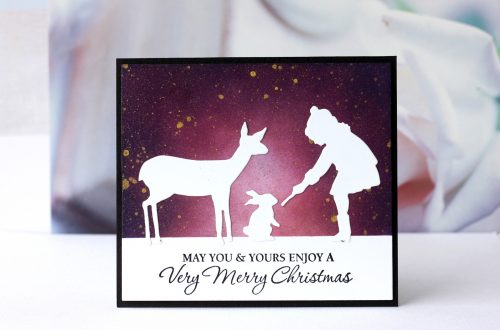
Sharyn Sowell Holiday 2019 Inspiration | Simple Holiday Cards with Karin Åkesdotter