Using the Beautiful Wreaths Collection Without Making a Wreath
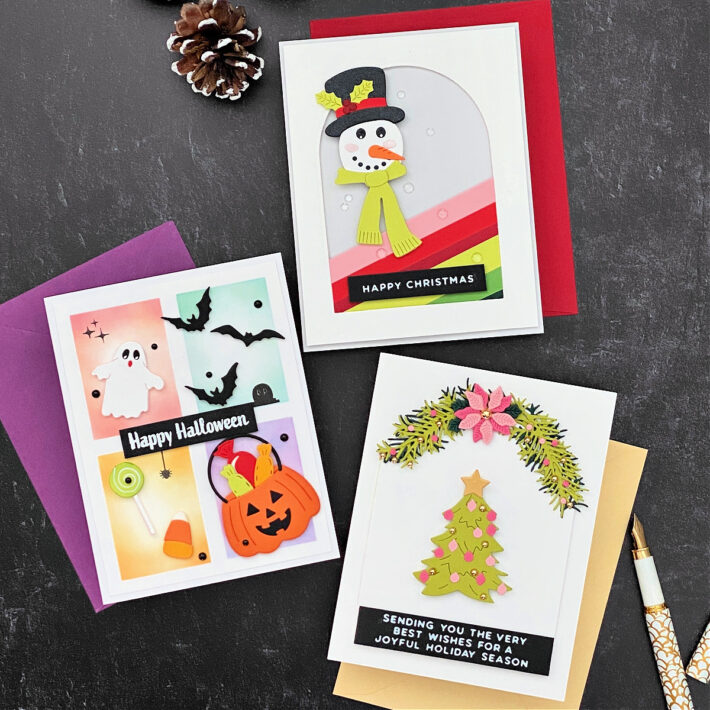
Hello crafters! Joan Bardee here and I’m happy to be back on the Spellbinders blog sharing 3 cards using the Beautiful Wreaths Collection designed by the delightful Suzanne Hue.
This collection will give you everything you need to make many different wreaths. There are many add-ons available that allow you to make cards for any occasion. I decided to not make any wreaths. Rather, I wanted to use the add-ons to demonstrate how versatile the collection is.
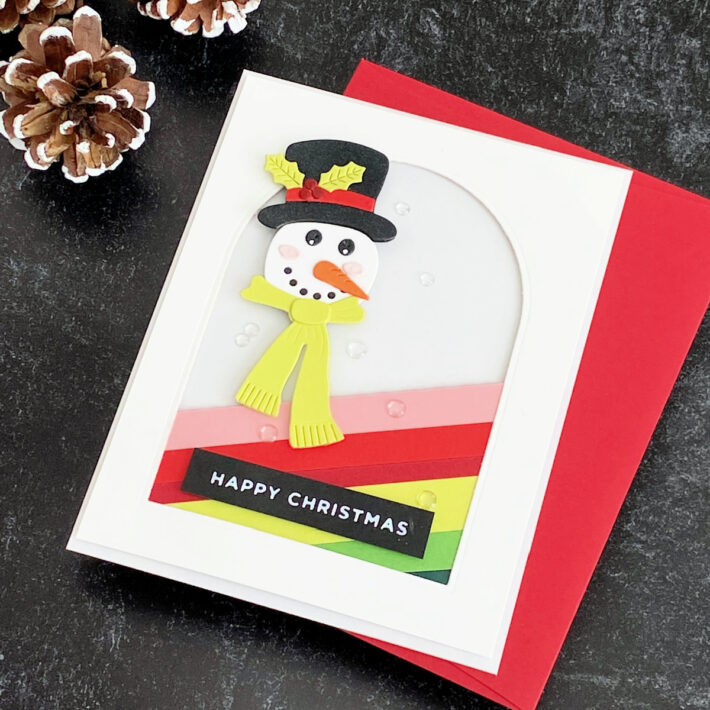
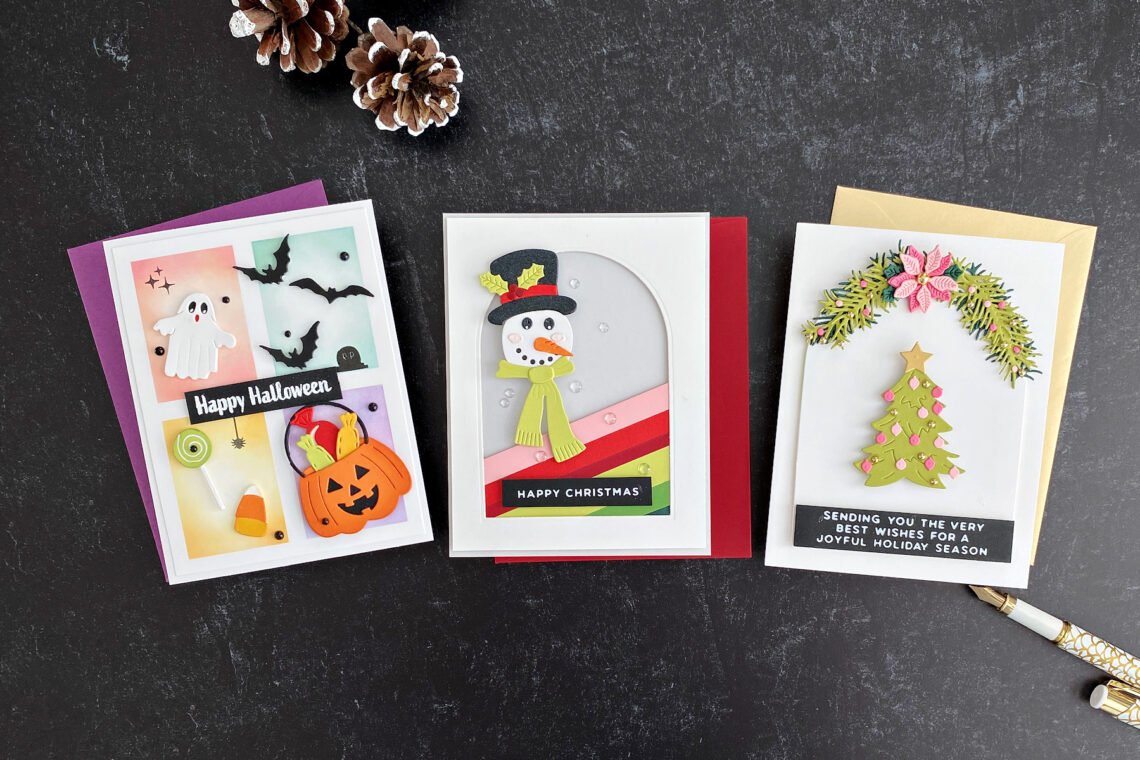
Stylish Snowman
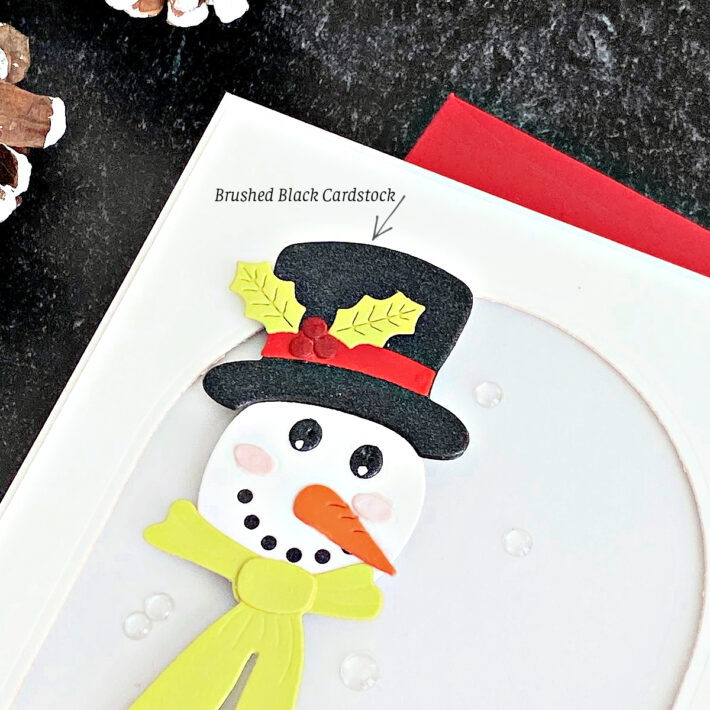
I LOVE this dapper snowman – so stylish with his top hat and scarf.
- Die cut the snowman from Christmas Wreath Add-Ons using White, Brushed Black, Poppy Field, Pink Sand, Peridot, Crimson, green, orange, and Onyx cardstocks and assemble.
- Added dots to the eyes with a white gel pen.
- Trimmed white cardstock to 5 ¼” x 4” and die cut using an Essential Arches Etched die.
- Cut strips of cardstock and adhere onto typing paper in a diagonal direction.
- Trimmed and adhered to a piece of Fog
- Hot foiled a sentiment from Glitter Wishes onto Onyx cardstock with Opaque White hot foil and trim.
- Adhered the snowman and sentiment with foam tape to the card (double foam tape under the head).
- Added a few clear embellishments.
Tip: Save time by die-cutting all the pieces in white and coloring with alcohol markers. I prefer cardstock, but whatever works!
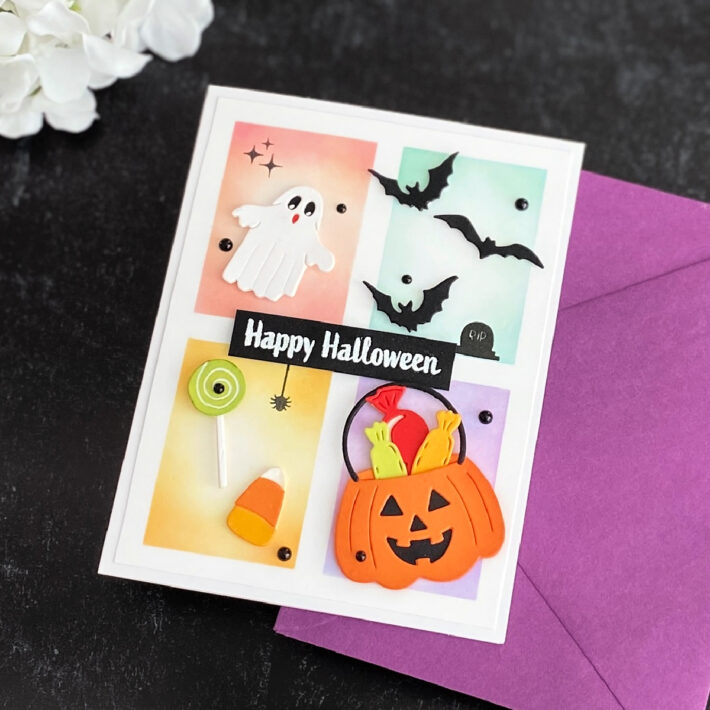
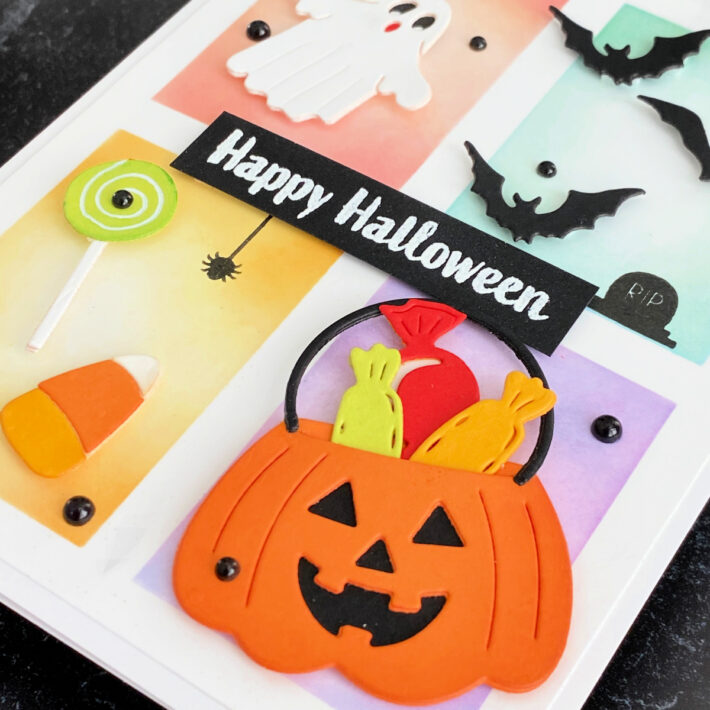
Halloween Fun
- Found a stencil in my stash to ink blend 4 rectangles on an A2 card. If you don’t have a stencil, mask off the rectangles.
- Die cut pieces from Halloween Wreath Add-Ons Etched Dies and assembled all the Halloween pieces.
- Added white gel pen accent to the lollipop.
- Laid out the pieces where I thought they would go.
- Stamped a few tiny images from Boo Dance Party Sentiments in black ink directly on the ink-blended rectangles.
- Adhered the die cuts with foam tape as shown, making sure to extend some beyond the ink-blended rectangles.
- Embossed a sentiment from Boo Dance Party Sentiments and adhered with foam tape.
- Adhered Dimensional Black Enamel Dots.
Arched Garland
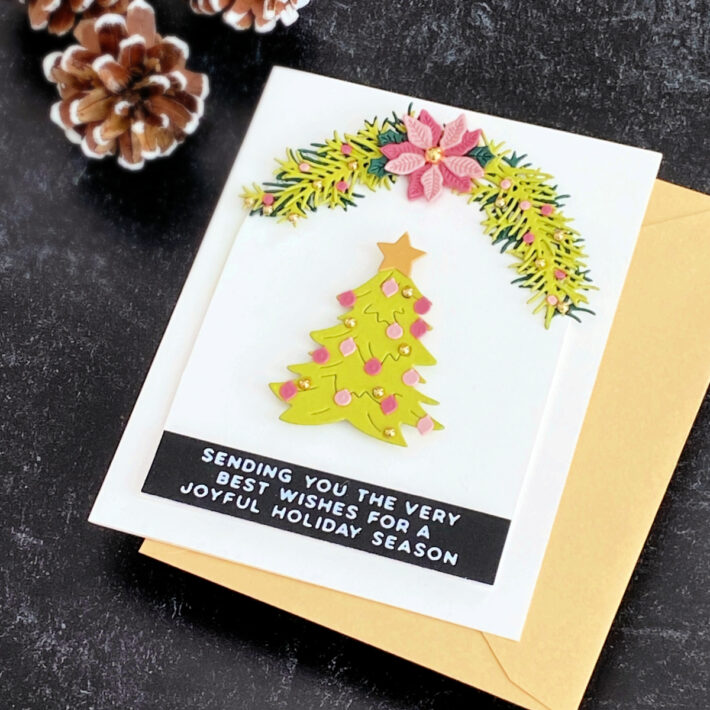
Adore the Essential Arches Etched Dies and I thought using them here would suggest a church window adorned with a pretty garland on top.
- Die-cut white cardstock using one of the Essential Arches Etched Dies.
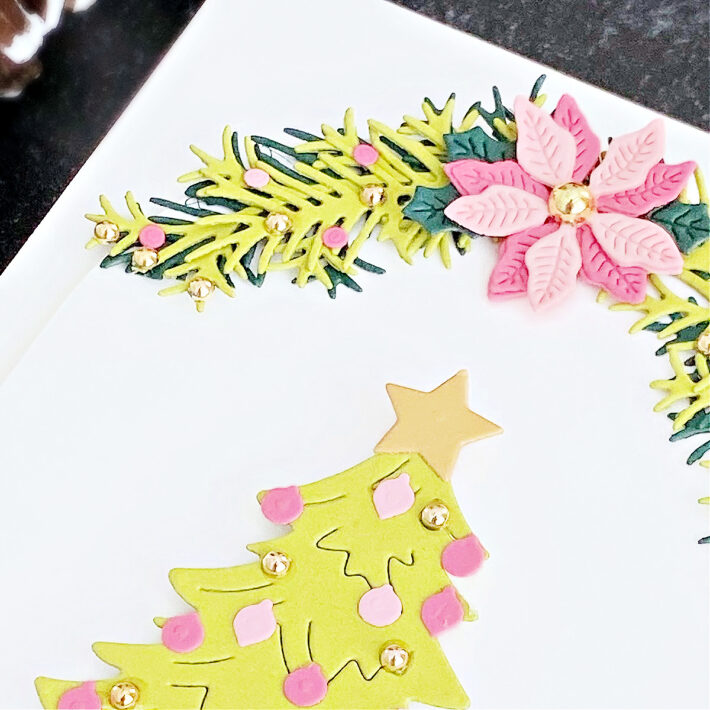
- Die cut branches from Build-A-Wreath Etched dies in Peridot and Fern
- Die cut the tree, ornaments, star, and poinsettia from Christmas Wreath Add-Ons using Pink Sand, Fruit Punch, Peridot, and Brushed Gold
- Assembled as shown and adhere to an A2 white card, using foam tape under the arched panel and under the tree.
- Hot foiled this beautiful sentiment from A Merry Little Christmas Sentiments on Onyx cardstock with Opaque White hot foil and die cut using the same Essential Arches die that I used to cut the white arch.
- Trimmed the sentiment to fit below the tree.
Tip: The branches in Build-A-Wreath Etched dies go in 2 different directions – right or left. This makes it possible to form a wreath with all the branches going in the same direction or, as I did, a garland with the branches going both right and left from the center. Keep the direction of your branches in mind before you start die-cutting.
I hope you can see the fun I had making these cards and love how they turned out. Thanks so much for checking out this post and thank you to Spellbinders.
Spellbinders Supplies:

Other Supplies
Paper trimmer; white gel pen, embellishments, cardstocks, inks, blender brushes; foam tape.

