Simon’s Snow Globes Inspiration
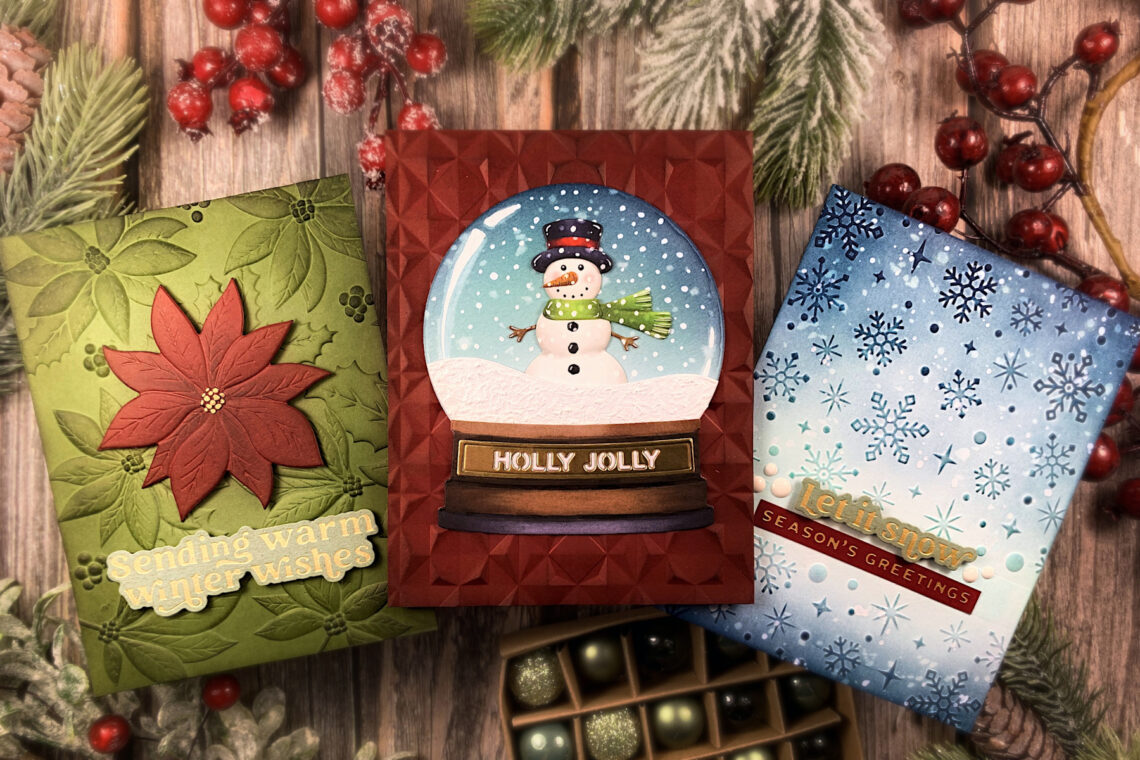
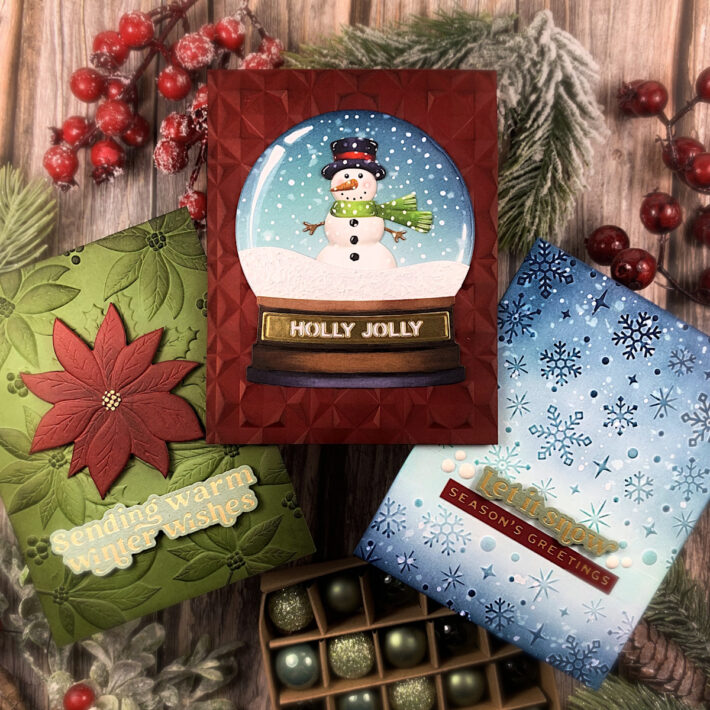
Hello everyone! This is Jennifer Rustioni from @armieritagli! I’m so happy to be here again as a guest on the Spellbinders Blog! Today I share with you three Christmas cards I created featuring the new beautiful Simon’s Snow Globes Collection! This collection is truly amazing and perfect for creating a lot of Christmas cards!
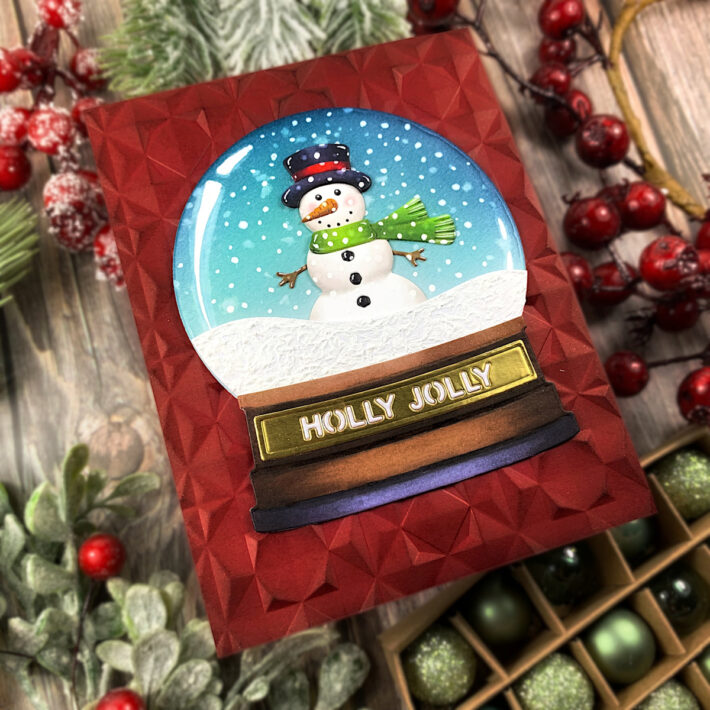
HOLLY JOLLY
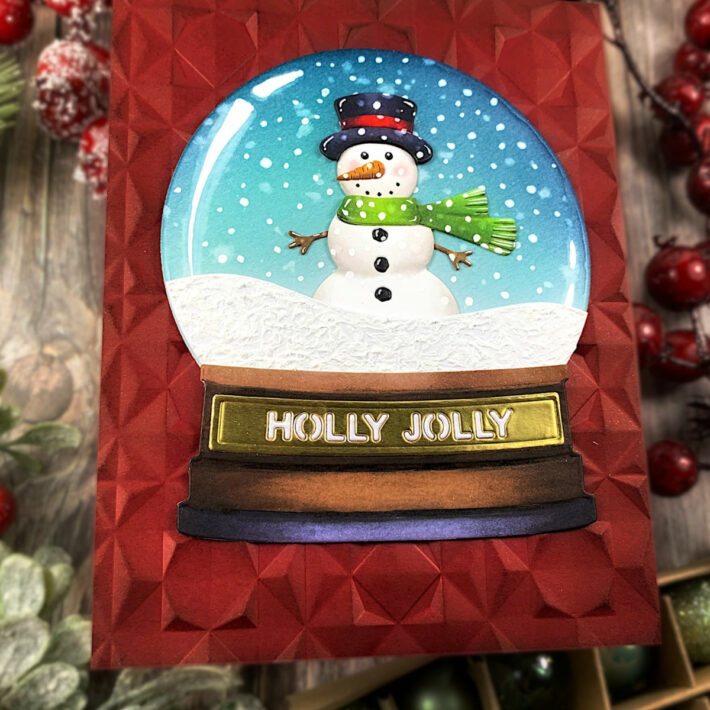
The first card I realized is featuring the super fun Simon’s Snow Globe and Snowman Scene Etched Dies! I started die-cutting the snow globe. I colored the globe blending some Distress Ink in the shades of blue and then colored the base using Copic Markers. After that, I die-cut the different parts of the snowman, colored them with Copic Markers, and assembled it. I die-cut the snowy hill and covered it using a white snow-paste pen.
At this point, I assembled the snow globe with the hill and the snowman. I realized the highlights and snowflakes with a white gel pen. I die-cut the gold banner with the sentiment and glued it on the base of the snow globe. At last, I realized the base of my card by embossing a red cardstock with the new Geo Quilt 3D Embossing Folder. I just blending the edges of the base with some Distress Ink Aged Mahogany and then I glued the snow globe on it.
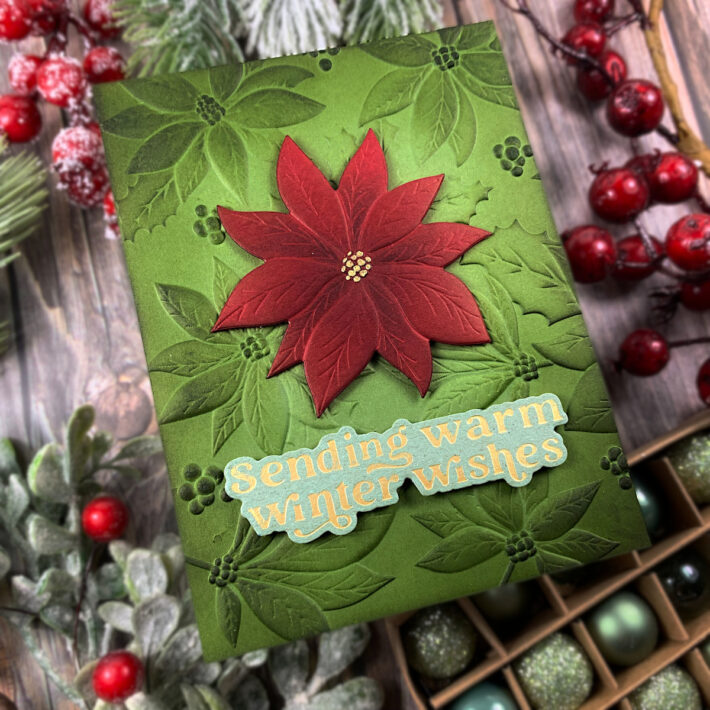
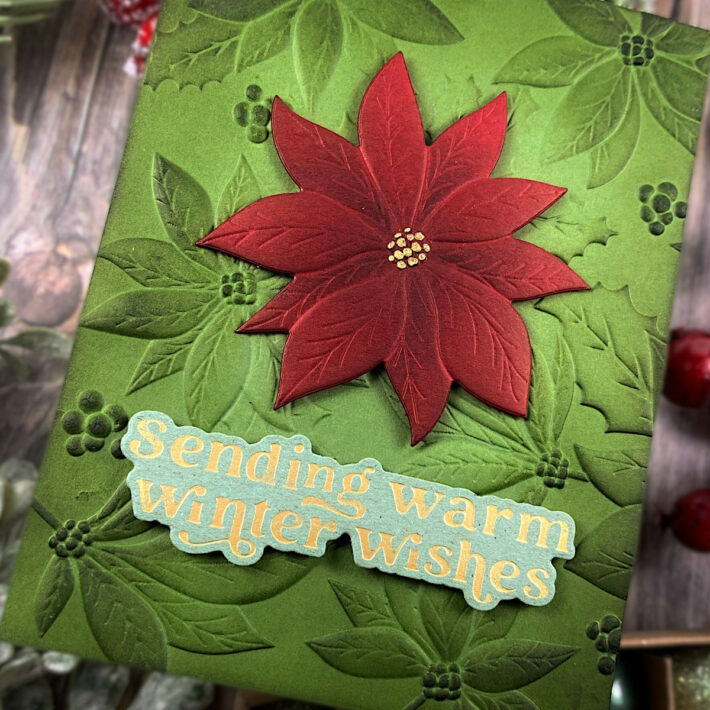
WARM WISHES
For my second project, I chose to use the amazing Playful Poinsietta 3D Embossing Folder and coordinate die cut. I started realizing the background by embossing a green card stock. Then I blended the edges with some Distress Ink in the shades of dark green. At this point, I embossed another card stock, this time using a red one. I die-cut the poinsettia and blending on it some Distress Ink Aged Mahogany.
I gold hot foiled a sentiment from the Wonderful Winter Sentiments Hot Foil Plate & Die Set, and then die cut it with the coordinate die. At last, I assembled my card and added some gold details on the poinsettia.
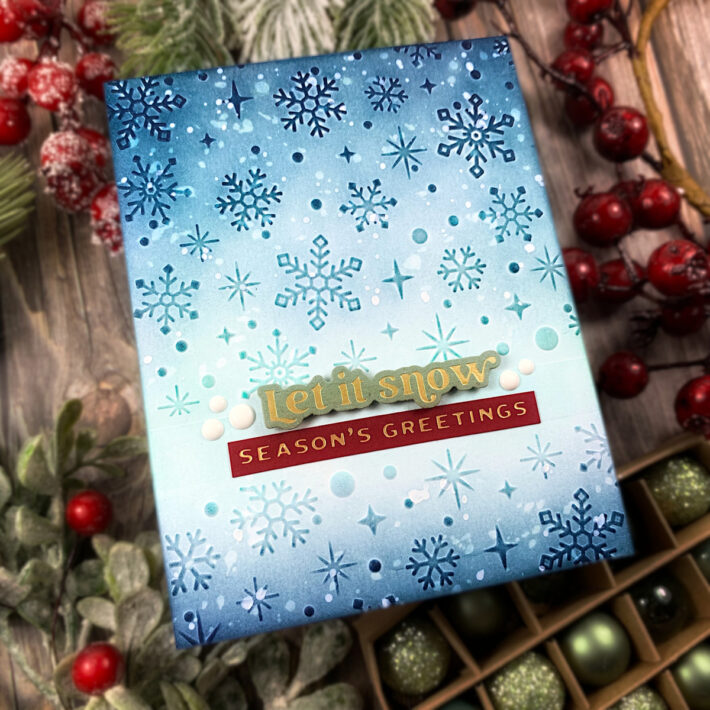
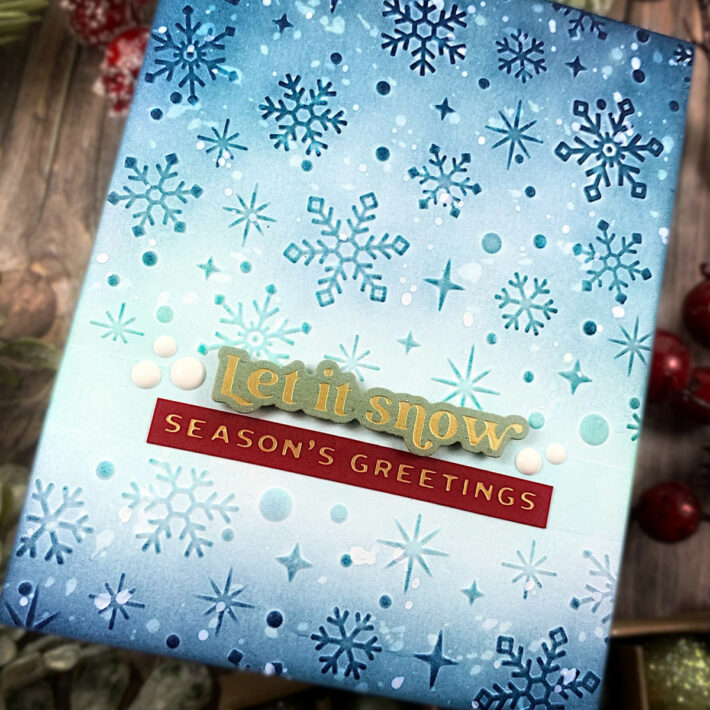
LET IT SNOW
The last card I created features the beautiful Sparkling Snow 3D Embossing Folder. I embossed a white card stock leaving a smooth strip downward. Then I blended some Distress Ink in the shades of blue and truly loved how the details come out! After that, I splashed some water drops and added other snowflakes with a white gel pen.
I realized the main sentiment by gold hot foiling a sentiment from the Wonderful Winter Sentiments Hot Foil Plate & Die Set, and then die cut it with the coordinate die. Then I added a secondary sentiment using the Christmas Magic Glimmer Hot Foil Plate. At last, I added some white enamel dots.
Spellbinders Supplies:

Other supplies
Copic Markers: 100, BV29,BV25, E99,E97, Y38, YG67, YG17, YG03, E49, E59, E57; Distress Ink: Peacock Feathers, Uncharted Mariner, Aged Mahogany, Evergreen Bough, Uncharted Mariner, Peeled Paint, Forest Moss; Sakura Gelly Roll White, Deco-color By Uchida Premium Gold Metallic Marker, Snow Pen
Thanks for reading! I hope my projects will inspire you and wish you all a colorful day!

2 Comments
Wendy Dennee
You did an amazing job with the snow globe, making it look so realistic. I’m impressed. The other two cards were both beautifully crafted also. Way to go.
Sheryl Falsetta
Beautiful cards, love them