As Easy as ABC – Alphabet Plates 3 Ways
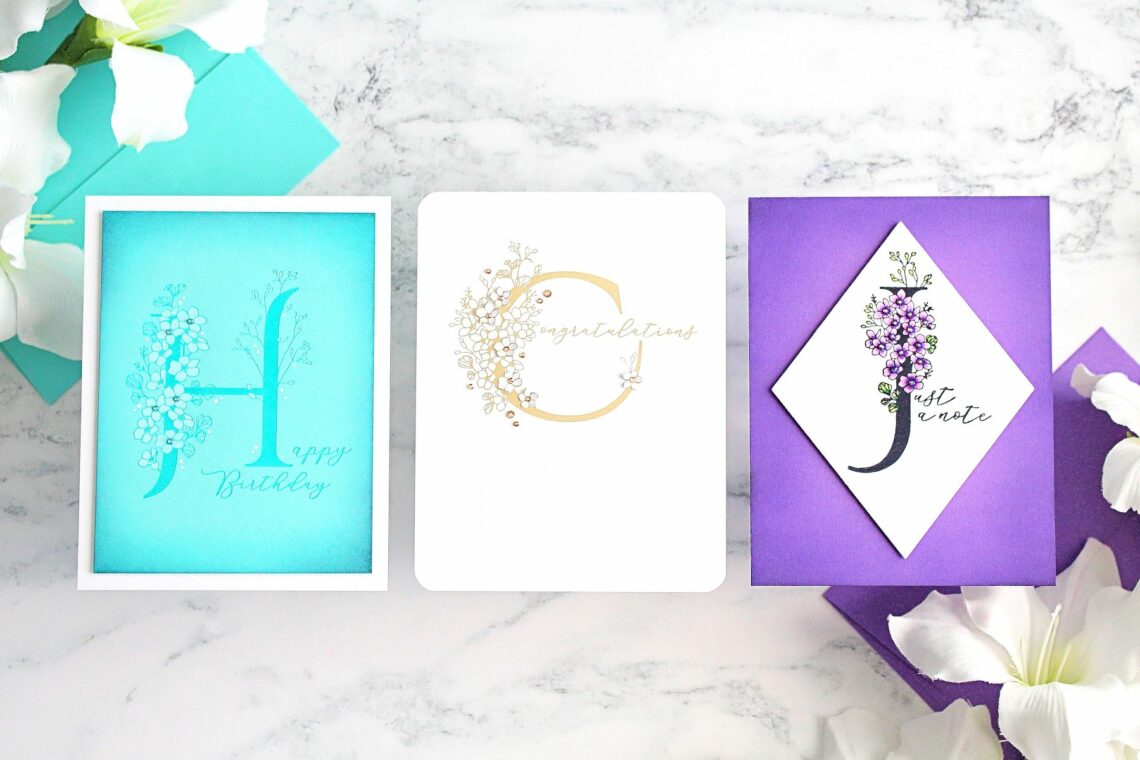
Hello there, Michelle Short here and I am delighted to be back on the Spellbinders blog using the Every Occasion Floral Alphabet collection. You can use these BetterPress plates in lots of different ways. I have three to share with you today, all quick and easy to do.
JUST A NOTE
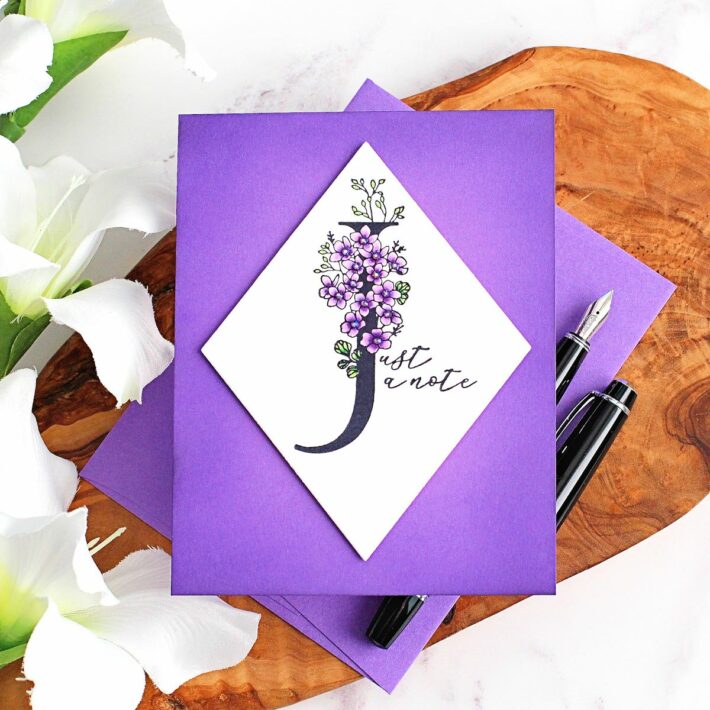
There are lots of different coloring mediums you can use with BetterPress plates – pencils, watercolors, markers plus lots more. I used Copic Markers on this card, while not recommended with the BetterPress ink, I had no issues using them.
To make this card:
- Using the packaging as a guide, I placed the Floral J and Sentiment Press Plate onto the chase of the BetterPress Letterpress System.
- I added a Porcelain BetterPress A2 Cotton Card Panel on the platen and held it in place with Best Ever Craft Tape.
- I inked up the plates with BetterPress Black Ink, placed the platen on top, and ran it through my Platinum Six.
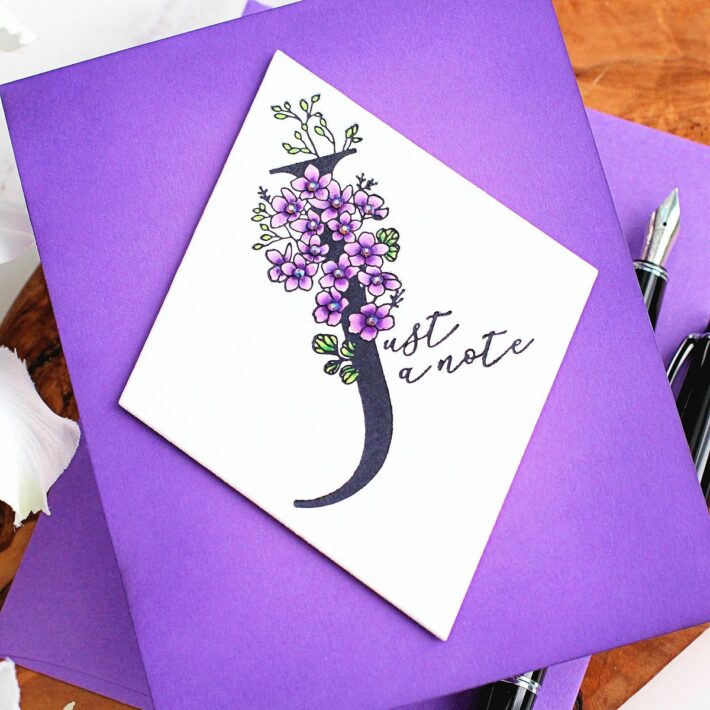
- The panel was die cut using an Essential Diamonds Etched Die.
- The flowers and leaves were colored using Copic Markers (purples and greens).
- I added ink blending to a panel of Lilac Blossom Cardstock (Wilted Violet and Villainous Potion Distress Ink, as well as BetterPress Black) using Blending Brushes.
- The panel was adhered to an A2 white card base.
- The letter panel was adhered on top with foam tape.
- To finish, I embellished it with Prism AB Color Essentials Gems.
I love that the sentiment plates have been designed to fit to the alphabet letters perfectly, so no need to worry that they will not press straight!
HAPPY BIRTHDAY
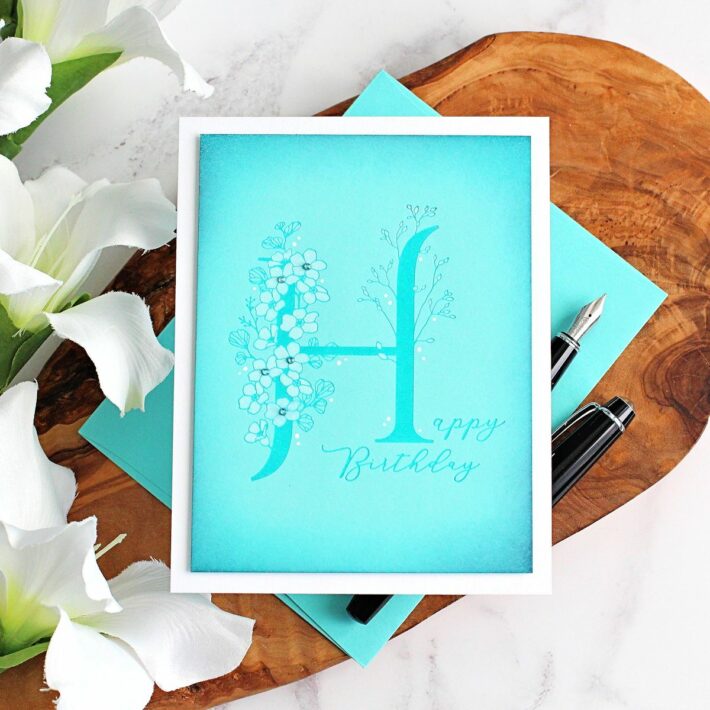
My next card uses BetterPress in a tone-on-tone colorway. I really love the softness it gives to the card by using a slightly darker tone of ink on a lighter tone of cardstock.
To make this card:
- Using the packaging as a guide, I placed the Floral H and Sentiment Press Plate onto the chase of the BetterPress Letterpress System.
- I added a panel of Waterfall Cardstock onto the platen and held it in place with Best Ever Craft Tape.
- I inked up the plates with Teal Topaz Ink, placed the platen on top, and ran it through my Platinum Six.
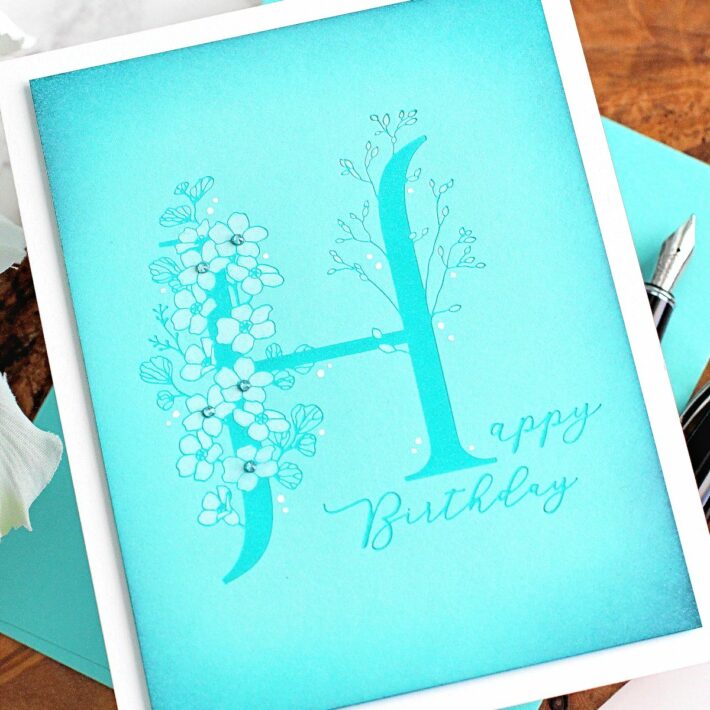
- Using the same Teal Topaz Ink, I blended it around the edges of the panel using a Blending Brush. To add extra depth, I also added a little BetterPress Black Ink.
- I took a white color pencil and colored in the flowers and mini leaves.
- The panel was adhered to an A2 white card base with foam tape.
- Dots were added around the letter using a White Gel Pen.
- To finish, I embellished it with Teal Color Essentials Gems.
CONGRATULATIONS
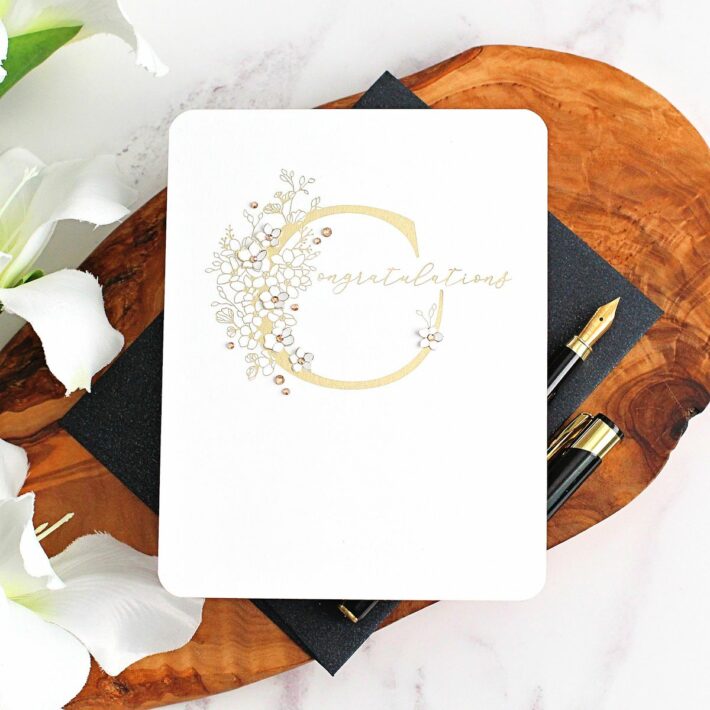
For my last project, I wanted to show how well BetterPress plates foil. I think foiling especially works well with these alphabet plates, as they add that touch of elegance to them! I thought this card would work perfectly for a wedding card.
To make the card:
- I placed a piece of Champagne Foil (shiny side up) onto a panel of white cardstock and placed the Floral C and Sentiment Press Plate on top (face down), holding down with Best Ever Craft Tape.
- I placed it on the Glimmer Hot Foil System platform and let it heat up before running through the Platinum Six.
- I removed the plate and foil and then foiled it again on another piece of cardstock.
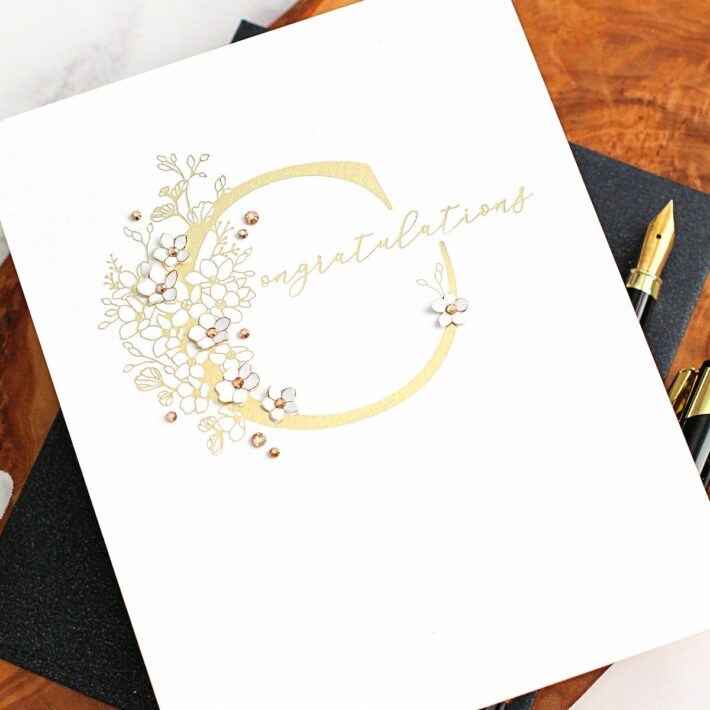
- I took the second panel and using scissors, fussy cut out a few of the flowers.
- I adhered the foiled panel to an A2 white card base and then rounded the corners using the 1-2 Punch: Corner Rounder & Notch.
- I adhered the flowers that were fussy cut out on top using Bearly Art Glue.
- To finish, I embellished it with Gold Mix Color Essentials Gems.
The cut-out flowers add a touch of interest and dimension to what is essentially a one-layer, very simple card. I think they finish off the card perfectly, but I do think it would still look great being flat too.
Spellbinders Supplies:

Other Supplies
Wilted Violet Distress Ink, Villainous Potion Distress Ink, Copic Markers, white color pencil, foam tape.
I hope you have enjoyed seeing my projects today and I have inspired you to try BetterPress plates in different ways. Thank you so much for visiting and I hope you have a wonderful day!

