-
SPOILERS! 13 Days of Craft-o-Ween Day 10. Step by Step Tutorial
SPOILER ALERT: Welcome the 13 Days of Craftoween 2025 Advent Calendar — and we can’t wait to show you what’s inside! If you love spooky season as much as we do, you’re in for a real treat (no tricks here). Whether you’re into cute and quirky or dark and dramatic, the 13 Days of Craftoween is packed with creative potential. Each day unveils a new mini crafting treasure designed to help you conjure up cards and more — all perfect for October makes and haunted happenings. Ready to peek behind Door 10? Today we’re featuring a project by Jaycee Gaspar. Catch up on all the spooky surprises and creative inspiration from…
-
SPOILERS! 13 Days of Craft-o-Ween Day 9. Step by Step Tutorial
SPOILER ALERT: Welcome the 13 Days of Craftoween 2025 Advent Calendar — and we can’t wait to show you what’s inside! If you love spooky season as much as we do, you’re in for a real treat (no tricks here). Whether you’re into cute and quirky or dark and dramatic, the 13 Days of Craftoween is packed with creative potential. Each day unveils a new mini crafting treasure designed to help you conjure up cards and more — all perfect for October makes and haunted happenings. Ready to peek behind Door 9? Today we’re featuring a project by Jaycee Gaspar. Catch up on all the spooky surprises and creative inspiration from…
-
Pup, Pumpkin, and a Whole Lot of Cute!
Hi crafty friends! This is Lorena Wakefield. I’m so excited to be back as a guest designer on the Spellbinders blog; it’s always such a joy to create alongside this amazing community. Today, I’m sharing a step-by-step tutorial featuring the adorable new Pupkin die set, because who can resist a pup in a Halloween pumpkin costume? Whether you’re a Halloween lover, a dog person, or just someone who enjoys bringing a bit of whimsy to your cardmaking, this die set is sure to steal your heart. Let’s jump into the details and create something sweet, not-too-spooky, and totally fun! Choose the cardstock colors for your project. For the head and…
-
Hauntingly CUTE: Halloween Cards with Spoopy Hues
Hi there my Spellbinders’ friends! My name is Jaycee Gaspar and I’m so excited to share three cards featuring the Happy Haunting Collection. This collection features an assortment of dies and BetterPress Press Plates that will make your Halloween feel magical. For that hauntingly cute feeling to these next three cards, I used a brighter blend of color palettes. I wanted something that felt fun and playful with a little magical element to them. This is perfect for those of you who love to experience Halloween as more of a cute Autumn holiday and not so scary. For my first card I did something very simple. You can never go…
-
Spooky Cute Cards Featuring the Happy Haunting Collection
Hello, crafty friends! This is Emily Leiphart and I’m thrilled to be back on the Spellbinders blog, featuring the Happy Haunting Collection. I love creating Halloween cards and, much like my cards for past collections like Boo Dance Party, I wanted to spark inspiration with a fun, non-traditional color palette. The Happy Haunting Collection includes so many fabulous products and I chose to feature Fiona the Dancin’ Witch, Woof-or-Treat and Witchin’ Heels. I may be sharing only three cards here but you’ll definitely see more from this collection. The color palette I’m using includes Pink Sand, Spiced Cider, Nectar, Pale Rose, Meadow, Peacock, Slate Gray, and Onyx cardstock. Also featured…
-
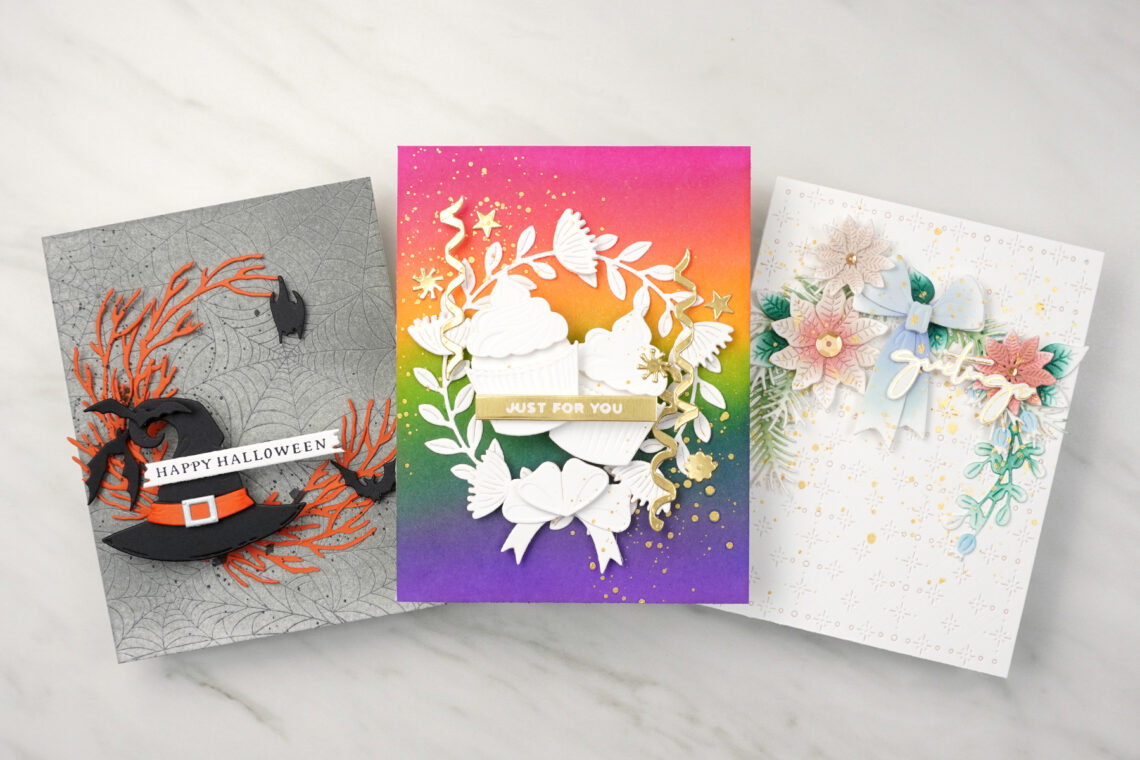
Embrace Every Season with 3 Gorgeous Die Cut Wreath Cards
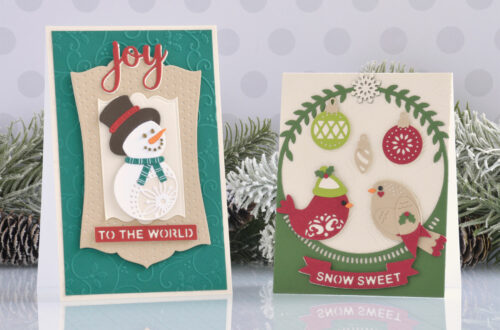
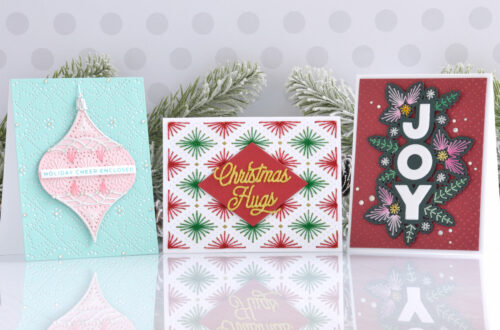
Hi there my Spellbinders’ friends, welcome back to the Spellbinders Blog! My name is Jaycee Gaspar and I’m back again to bring you some creative inspiration using the gorgeous Beautiful Wreaths collection by Suzanne Hue. In this blog post, I’ll be sharing three stunning modern wreath card designs that will elevate your card-making game. With the Build-A-Wreath and Garden Wreath Add-Ons, this collection offers limitless possibilities for crafting a beautiful wreath base. Then all you need to do is pick your card occasion and pair your wreath base with the other die sets in Suzanne Hue’s collection. Keep reading as I share my tips and tricks for creating breathtaking die-cut wreath…
-
Cardmaking with BetterPress – Autumn Card Inspiration
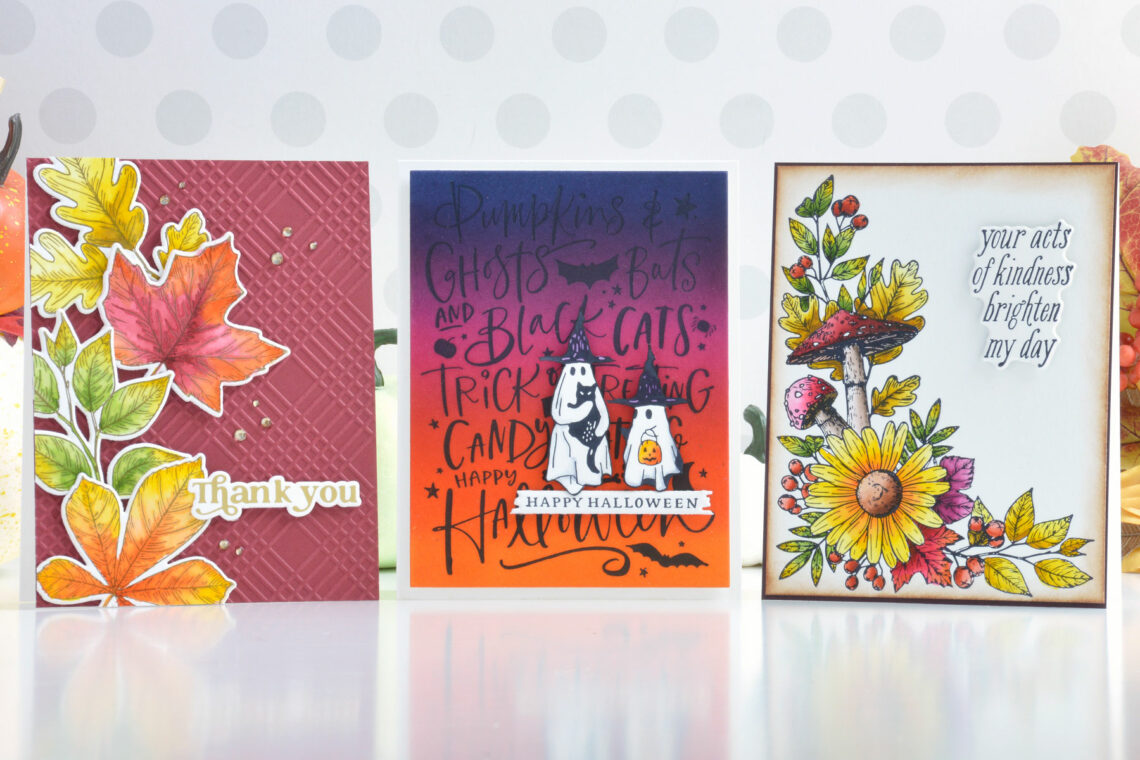
Hi there, this is Annie Williams and I’m thrilled to be back on the blog today to share a couple of projects using the BetterPress Fall and Halloween Collections from Spellbinders. The beautiful autumn designs and fun Halloween icons and backgrounds in these collections inspired me to create three colorful cards with an elegant letterpress effect. Autumn Floral Corner Card I loved the collage of images in the Autumn Floral Corner Press Plate Set, so this was the first design I picked up. With some bright autumn colors, I could easily bring a basic black press of this gorgeous image to life. I started by adding black BetterPress Ink to…
-
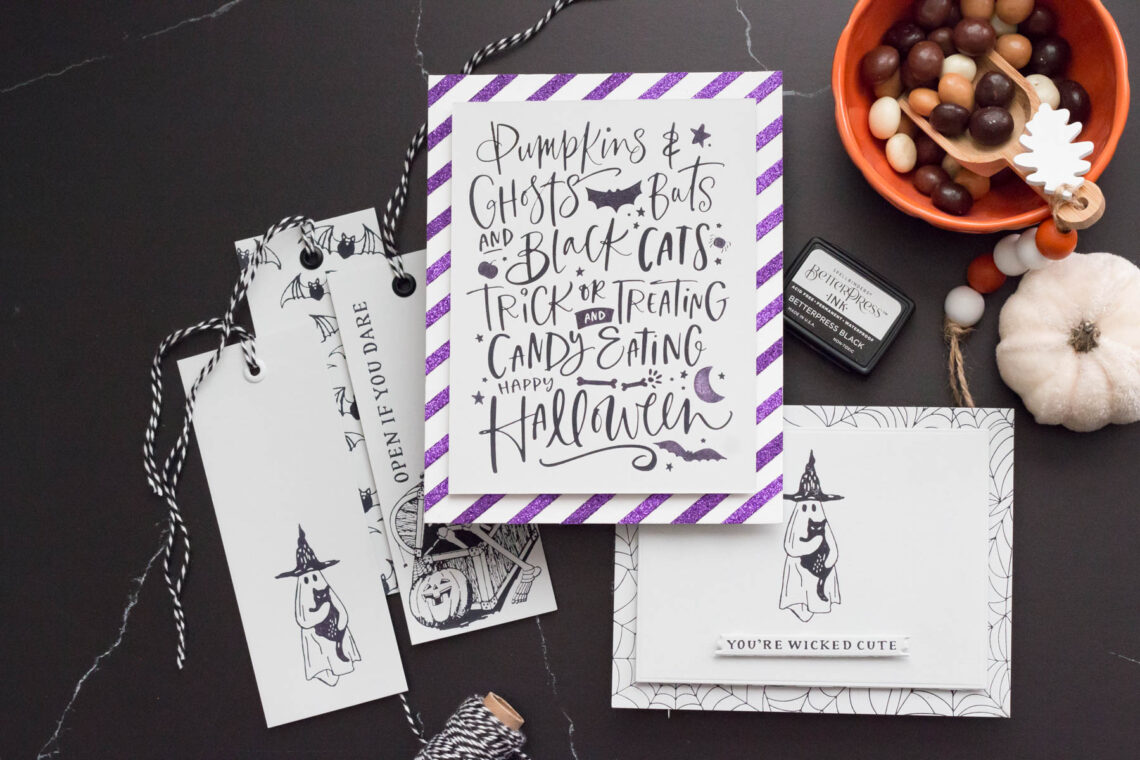
Better Press Halloween Ideas with Marie Heiderscheit
Hello, crafty friends! Marie here again from Marie Nicole Designs. I hope you are ready for some spooky crafting! I’m using the new Better Press Halloween images to make some simple and fun items! I first want to say that this was the first time using my Better Press and I am so impressed by the results! The Better Press plates combined with this cotton paper give such a professional finish! Even just making some simple cards with black ink looks amazing. Let’s take a look! SIMPLY PRESS IT! For my first card, I used the Pumpkins and Ghosts Betterpress plate to press the design into a 4×6 Pebble-colored card…
-
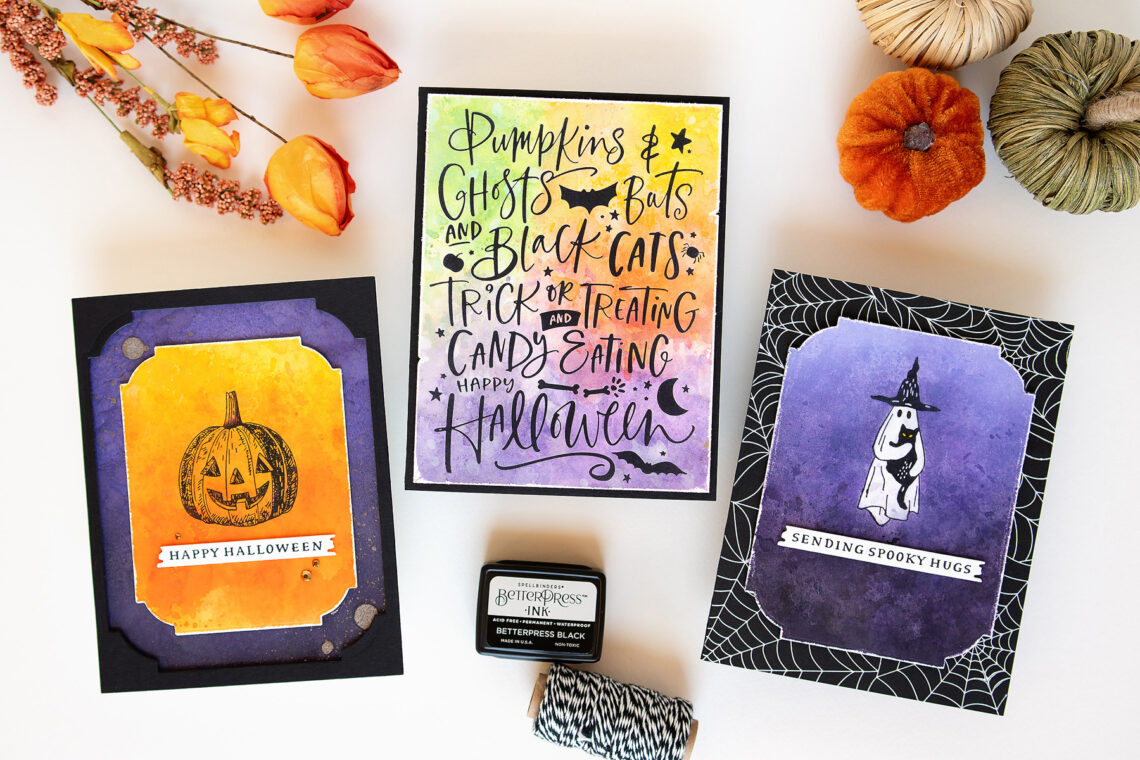
Betterpress Halloween: Watercolor Backgrounds
Hello crafty friends! It’s Jung here, and I am back with another guest post on the Spellbinders blog. For my projects today, I’m working with the Betterpress Halloween collection. I made fun watercolor backgrounds playing with Distress inks and Distress Oxide inks. I love how they compliment the Betterpress plates. For my first card, I used the Pumpkins & Ghosts Background Press Plate. I started by adding some color to an A2 Bisque cotton card panel. I used several techniques on the background. First I wanted to add a base layer wash of color. I smooshed mini Distress ink cubes onto my glass mat and sprayed generously with water. Then,…


