Wax Seals Weekend Inspiration!
Hi there, this is Annie Williams and I’m excited to be back on the blog to share a couple of ideas featuring Wax Seals.
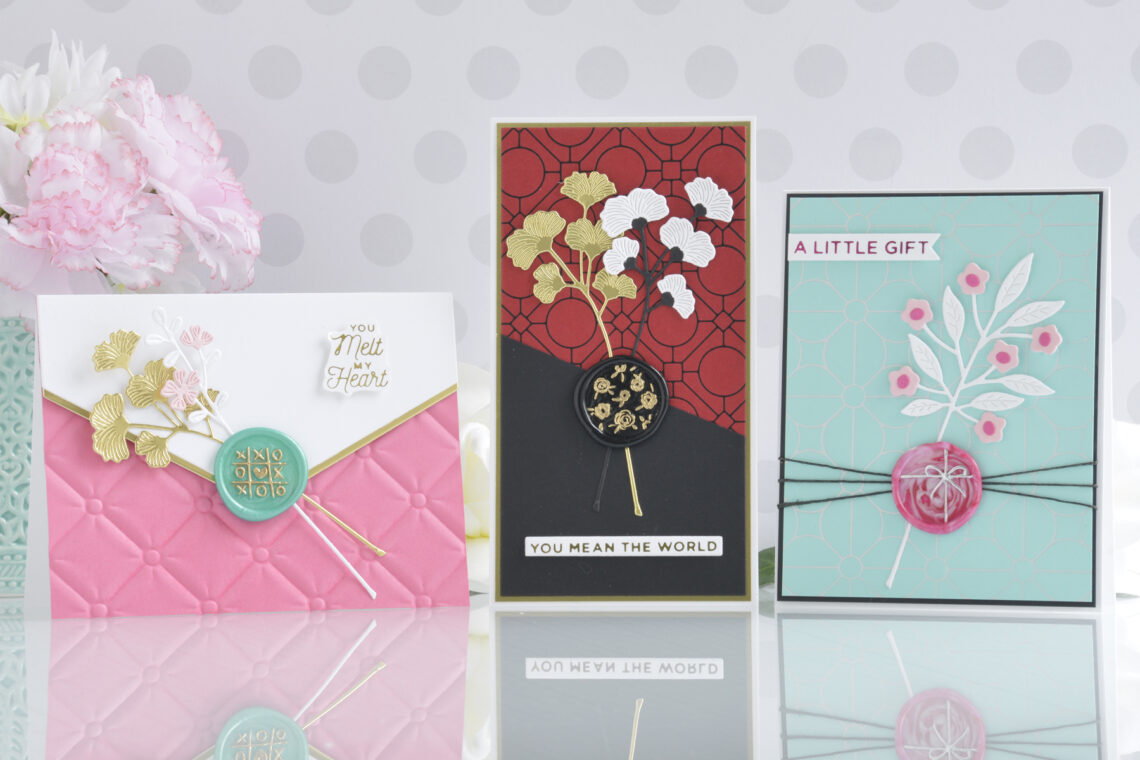
Mini Slimline Friendship Card
I loved the detail in the Scattered Flowers Wax Seal Stamp so decided to try that design first. Here I chose rich colors and gold accents for this pretty mini slimline friendship card.
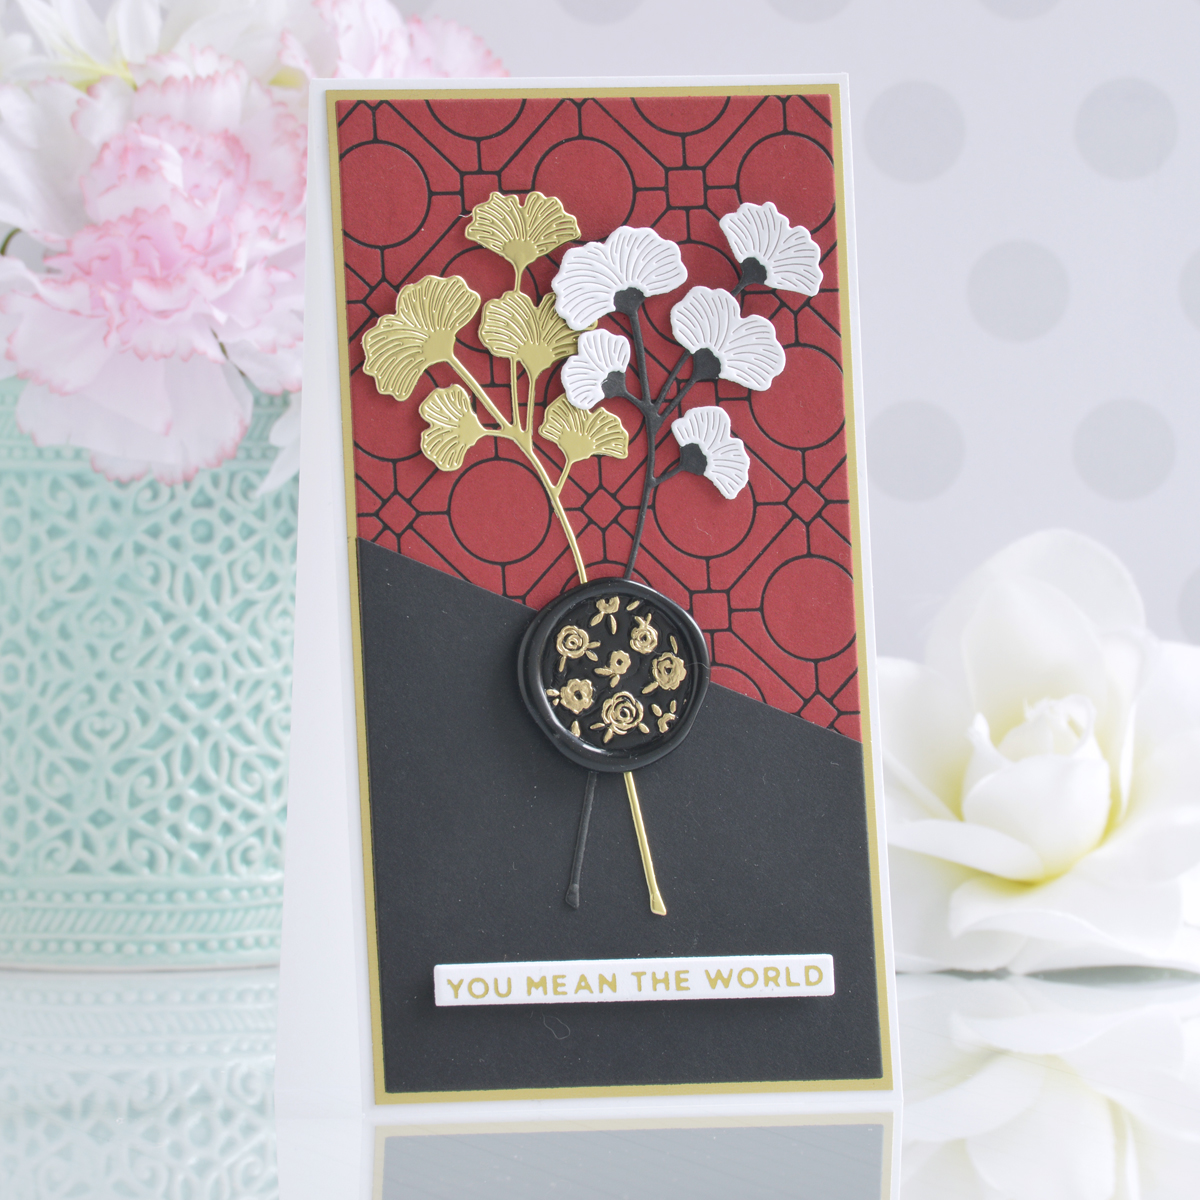
- Melt Black Wax Beads and press with the Scattered Flowers Wax Seal Stamp on a silicone mat. Once cool, lightly apply a gold metallic marker over the raised areas of the seal.
- Die cut white, Onyx, and Mirror Cardstock with the Sealed Gingko Die Set and assemble the sprigs with liquid glue.
- Die cut Phone Booth and Onyx Cardstock using the largest die from the Precision Layering Mini Slimline A Die Set. Cut the Onyx panel about halfway at an angle with a paper trimmer.

- Apply Opaque Black Hot Foil to the Phone Booth panel using the Geometric Optical Background Glimmer Plate.
- Mat the foiled panel with Mirror Gold Cardstock and adhere to a top-folding white card base measuring 3.5” x 8.5”. Add the black panel to the bottom of the card front with a tape runner.
- Adhere the gingko leaves and wax seal to the front of the card with liquid glue.
- Apply Gold Hot Foil to white cardstock using one of the greetings from the Just Wanted To Say Glimmer Plate Set, cut it out with the coordinating die, and pop it up on the bottom of the card with foam adhesive.
A Little Gift Bow Card
The Gift Bow Wax Seal Stamp is such a fun and versatile design! Here I created a marbled wax seal for this easy birthday card.
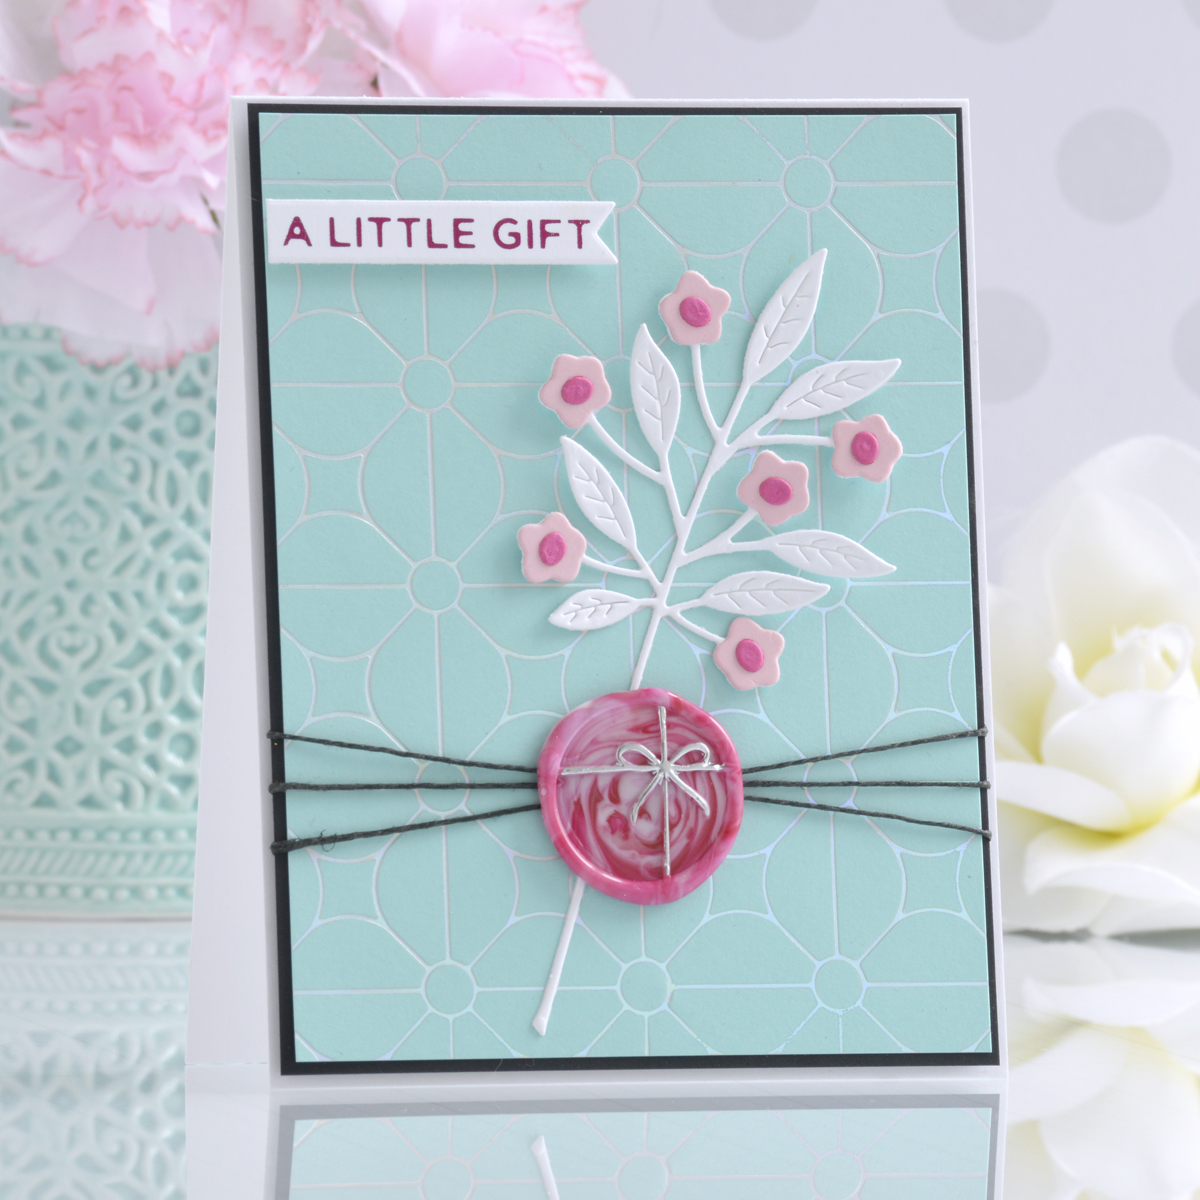
- Melt Red and Pastel Pink Wax Beads and press with the Gift Bow Wax Seal Stamp on a silicone mat. Once cool, lightly apply a silver metallic marker over the raised areas of the seal.
- Die cut white, Pink Sand, and Fruit Punch Cardstock with the Sealed Flowers Die Set and assemble with liquid glue.
- Apply Magenta Hot Foil to white cardstock using one of the greetings from the Celebrate You Glimmer Sentiments Plate Set and cut it out with the small strip die from the Mini Sincere Sentiments Glimmer Plate Set.
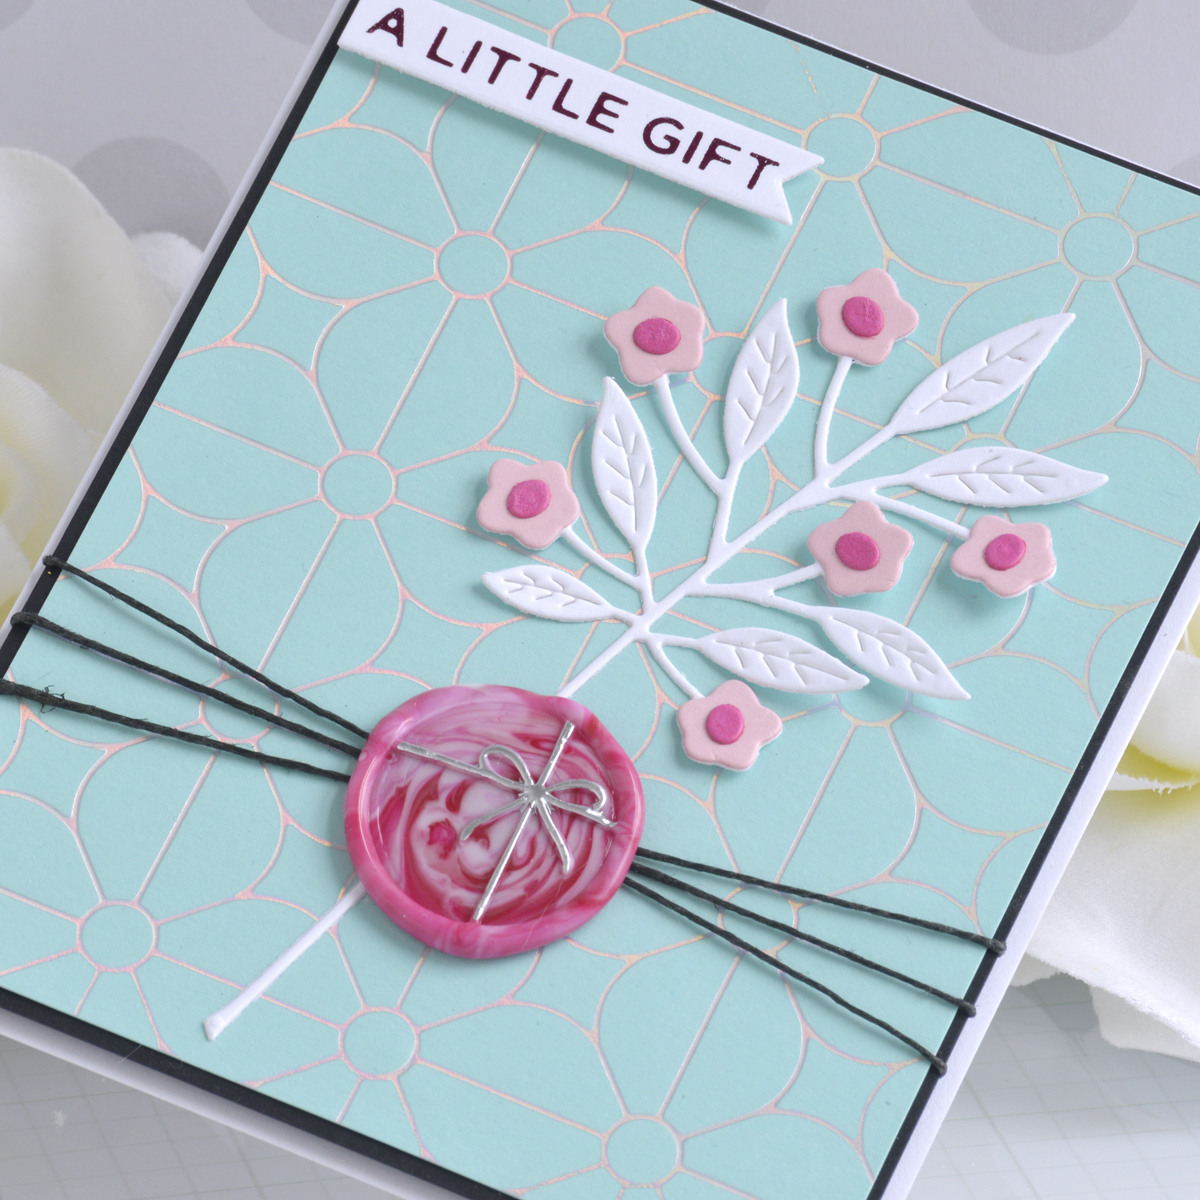
- Trim a piece of Waterfall Cardstock to 4” x 5.25” and apply Prism Hot Foil to the panel using the Geometric Flower Background Glimmer Plate.
- Mat the foiled background with Onyx Cardstock, wrap black cord around the panel three times and adhere it to a top-folding A2-sized white card base with foam adhesive.
- Add the floral sprig and wax seal to the card front with liquid glue and the sentiment to the top corner with foam adhesive.
XOXO Faux Envelope Card
Lastly, I thought it would be fun to create a faux envelope card front for the new Heart Tic Tac Toe Wax Seal Stamp.

- Melt Teal Wax Beads and press with the Heart Tic Tac Toe Wax Seal Stamp on a silicone mat. Once cool, lightly apply a gold metallic marker over the raised areas of the seal.
- Die cut Mirror Gold Cardstock using the Sealed Gingko Die Set and white and Pink Sand Cardstock using the Sealed Blooms Die Set.
- Apply Gold Hot Foil to white cardstock using one of the greetings from the Sealed Glimmer Sentiments Plate Set and fussy-cut it out with a pair of scissors.
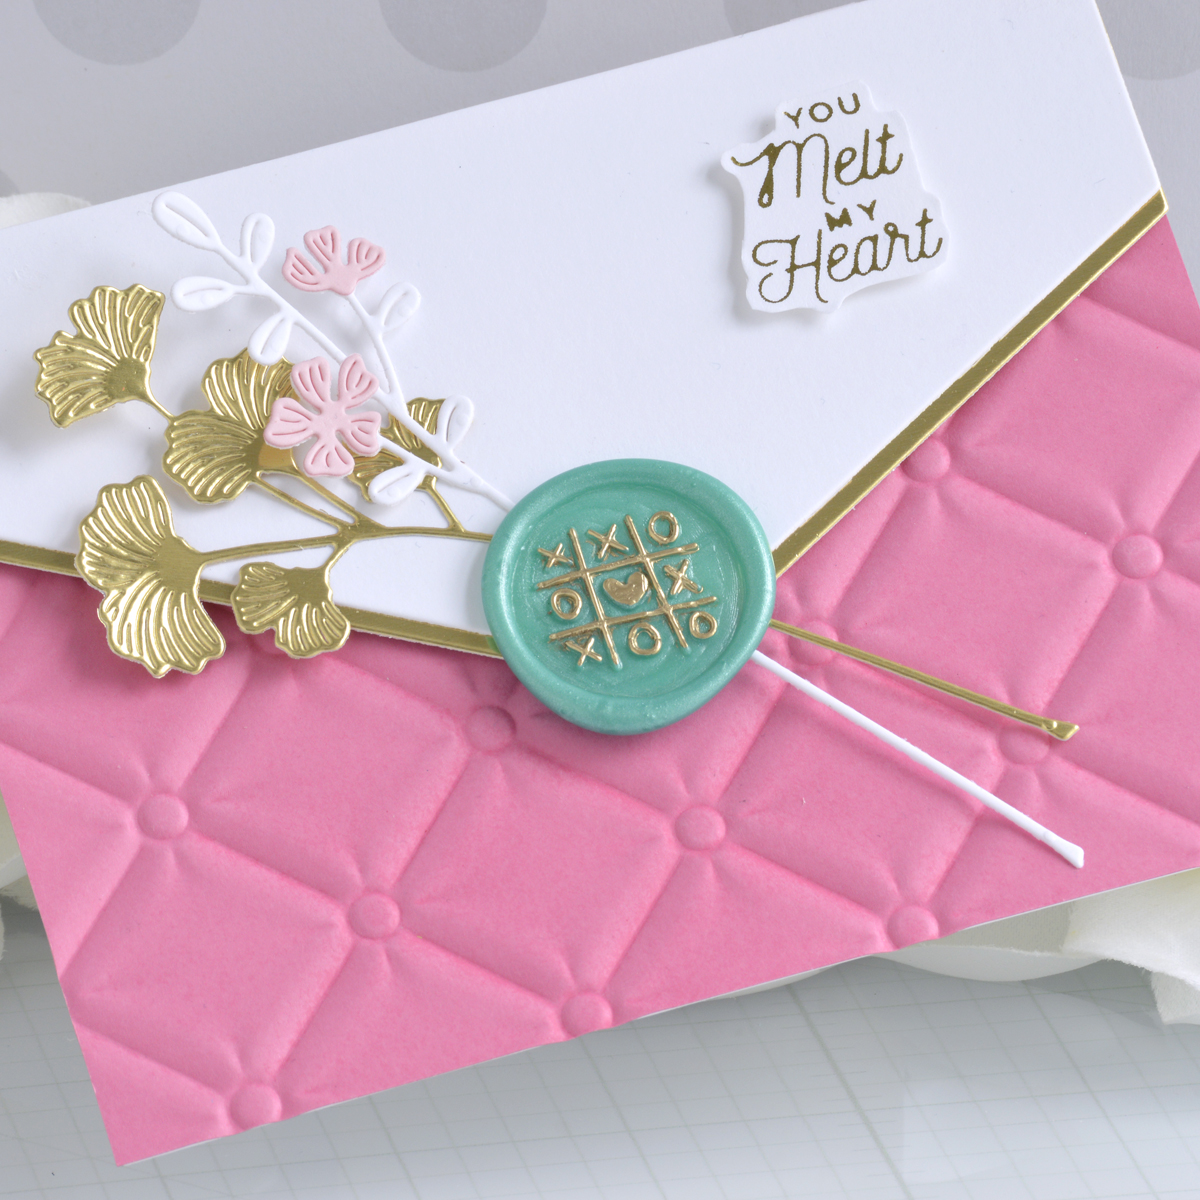
- Trim a piece of Fruit Punch Cardstock to 4.25” x 5.5”, emboss it with the Tufted 3D Embossing Folder, and adhere it to a top-folding A2-sized white card base with a tape runner.
- Die cut white and Mirror Gold Cardstock using the Color Block Panel Die and adhere together, allowing the gold layer to peek out of the bottom by about an eighth of an inch.
- Add the layered panel to the card front with foam adhesive.
- Adhere the flowers and wax seal to the “flap” of the card with liquid glue and then add the sentiment to the top corner with foam adhesive.
Spellbinders Supplies:

Other supplies
White heavyweight cardstock, tape runner, foam adhesive
I hope you enjoyed these fun springtime wax seal projects and thanks so much for stopping by today. You can find more inspiration over at my blog AnnieBWills.com.
Sealed for Summer Trio with Marie Nicole
Tis the Season for Holiday Card Making with Laurie Willison