Christmas Stitching in July!
Hello there, Michelle Short here to share some projects with you using the new Stitched for Christmas Collection. This beautiful collection features lots of stitching dies to create beautiful handmade stitched projects. Not into stitching? You can also use these dies without stitching, they still make beautiful projects!
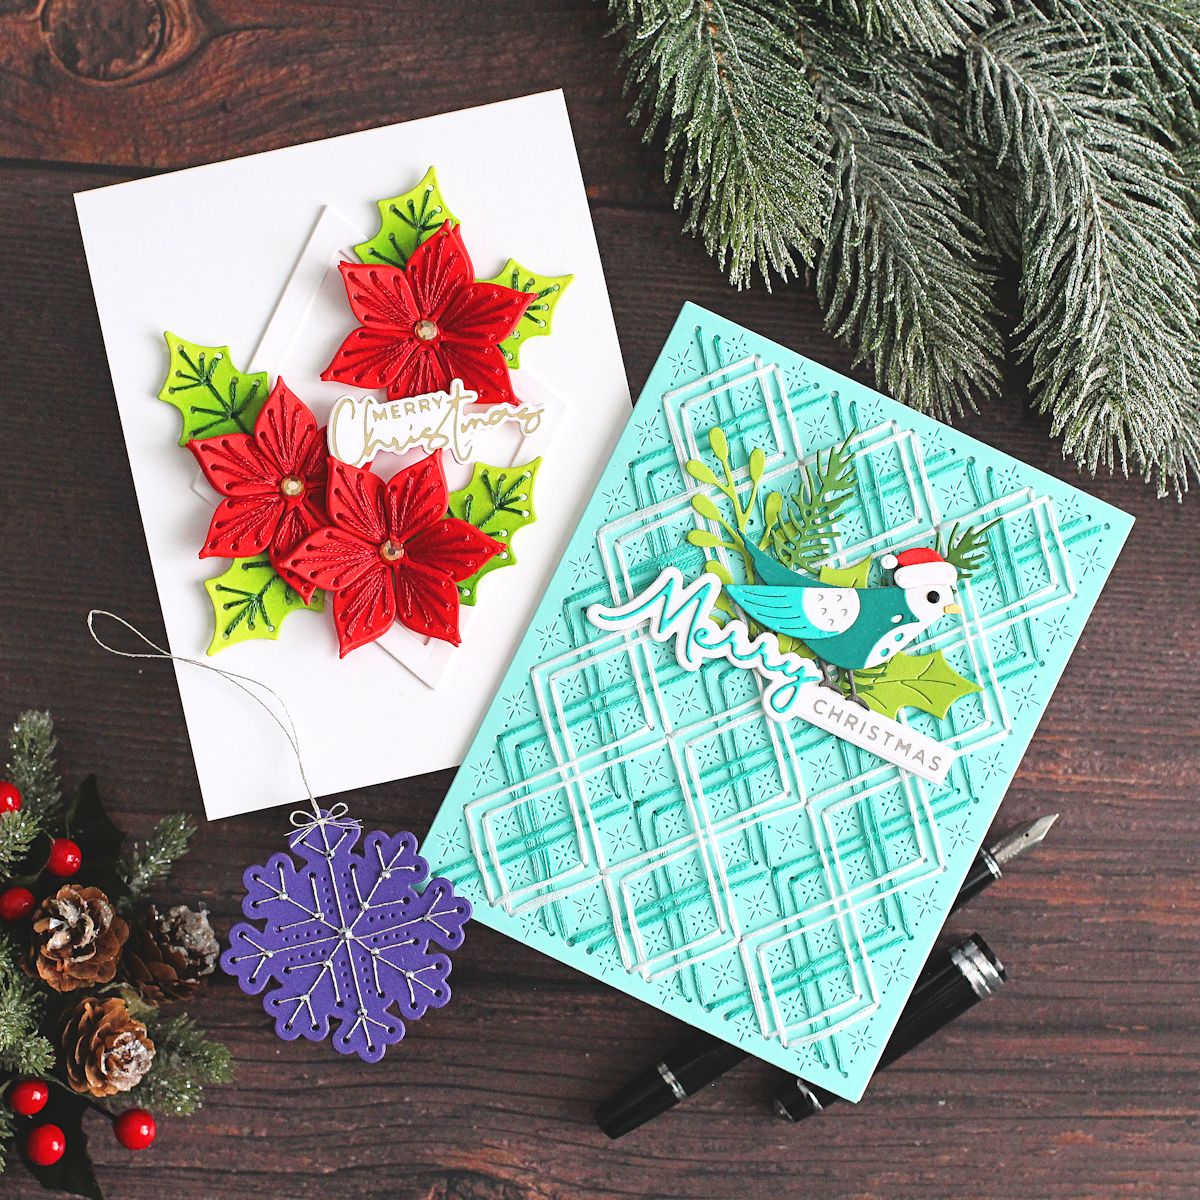
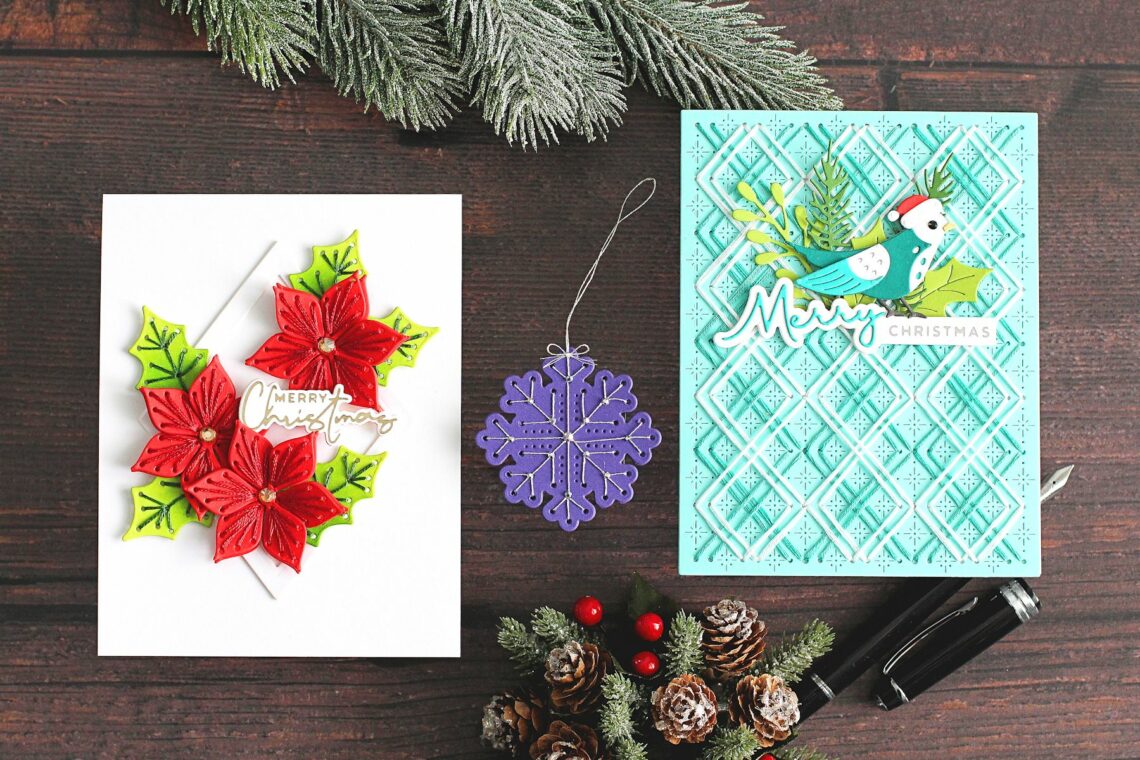
CHRISTMAS POINSETTIAS
My first card uses the beautiful Stitched Poinsettia & Holly Etched Dies. I die-cut the poinsettias from Poppy Field Cardstock (both the stitching layer and back layer) and the holly from Peridot Cardstock. I then added ink blending to the layers using Distress Oxide Inks and blending brushes.
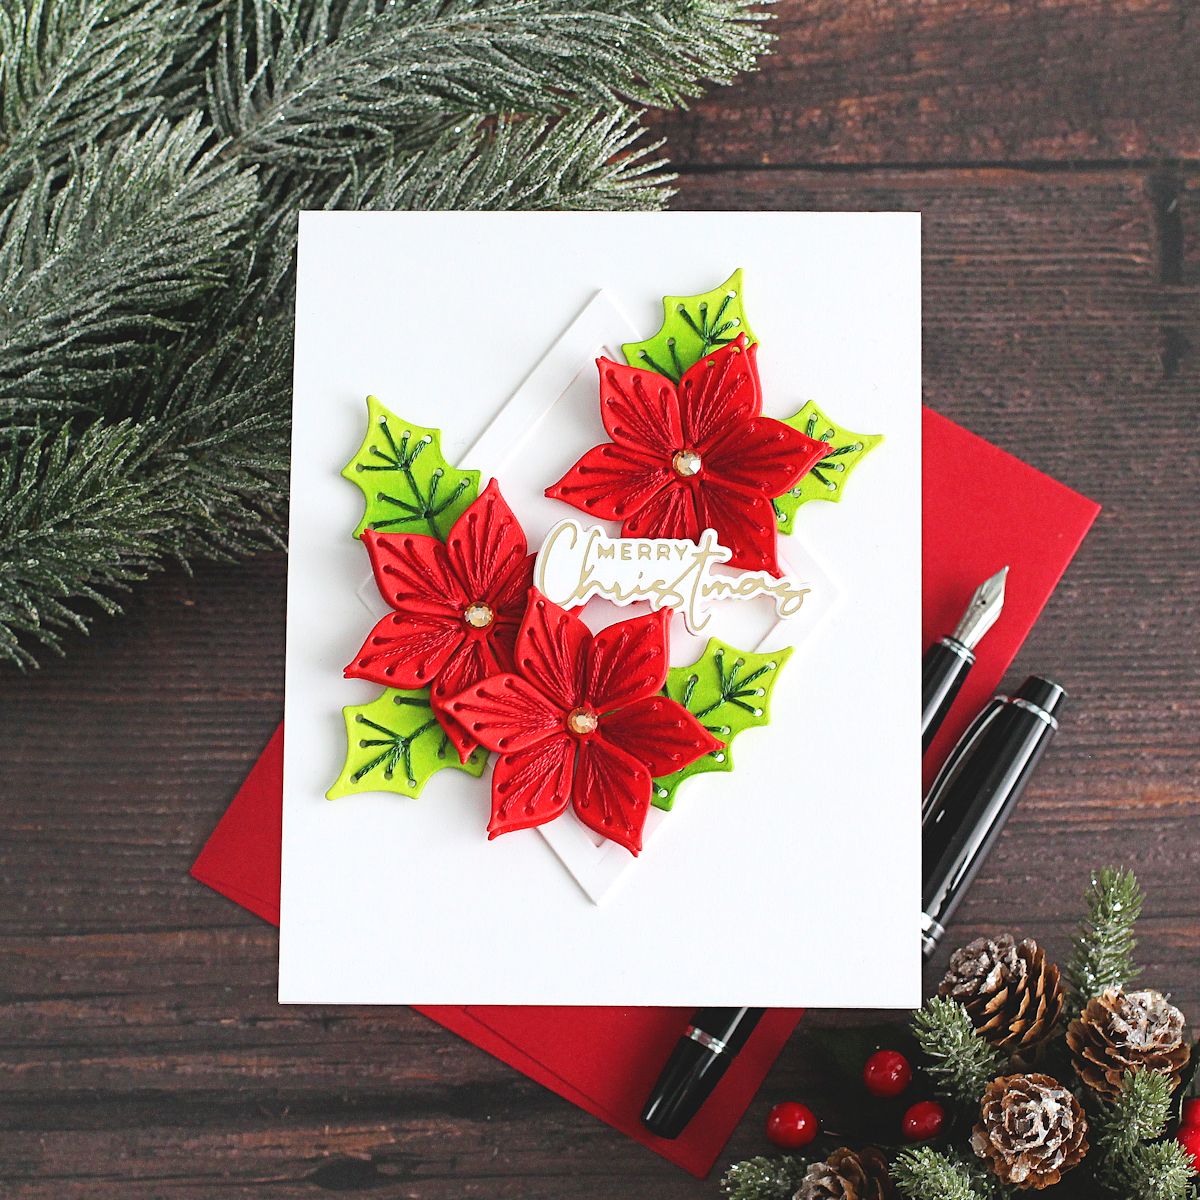
I stitched the poinsettias and holly leaves using DMC Color Essentials Floss (red and green) and secured the thread at the back using a little Best Ever Craft Tape. I adhered the layers of the poinsettia with a small dab of Bearly Art Glue in the centers. I die cut two Essential Diamonds Dies (to create a frame) twice from white cardstock and stacked them one on top of another onto an A2 white card base.
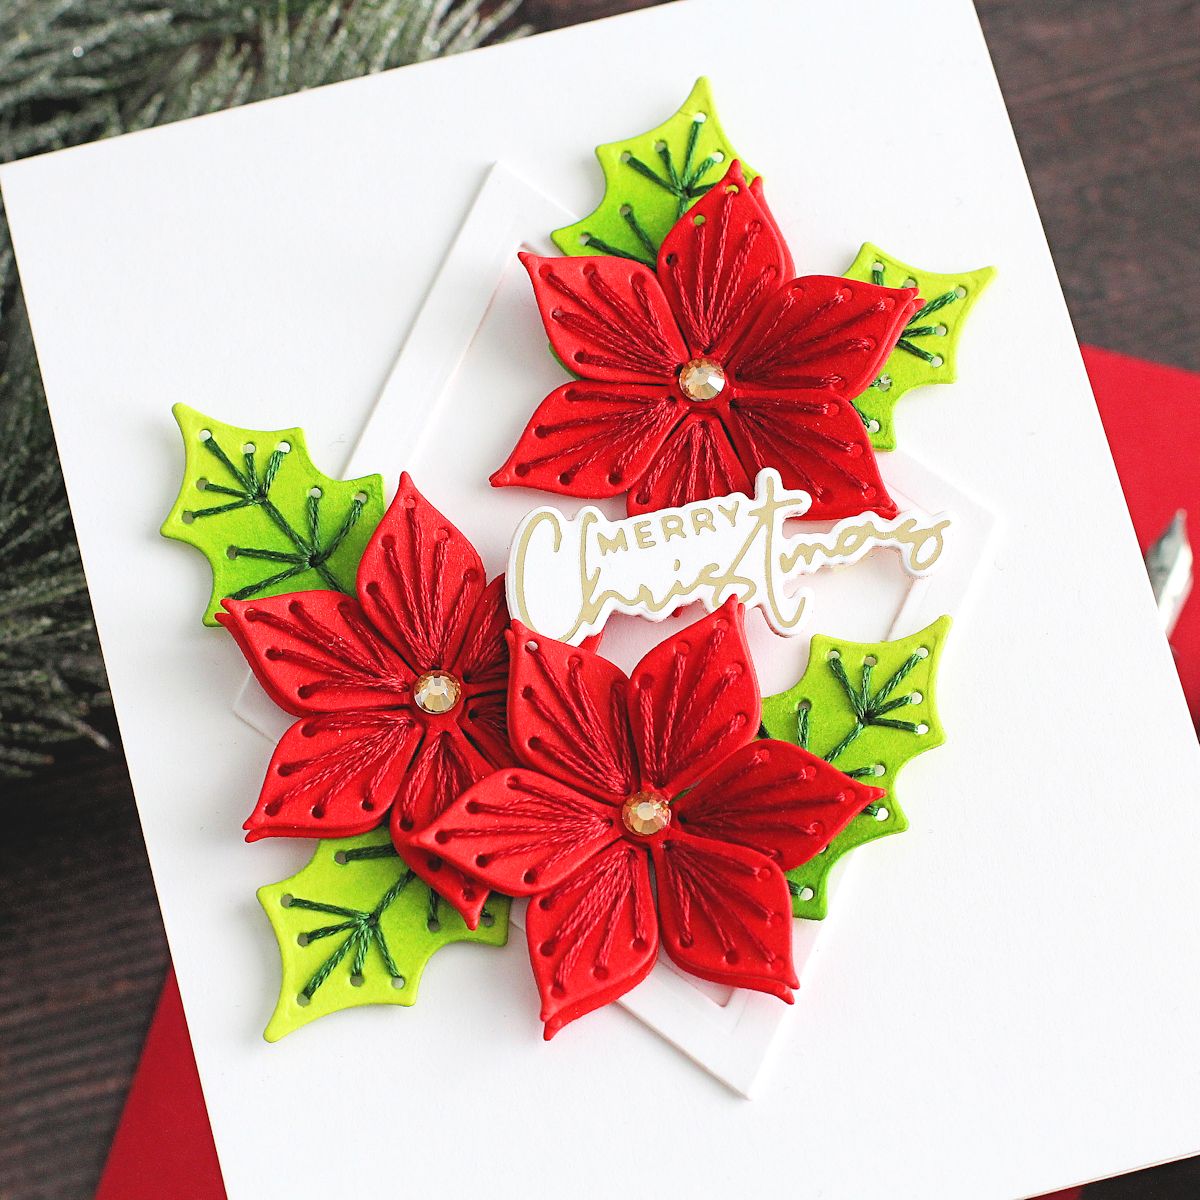
The leaves and poinsettias were adhered on top. I foiled the sentiment from Yana’s Christmas Sentiments Glimmer Hot Foil Plate & Die Set onto white cardstock using Champagne Foil. It was die-cut and adhered to the card with foam tape. To finish off, I added a few Gold Mix Color Essentials Gems.
CHRISTMAS BIRDIE
For my second card, I die cut the Stitched Starry Argyle Etched Die from Waterfall Cardstock, twice. I adhered them together using Bearly Art Glue (for added stability whilst stitching) and then stitched with DMC Color Essentials Floss (aqua and white). The panel adhered to an A2 white card base using double-sided tape.
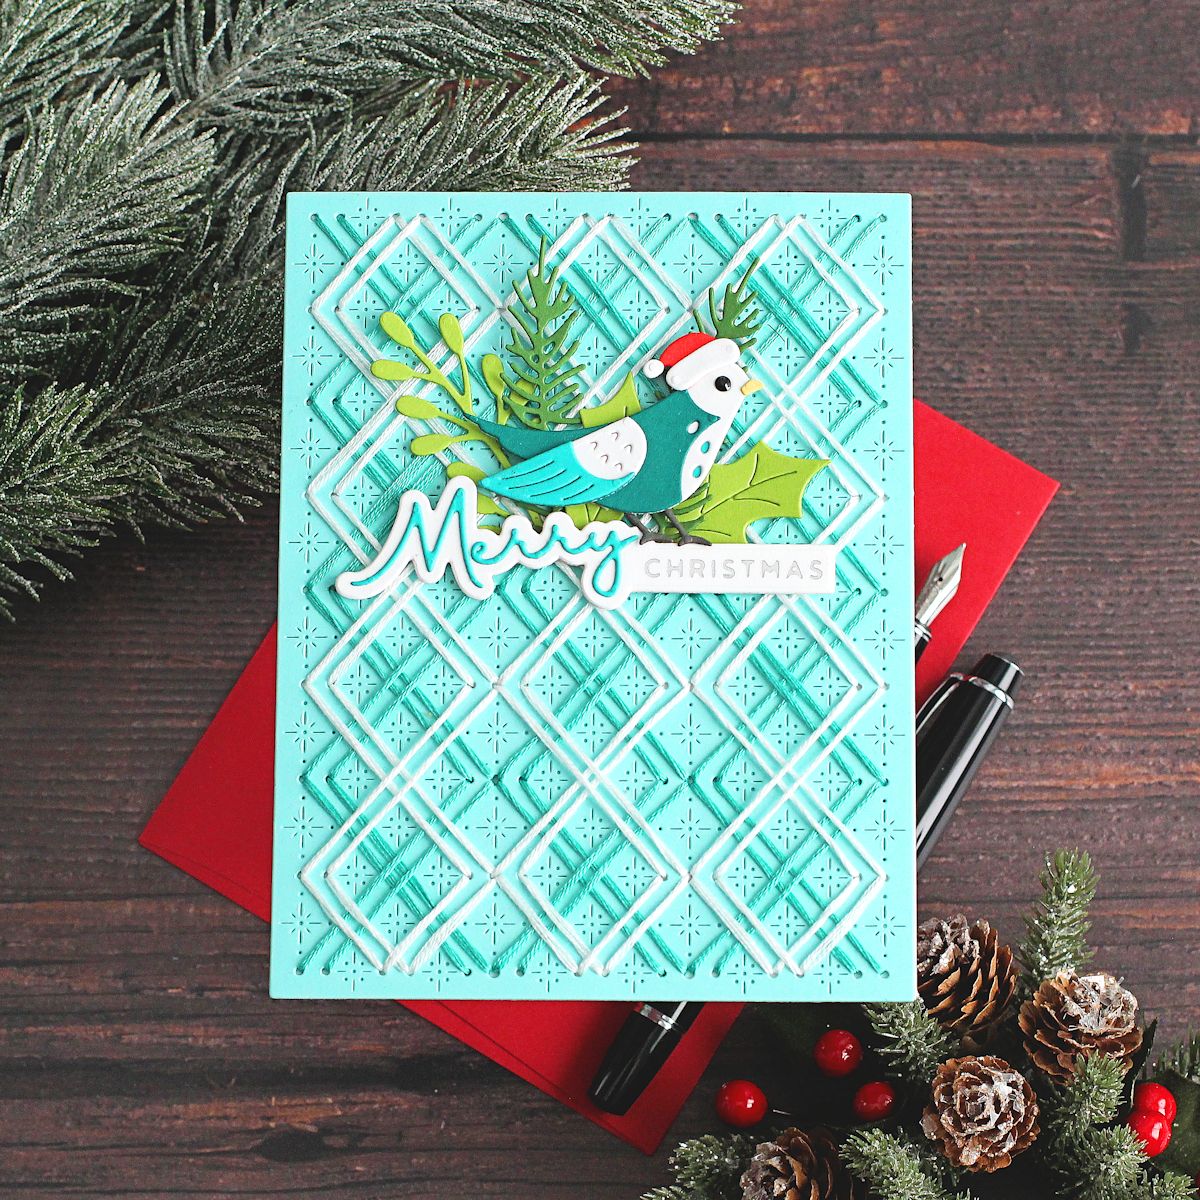
I die-cut the bird and foliage from the Christmas Bird Poinsettia set (Classic Christmas Collection) and assembled and adhered them to the card using Bearly Art Glue and foam tape for the bird. Isn’t his hat just adorable?
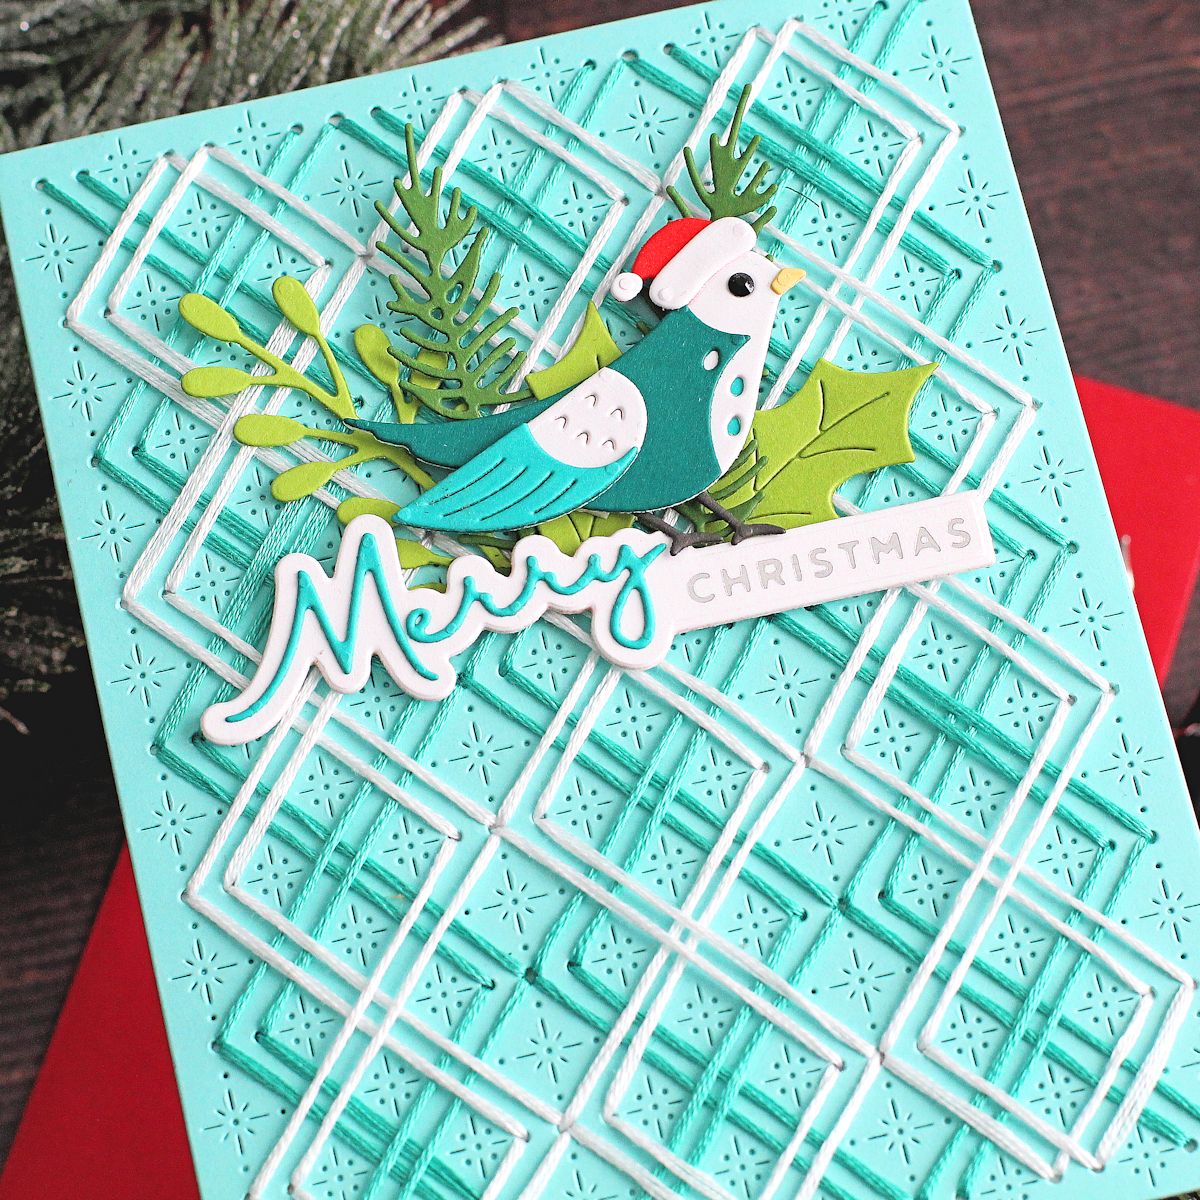
I then created the sentiment from the Christmas Die & Glimmer Sentiments set (Classic Christmas Collection), foiling the ‘Christmas’ in Silver Foil and die cutting the ‘merry’ using Teal Topaz Cardstock. It was popped below the bird, so he had something to stand on. To finish off, I added an Onyx Color Essentials Gem to the bird’s eye.
SNOWFLAKE ORNAMENT
For my final project today, I wanted to create a little ornament. I die-cut the snowflake from the Stitched Christmas Sweater Etched Dies set (this snowflake is made to be an element on the sweater, but I wanted to use it differently) using Royal Amethyst Cardstock. I also die-cut the single layer of the snowflake (without the stitching) to adhere to the back later.
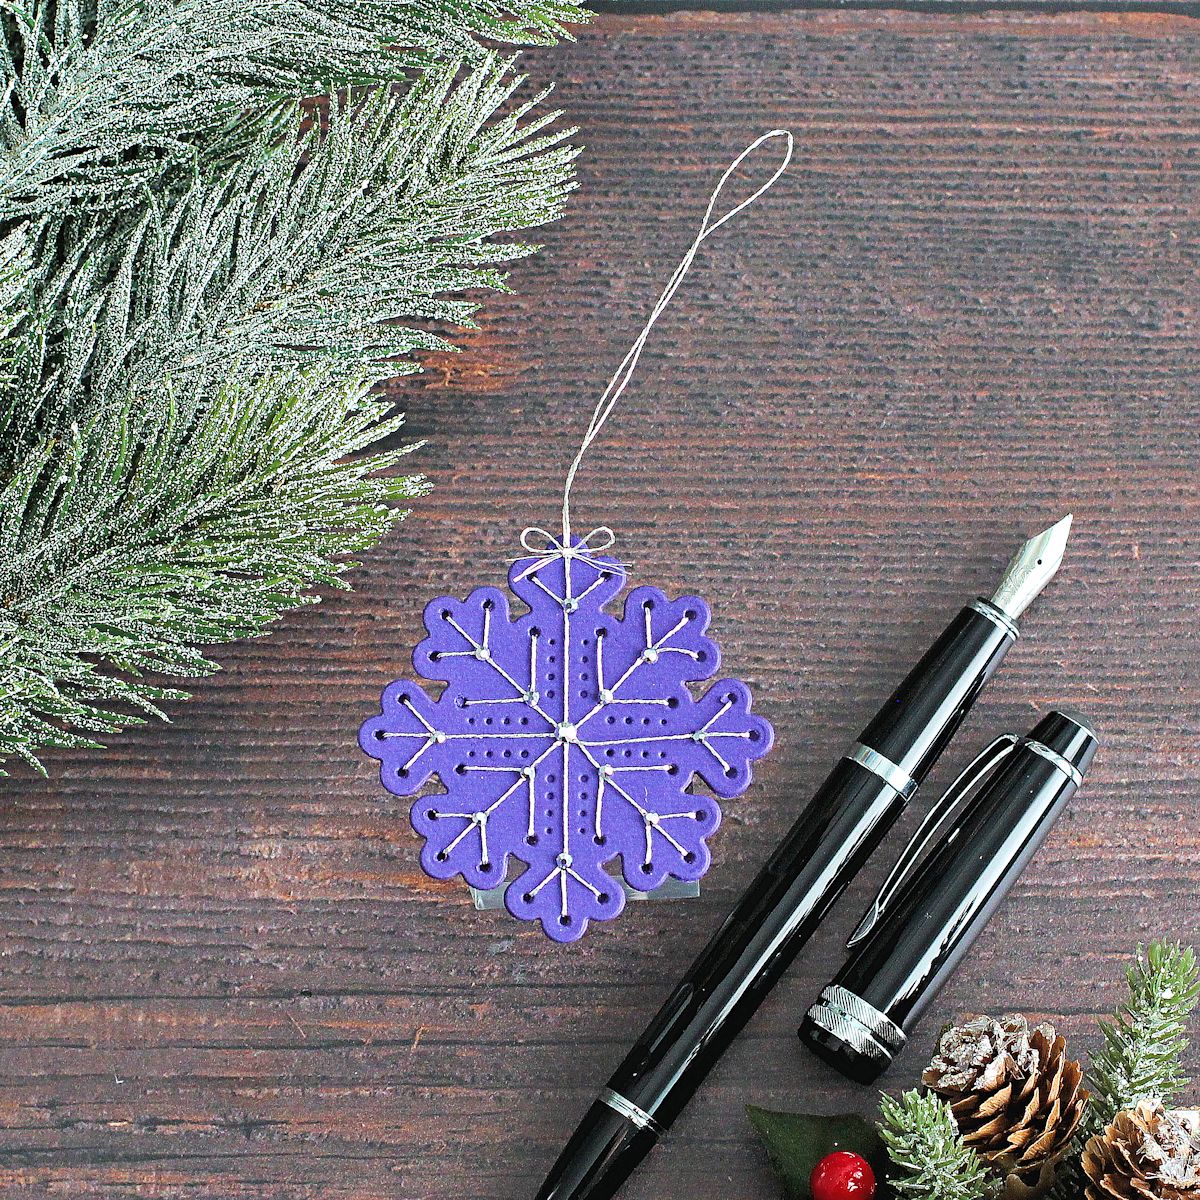
I stitched the snowflake using DMC Diamant Metallic Thread and secured it at the back. The solid snowflake was then adhered to the back using double-sided tape. I pierced a hole through the top part of the snowflake (through the back layer) and tied more thread through it.
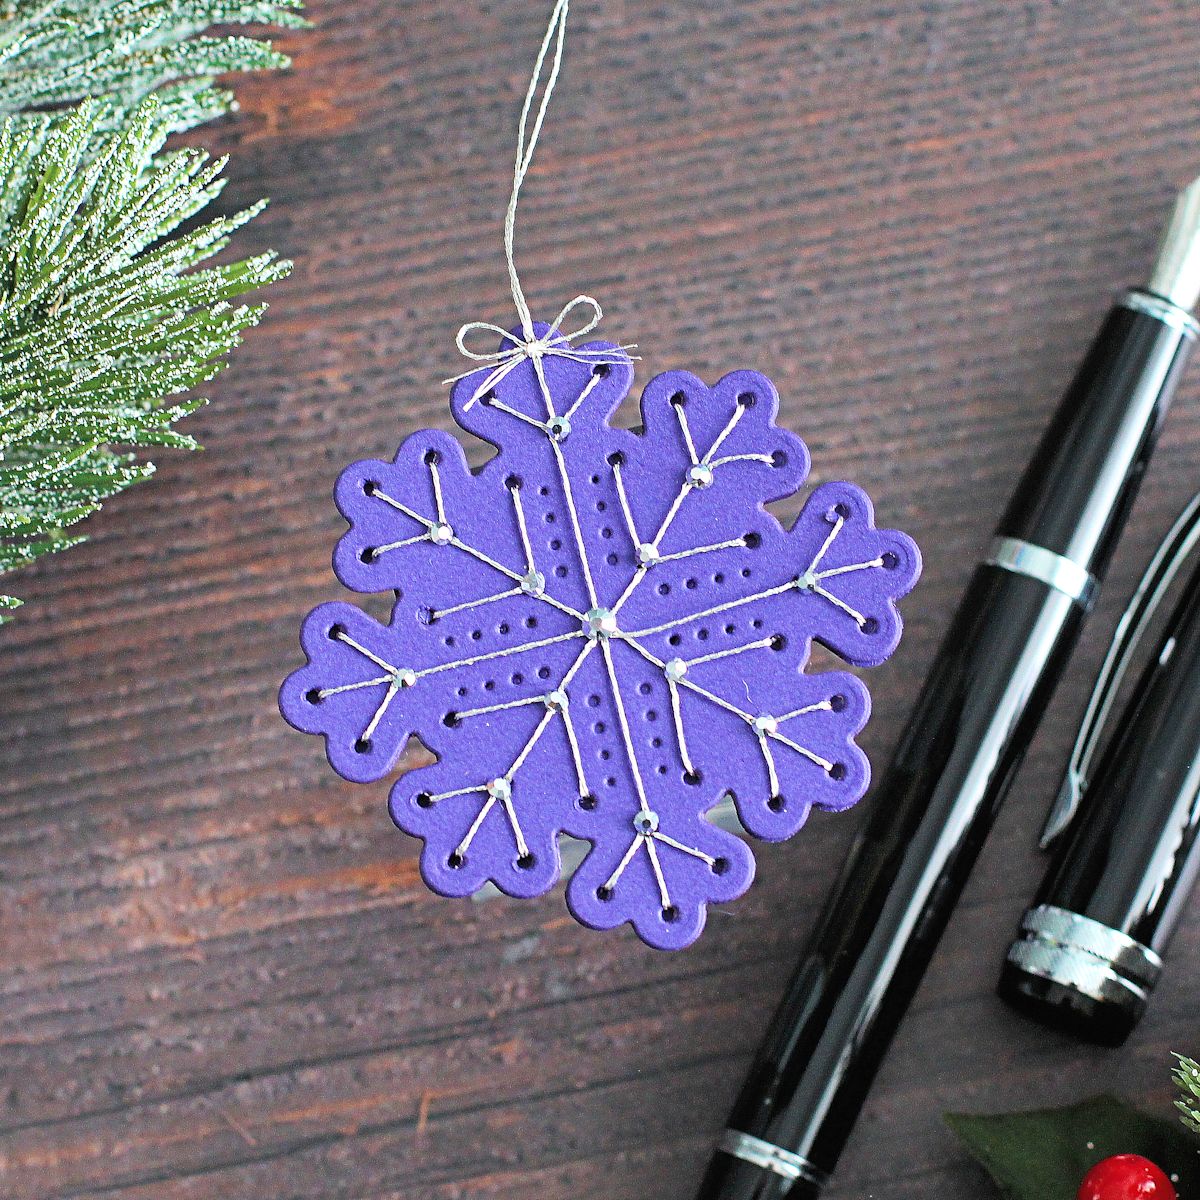
This gives it something to hang from. I then embellished it with Silver Mix Color Essentials Gems and popped a little thread bow at the top. Although I was thinking this would be great as a little ornament, this would also work as a tag to add to a gift too.
Spellbinders Supplies:

I hope you have enjoyed seeing my projects today and I have inspired you to try some stitching projects for Christmas, even if you don’t start them in July like I have!

2 Comments
Fran Smith
Such beautiful cards. Thanks for the inspiration.
MaryH
So lovely; I enjoyed viewing each and everyone. Thanks for the joyous time!