Making Clean and Simple Christmas Cards Special – Joyful Glimmer Step-by-Step Tutorial with Joan Bardee
Hello crafters! Joan Bardee here and I’m thrilled to be back on the Spellbinders blog featuring part of Yana’s De-Light-Ful Christmas Collection. It’s an amazing collection full of everything we love – hot foil, dies, stencils, etc. I am focusing on Joyful Glimmer, which consists of 2 hot foil plates – one sentiment plate and one holly plate that cleverly wraps around the sentiment.
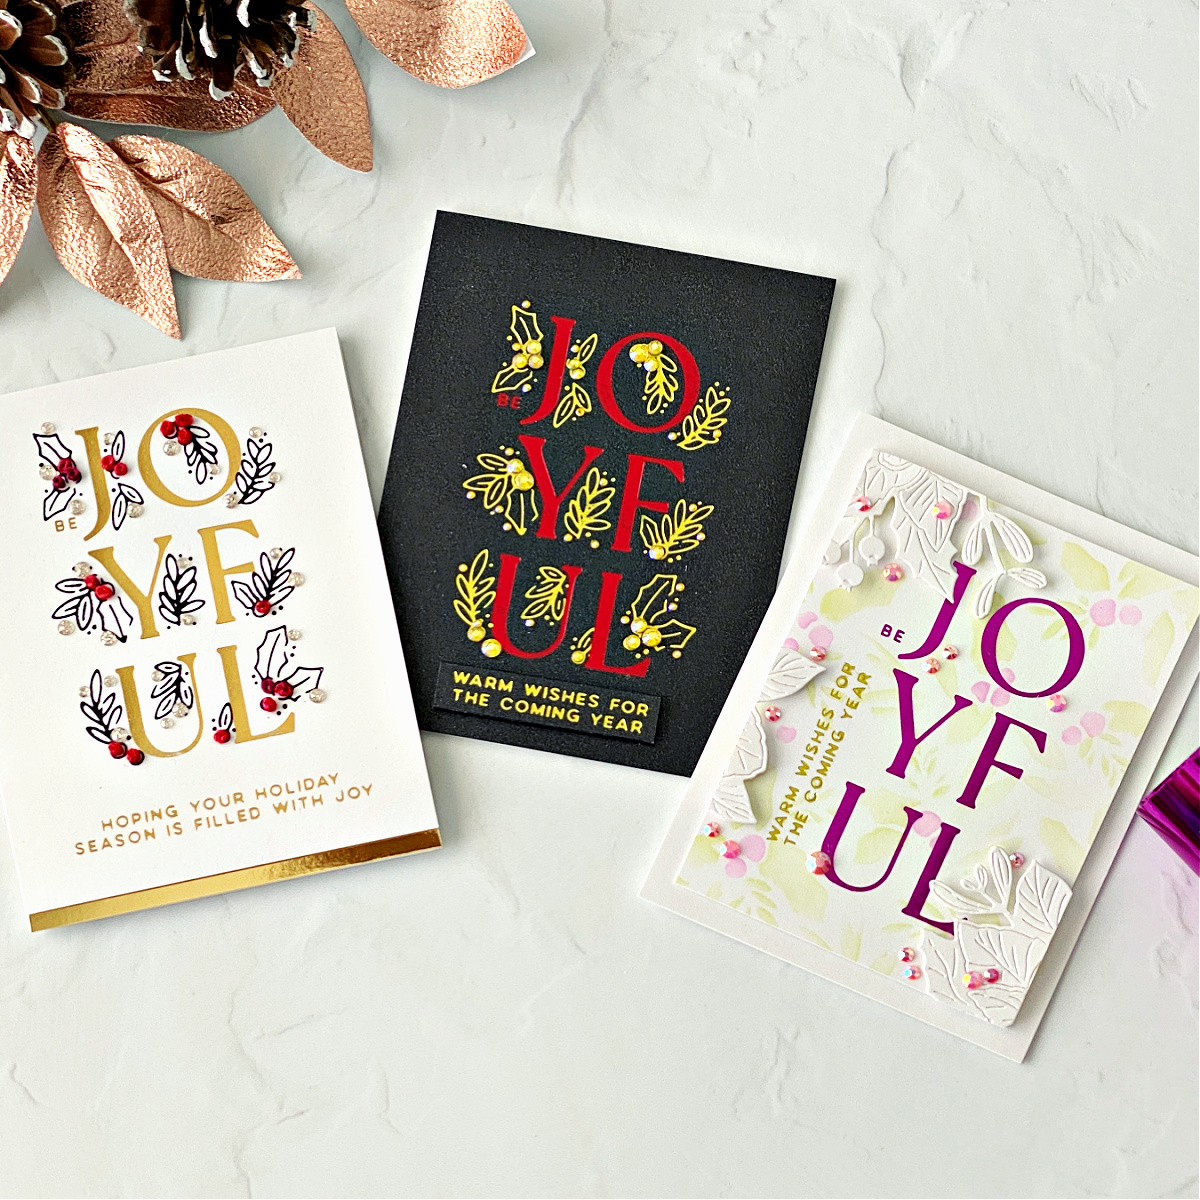
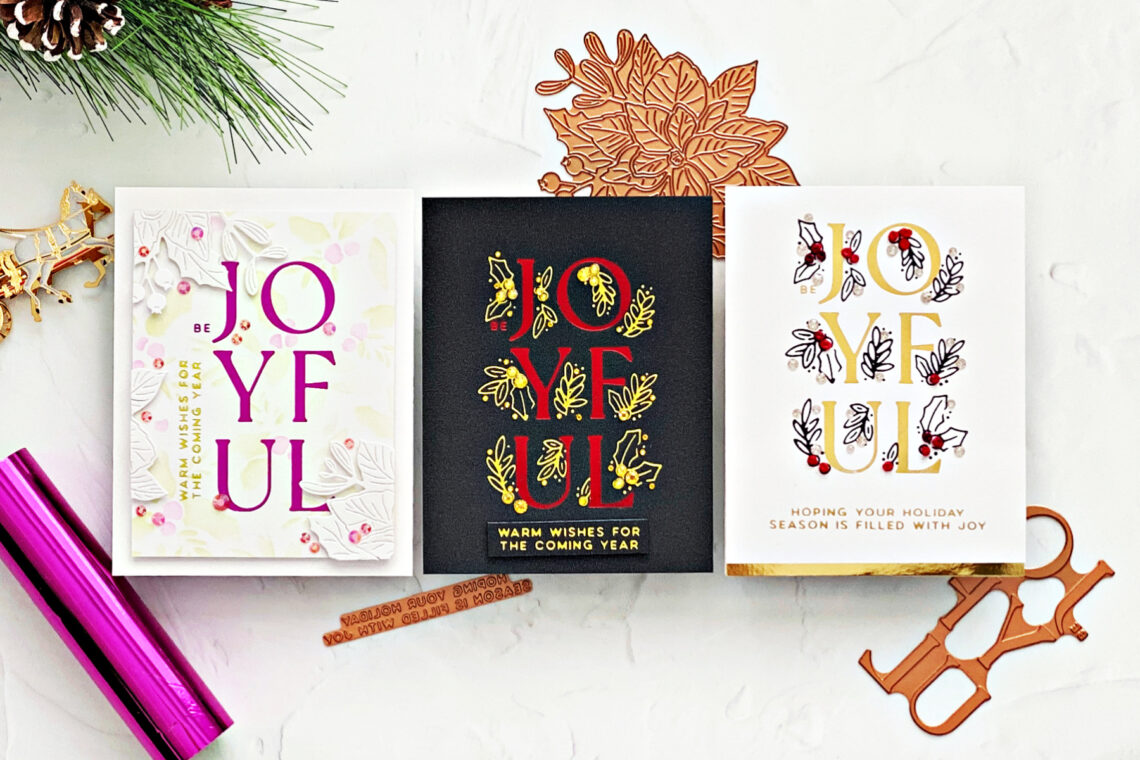
I love to go all out when I make Christmas cards and add those special elements that make the recipient go Wow. Even so, I love “clean and simple” cards. So, today I’m sharing a few ideas to add special details to clean and simple Christmas cards to take them to the next level. And I’ve got a step-by-step tutorial showing how I made one of the cards.
Joyful Glimmer with Embroidered Holly Leaves

This card uses the following techniques/products to make it special:
- Embroidered holly berries
- Two colors of hot foil (Gold and Black)
- A sub sentiment
- Brushed White cardstock
- Mirror Gold cardstock
Step 1: Foil the Joyful Glimmer Sentiment Plate and a Sub Sentiment from A Merry Little Christmas Sentiments in Gold Foil onto an A2 size piece of Brushed White Cardstock
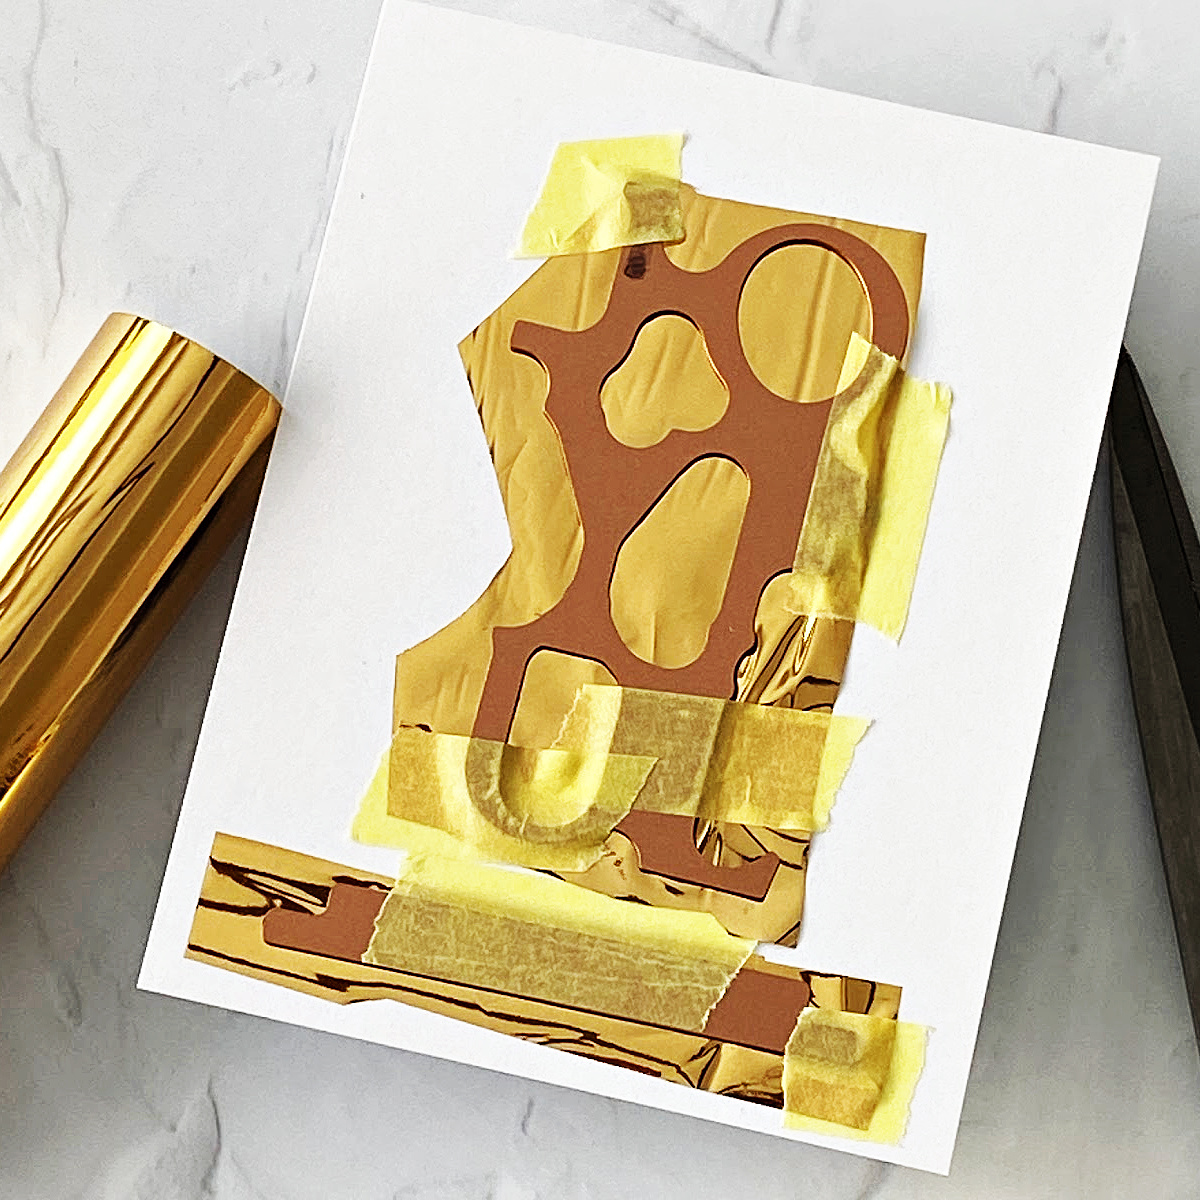
Tip: Mark the back of the upper left corner of both Joyful Glimmer plates with a black Sharpie or other alcohol marker to indicate the top of each plate This will make it easier to align the holly around the sentiment.

Tip: If your foiling isn’t perfect, use a standard art eraser (mine is from Prismacolor) to remove any stray foiling from brushed cardstock. A sand eraser, like the Tombow version, will remove some of the shine from the brushed cardstock.
Step 2: Foil the Holly Leaves in Black Foil
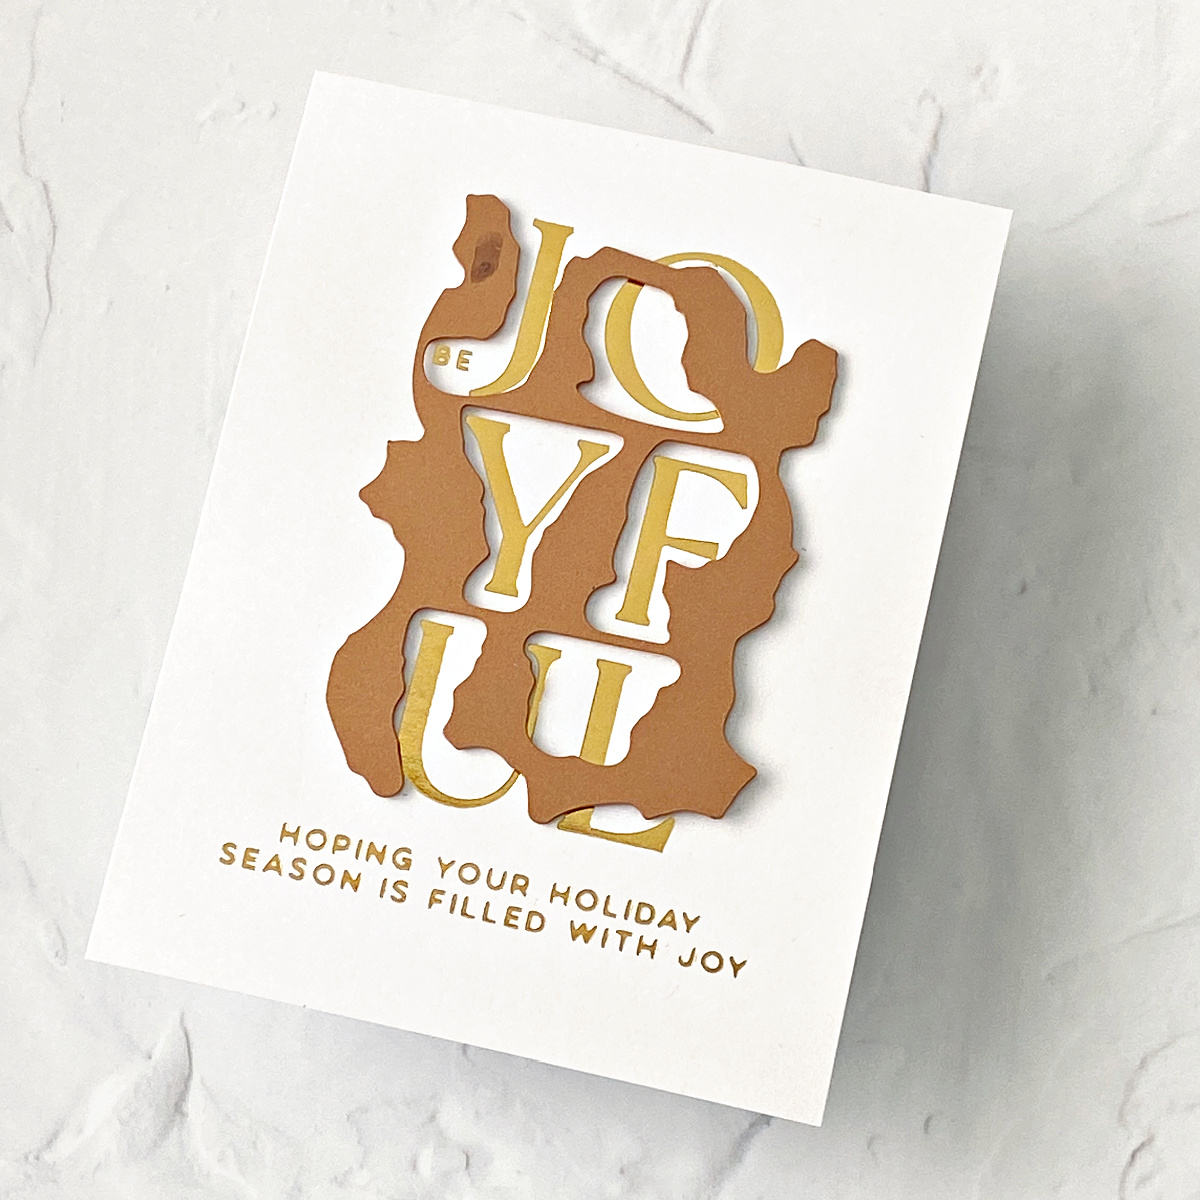
Use the hinge method to make sure the holly leaves are aligned with the sentiment. Great video here if you are unfamiliar with this method.
Step 3: Embroider the Holly Berries using a French Knot Stitch.
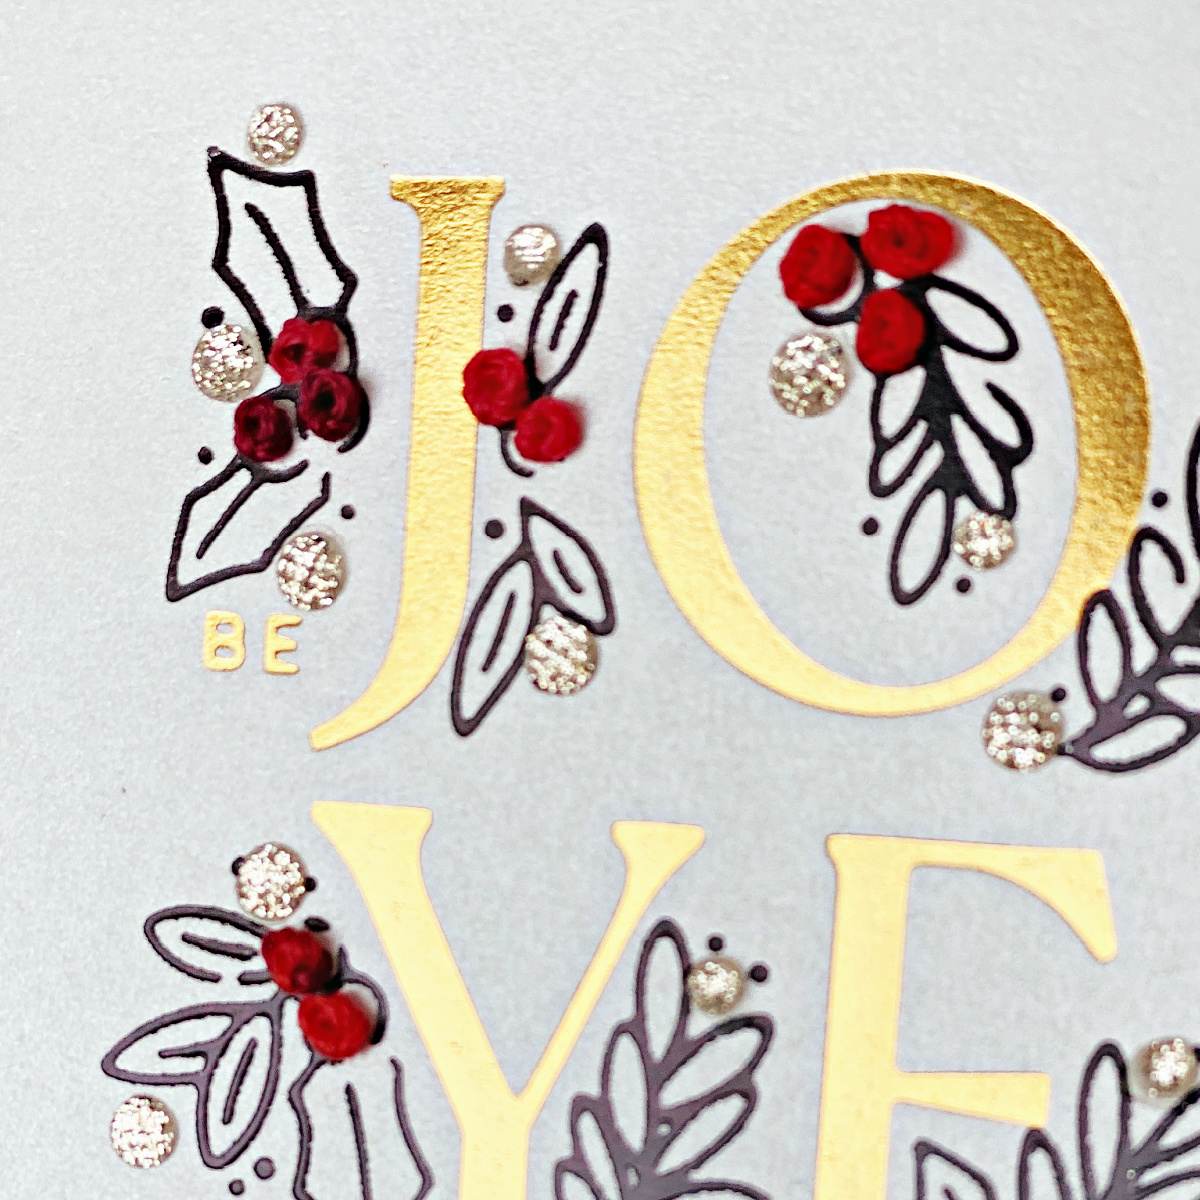
Poke holes in the center mark of each berry. You’ll need a piercing platform, like the Journey Piercing Mat, on which to place your paper so you can poke holes.
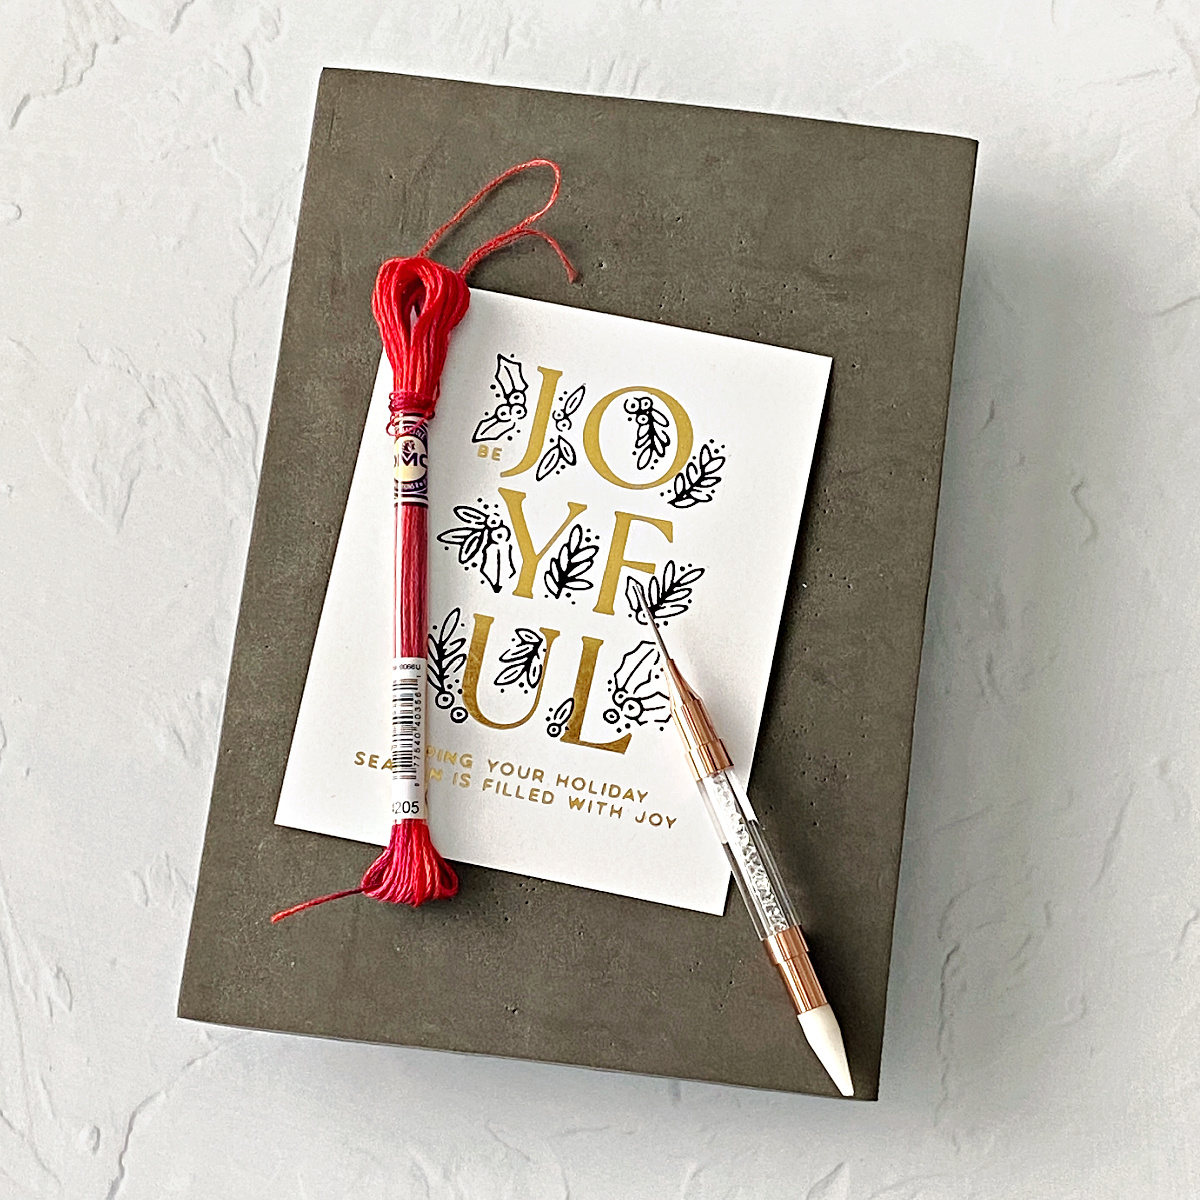
Use DMC Variegated Carnation embroidery floss and embroider a French knot in each spot. Yana Smakula demonstrates this (easy – as if I can do it, you can do it) stitch in this fantastic video. I used the full 6-strand width of the floss as it filled out the berries quite nicely. Love how they came out.
I found it next to impossible to get a good photo of the Brushed White cardstock, but I think this photo shows some of the built-in shine (glad I bought 2 packs…).
Step 4: Trim Panel, add Mirror Gold Cardstock and Embellishments, and Adhere to an A2 card.
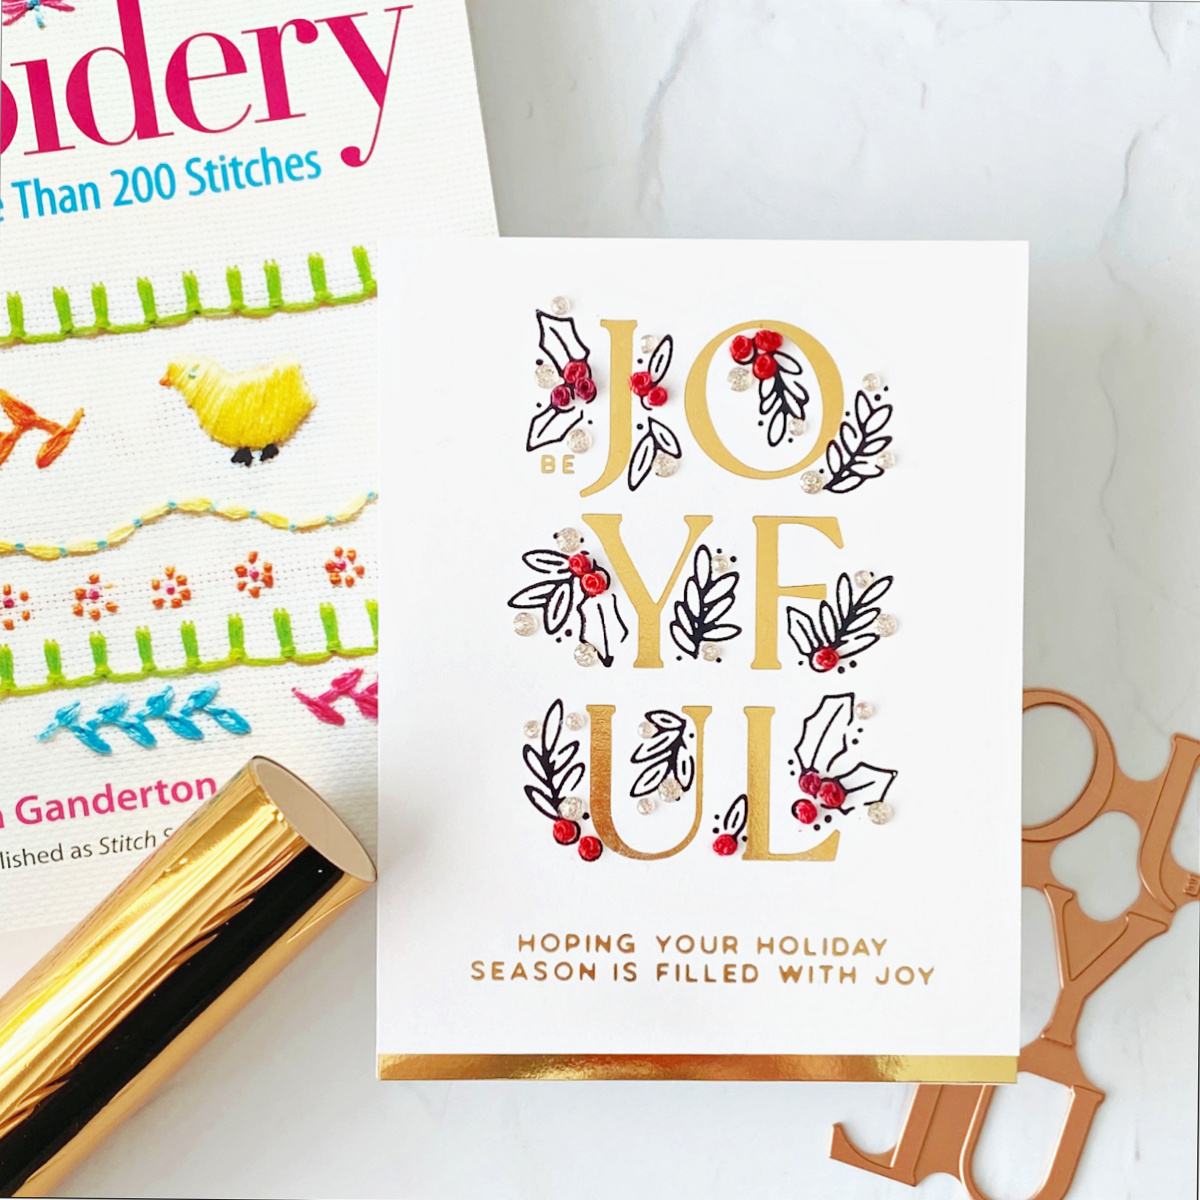
The rest of the card comes together quickly. Trim a ¼” off the bottom of the Brushed White panel, adhere a strip of Mirror Gold cardstock, and glue the panel to a white A2 card. Add some sparkly embellishments and do a happy dance!!
Elegant Brushed Black Cardstock
Black for Christmas? Yes, particularly when the cardstock has built-in shine! This card uses the following techniques/products to make it special:
- Strong contrast in colors – two bright colors of hot foil (Red and Citrine)
- A popped-up sub sentiment
- Brushed Black cardstock
- Shiny embellishments
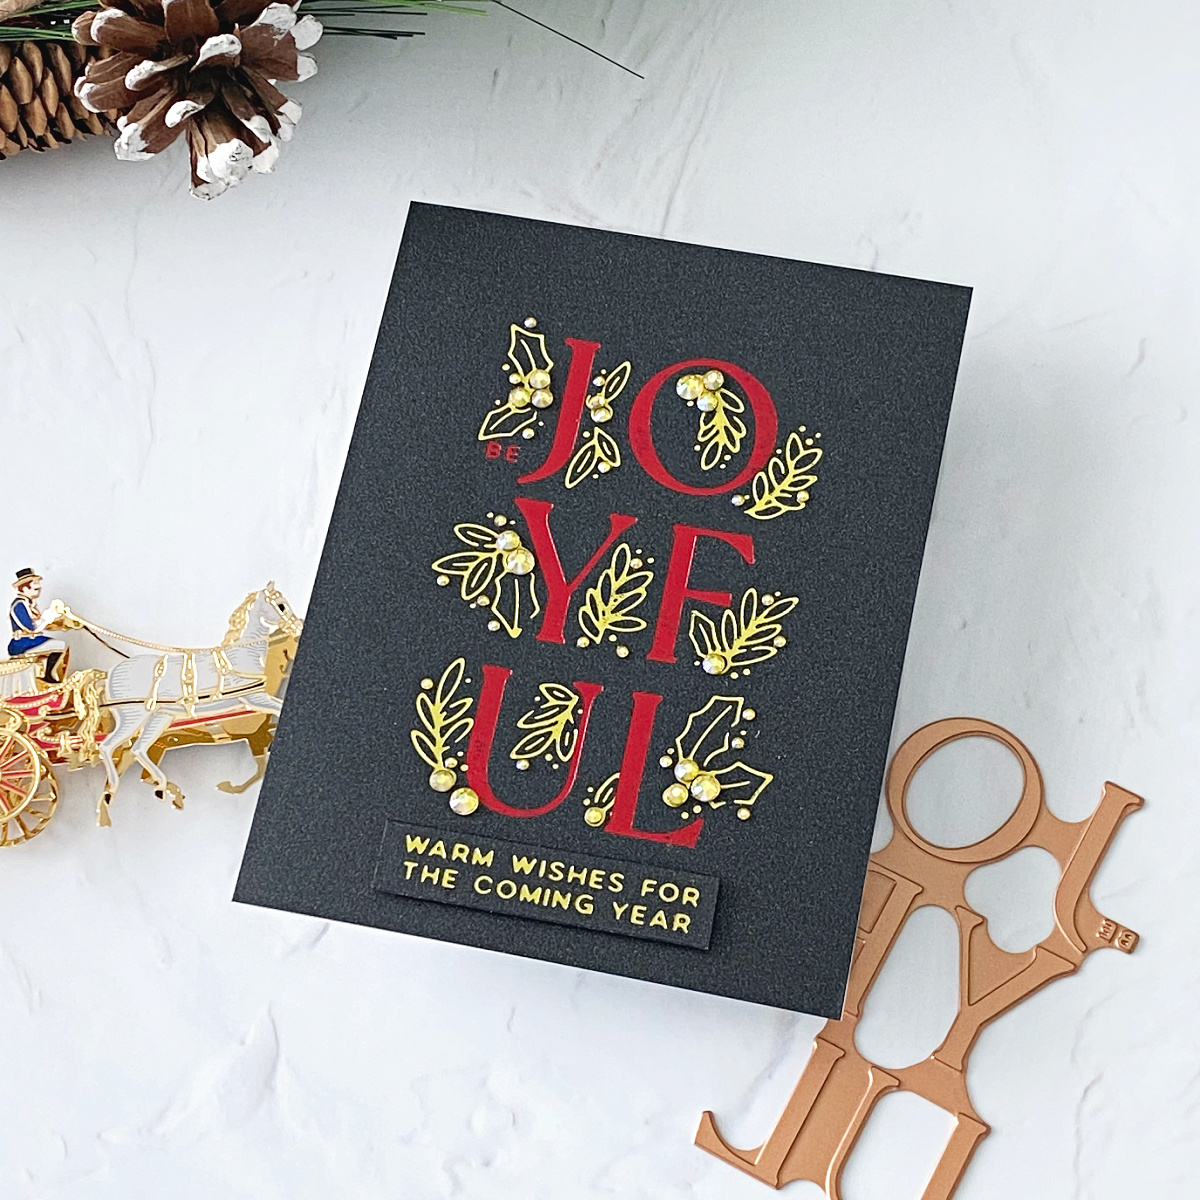
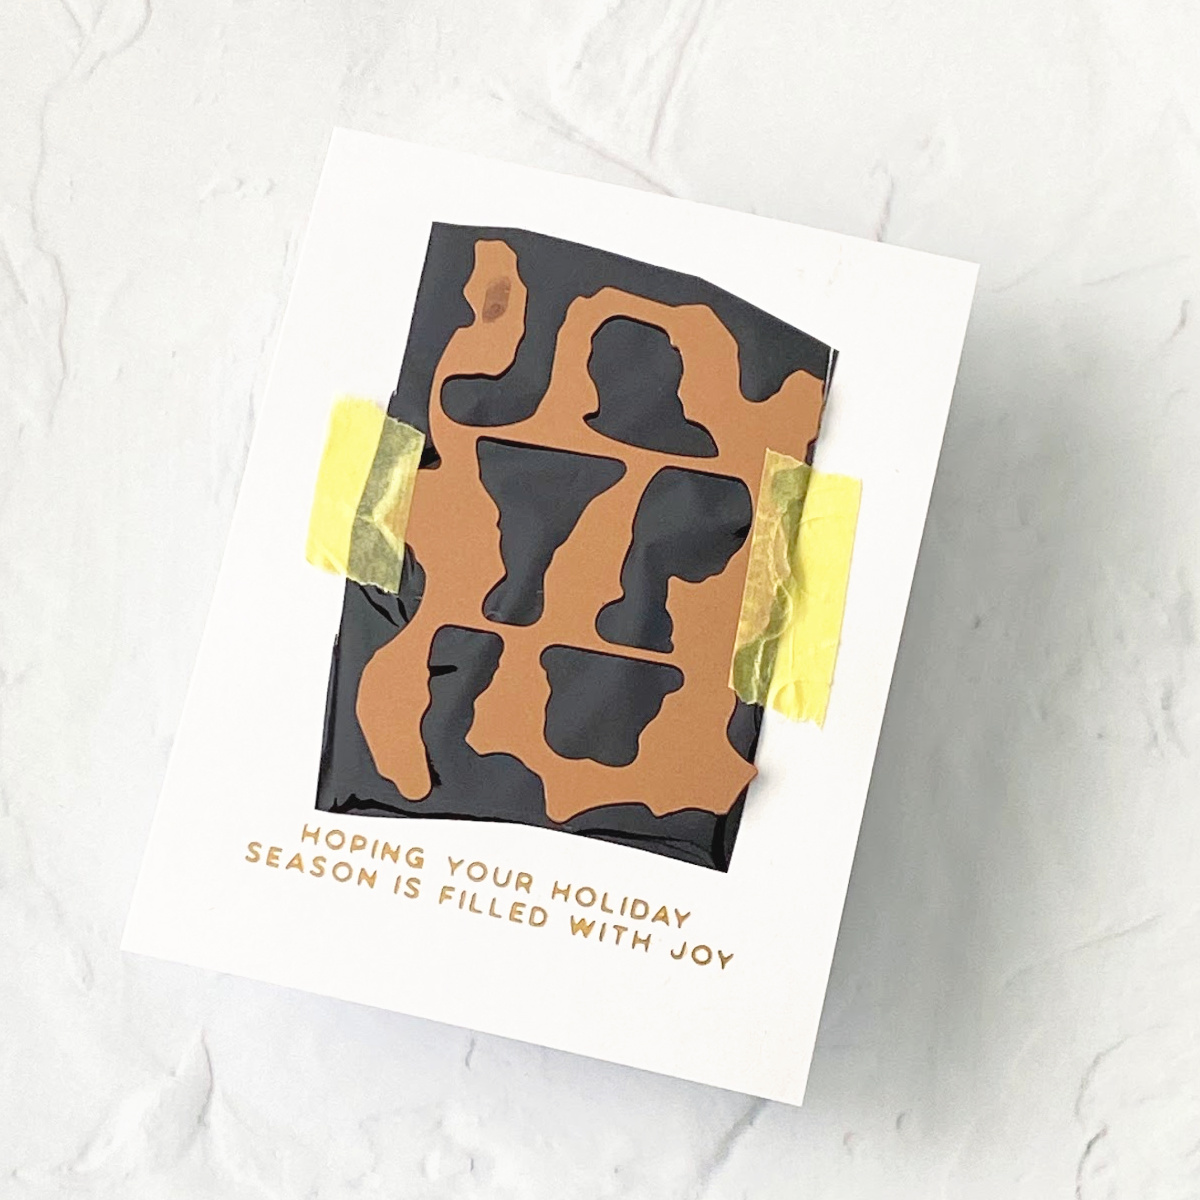
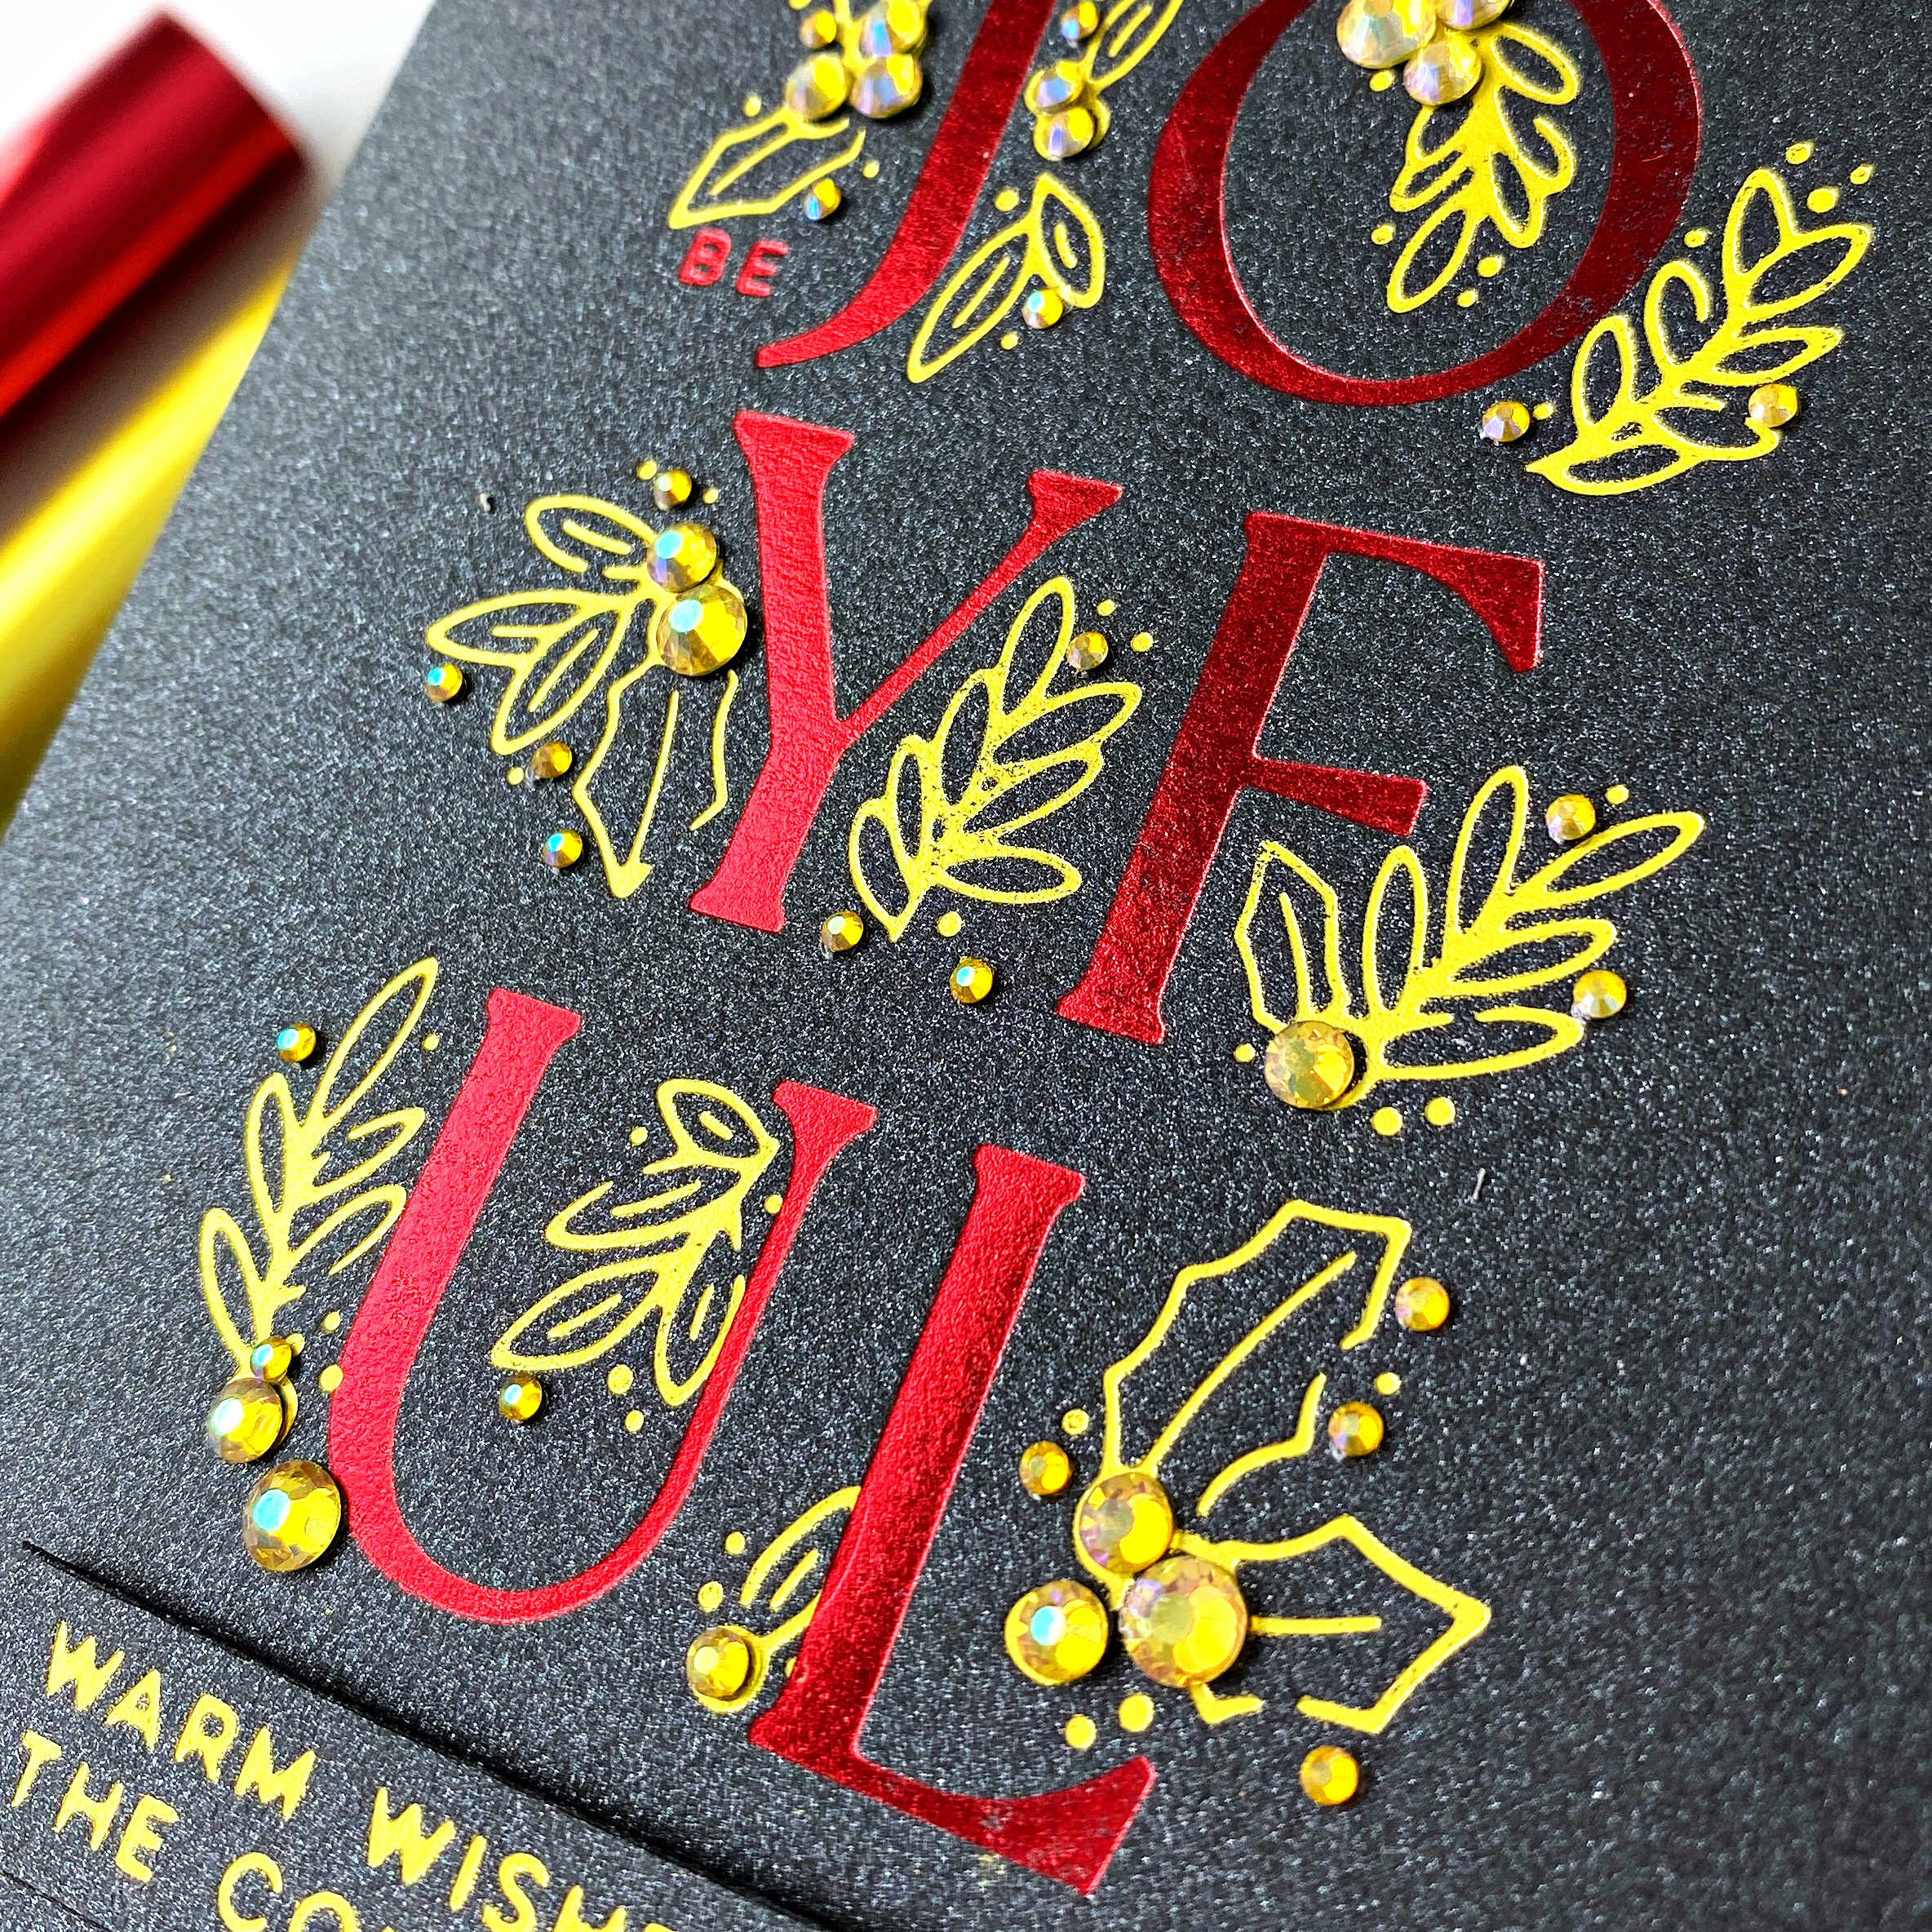
- Foil both Joyful Glimmer plates in Red and Citrine, onto Brushed Black Cardstock as shown.
- Foil the smaller sentiment from A Merry Little Christmas Sentiments onto Brushed Black Cardstock and die cut or trim.
- Add gems to match the Citrine foil (found in my stash) but red would work.
- Adhere sub sentiment.
- Adhere panel to a white A2 card.
- Take a bow!
Amazing what a change of color can do to a card! It’s hard to see in the photos, but the sub sentiment and the holly are foiled in Citrine foil, a light yellowish-green, rather than gold. It’s such a different, and fun look when paired with the Red.
Stenciled Background

This card uses the following techniques to add to the fun:
- Strong contrast in hot foil colors – (Magenta and Citrine)
- Side sentiment tucked vertically under the word “BE”
- Soft stenciled background
- Brushed White cardstock
- Die cut flowers
- Shiny embellishments
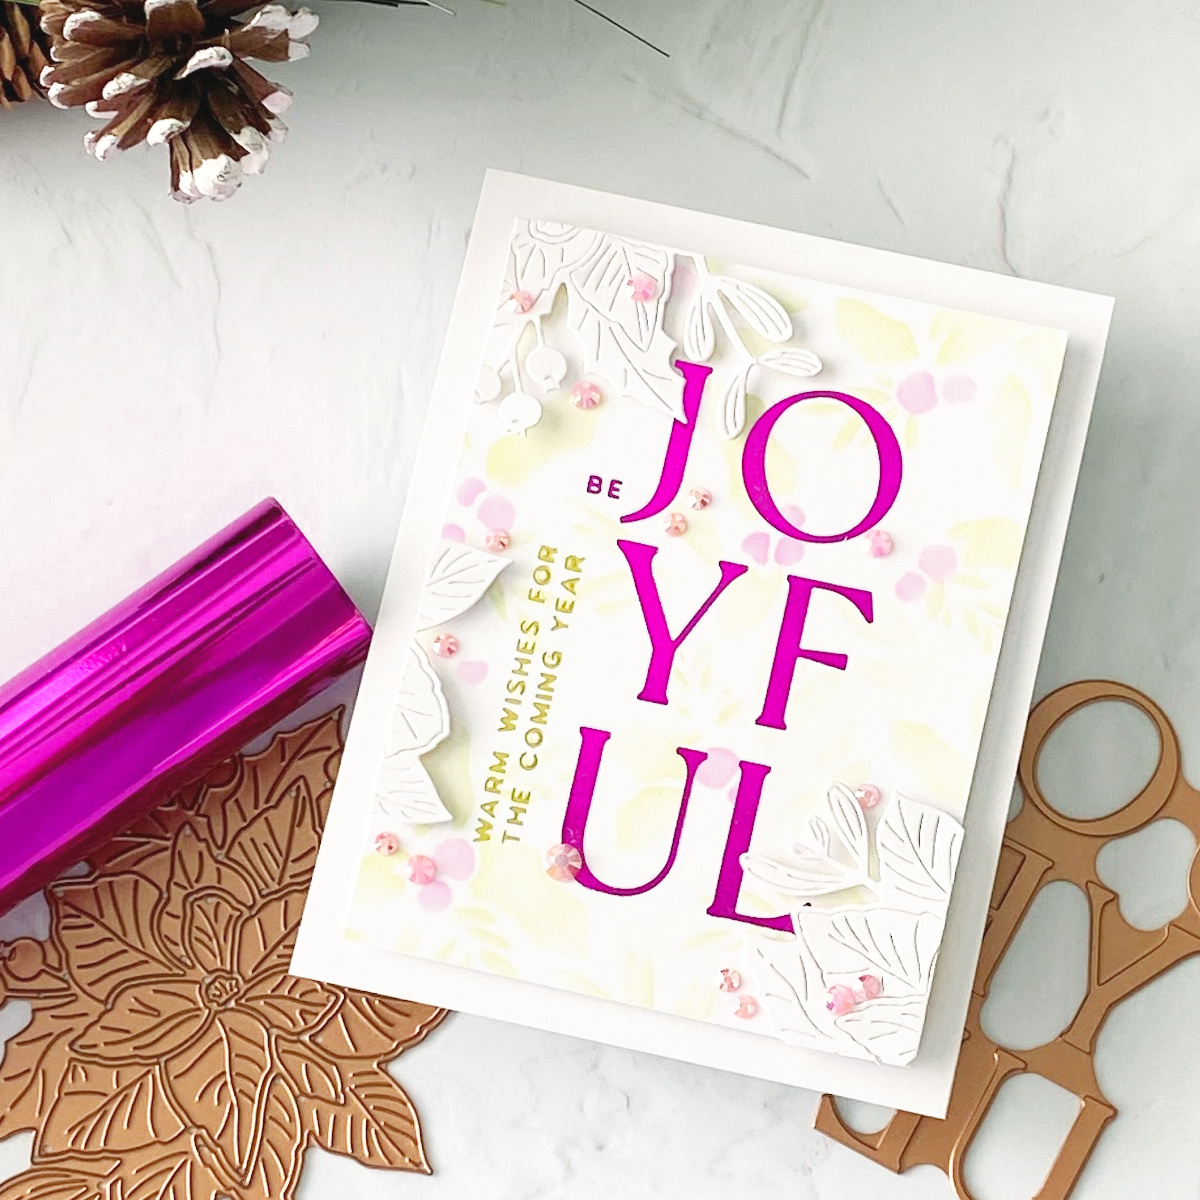
- Lightly stencil the background using Layered Glimmer Holly Background in soft pink and green inks.
- Hot foil the greetings in Magenta and Citrine. The spot under the “BE” is perfect for a vertical sub-sentiment.
- Trim the stenciled and hot-foiled panel.
- Die-cut Poinsettia Bloom with White Brushed Cardstock.
- Trim the die-cut flowers and add with foam tape to the panel.
- Add the panel to an A2 card with more foam tape.
Tip: Use a thin cardboard envelope mailer or a foam mailer (I buy both in bulk) to mail cards with embellishments or dimensions. It will cost more (currently an .87 stamp in the US) but I think it is worth it to preserve all our hard work.
Thanks so much for checking out this post and thank you to Spellbinders! I would love to see anything you make with this fantastic collection, so feel free to tag me on my Instagram account. I’m Dear Paperlicious if you are looking for me.
Spellbinders Supplies:

Other Supplies
Paper trimmer; embellishments; foam mat; scissors, eraser.

February 2021 Small Die of the Month Is Here – Trefoil Tile & Panel Card Creator
Sealed for Summer Trio with Marie Nicole