Easy and Fun Handmade Advent Calendar with Kraft Pop & Lock Boxes
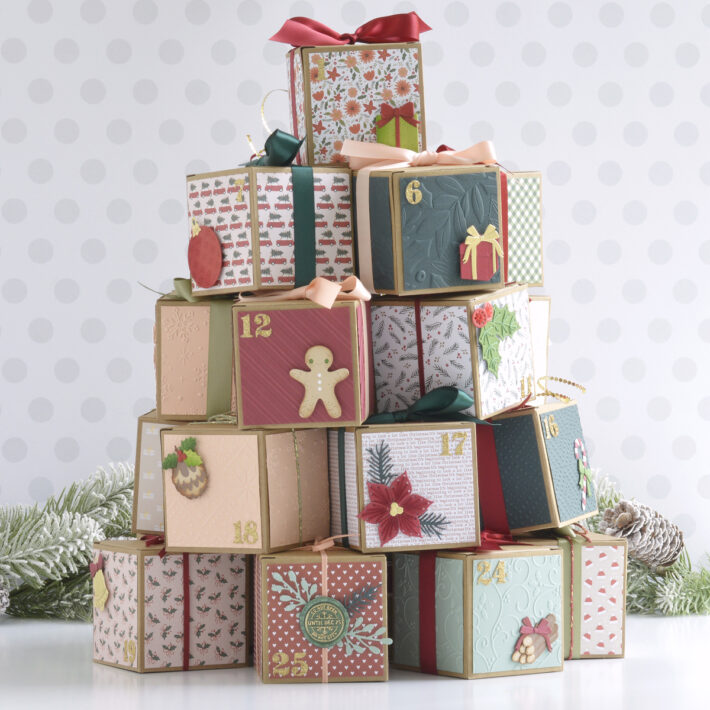
Hi there, this is Annie Williams and I’m excited to be back on the blog today to share a fun handmade advent calendar made with Kraft Pop & Lock Boxes. These versatile boxes are easy to decorate and the perfect size for a little gift…so why not customize and give twenty-five of them to someone who deserves a fun surprise every day until Christmas!
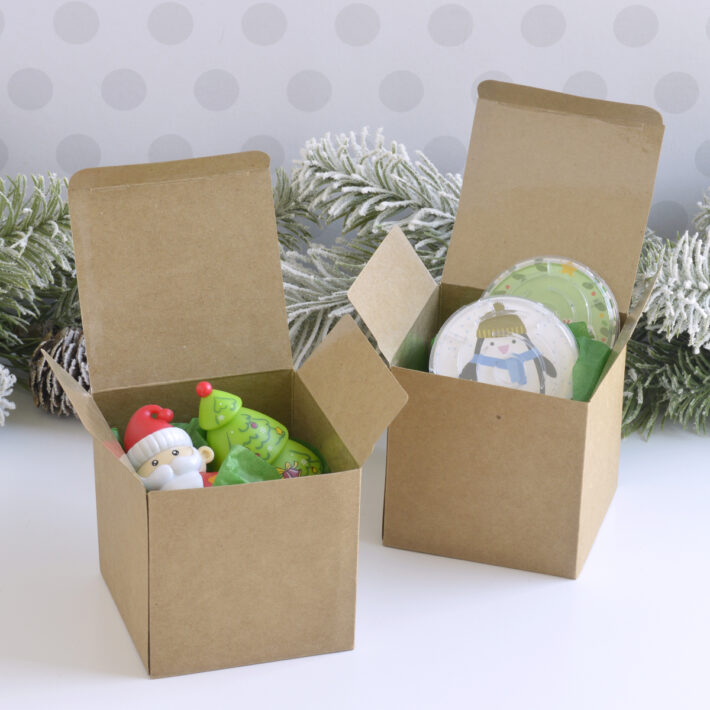
I started by assembling all twenty-five boxes. Just as the name suggests, the boxes pop and lock into place very easily! Each box measures about 3” x 3” x 3”, plenty big enough for something like an average-sized ornament. I’m making this advent calendar for my kids using small games and trinkets, so I added a base of green tissue paper first to fill the space in the box.
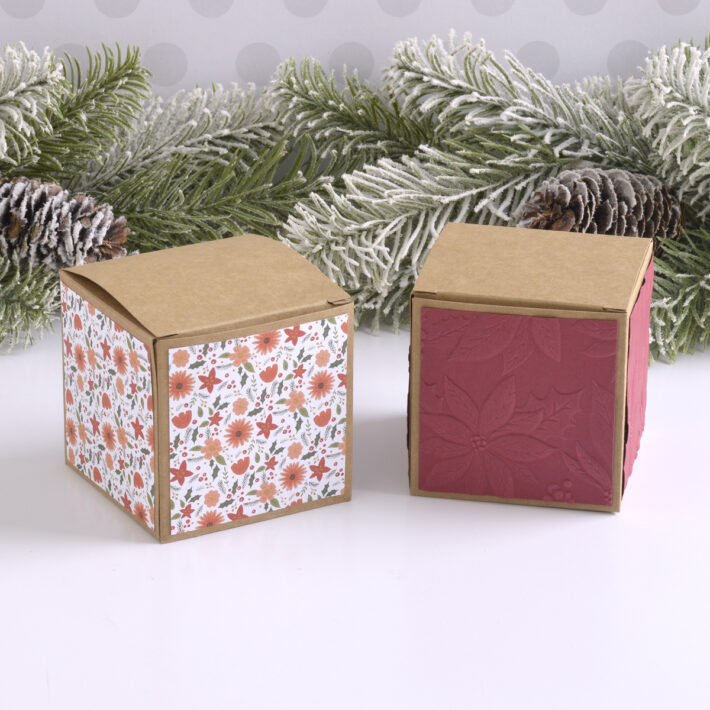
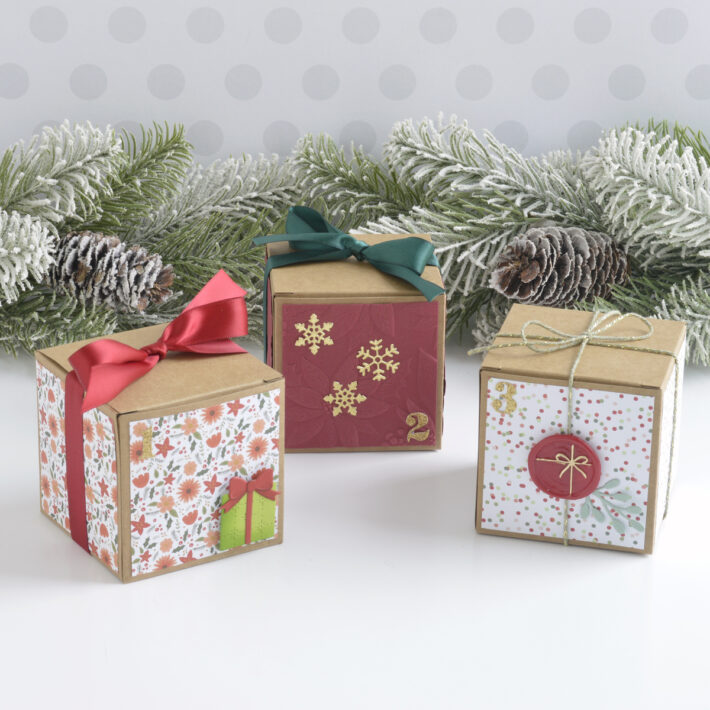
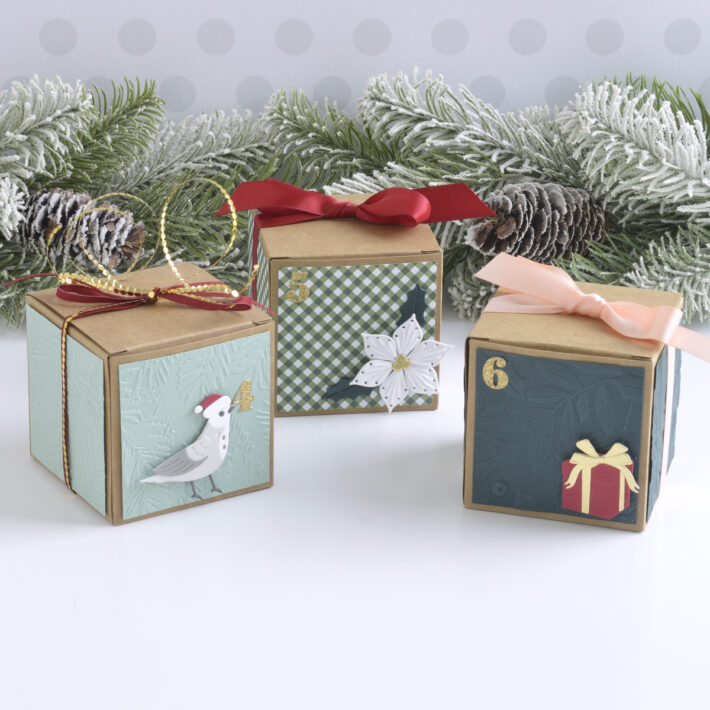
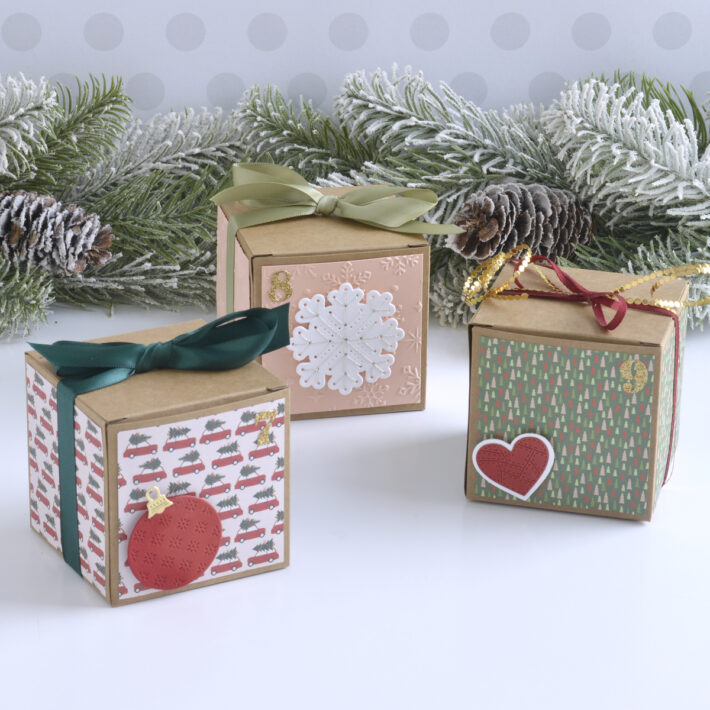
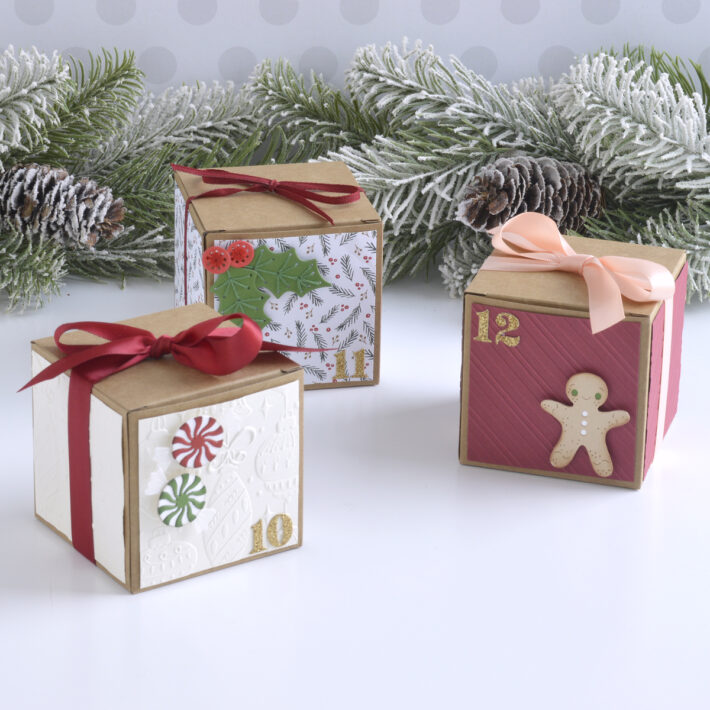
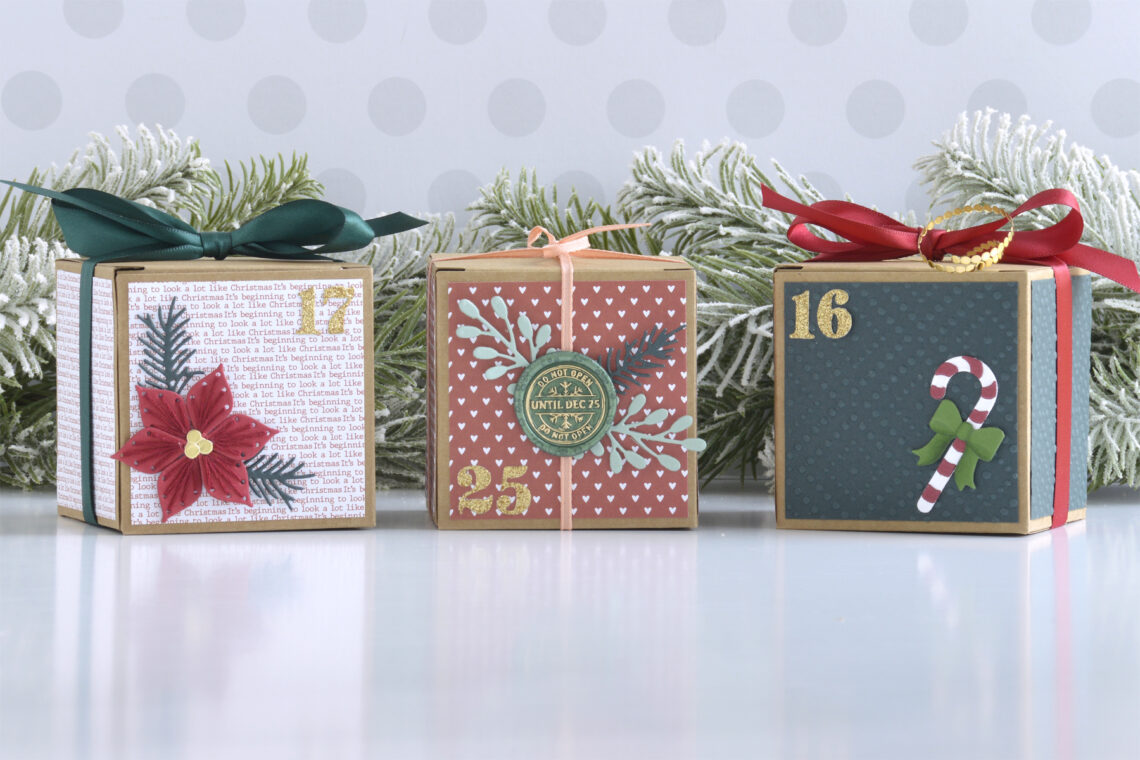
Next, I added panels of either patterned paper or embossed cardstock to the sides of the box, leaving the top and bottom bare. Trim four panels of paper or embossed cardstock to 2.75” square for each box and adhere with liquid glue. This size will leave a small border on each side that helps keep all of the boxes looking neat and tidy. I alternated patterned paper from the Make It Merry Paper Pad and five different colors of cardstock (Forest, Crimson, Sage, Peach Sorbet, and Alabaster) for each day of the countdown.
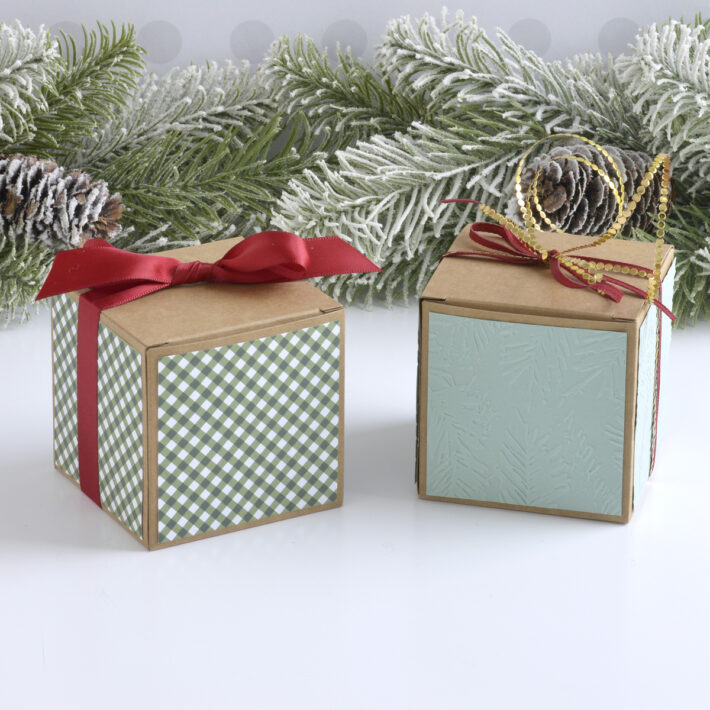
Once all of the boxes had received their colorful panels, I started to work on tying them shut with some of the beautiful ribbons in the Spellbinders shop. I tried to choose a color and type of ribbon that would contrast the paper or cardstock panels nicely on each box. Vivant Double Faced Satin Ribbon in Dark Green, Green Gold, Salmon, and Warm Red along with Texture Narrow Ribbon in Sage Green, Salmon, and Bordeaux match the colors in the Make It Merry Paper Pad very nicely.
Lastly, I started to decorate each box with a fun Christmas icon and the countdown day number. The numbers were all cut out of Gold Glitter Cardstock using the Be Bold Lowercase Alphabet & Numbers Die Set. or Days 1, 2, and 3, I added a gift box cut with the Christmas Wonder Die Set, snowflakes cut with the Christmas Wreath Add-Ons Die Set (atop a panel embossed with the Scenic Poinsettias Embossing Folder), and a wax seal pressed with the Gift Bow Wax Seal Stamp.
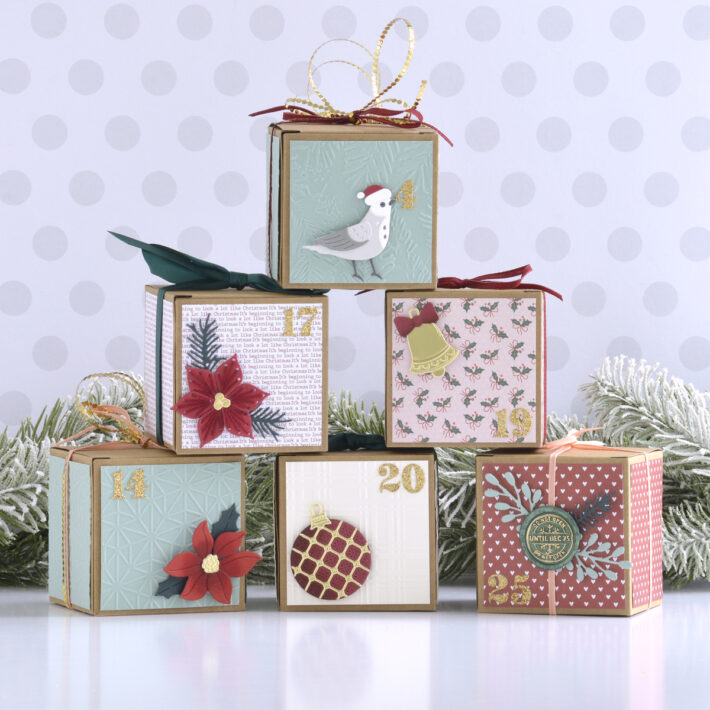
Day 4 features the adorable turtledove from the Christmas Bird Poinsettia Die Set holding the number in his beak on top of a panel embossed with the In The Pines Embossing Folder, while days 5 and 6 were created using the Stitched Poinsettia & Holly Die Set and Seasonal Décor Die Set.
A simple ornament from the Christmas Wonder Die Set, snowflake from the Stitched Sweater Die Set, and patchwork heart from the Seasonal Décor Die Set adorn the boxes for days 7, 8, and 9.
Sweet peppermints and a gingerbread man from the Christmas Wonder Die Set and some holly leaves from the Stitched Poinsettia & Holly Die Set were perfect for days 10, 11, and 12. Panels were embossed with the Vintage Ornaments and Peppermint Stripes Embossing Folders.
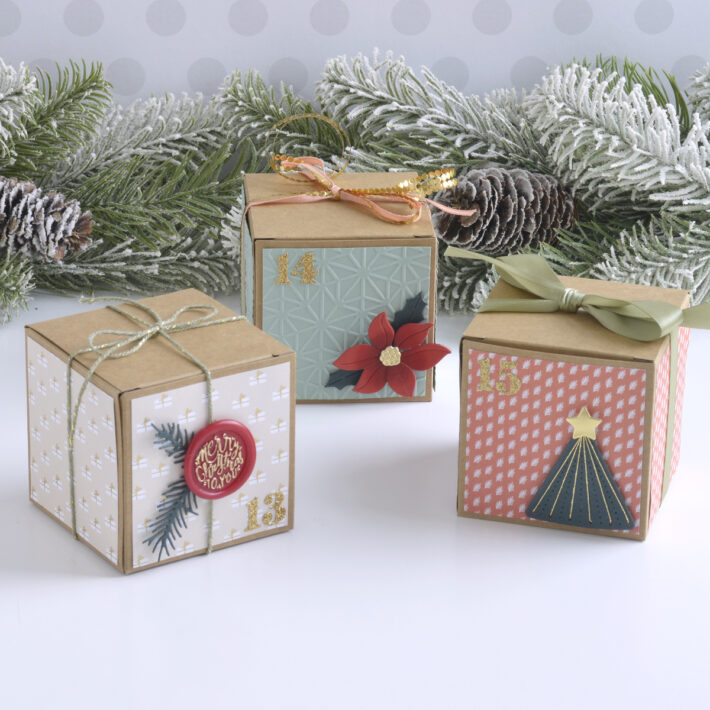
If you stack the boxes in a 5 x 5 configuration, Day 13 will be right in the center so I thought another wax seal would be great here. I pressed red wax beads with the Merry Christmas To You Wax Seal Stamp for this one. The poinsettia from the Christmas Wonder Die Set and tree from the Stitched Christmas Sweater Die Set worked great for days 14 and 15.
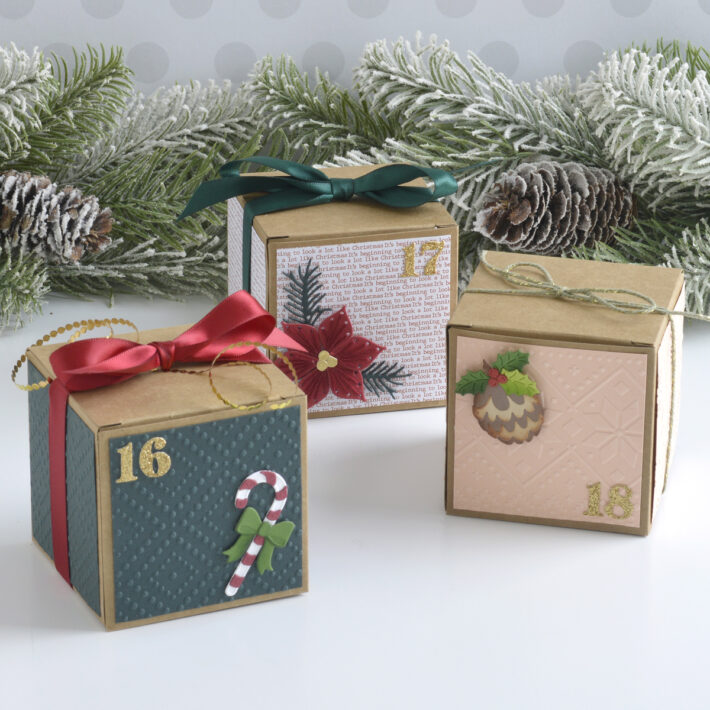
Days 16 and 18 are decorated with a cute candy cane and pine cone from the Christmas Wonder Die Set, while day 17 features another pretty poinsettia from the Stitched Poinsettia & Holly Die Set.
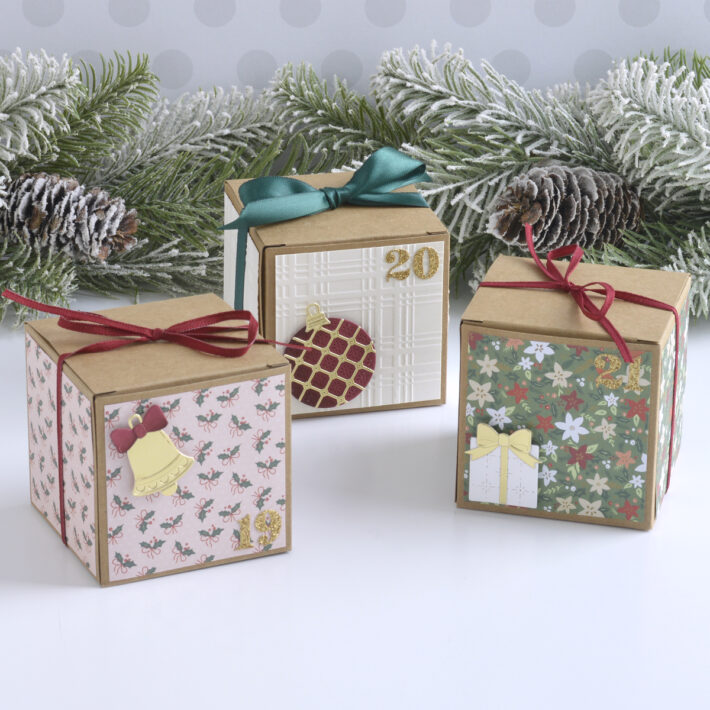
The next three boxes all use icons from the Christmas Wonder Die Set…if I had to pick just one die set to use for the entire calendar, this would be it because there are so many options in it!
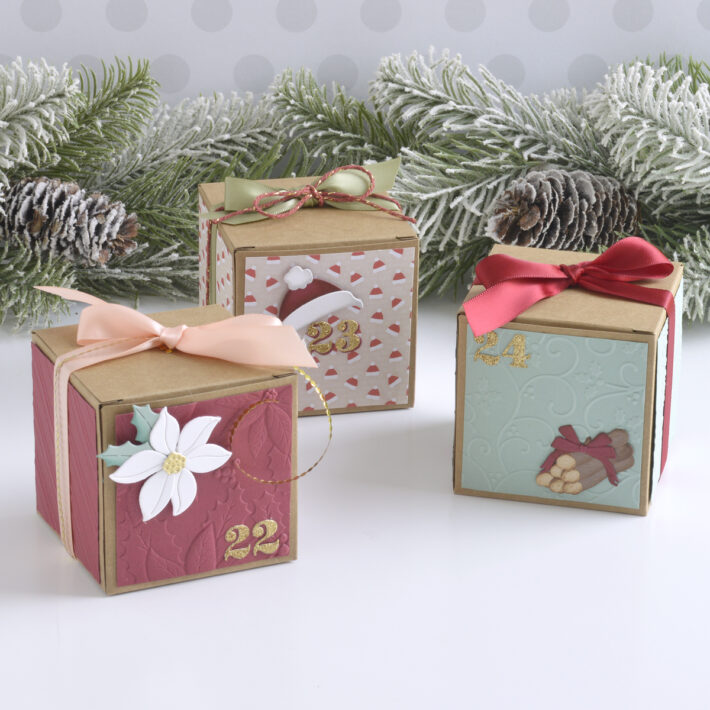
I thought it would be so cute to match the patterned paper on box 23 with the hat from the Dancin’ Gingerbread Die Set, so I tucked the number under the brim for this one. Day 24 features a festive stack of logs from the Seasonal Décor Die Set atop a panel embossed with the Holly Flourish Embossing Folder.
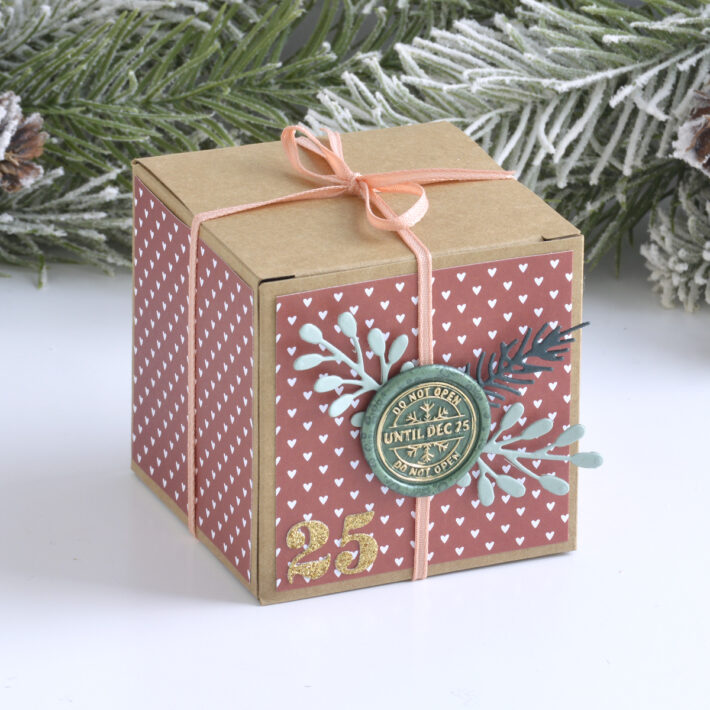
Last, but not least, I simply had to use the Do Not Open Wax Seal Stamp for Day 25. I tied the box up with Salmon Texture Narrow Ribbon and tucked some wintery sprigs from the Christmas Bird Poinsettia Die Set underneath the pretty seal to finish up this fun holiday countdown. Now you can choose to stack the boxes up like a pyramid or Christmas tree, line them up down the length of a table or mantle, or just hand deliver each one daily to a loved one!
Spellbinders Supplies:

Other supplies
White heavyweight cardstock, various Distress Inks, sponge daubers, tape runner, foam adhesive
I hope you enjoyed fun handmade advent calendar and thanks so much for stopping by today. You can find more inspiration over at my blog AnnieBWills.com or on Instagram.

