Exploring Modeling Paste and White Glitter Magic
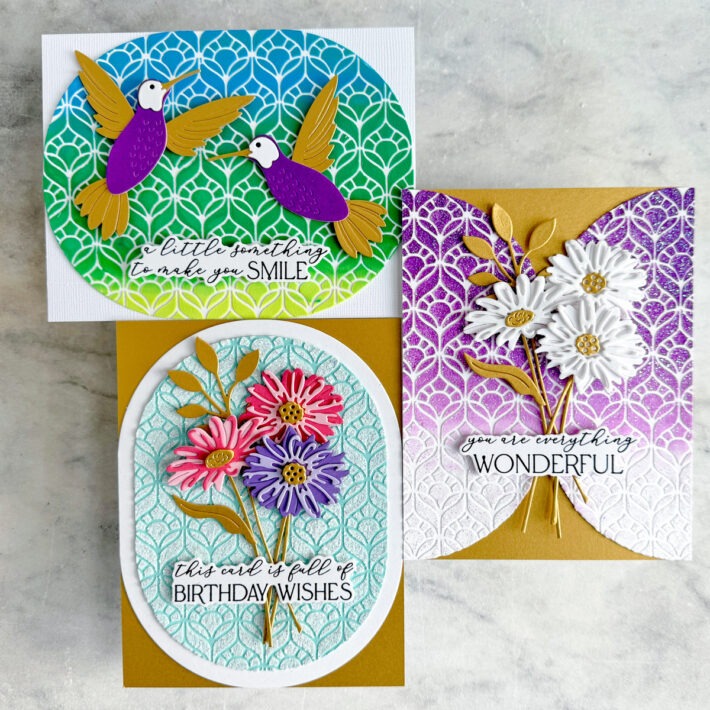
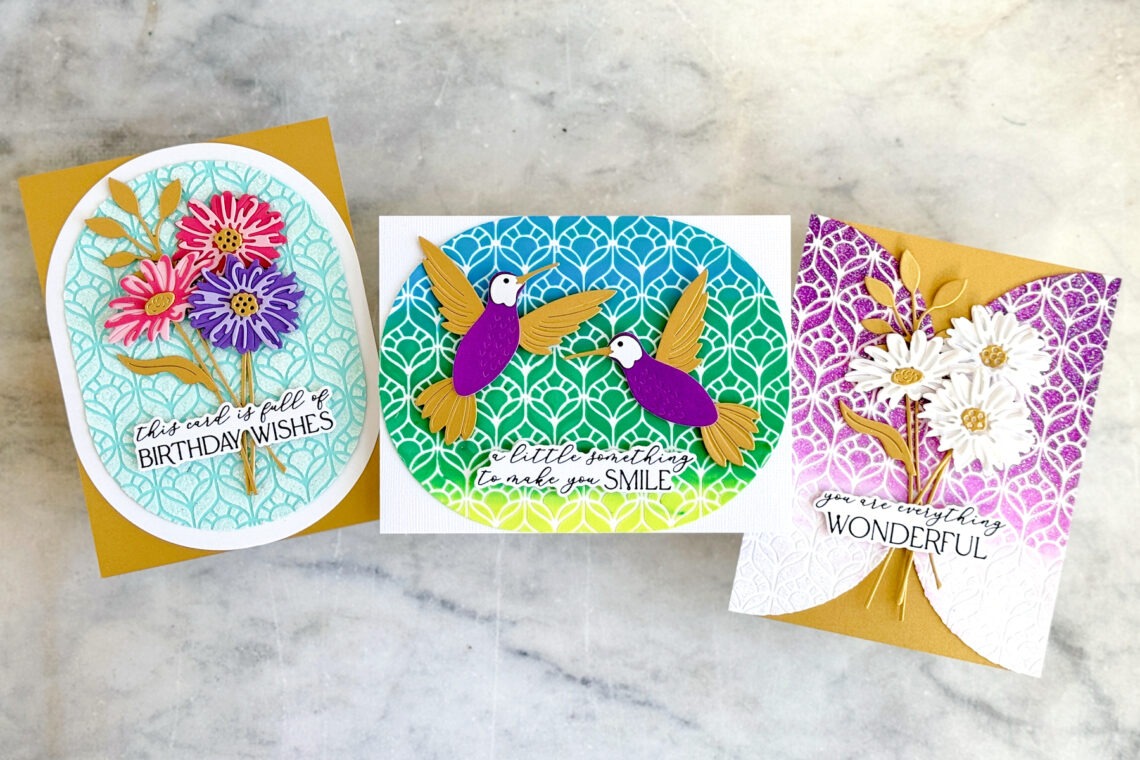
Hello! Jean Manis here to share inspiration for impactful stenciled card backgrounds using the Light & Fluffy Modeling Paste and Baby Baubs White Glitter. Let’s take a look at the transformative magic of modeling paste on three cards–from the elegant sparkle of glitter-infused paste to a mesmerizing ombré effect and finally to the impact of blended watercolor hues.
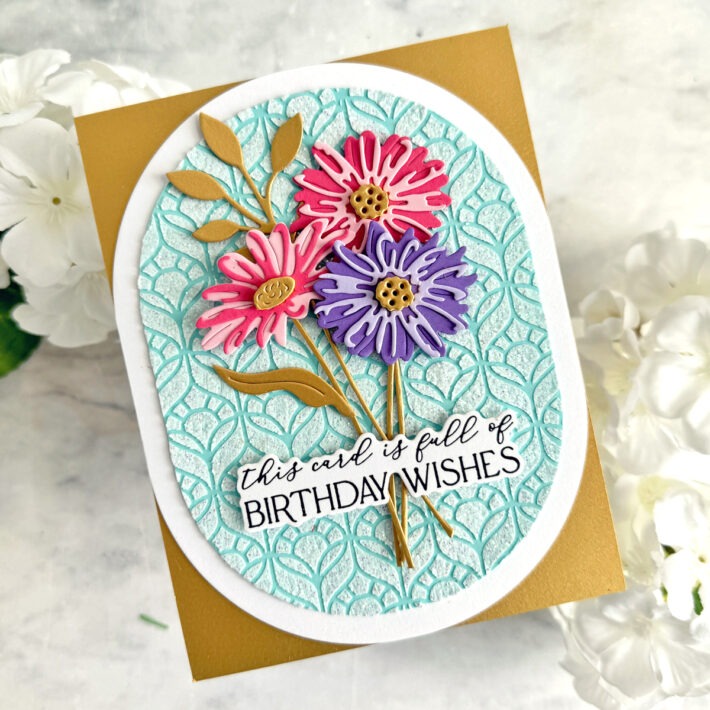
Modeling Paste and White Glitter
For subtle, understated shimmer on a stenciled background, add white glitter to modeling paste. The reflective properties of the glitter enhance the overall visual appeal and create a captivating finish.
- Create an A2-size card base from Brushed Gold
- Mix the Baby Baubs White Glitter in with the Light & Fluffy Modeling Paste before applying the mixture through the Kaleidoscope Window stencil onto a Teal Topaz cardstock oval, that has been cut with the largest die in the Essential Stylish Ovals The Baby Baubs White Glitter is a transparent white with pale pink and lavender iridescence. Set stenciled oval aside to dry.
- With the largest die in the Essential Stylish Ovals set, cut an oval mat from Snowdrift Once the stenciled panel is dry, add to the mat and add the assembly to the card base.
- Cut the focal elements with the Floral Stems die set from Dahlia, Pink Sand, Lilac Blossom, Purple Mist, and Brushed Gold Assemble flowers and stems.
- Letterpress the sentiment in the You Are Everything Sentiments set on to Snowdrift cardstock in black ink (included in the BetterPress Letterpress System). Cut with coordinating die.
- Add elements to the card base using glue and foam adhesive.
Lesson learned: On my first attempt (not shown), I stenciled the paste through the stencil onto Chamomile (light-yellow) cardstock, shook the glitter on the top, and set it aside to dry. The lavender iridescence in the glitter really stood out, and there was not enough contrast with the light-yellow cardstock to see the stencil pattern.
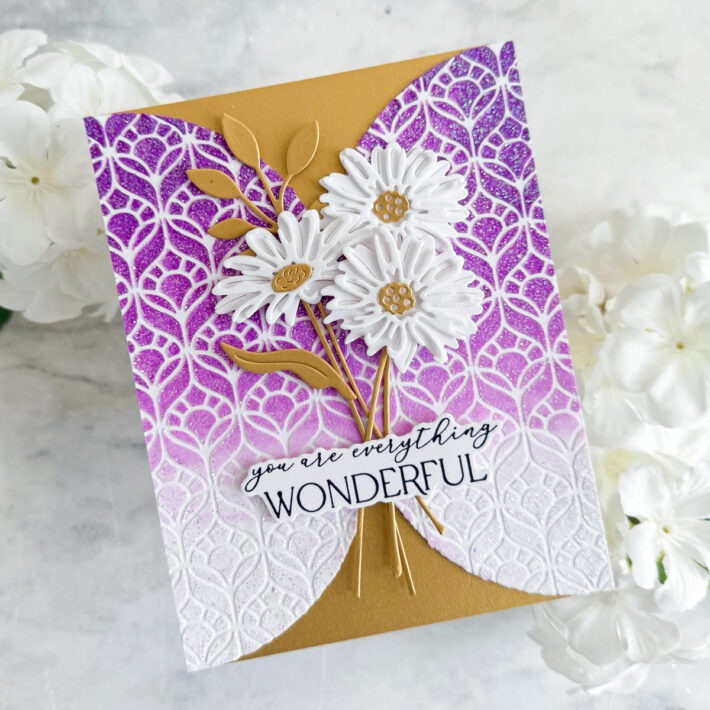
Ombré Modeling Paste and Watercolor Powder
The ombré effect achieved through a gradient application of watercolor-infused glitter paste creates a harmonious backdrop for die-cut flowers.
- Create an A2-size card base from Brushed Gold
- Cut an oval from Snowdrift cardstock with the largest die in the Essential Stylish Ovals Cut the oval into two pieces through the long center, rotate one of the pieces, and tape together from behind. Mix the Baby Baubs White Glitter in with the Light & Fluffy Modeling Paste. Add Wisteria ColorSparx® powder to half of the paste. Apply the colored glitter paste through the Kaleidoscope Window stencil on the top and the white glitter paste to the bottom. Blend the two glitter pastes in the center for an ombré effect. Set aside to dry. Once dry, add to card base.
- Cut the focal elements with the Floral Stems die set from Snowdrift, White Glitter Foam (glitter side down), and Brushed Gold Assemble flowers and stems.
- Letterpress the sentiment in the You Are Everything Sentiments set on to Snowdrift cardstock in black ink (included in the BetterPress Letterpress System). Cut with coordinating die.
- Add elements to card base using glue and foam adhesive.
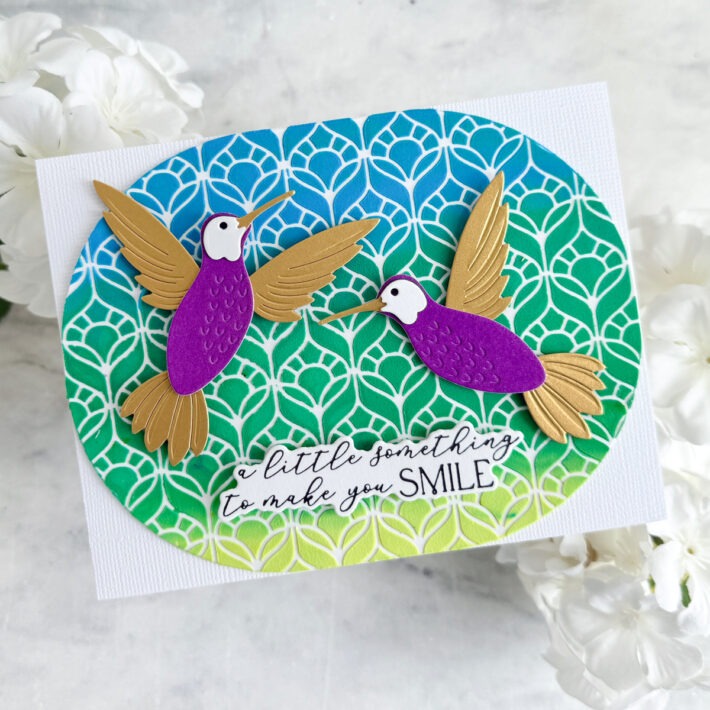
Complement a card’s focal items with a fusion of three colors created with watercolor powders mixed with modeling paste.
- Create an A2-size card base from textured white cardstock.
- Cut an oval from Snowdrift cardstock with the largest die in the Essential Stylish Ovals Affix the Kaleidoscope Window stencil over the oval. Place two dollops of the Light & Fluffy Modeling Paste onto a craft mat. Add Cerulean Blue ColorSparx® powder to one of the dollops and Chartreuse ColorSparx® powder to the other (the powders are in the Poolside set). Mix portions of the two colors to create a third color. Using a squeegee-like tool, pull the three colors horizontally across the stencil. Repeat as necessary for full coverage. Set aside to dry. Once dry, add to card base.
- With dies in the Delicate Floral Hummingbird set, cut pieces to create the hummingbirds from Snowdrift, Onyx, Brushed Gold, and cardstock that has been watercolored with Wisteria ColorSparx® powder. Assemble.
- Letterpress the sentiment in the You Are Everything Sentiments set on to Snowdrift cardstock in black ink (included in the BetterPress Letterpress System). Cut with coordinating die.
- Add elements to card base with foam adhesive.
Spellbinders Supplies:

Additional Supplies: Textured white cardstock card base
Thanks for dropping by! I hope you are inspired to play with the Light & Fluffy Modeling Paste and Baby Baubs White Glitter to create your own stunning stenciled backgrounds. Happy crafting!

