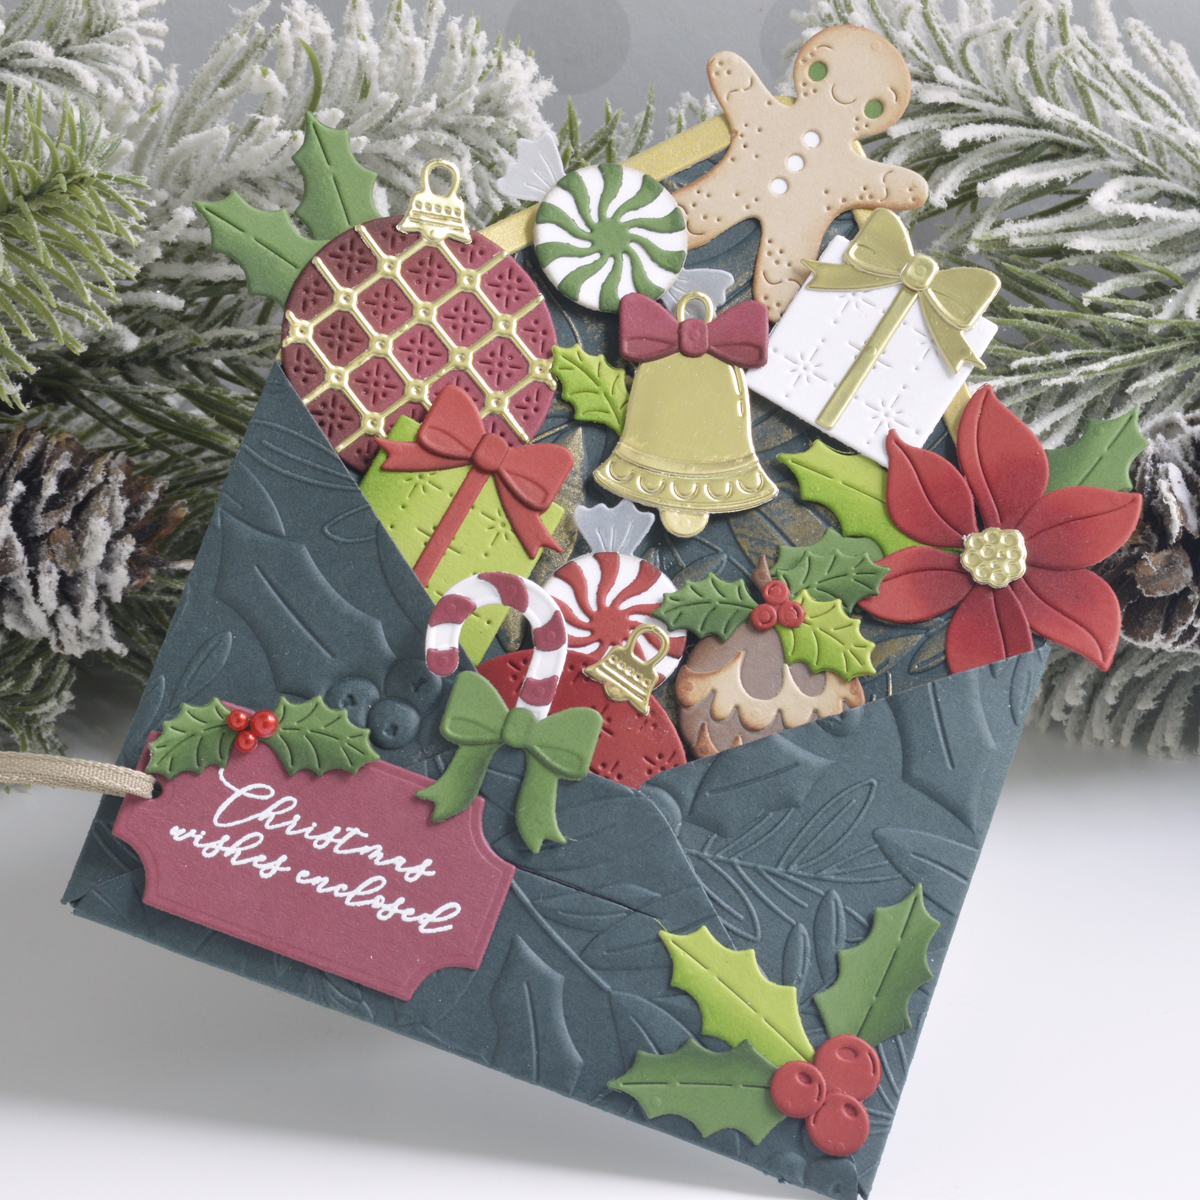
Christmas Envelope of Wonder Card Tutorial
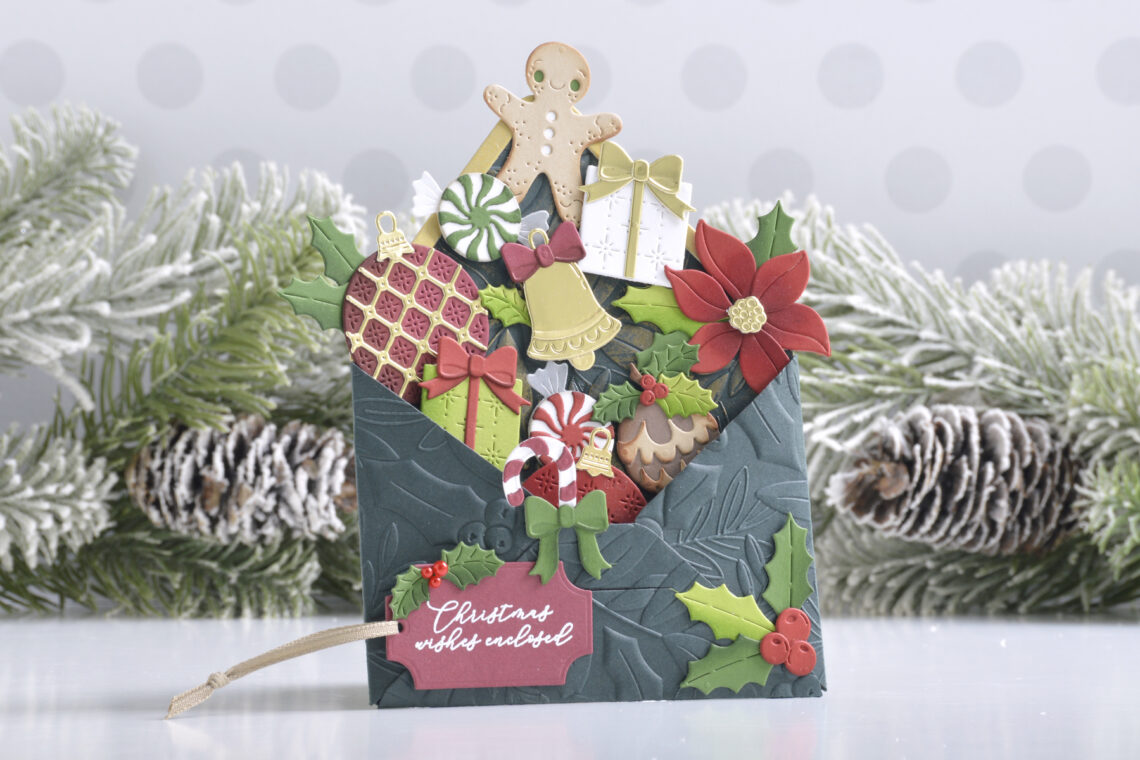
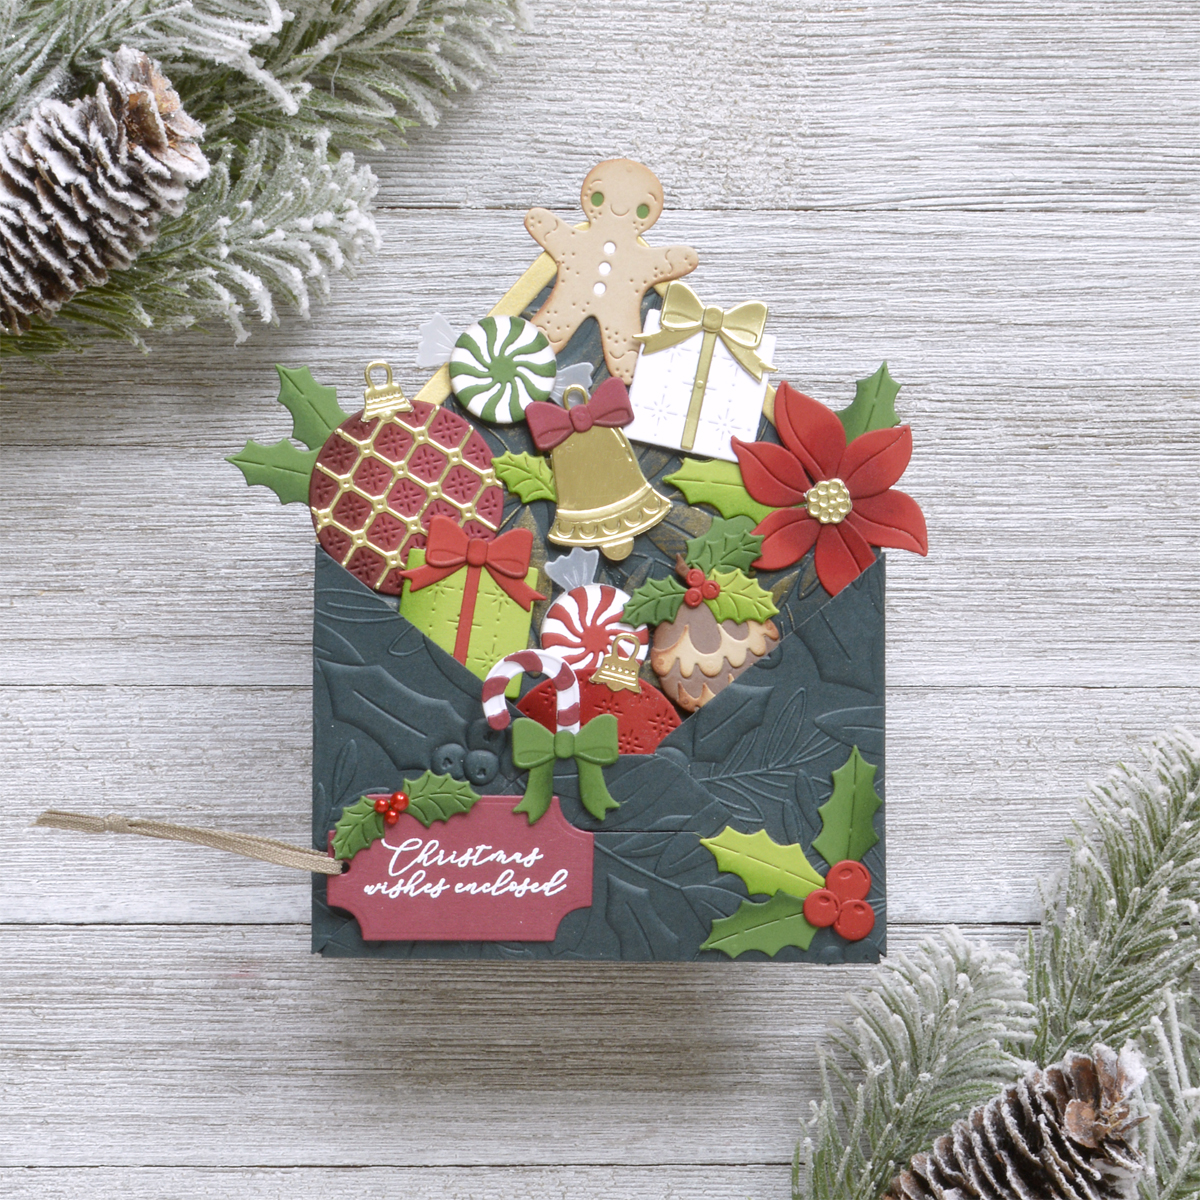
Hi there, this is Annie Williams and I’m excited to be back on the blog today to share how I created this fun Christmas envelope card using the new Envelope of Wonder Collection from Spellbinders. I love the idea of stuffing a big envelope full of festive elements and thought it would be fun to add some details to the envelope itself as well.
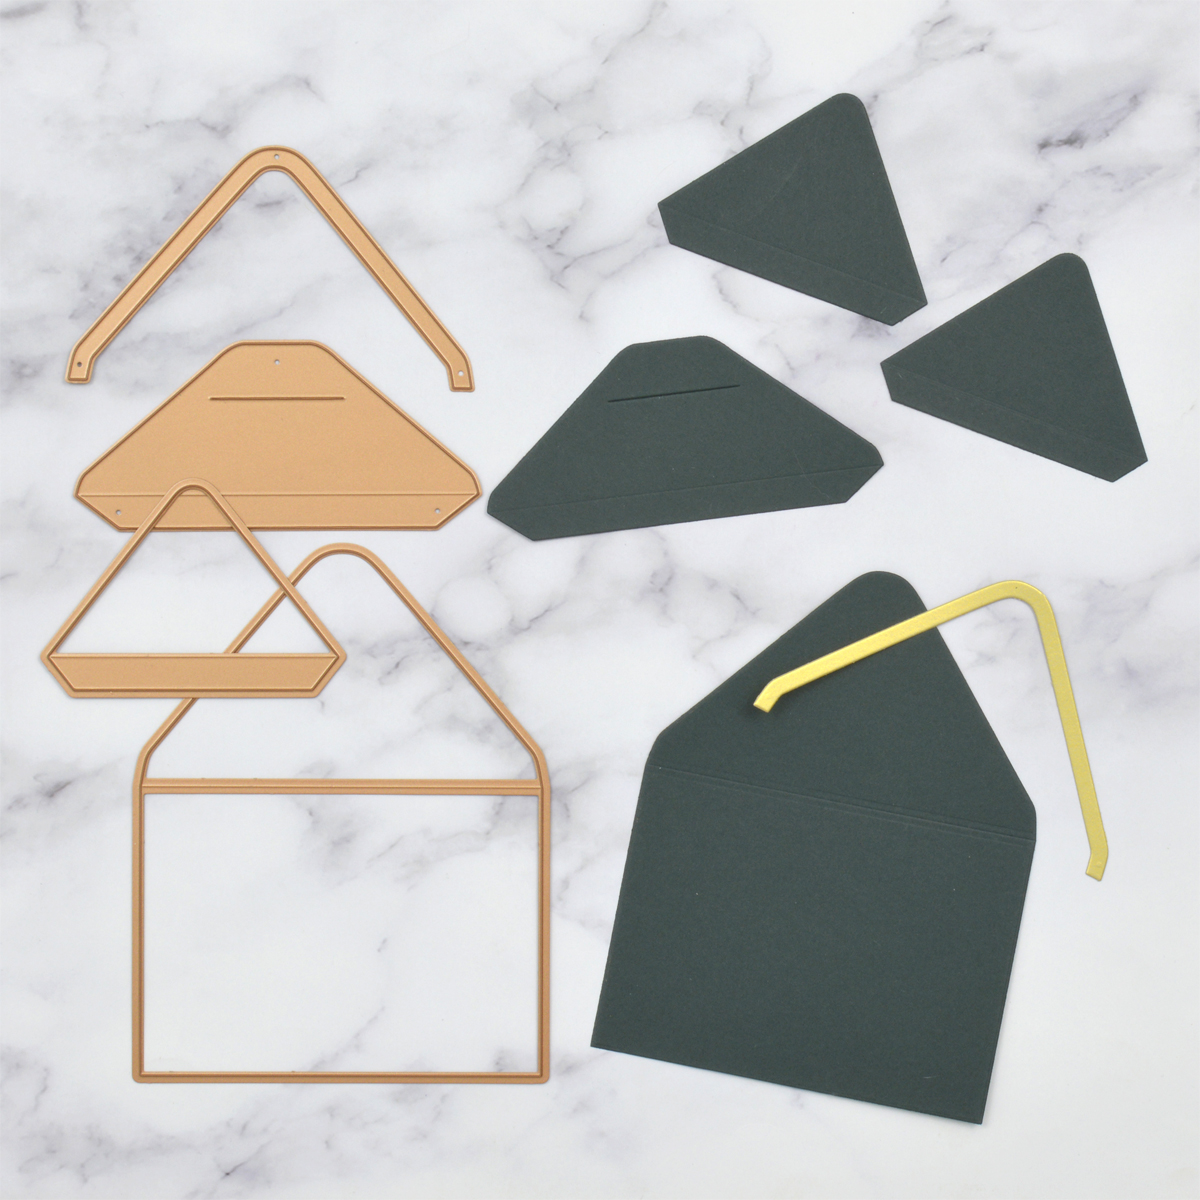
Start by cutting the main parts of the envelope out of Forest Cardstock and the top flap layer out of Brushed Gold Cardstock.
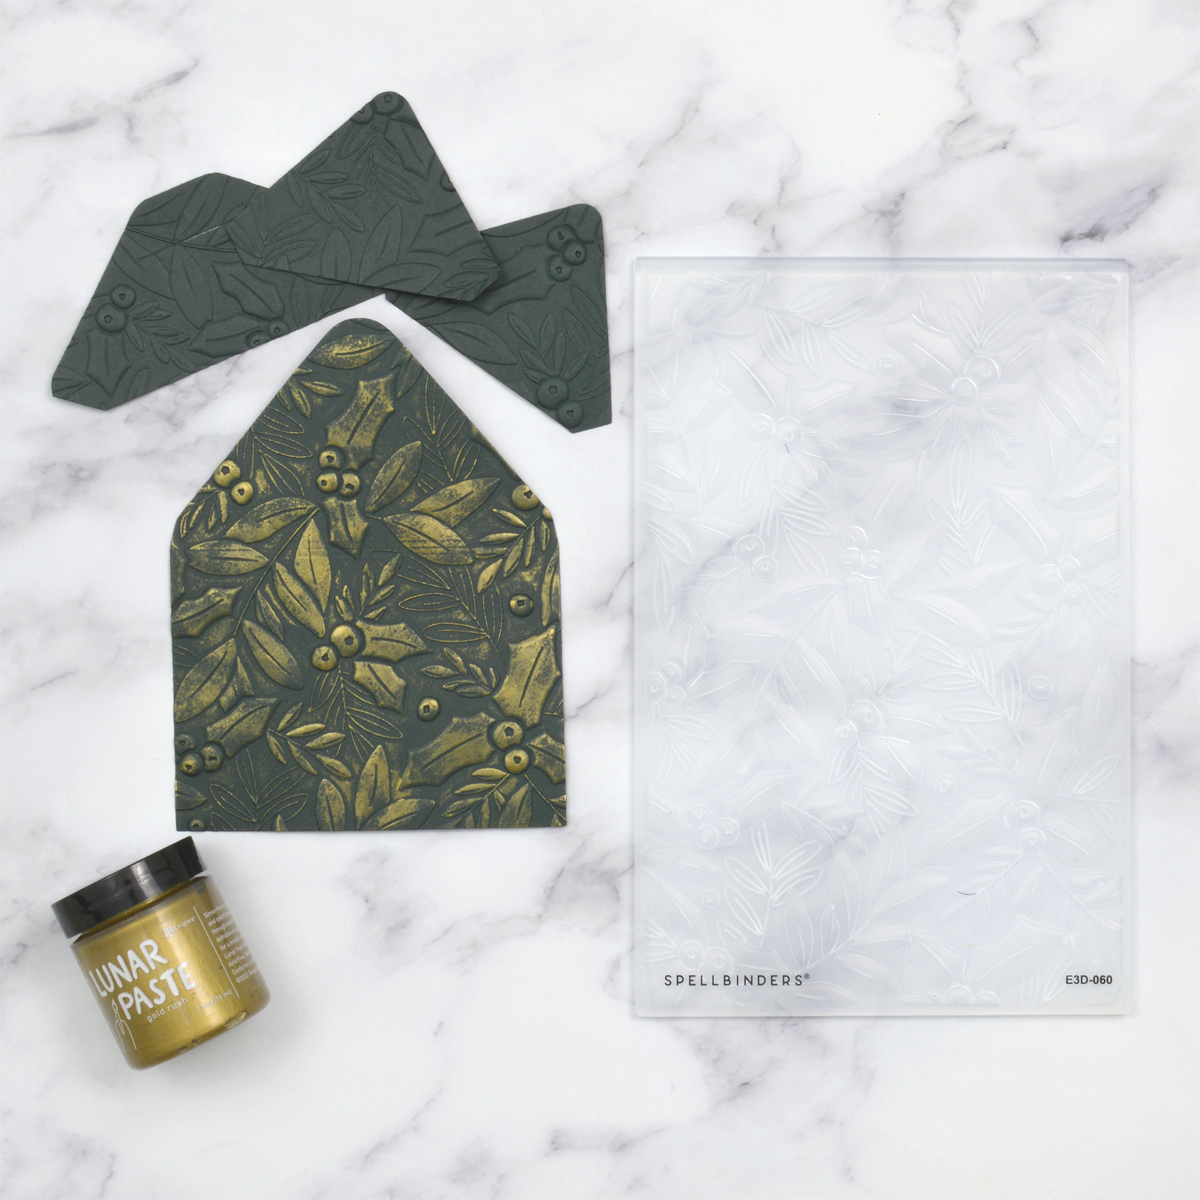
Emboss all of the main envelope parts using the Holly & Foliage 3D Embossing Folder. Lightly rub Gold Rush Lunar Paste over the raised areas of the envelope base layer with your finger.
Assemble the envelope with liquid glue ensuring all of the embossed sides are showing to the front (no debossed panels here!). If you can’t see your score lines after embossing, you can take the panels to a scoreboard to reinforce the lines before creasing and applying glue to the tabs.

Die cut all of the holiday icons from the Christmas Wonder Die Set using Crimson, Rainforest, Fern, Pomegranate, Mirror Gold, Dune, Latte, and white cardstock. Add some shading to each of the pieces using Mini Blending Brushes and Distress Inks – Aged Mahogany for red die-cuts, Rustic Wilderness for green, and Vintage Photo for brown/tan. Once shaded, assemble with liquid glue.
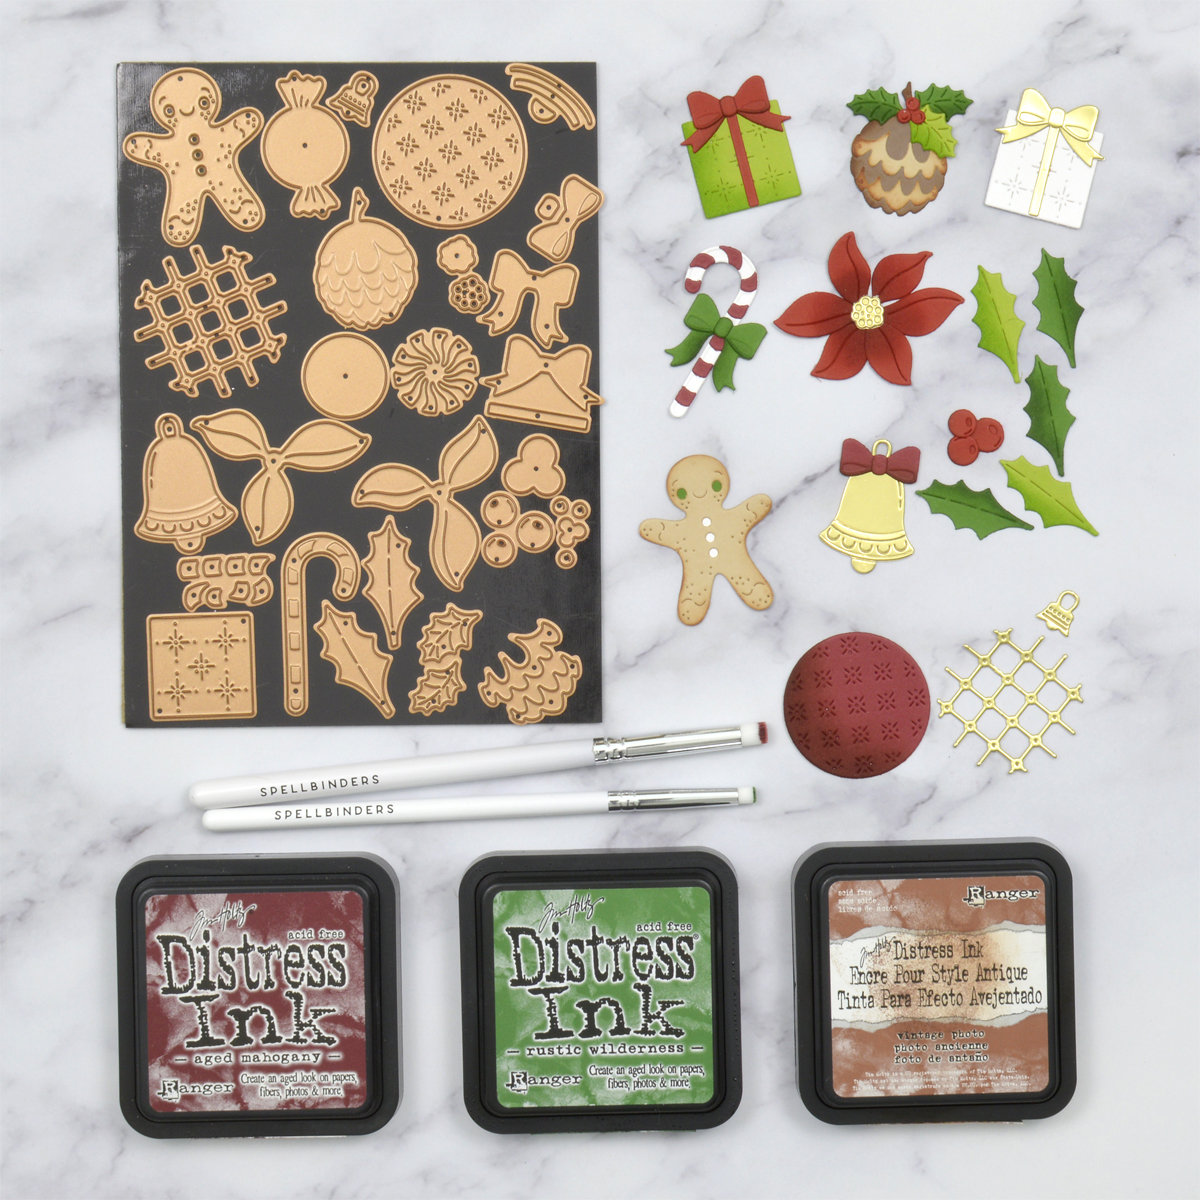
For the peppermint candies, cut the wrapper from heavyweight vellum for a fun effect. Add shading before assembling, adhering the vellum layer to the back with liquid glue.

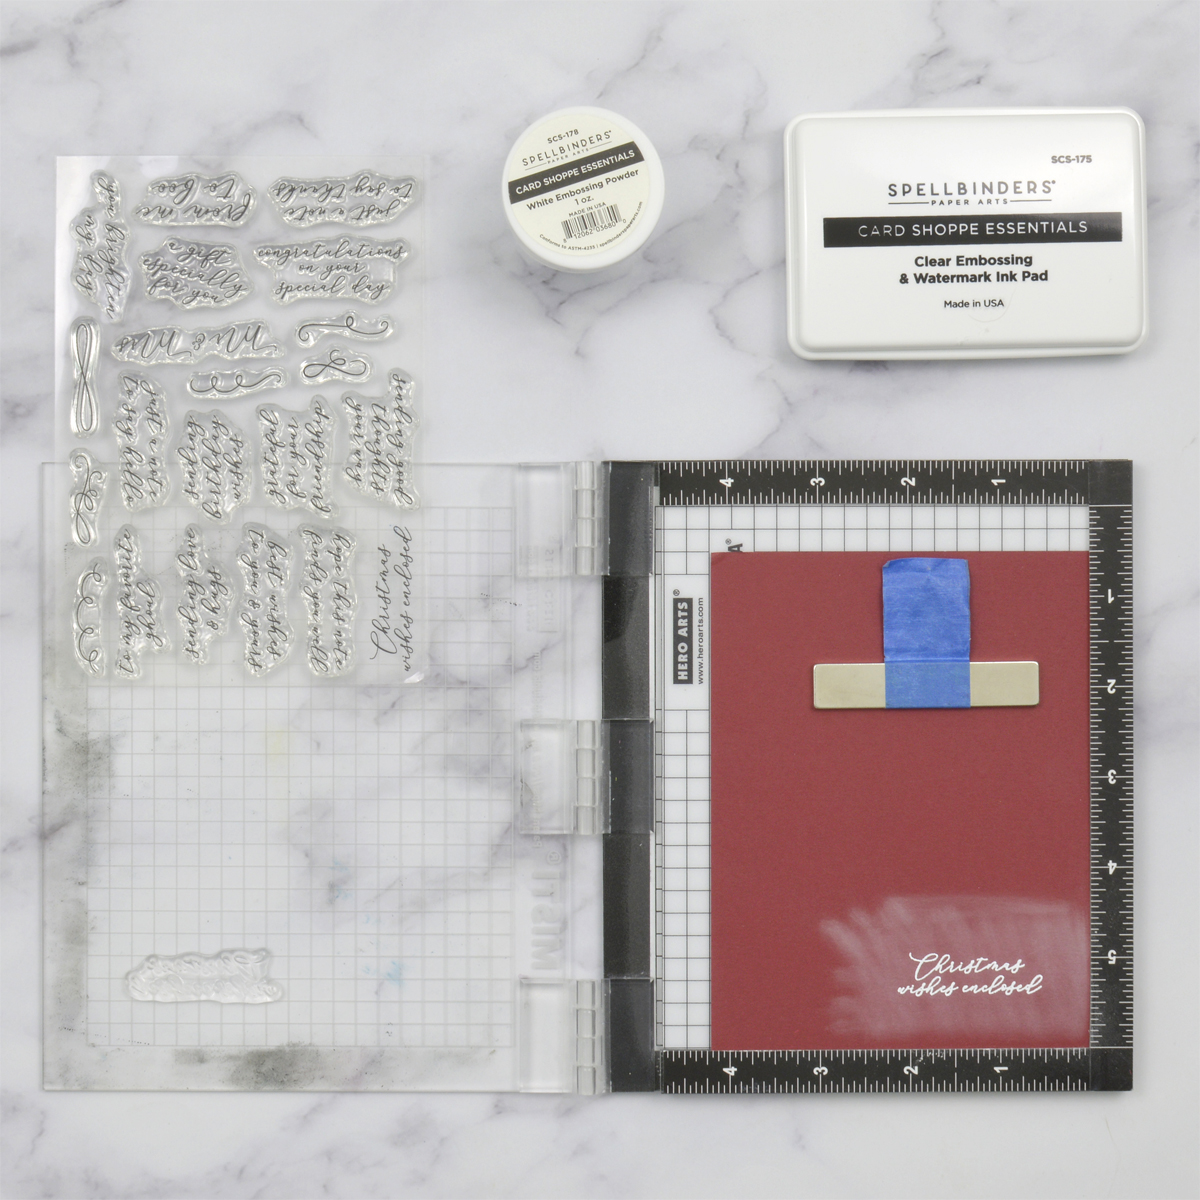
Stamp a sentiment from the Envelope of Wonder Sentiments Stamp Set onto Crimson Cardstock using Embossing Ink, add white embossing powder, and melt with a heat tool. Thin, dainty sentiments like these can be hard to read if you press the stamp too hard into the paper, so it helps to use a stamp positioner, dust your cardstock with an anti-static pouch, and apply the ink multiple times with a very light touch.
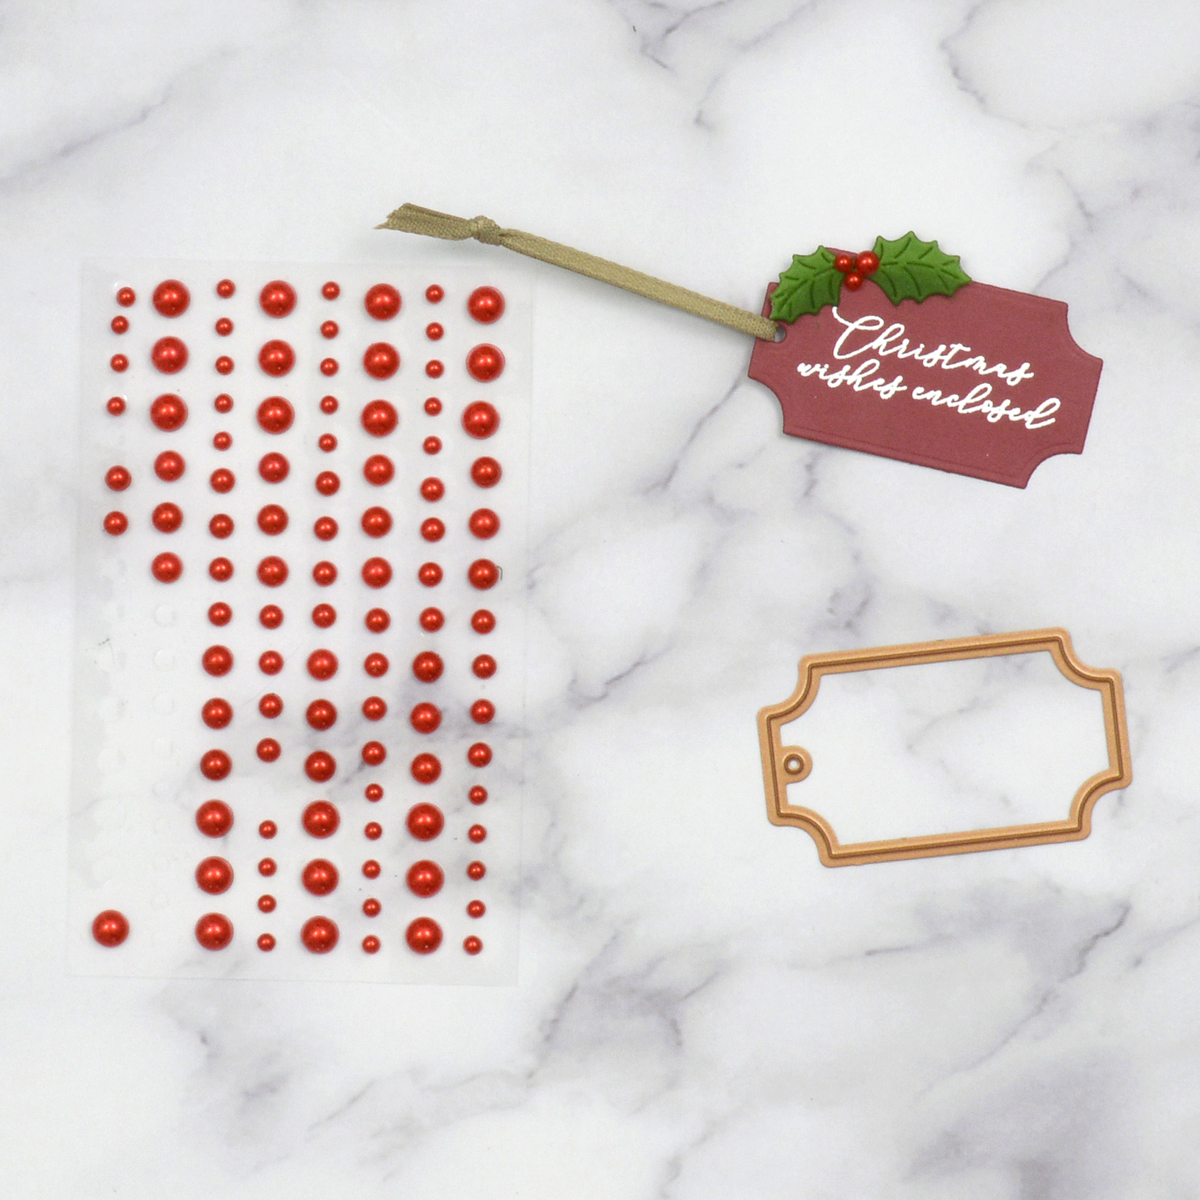
Die cut the sentiment out using the tag die from the Envelope of Wonder Die Set and add a small knot of Texture Champagne Narrow Ribbon to the hole. Embellish the tag with tiny holly leaves from the Christmas Wonder Die Set and some Fashion Poppy Pearls.
Arrange the holiday icons in the envelope and adhere them down with a mix of liquid glue and foam adhesive for lots of dimension. Add some holly berries to the front of the envelope and the tag to the opposite corner.
Spellbinders Supplies:

Other supplies
White heavyweight cardstock, heavyweight vellum, Aged Mahogany, Rustic Wilderness, and Vintage Photo Distress Ink, foam adhesive.
I hope you enjoyed this pretty holiday envelope card and thanks so much for stopping by today. You can find more inspiration over at my blog AnnieBWills.com.

2 Comments
Ellen
What a beautiful card!
Sandra Unrath
Great card idea, maybe next month