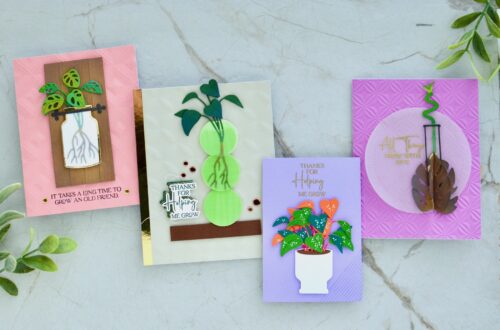
Fresh Picked Florals on Your Cards!
Hello there! This is Lisa from My Card Trip and I am thrilled to be a guest here on the Spellbinders blog. Today I am sharing some inspiration with the newly released Fresh Picked Collection. This is such a beautiful collection – modern, contemporary floral and berry designs along with a super sentiment set and a stylish versatile embossing folder. I live in the southern part of England and this collection makes me want to skip the next few grey months and dive straight into Spring and Summer.
So, let’s get started with my cards!
Hello
Whenever I see a leaf die, I am always tempted to make a wreath! So today I thought I would make a wreath with lots of foliage and some berries interspersed amongst all the greenery. The set I am working with for this card is Fresh Picked Berries Etched Dies. I started by picking out three green cardstocks for my foliage – Peridot, Rainforest and Fern Color Essentials Cardstock. I cut the leaf die three times from each and then I thought that it would be good to break up the green foliage a little bit, so I also die cut the leaf die three times from 80lb white card.

For the berries, I used two different color palettes. The purple berries were die cut from Lilac Blossom Color Essentials Cardstock and Royal Amethyst Color Essentials Cardstock. The pink berries were die cut from Fruit Punch Color Essentials Cardstock and a deeper pink cardstock from my stash. The little berry toppers were just cut from 80lb white. I assembled them using Bearly Art Glue and set everything to one side.
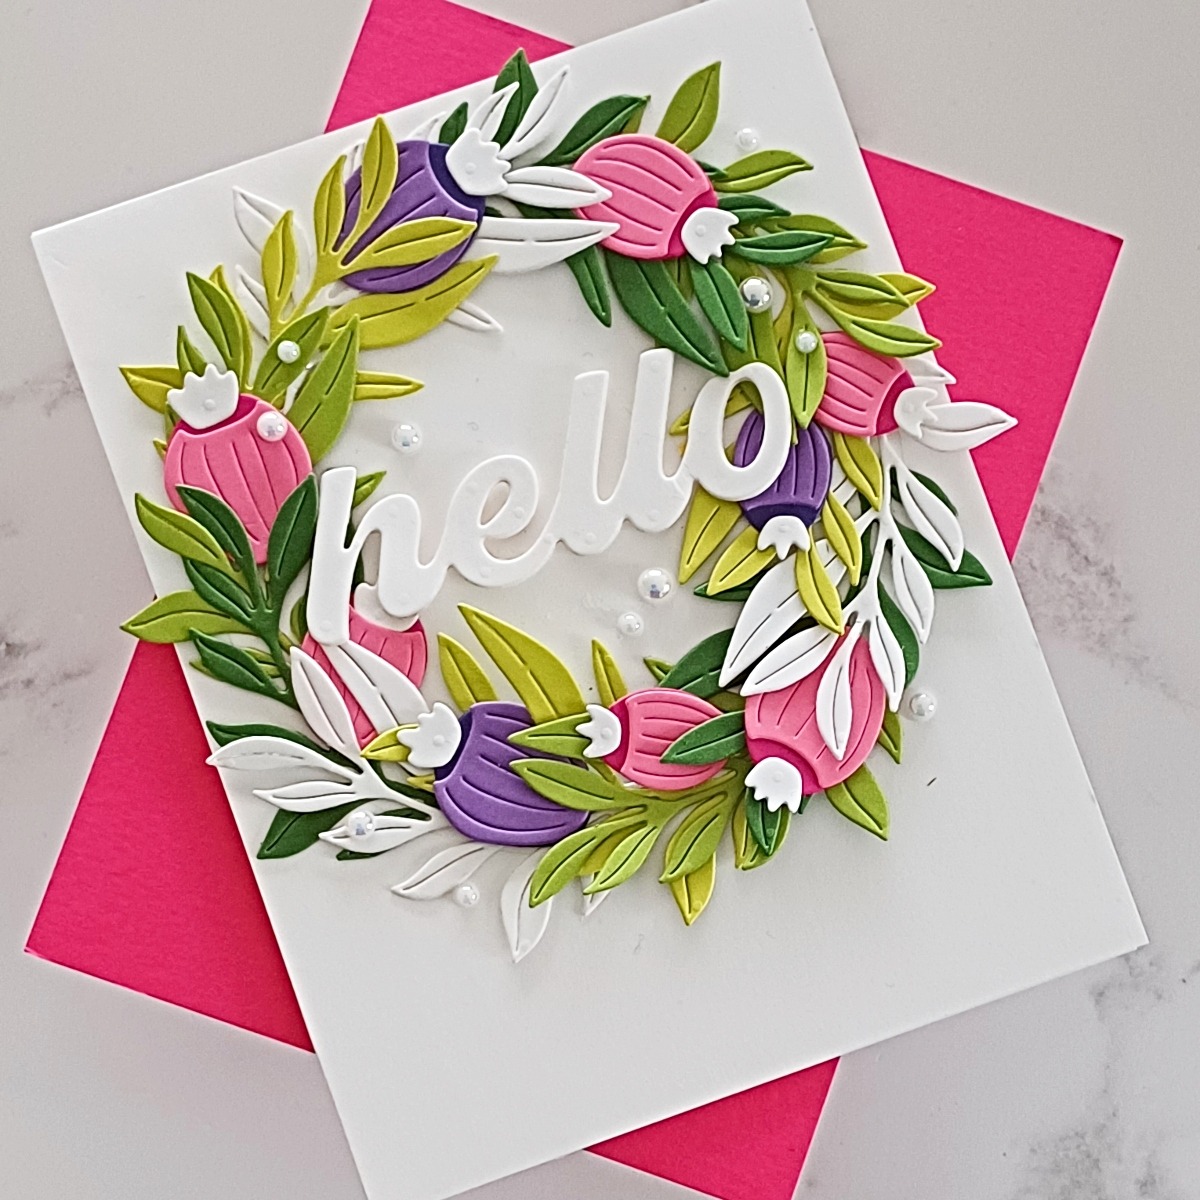
To help me with the placement of all my elements, I took an Everlasting Circle Etched Die, and using a pencil I drew a very faint line around the circle onto some white card. I erased as much of it as I could without losing it altogether! This now serves as a guideline for my foliage placement. I adhered each die cut using a small bit of adhesive on the lower stem section and I worked in batches of Peridot, Rainforest, Fern and white each time. So, I knew that these four die cuts would need to take up about a third of the wreath. I then adhered the berries randomly around the wreath amongst the leaves.
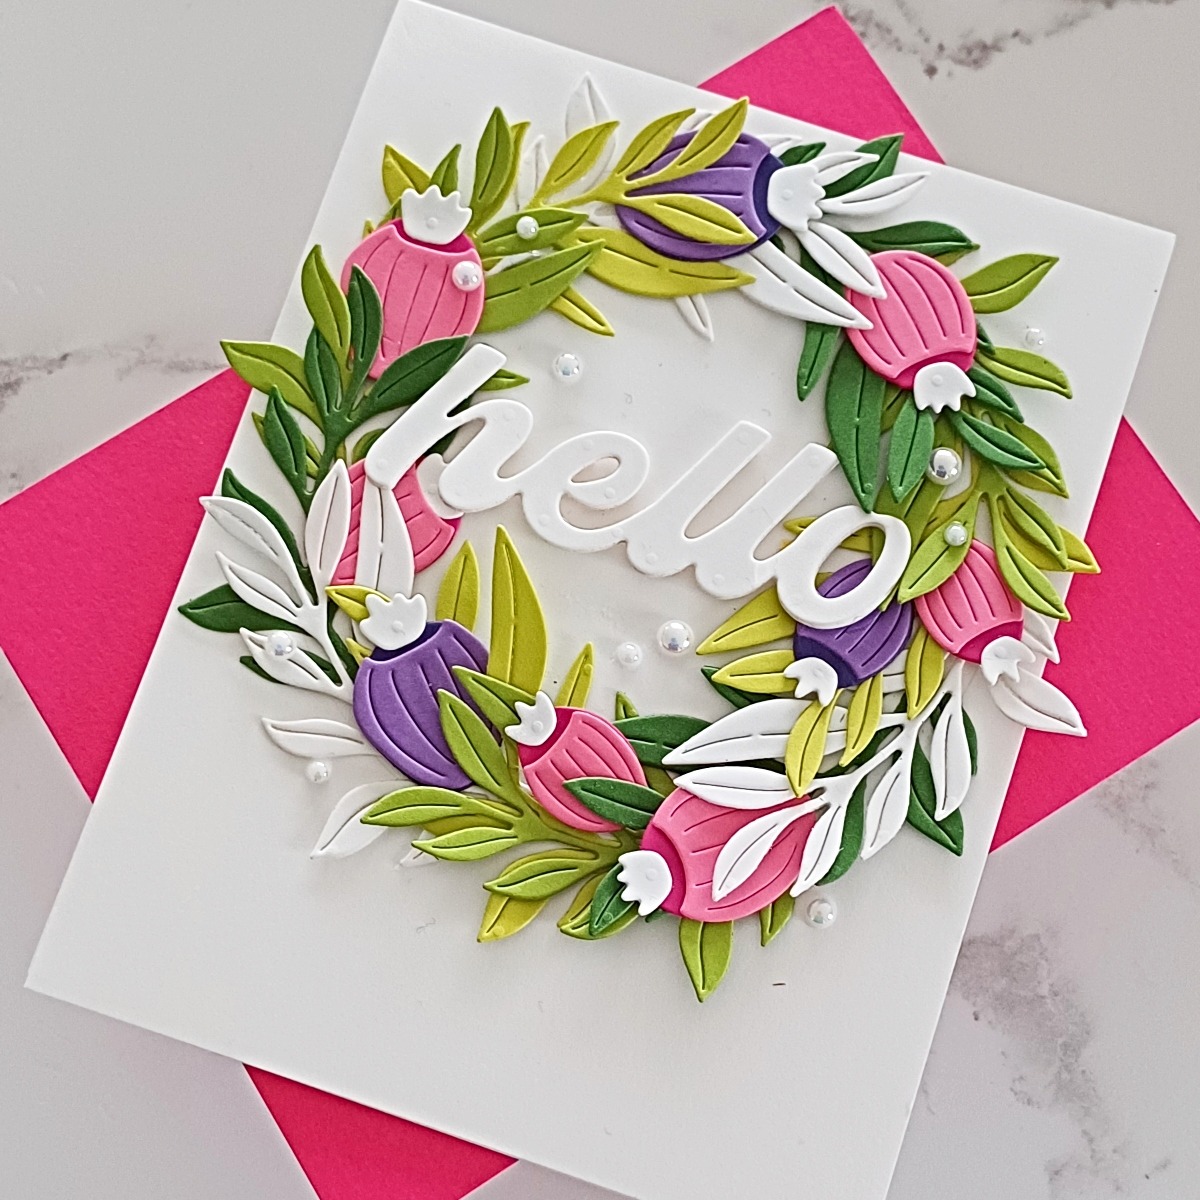
I took the Fresh Picked Sentiments Etched Dies and die cut “Hello” three times from a white card. I adhered them together in a little stack and added some thin foam tape in the center section at the back (so that the wreath would be level when placed down). To finish I added some glossy white pearls for embellishment.
Hi
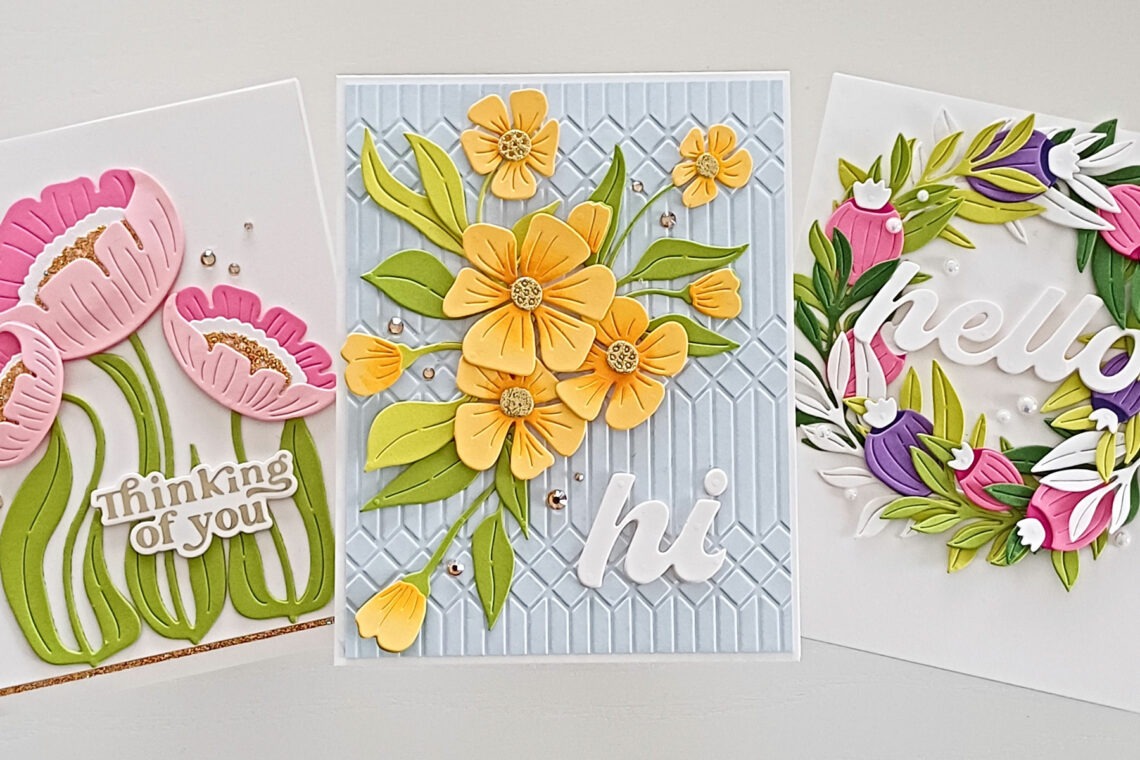
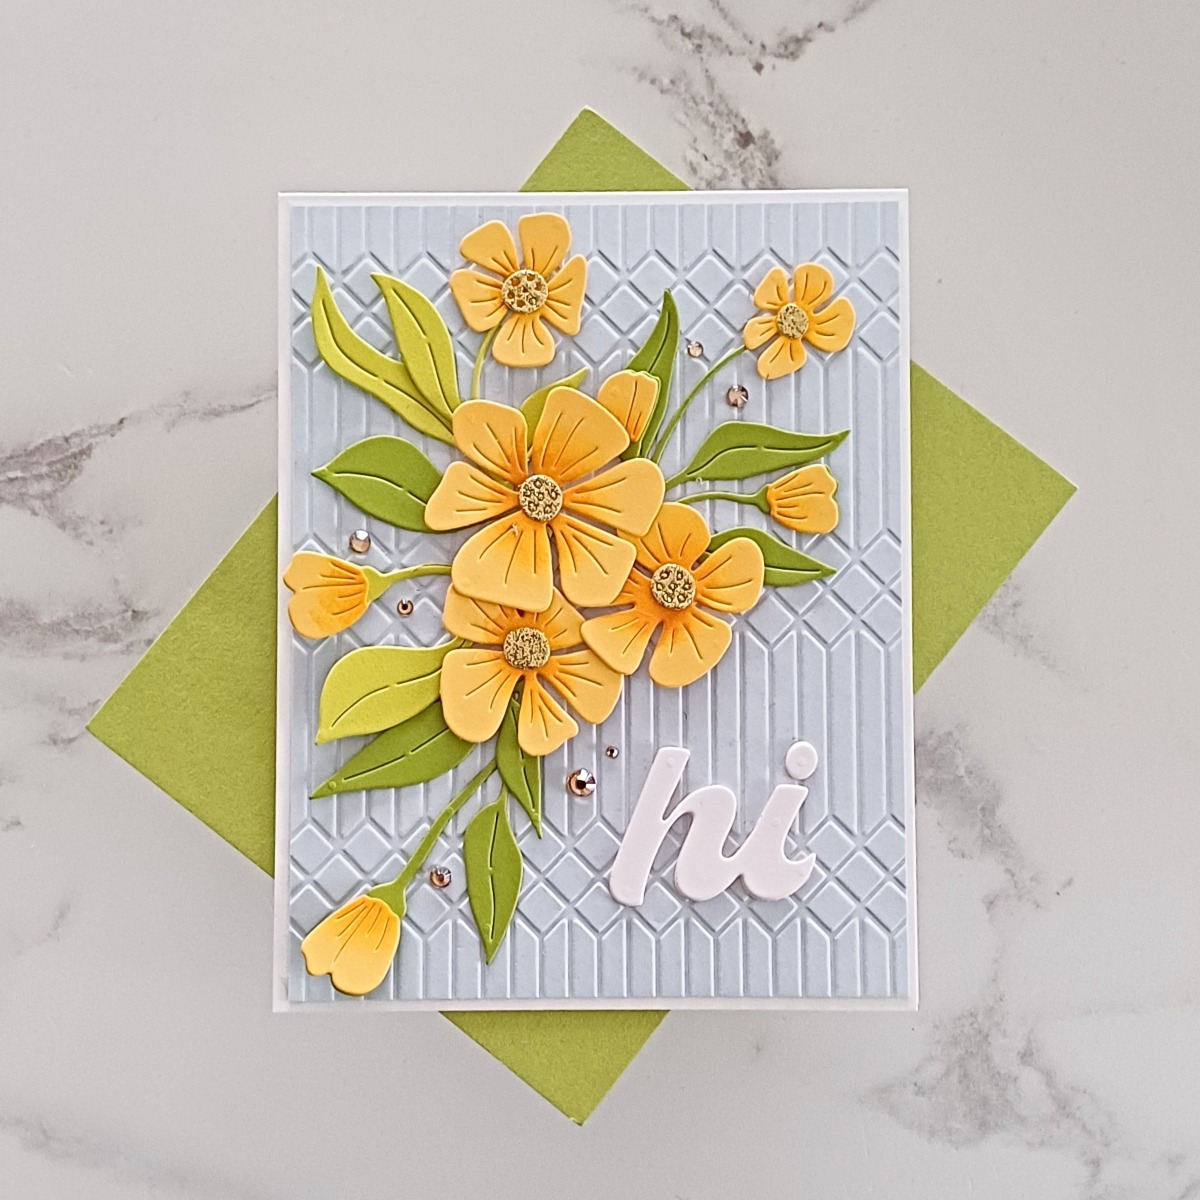
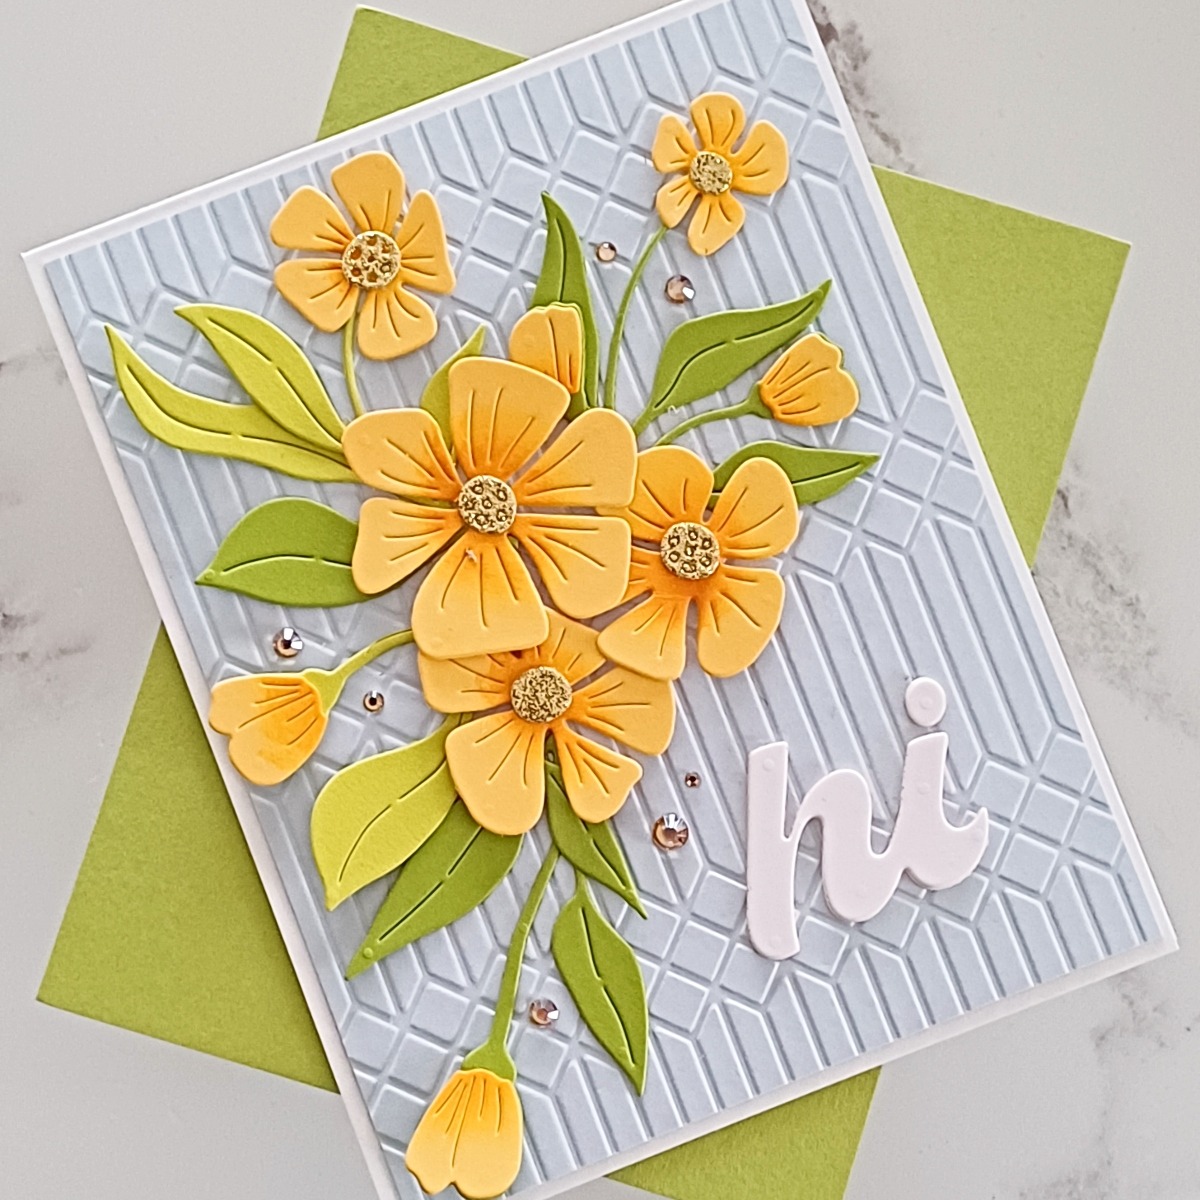
My next card features the beautiful Fresh Picked Buttercups Etched Dies. This might be my favourite set but it’s hard to choose! The Fresh Picked Collection sets have been designed so that you can create a full A2 panel with the dies. They kind of fit together like a jigsaw puzzle so you do have the option to create with them in this way. This is really helpful if you struggle with design or just simply want to make a quick card. However, I thought I would use them in a spray design today.
So, I began by die cutting all my pieces from Rainforest Color Essentials Cardstock, Peridot Color Essentials Cardstock and Beeswax Color Essentials Cardstock.
I took a small round-headed blending brush and blended Fossilized Amber Distress Ink into the centers of the buttercups, and also onto the bottom of the unopened buttercup buds. Next, I die-cut the centers from gold glitter cardstock and adhered them to the middle of the flowers with Bearly Art Glue. I now had all my elements ready to place, so I played around with my design until I was happy with how the spray looked and I took a photo. To get my leaves exactly where I wanted them, and to fill a few gaps, I did trim out a couple of single leaves from the larger foliage pieces.
For my background, I ran a panel of Glacier Cardstock Essentials Cardstock through my Platinum 6 Die Cutting Machine with the Columns Embossing Folder. This was trimmed down a little and adhered onto a top folding A2 white notecard. This folder works really well for so many designs. I also think it would be a great folder for masculine cards.
To give the flowers some dimension (and room for me to tuck the leaves behind), I added some thin foam tape onto the back of the three central flowers. I adhered them down and then added my foliage around them, just using tiny dabs of glue on the ends of the stems to keep them in place. I added the flower buds and smaller flowers where they were needed.
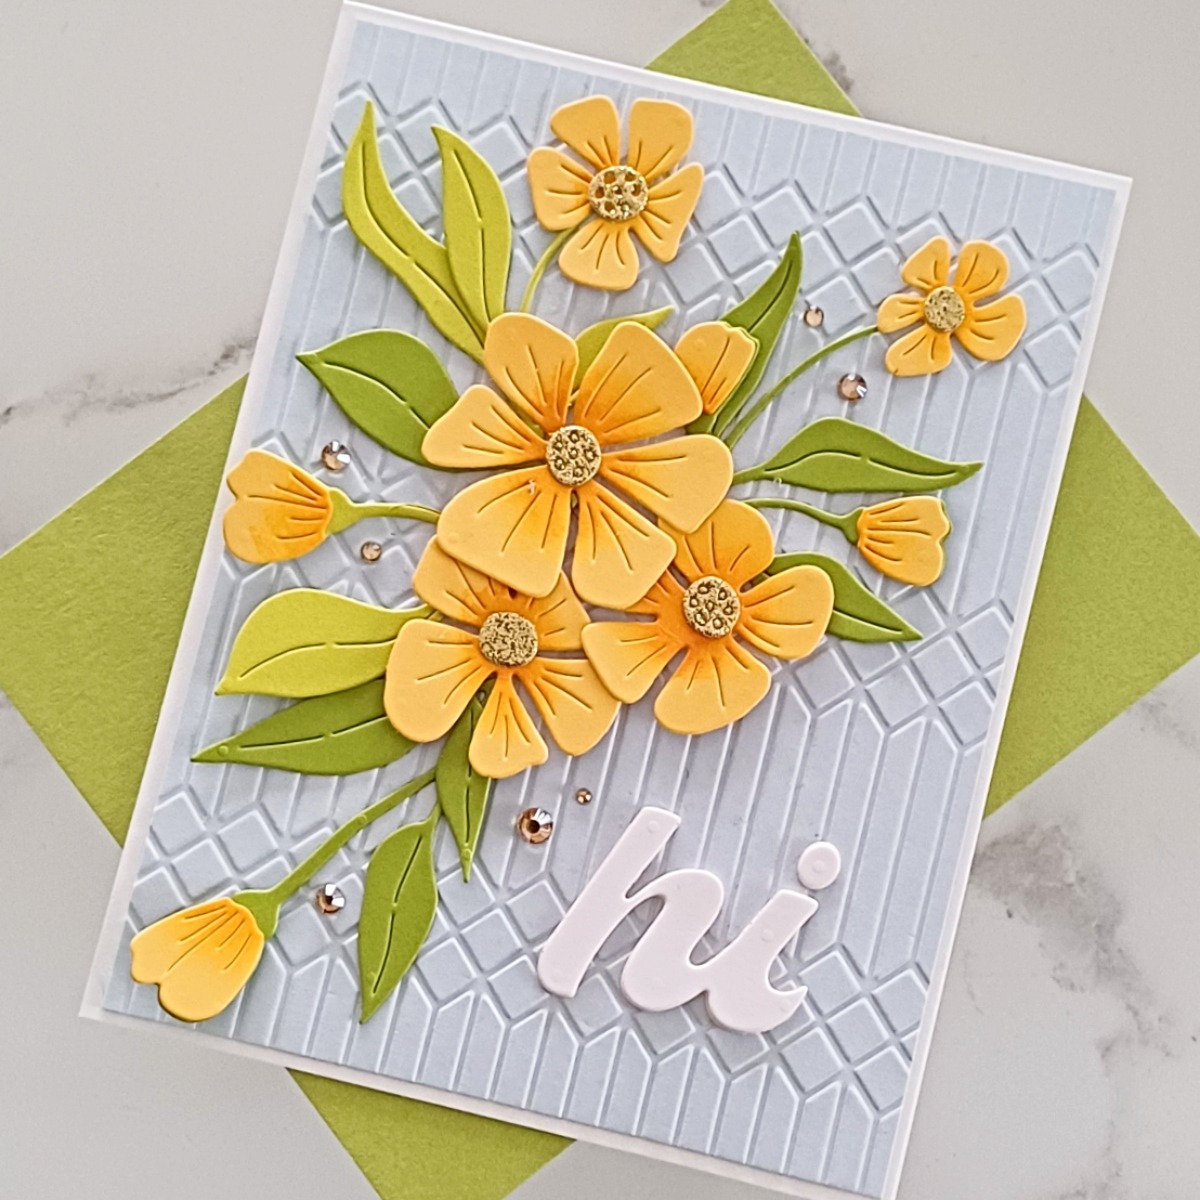
I’m always in need of general “hello, hi” cards, so I took the Fresh Picked Sentiments Etched Dies and die-cut “hi” three times from white card. The die cuts were adhered into a little stack and then added onto my panel. For a bit of extra sparkle, I added some Gold Mix Color Essential Gems around the spray.
Thinking Of You
My final card uses the gorgeous Fresh Picked Anemones Etched Dies. I absolutely adore anemones and have lots in my garden, so this was also a favorite set! See, I told you it’s hard to pick a favorite – they are all fabulous in their own way! I used this set more in the way that it was intended. You can actually line up four anemones on a horizontal A2 card but I went with three for my card today.
Again, I started off by doing all of my die-cutting. I used Pink Sand and Fruit Punch Color Essentials Cardstock for the petals of the flower; white card for the larger centerpiece, and a gold glitter card for the smaller center portion. The leaves and stems were die-cut from Rainforest Color Essentials Cardstock. You can make your own glitter cardstock really easily and I used some for the centres of the flowers. They were die-cut from a panel of Solaria Gold Art Glitter cardstock – it is super sparkly! I have a batch of small panels ready for when I need them. I did a step by step guest blog post recently on using Art Glitter, so you may want to check that out for ideas.
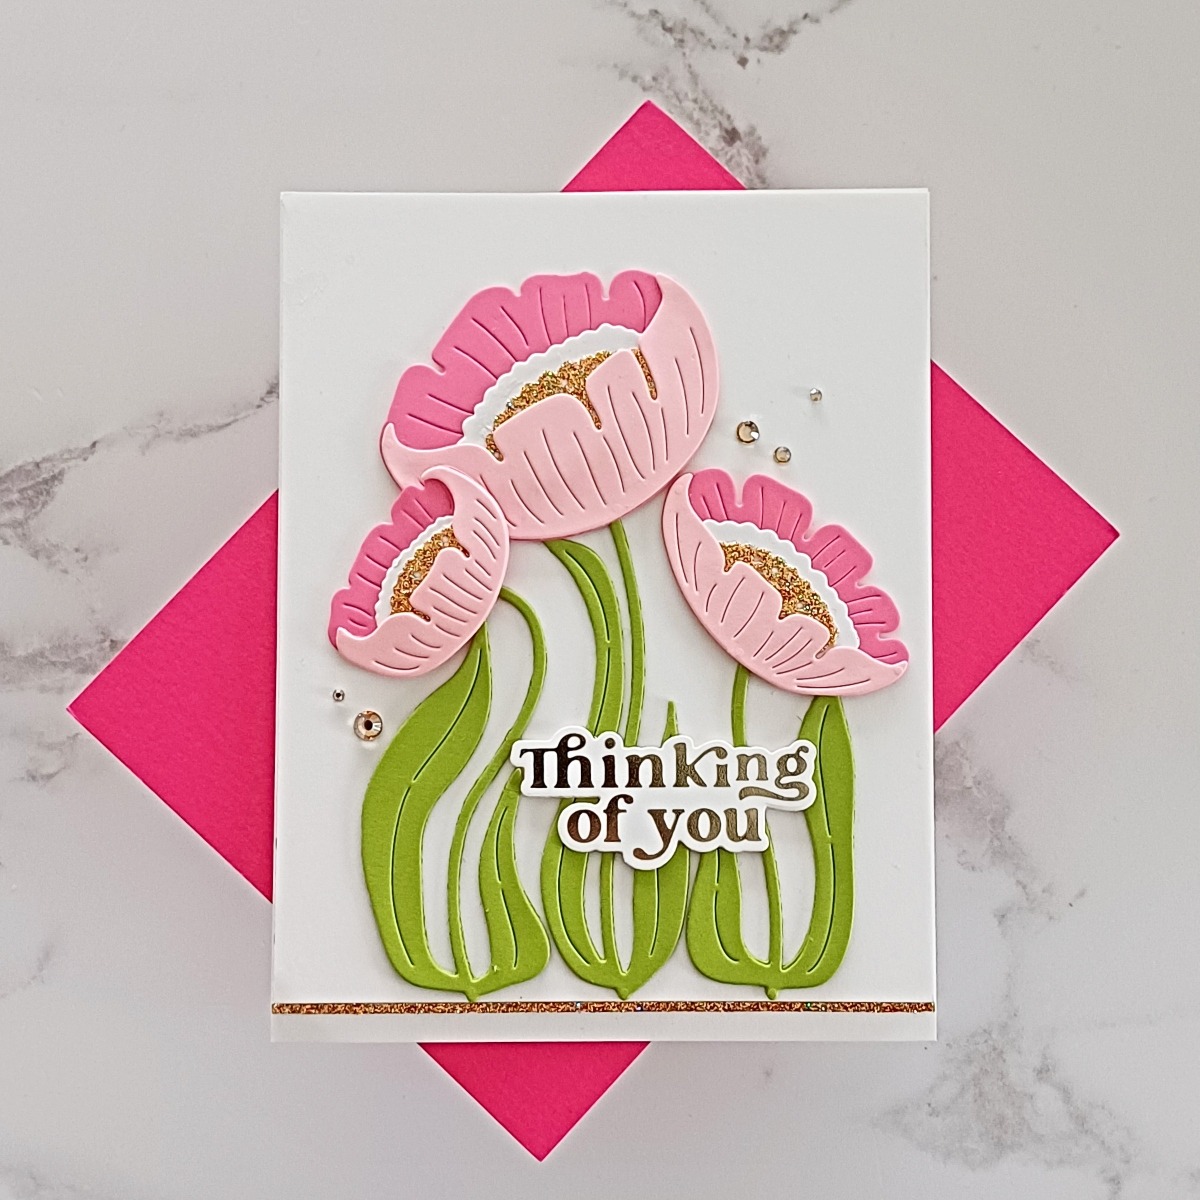
I adhered the flower heads together using Bearly Art Glue and then I added them onto the stems, again with wet adhesive. The three completed flowers were adhered to a white panel that I had trimmed down a tiny bit at the bottom. This panel was then added onto a top folding white A2 notecard using adhesive. To ground the flowers a little, I added a very thin strip of Solaria Gold Art Glitter card along the bottom edge.
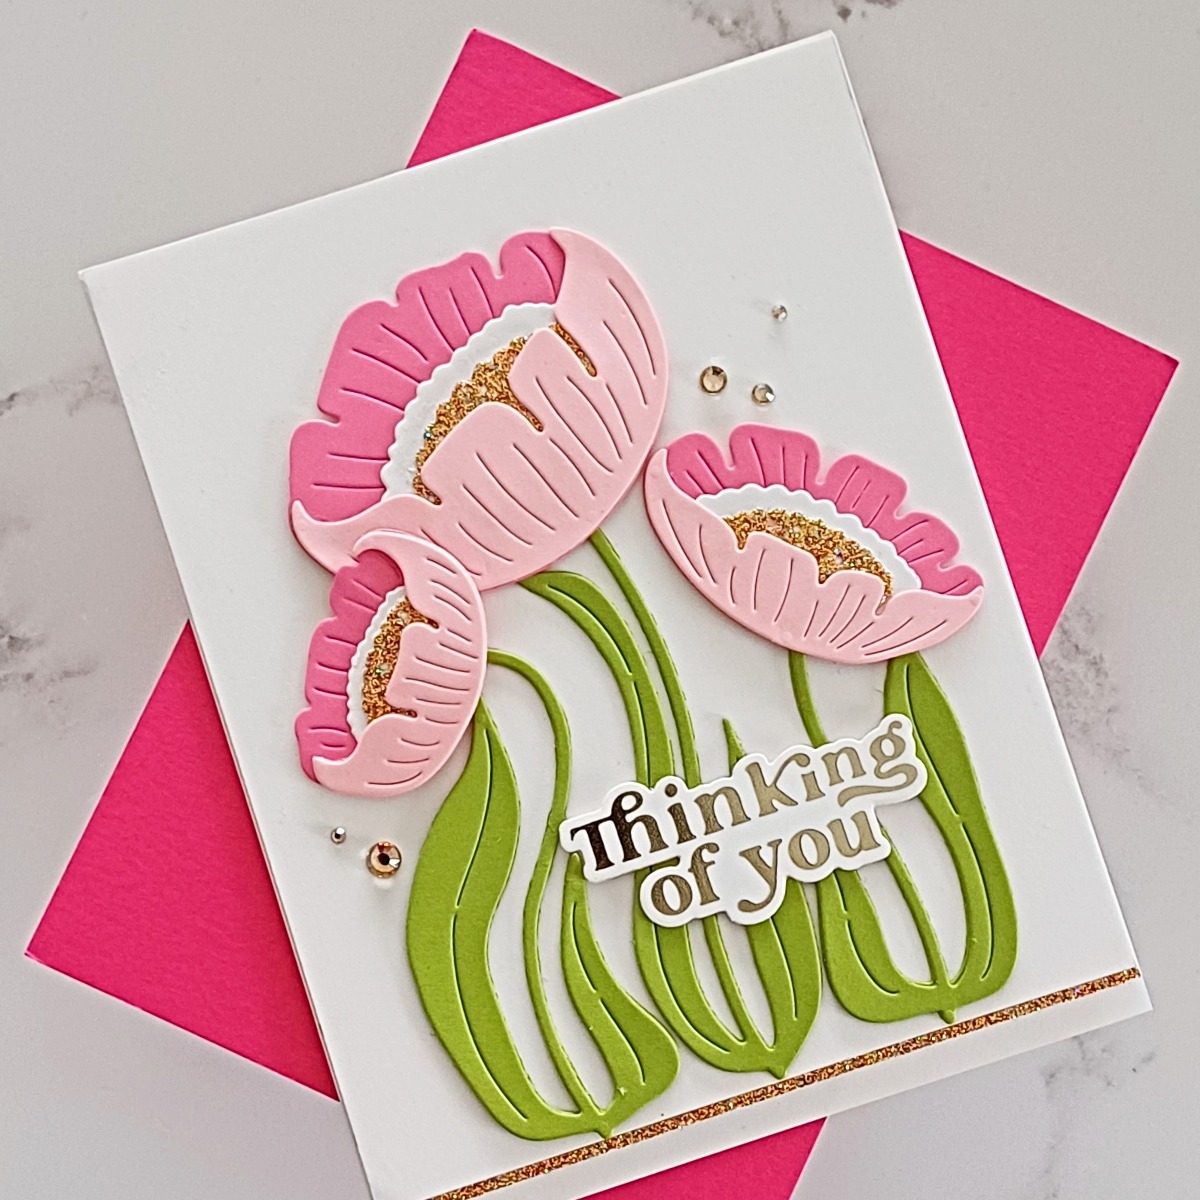
My sentiment comes from Must-Have Sentiments Glimmer Hot Foil Plate and Die Set. I foiled the hot foil plate using Champagne Glimmer Hot Foil and the Glimmer Hot Foil System. The sentiments were cut out with the coordinating die set and I also cut some extra from plain white card so that I could make a small stack. This was then added across the leaves using Bearly Art Glue.
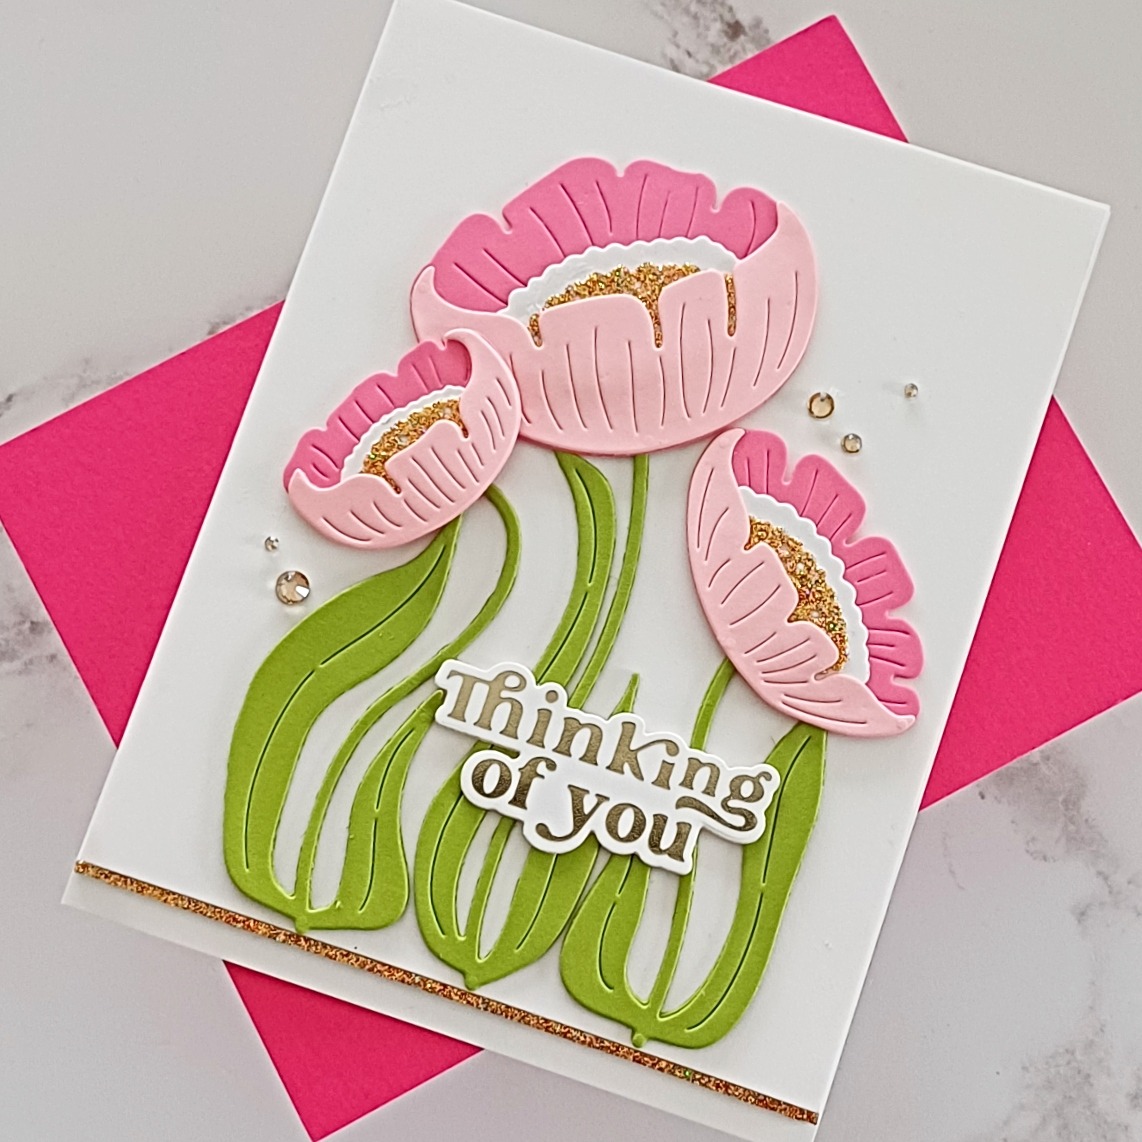
To finish the card off, I added some Gold Mix Color Essential Gems for embellishment.
I hope that this gives you some inspiration for these sets. They really were a joy to create with and I hope I can find some time to play with them a bit more in the next few weeks and months. If you want to see more of my cards, I would love to have you as a follower over on my blog, Instagram, Facebook or YouTube. In the meantime, thank you so much for joining me here on the blog today, I hope that you have a great day!
Spellbinders Supplies:

Other Supplies
Neenah Solar White Classic Crest 80lb and 110lb, Concord & 9th Dragonfruit Cardstock, Tweezers, Embellishment Wand, Thin Foam Tape, Lucy’s Cards Glossy Porcelain Mix, Blending Brushes, Distress Ink Fossilized Amber, Hero Arts Glitter Paper Holiday Sparkle, Nuvo Mist Spray, Double Sided Tape.
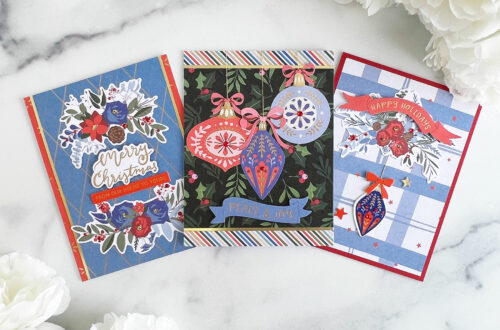
Nutcracker Sweet Collection With Brenda Noelke
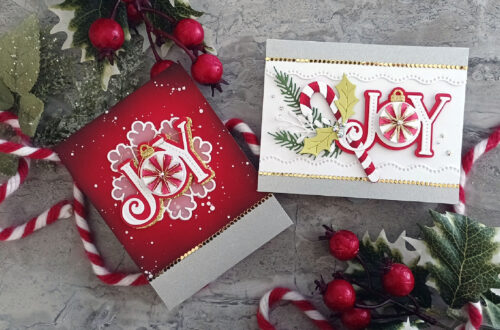
12 Days of Stitchmas Advent Calendar | Day 8 with Tina Smith