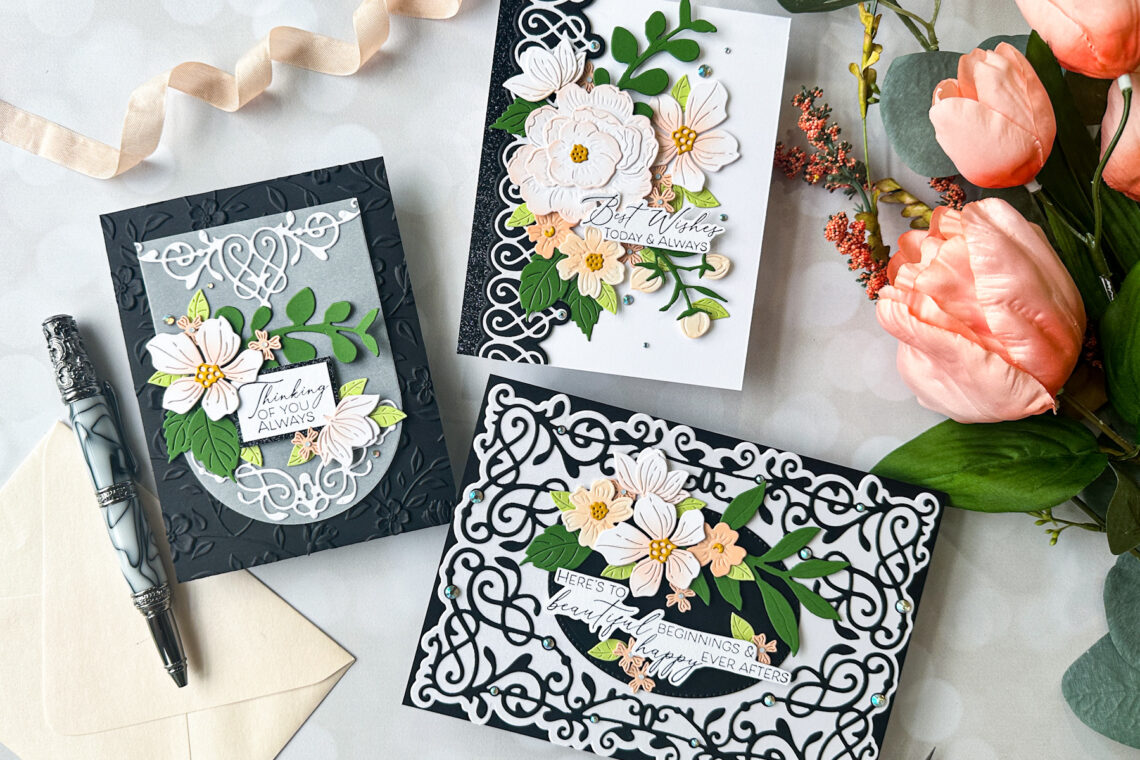
As Timeless as Black and White!
Hi friends! Emily Midgett here with you today on the Spellbinders blog, and I’m thrilled to have been asked to play with the new Timeless Collection. These dies are spectacular in their incredible detail and delicate lines, making them great to have as a focal point or as a lacy accent to a floral focal point, as I’ve done here!

I thought that the best way to showcase the marvelous details of this set of coordinating dies and BetterPress plates from the Timeless Collection was to use a stark black and white color palette, softened with peach and coral floral bouquets. The dies in the Timeless collection remind me so much of crocheted lace, and in my book, lace and flowers are the perfect complement for each other. Let’s get started with the details on my projects!

For this first project, I used the Timeless Duo accent dies to embellish my vellum die-cut background.
- Die cut a vellum Essential Arches basic shape.
- Die cut both of the shapes from the Timeless Duo using Brushed White cardstock. The pearlescent cardstock cuts these super-detailed dies superbly!
- Add the shimmering white die cuts to the top and bottom of the arched die cut using liquid adhesive. The crisp white die cuts stand out beautifully against the vellum-on-black!

- Die cut florals from the Four Petal Thank You die set using white cardstock for the larger blooms and Peach Sorbet for the smaller blooms, then use a small blending brush and pale peach ink to blend some details on the white die cuts before assembling.
- Die cut foliage from Vintage Florals and Victorian Garden Foliage dies using Fern cardstock.
- Run a panel of black cardstock through your Platinum 6 using the Flowers & Foliage 3D Embossing Folder.
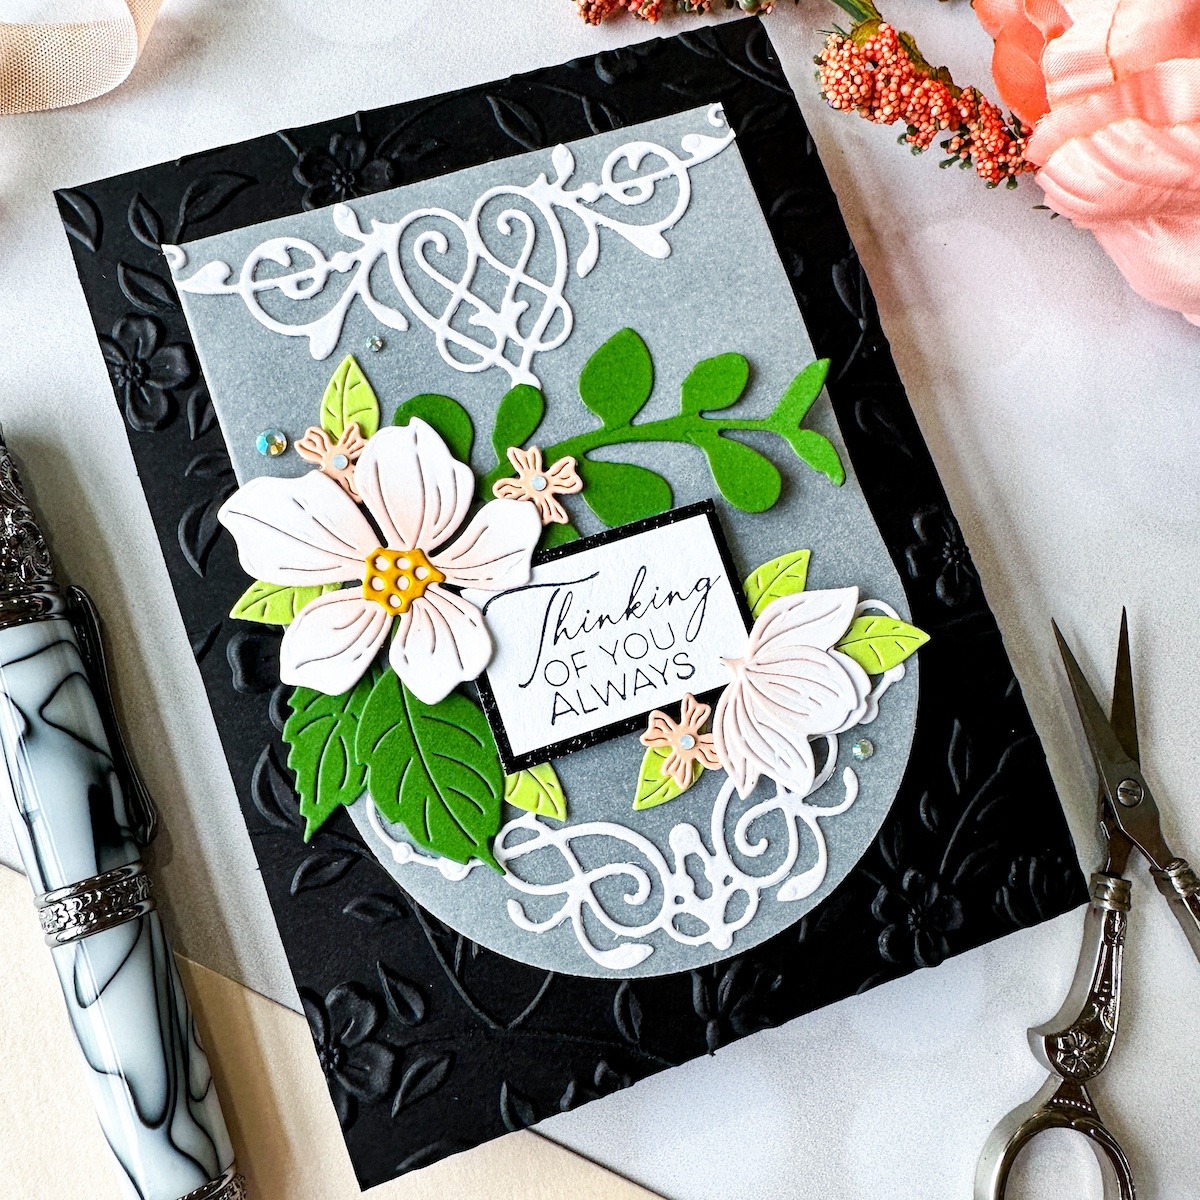
- Create a sentiment using the BetterPress Letterpress System from the Always You Timeless Sentiments press plate set, pressing the greeting using Black BetterPress ink onto Porcelain BetterPress paper.
- Trim to size, then add a mat created with a slightly larger black glitter rectangle.
- Before adhering the vellum piece to the center of the embossed background panel, arrange the flower die cuts and greeting and adhere with foam and liquid adhesive.
- Flip the vellum piece over and hide more foam adhesive behind the solid die cuts to keep the vellum clean.
Isn’t that color palette just, well, timeless? (Pun absolutely intended!) I loved it so much that I kept it going throughout the rest of the projects.

For my second project, I used the gorgeous new Timeless Hearts Border as a delicate lacy accent for more peachy florals.
- Die cut the Timeless Hearts Border detail die from more Brushed White cardstock.
- Using that finished die cut as a guide, arrange the simple top and bottom outline dies on a strip of black cardstock to die-cut a complete shadow layer.
- Adhere the two die cuts together using liquid adhesive.
- Cut a strip of black glitter paper and adhere to the edge of an A2 card front.
- Place black and white Timeless Hearts border over the seam between the black glitter paper and white card front, popping it up with foam adhesive.
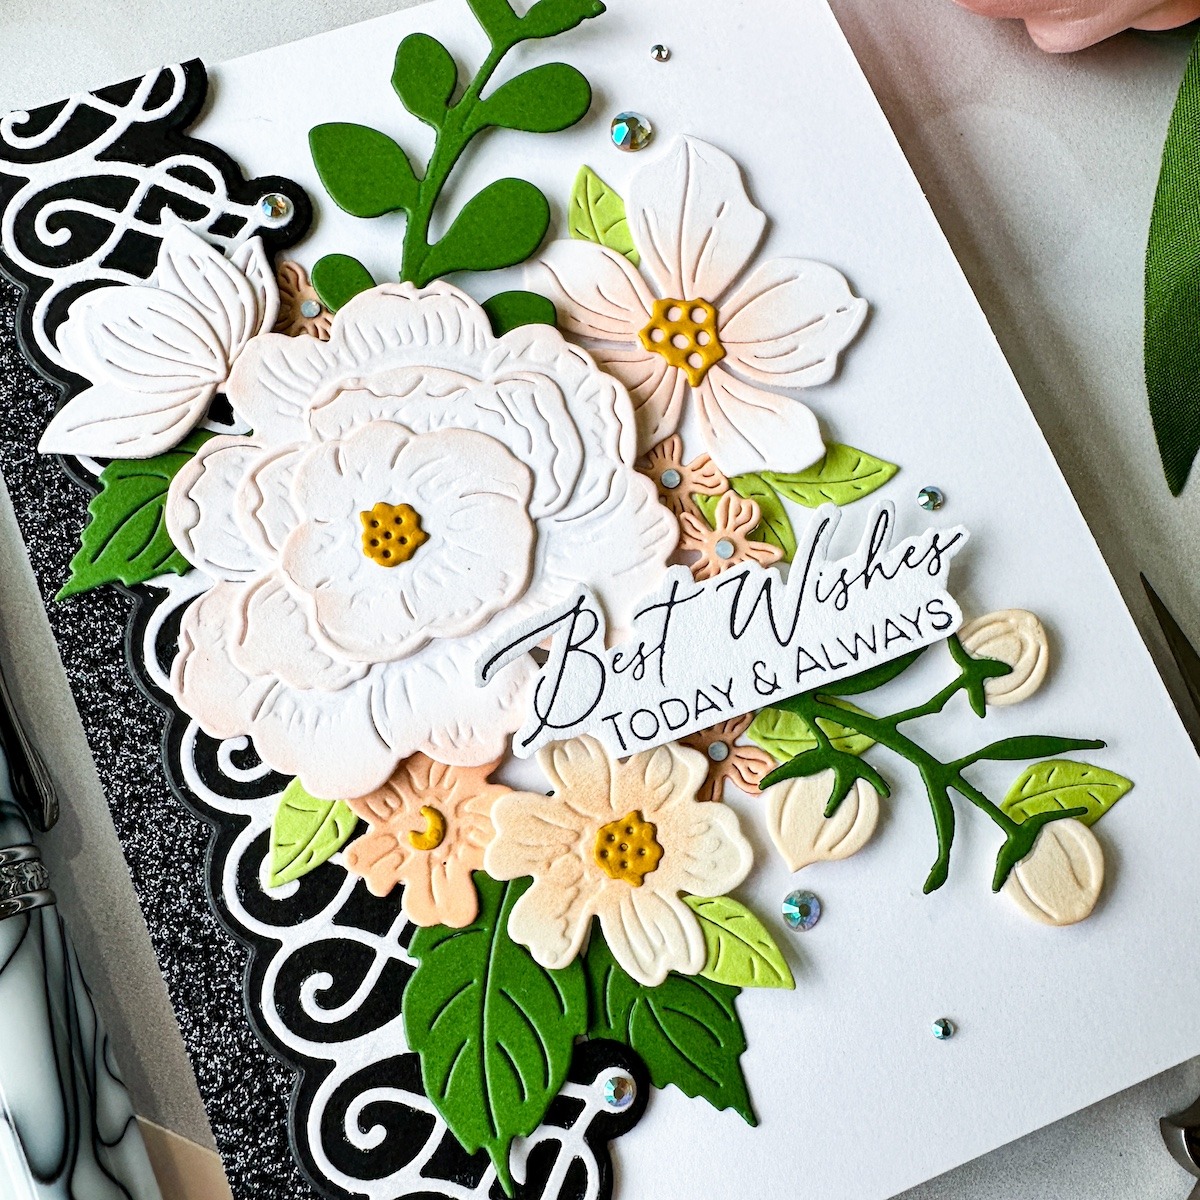
- Die cut flowers and foliage from the Vintage Florals, Four Petal Thank You, and Victorian Garden Foliage die sets using white, Barely Peach, Peach Sorbet, Tuscan, Fern, and a bright lime cardstock.
- Enhance shadows and debossed details with ink blending on peach flowers using a small blending brush and peach ink.
- Assemble florals using liquid adhesive.

- Create a letterpress greeting using a sentiment from the New Beginnings Timeless Sentiments set, impressing the sentiment on Porcelain BetterPress paper with black BetterPress ink.
- Use sharp scissors to fussy cut the sentiment.
- Arrange floral die cuts on the edge of the lacy border and around the sentiment piece.
- Adhere the florals with a mixture of foam and liquid adhesive for varied heights.
- Add some Opal and Aura AB Adhesive-Backed Gems for sparkle.
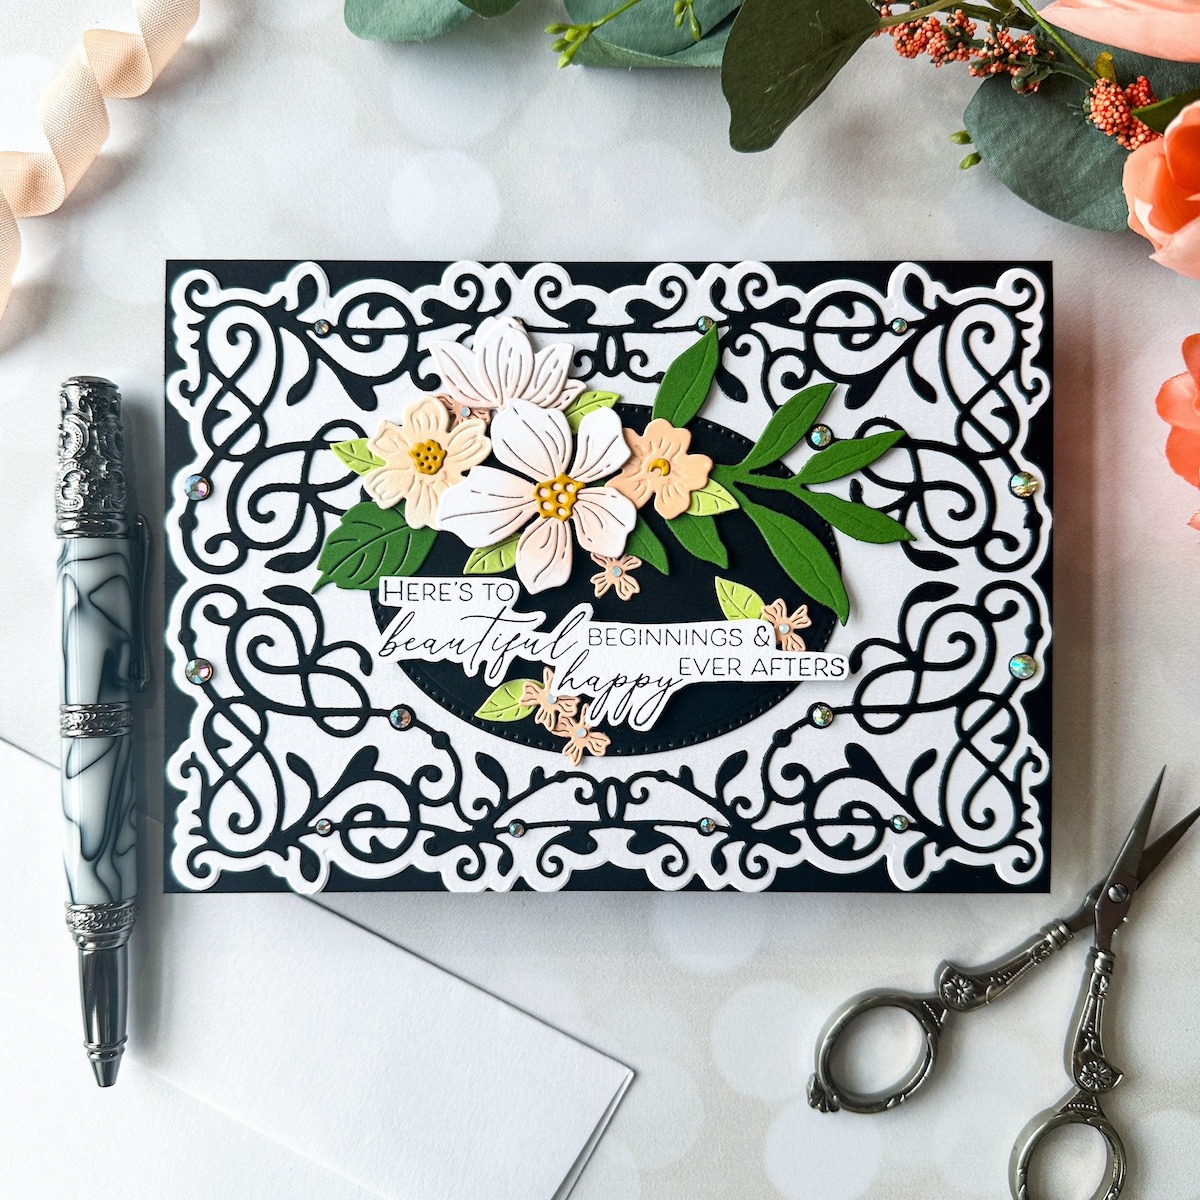
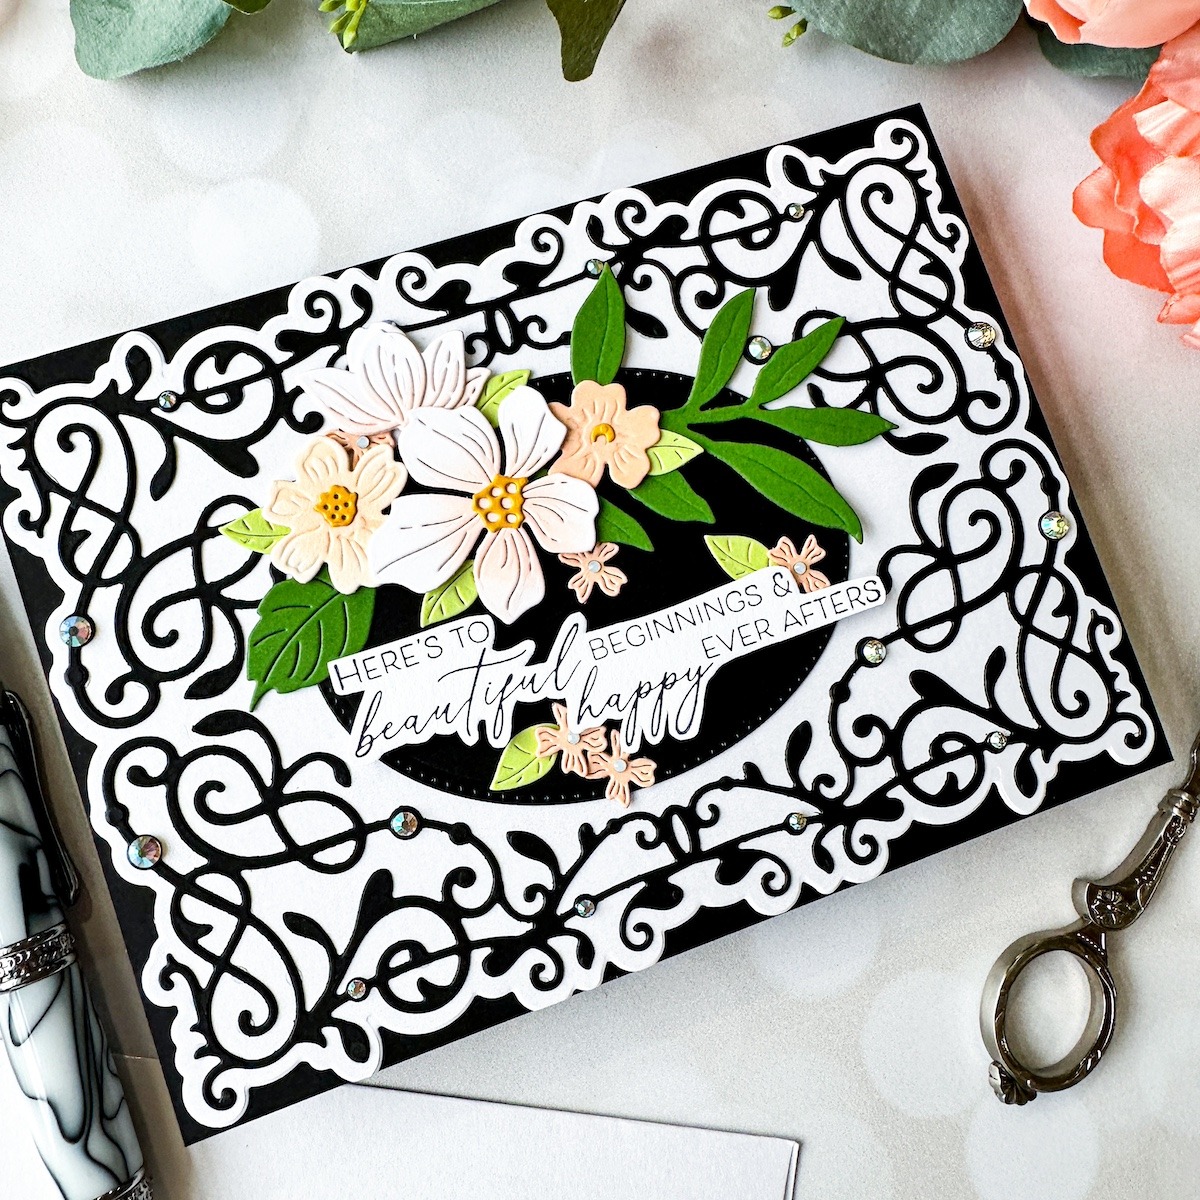
For my final card, I continued the crisp color palette, really showing off the gorgeous details of the new Timeless 5×7 Card Front dies with crisp, stark black detail die cuts on that beautiful pearlescent Brushed White cardstock.
- Die cut both sides of the detail layers on the Timeless 5×7 Card Front frame from black cardstock. Die cut the large solid background from Brushed White cardstock.
- Die cut solid pierced oval from black cardstock, then add both the detailed frame die cuts and the solid oval to the center of the solid white die cut piece using liquid adhesive.
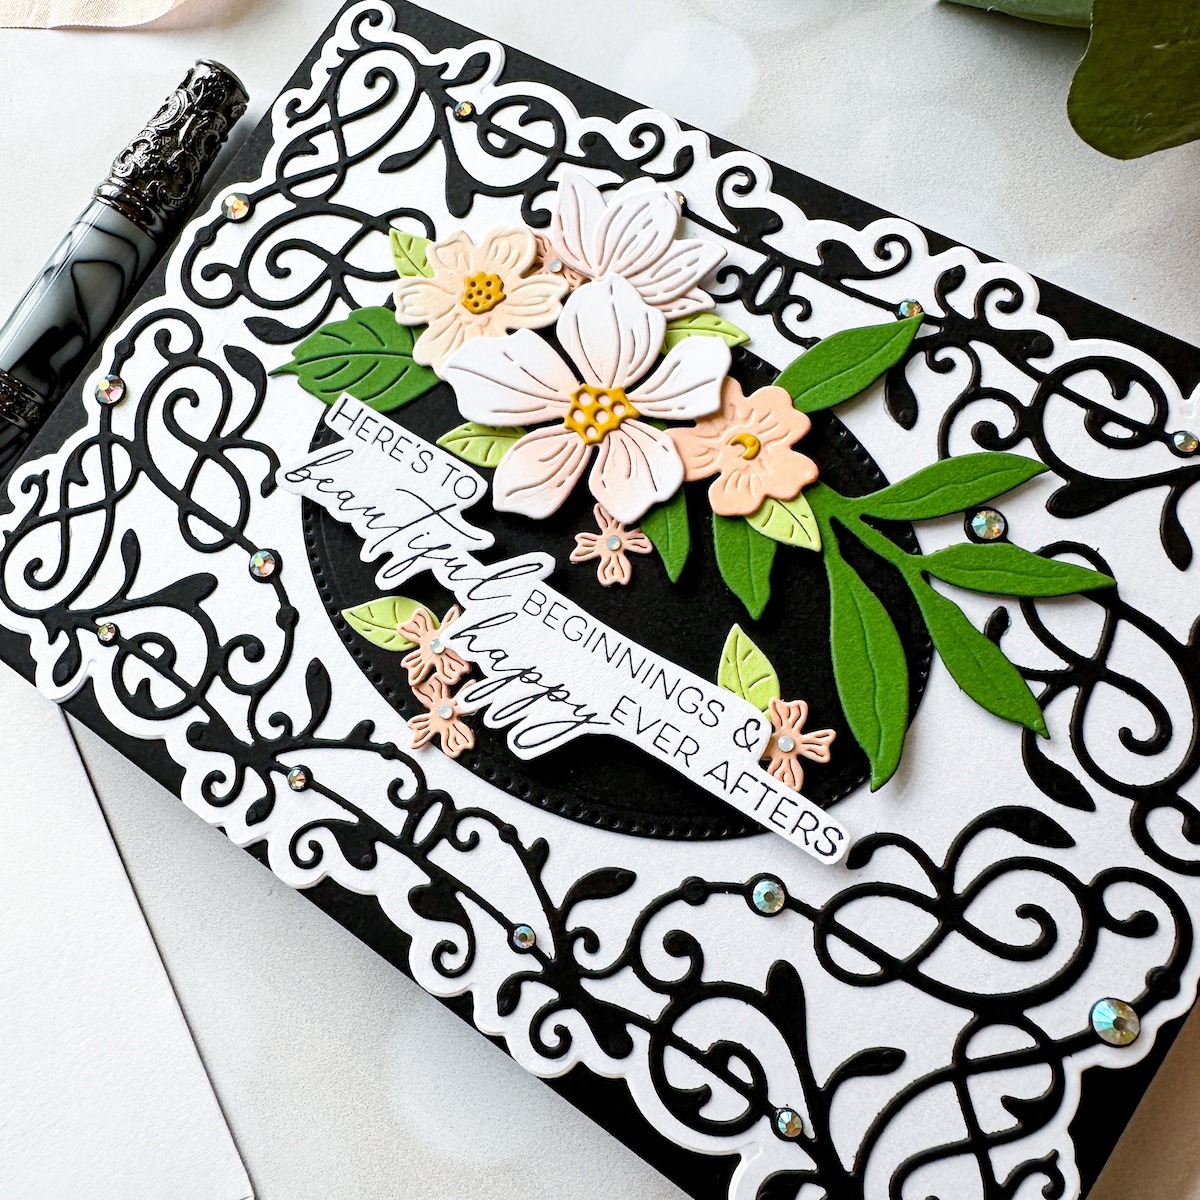
- Die cut flowers and foliage from the Vintage Florals, Four Petal Thank You, and Victorian Garden Foliage die sets using white, Barely Peach, Peach Sorbet, Tuscan, Fern, and a bright lime cardstock.
- Enhance shadows and debossed details with ink blending on peach flowers using a small blending brush and peach ink.
- Assemble florals using liquid adhesive.
- Using the BetterPress, impress the poignant sentiment from New Beginnings Timeless Sentiments set onto Porcelain BetterPress paper using black BetterPress ink.
- Use sharp scissors to fussy cut the sentiment.
- Adhere the sentiment to the solid black oval, then arrange floral die cuts around the greeting.
- Adhere the floral pieces using both liquid and foam adhesive for varied heights.
- Finally, add some Aura AB adhesive-backed gems to the circles on the detail layer of the background. It almost reminds me of fancy wrought iron!
Well, that’s all for my projects today. I am so in love with these beautiful and super-detailed dies; they make wonderful accents but are so detailed that they can easily stand on their own! They are going to be staples in my collection, for sure. If you’d like to see more of my work, you can check out my blog at EmilyMidgett.com. Thanks so much for reading, and thanks to Spellbinders for having me as a guest! Have a marvelous day!
Spellbinders Supplies:

Other Supplies Used
Concord & 9th Nectar Ink, Hero Arts Basics Glitter Paper

One Comment
cnhollenbeck56
Stunning cards Emily!