Fun Ways To Add Beautiful Sparkle To Your Cards
Hello there Spellbinders friends! Lisa Tilson is here with you today on the Spellbinders blog. Today we are going to be playing with glitter cardstock! I have lots of examples and ideas for you and some great tips to help you get the most out of your cardstock. I love to add glitter cardstock to my cards, often in fairly subtle ways, but there are also many ways of really showcasing the beautiful texture and sparkle.
So first let’s take a look at the cardstock itself.
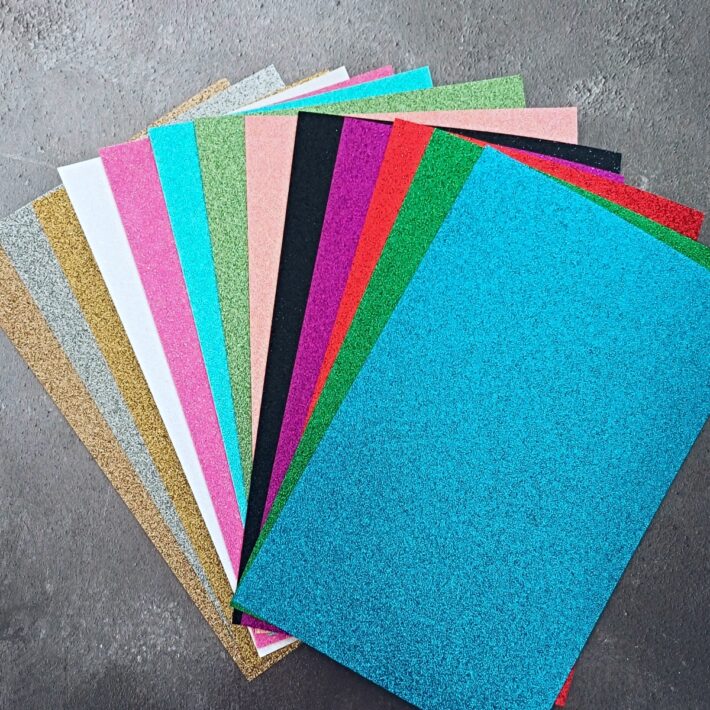
Included in the picture are Champagne, Silver, Gold, followed by the five Spring Tones Glitter Cardstock colors, and then the five Jewel Tones Glitter Cardstock colors. Although this cardstock has a texture when you touch it, it does not shed any glitter at all – so this makes it even more fun to use as you don’t need to clear up any mess. Each pack of glitter cardstock contains 10 sheets of premium cardstock – 8.5” x 11”. In the Jewel and Spring Tones packs, you get two sheets of each color.
Let’s take a look at five different ways that we can use this beautiful sparkly cardstock which, let’s face it, is not just for Christmas – I use it all year round!
For some of my ideas, I have a completed card to share with you but for others, I just have a few “work in progress” photographs. So, let’s get started!
Using Glitter For Die Cuts
I think that using glitter cardstock for die cuts is probably the way I use it the most. There are so many ways you can use it for die cuts. Here are just a few.
If you take a look at your dies, you will see many options of incorporating glitter. It doesn’t have to be a lot. Sometimes less is more. Sometimes more is great! That is the beauty of the cardstock and all of the colours are so gorgeous. Here are some ideas:
- Die cut flowers, stems, foliage, flower centers. Create little bouquets and mix and match glitter with plain card for extra interest.
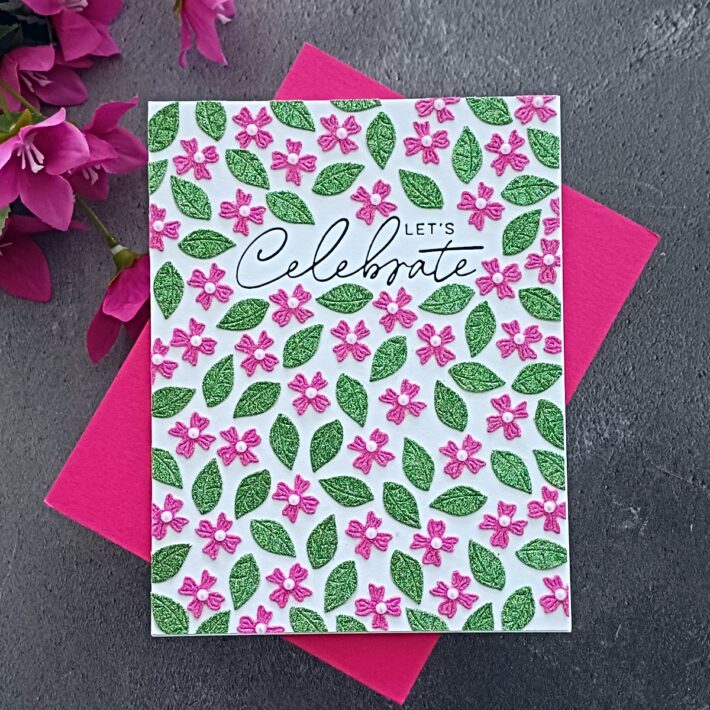
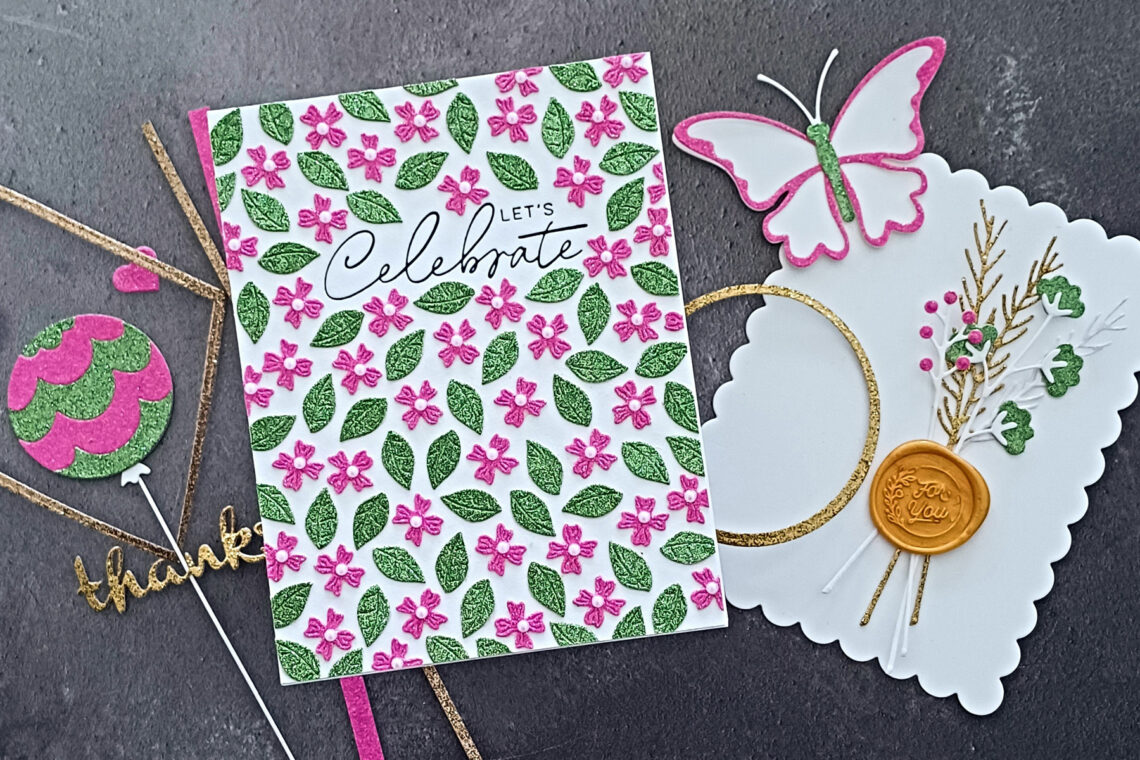
- Create a background with small die cuts – this is a fantastic way of creating impact. See my card below!
- Glitter Words – dig out your word dies – such a simple way to add sparkle to any project.
- Frames – cut a glitter frame to use as a focal point on your card and draw your eye into whatever is inside!
- Use it to create a frame around a sentiment – for example, stamp a sentiment onto card, cut it using a circle die, and then cut a thin frame to go around the outside. This is such a pretty touch and highlights the sentiment
- Die-cut bows/ribbons – for example, just add glitter cardstock for the bow and ribbons when using a present die-cut.
- Use a little glitter heart to seal an envelope.
- Snowflakes – always look gorgeous when glittery! Mix up the colors for extra pizzazz!
- Ornament toppers and strings – these are little touches but can make a big difference.
- Balloons, strings, balloon knots – it’s a celebration, so why not add a ton of sparkle!
- Stripes on a candy cane – little glittery sections to make a simple die-cut shine
- Butterfly body and butterfly wings. Customize the colors for more interest. You can see how to do that later in this post.
- Use with your color block dies for instant wow! Switching up colors in different sections looks so pretty. Similar to die-cut inlay which you will also see a little bit later on.
- Embellishments – hearts, stars, little dots/circles that can look like sequins
These are just a few that came to mind – there are many more!
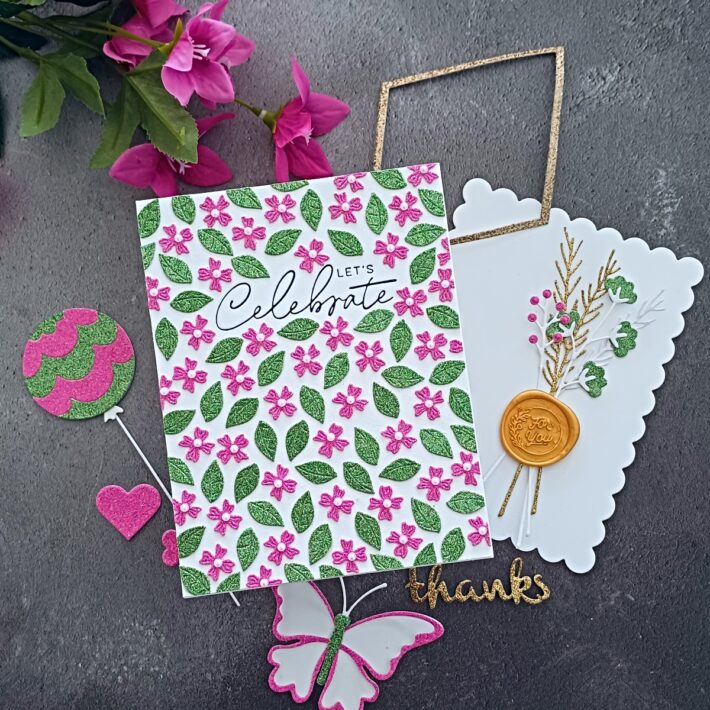
As you can see from the two photos above, I created a background with small die cuts. I could have just cut the flowers with glitter, or just the leaves, but as the die cuts were small, I decided to do both. Isn’t that just so pretty? The dies are from Four Petal Thank You Floral Etched Dies and the sentiment is from Let’s Celebrate Sentiments Press Plate and Die Set and it was simply pressed with Black Ink onto Porcelain Cardstock. I added some white pearls into the centers of the flowers just to finish them off.
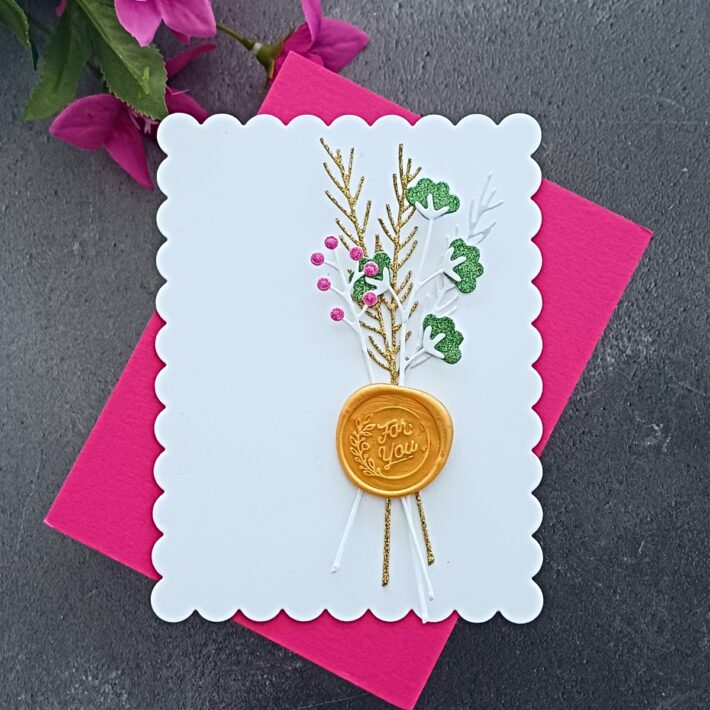
For this next “work in progress” card, I die-cut just some of the elements from glitter card. Some were just cut from plain white card.
The set I used is the Sealed Botanical Sprigs Etched Dies and they have been mounted onto a panel that I die cut from Heartfelt Thanks and Scallops Etched Dies. I used the Wax Seal Starter Kit to create a gold seal to place over the stems.
Using Glitter Cardstock With Die Cut Inlay
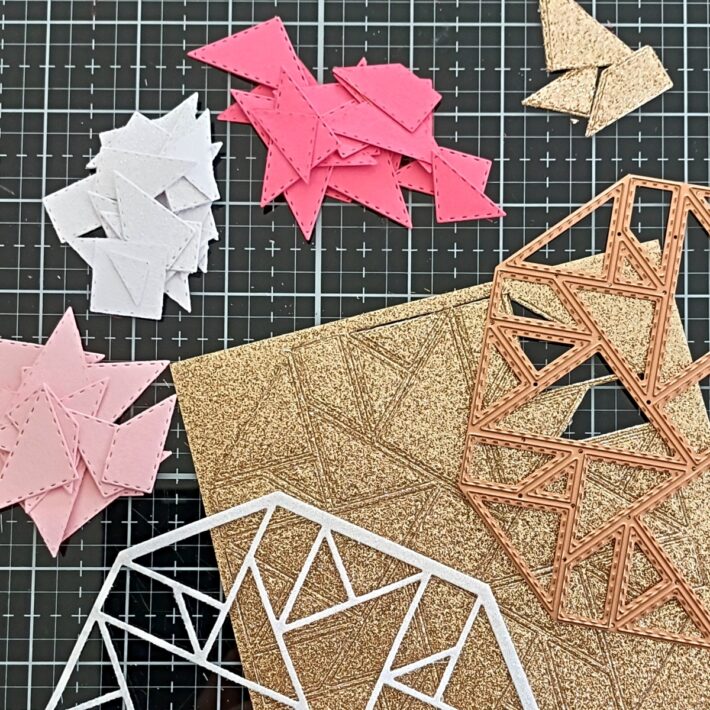
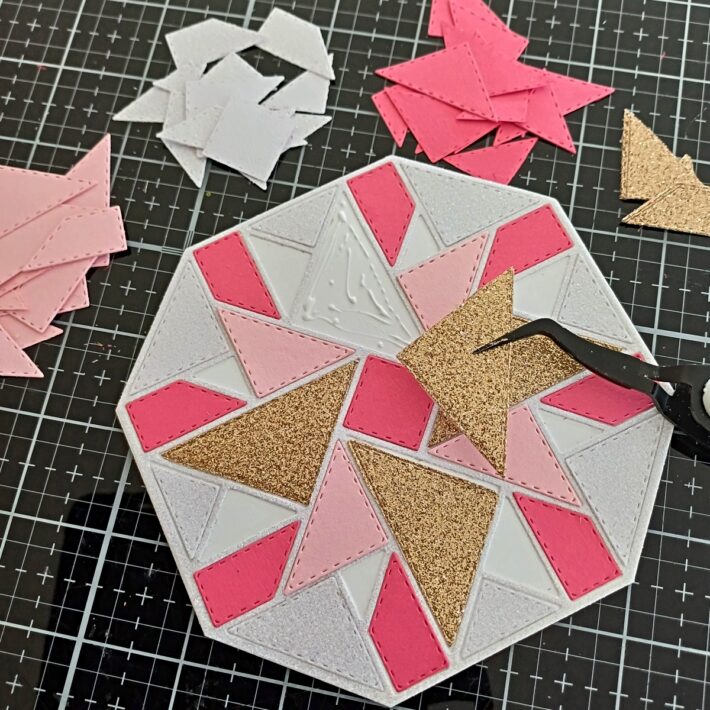
This is a really fun way of introducing glitter into your design. Depending on what die you choose for your inlay, you could insert just a few colors or have glitter in every section.
For my example, I used the Layered Windmill Etched Dies. This has a symmetrical pattern in a hexagon shape and it is really fun to use. I used the white glitter card from Spring Tones, along with the Champagne Card.
Tip – If you find you are not getting a clean cut when you die cut your glitter card, insert a metal shim, or any shim to help with the pressure. When preparing your die-cutting sandwich, place your card/die on the cutting plate at an angle. All of this helps to get a clean cut. You may also need to run it through your machine a couple of times.
Once I had finished the inlay I decorated my panel with some flowers from Mini Blooms And Sprigs Etched Dies and a sentiment from Making Me Smile Sentiments Glimmer Hot Foil Plate and Die Set which had been foiled with Black Glimmer Hot Foil.
The Home Sweet Quilt Collection has several other dies that would work really well for this technique. Just go to town picking out pretty colors and have a little jigsaw fun!
Stitching On Glitter Cardstock
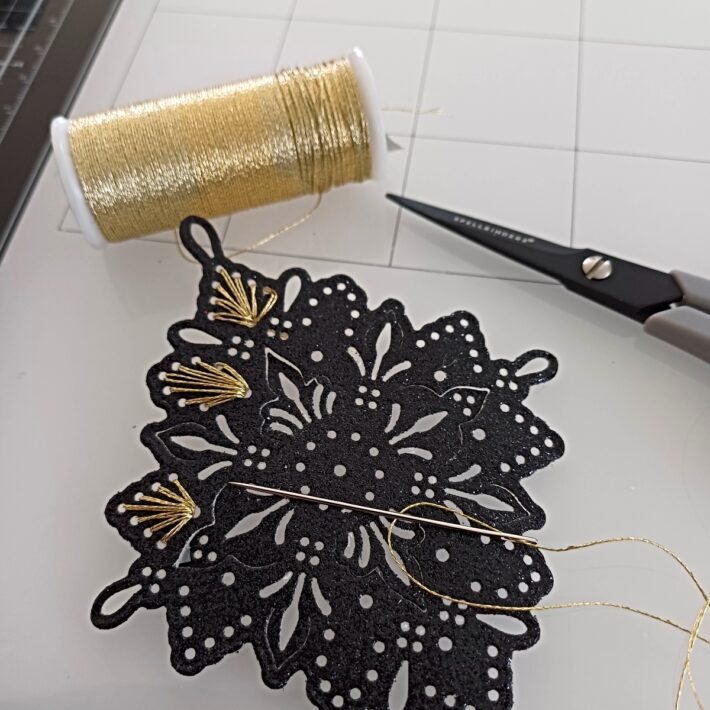
I have never used glitter cardstock to stitch on, so thought I would give it a try! I went with a black and gold color scheme – I just LOVE the drama of black and gold. The black card comes from the Jewel Tones pack and it’s fabulous. As this is quite an intricate die, I did find that I needed a shim when die-cutting this cardstock and I did run it through my machine a number of times.
First up, I cut the Stitched Medallion Etched Die from a black glitter card. I then picked a beautiful light gold thread from DMC Essential Metallics Diamant Metallic Thread Bundle. I stitched a few of the sections and I love the result!
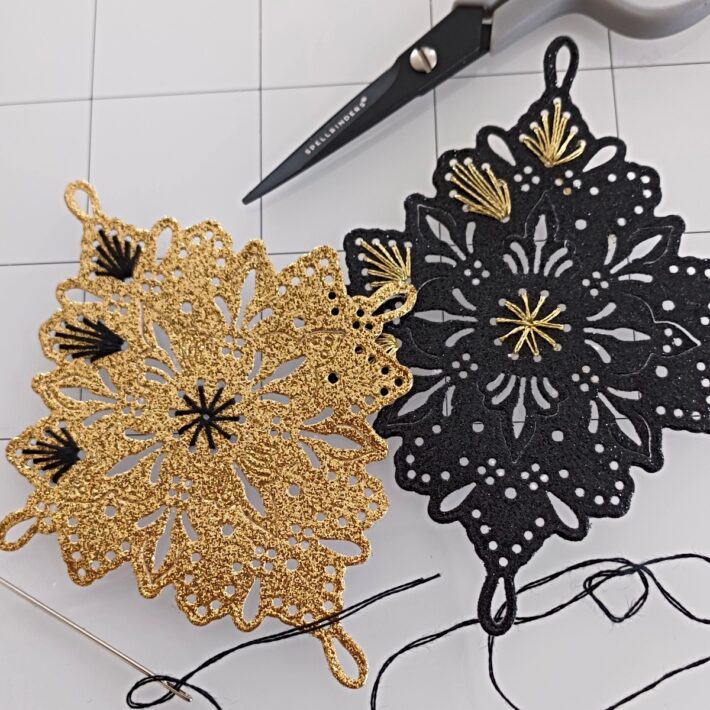
The glitter cardstock felt much more stable than the normal cardstock I use and usually, if I stitch, I cut two layers to give the die cut some stability. However, I found that I didn’t need to do that with this glitter card. It was easy to work with and held its shape well….with lots of handling!
As I loved the black so much, I tried it on gold card and just used a black thread instead. I don’t know which I liked more but I will mount both of them onto black card – maybe with some scored lines on it when I come to finish the cards off. I may also add some gems for extra embellishment.
Glitter Cardstock Stripes
There are so many ways in which you can use stripes on your card! Here are a few to get started:
- Stripes behind a floral die-cut
- Stripes behind a glimmer flower die-cut
- One stripe down the side of a card
- Small stripes at the sides, or at the bottom
- A glitter stripe offset under a sentiment die-cut
- Mix glitter stripes in with foiled stripes for a super luxurious look!
- Create a weave pattern with different colored strips, add it behind a window, or make it the star of the show on your card!
- Stripes behind a window – add a word die cut across it or a butterfly – the world is your oyster with this particular way of using them.
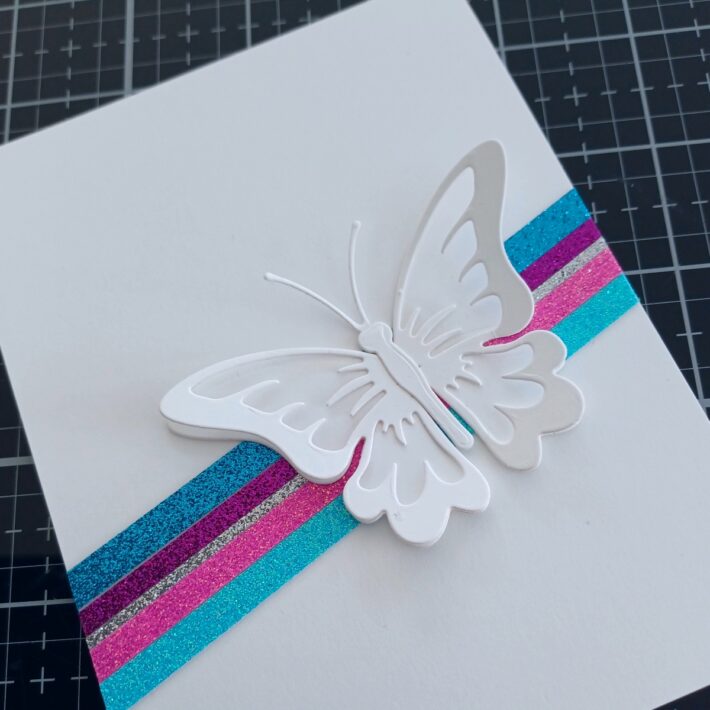
For this first option, which is a work in progress, I added stripes diagonally across the panel. I varied the widths to make it more interesting.
Tip – a really quick way to adhere these to your background panel is to line them up, add some low tack tape onto the front to hold them together, flip them over and add your glue, and then simply pick them all up and flip them back over before pressing down onto your panel.
I used colors from both Spring Tones and Jewel Tones along with a small strip of silver. I die-cut two of the butterfly layers and the body from Layered Butterfly Etched Dies, adhered them together, and then placed them over the strips. I will add a sentiment just under the turquoise blue line and probably some gems on the body. Maybe even a few foiled splatters. I’m not sure yet. I’ll see how it goes…
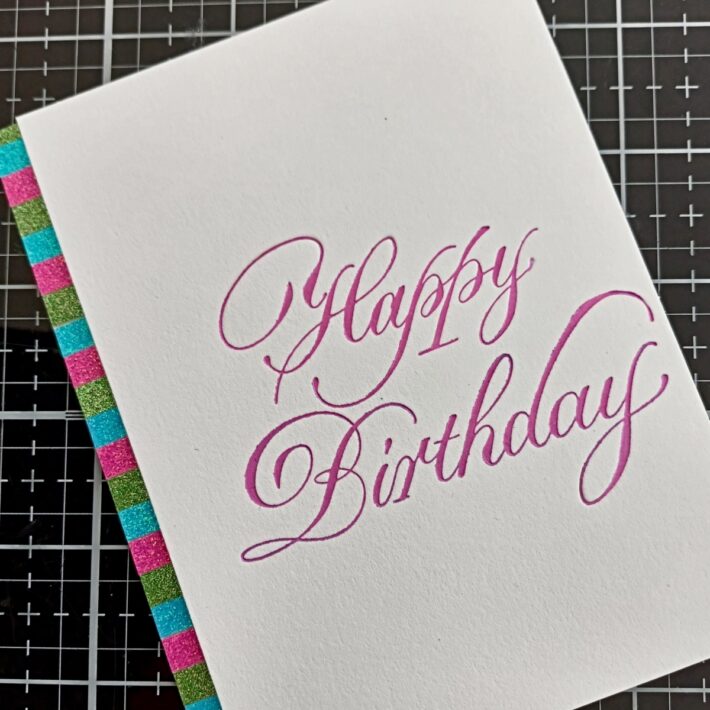
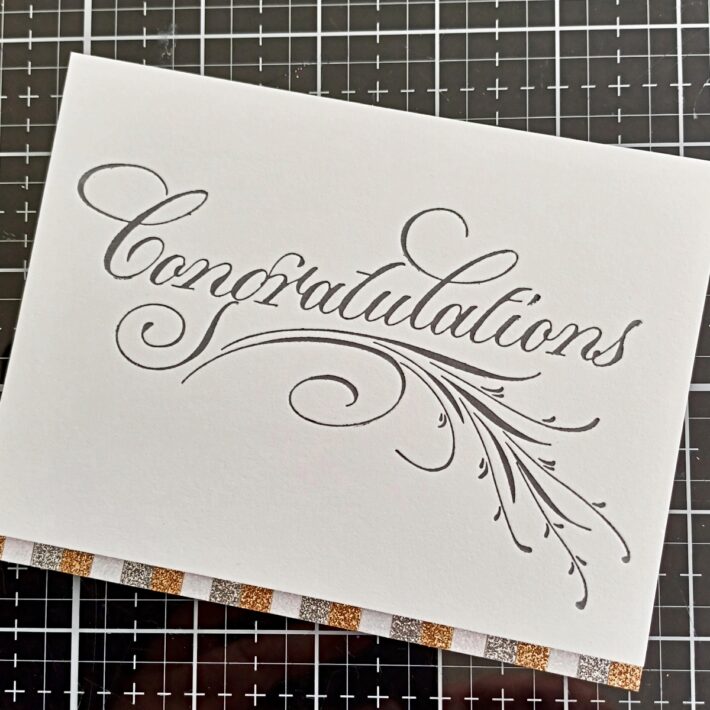
For this next option, I added Spring Tones stripes down one side of the card panel, and Silver, Gold and Champagne along the bottom of another. I pressed the Copperplate Happy Birthday using Wild Berry Ink onto Porcelain Cardstock. The Copperplate Congratulations was pressed using Thunder Ink onto Porcelain Cardstock. I will finish both of these cards with some die-cut flowers and gems.
Customizing Colour On Your Glitter Die Cuts
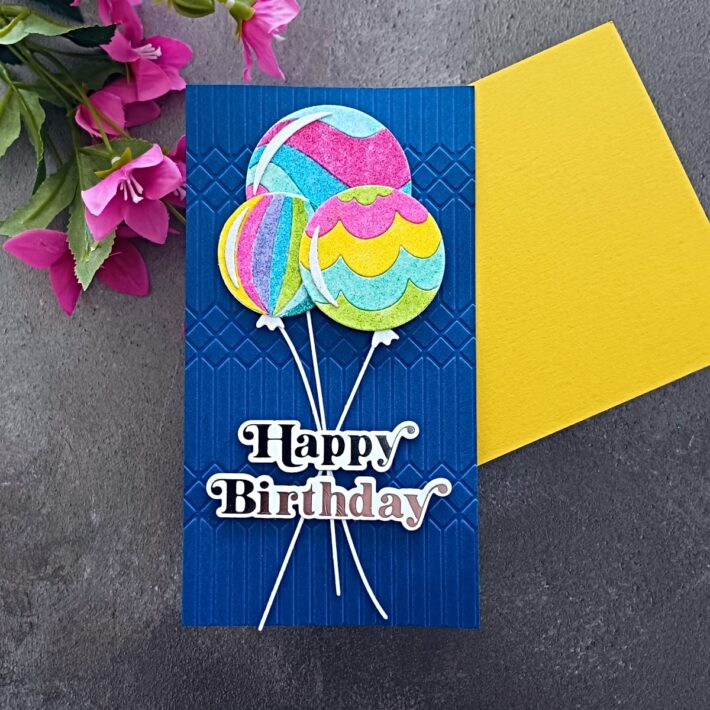
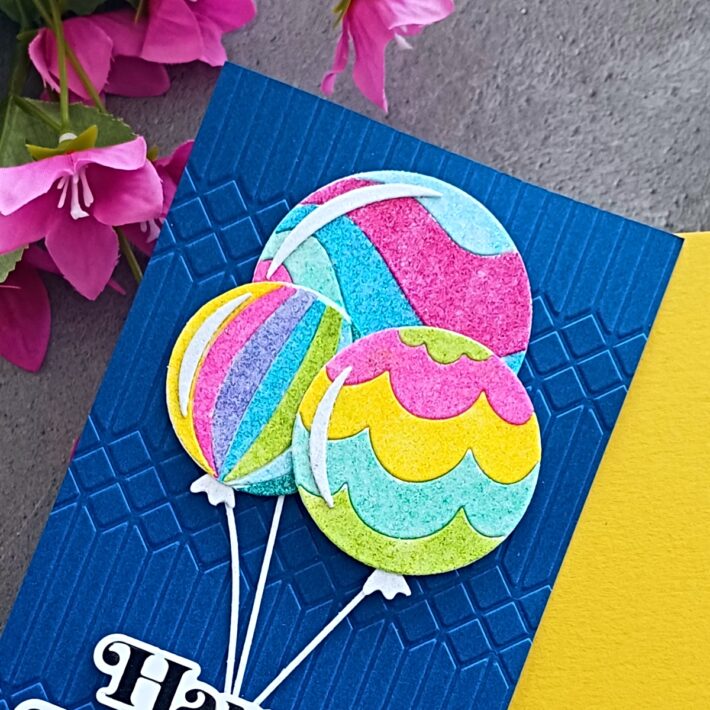
For my final idea, I thought I would color my die cuts using alcohol markers. This is a really great way of customizing a white glitter card to the exact color you want and to match any other elements on your card. I have used some balloons to show you how it looks but it would look great on so many other dies – frames, word dies, umbrellas, flowers, leaves, etc.
Tip – I used Copic Markers, but any alcohol markers would work just as well. You could also use watercolor markers but they would need to dry after application.
I die-cut the balloons from Color Block Balloons Etched Dies from white glitter card and then colored them with Copic Markers. I used RV06, RV09, BG23, BG49, YG23, B01, B04, Y08 and BV13. The colored sections were then added onto the corresponding circle die cut which I had added a double-sided adhesive sheet to. The strings and balloon knot were also cut from a white glitter card.
They were added onto a mini slimline Cosmic Sky panel (3.5” x 6.5”)which I embossed with Columns Embossing Folder. I used some thin tape behind the balloons for added interest and finished with a sentiment from Be Bold Glimmer Sentiments Hot Foil Plate and Die Set.
Another idea would be to take a panel of white glitter cardstock and color it to create an ombre-colored background. This would look particularly lovely behind white or black die cuts!
Other Ideas For Making The Most From Your Glitter Card
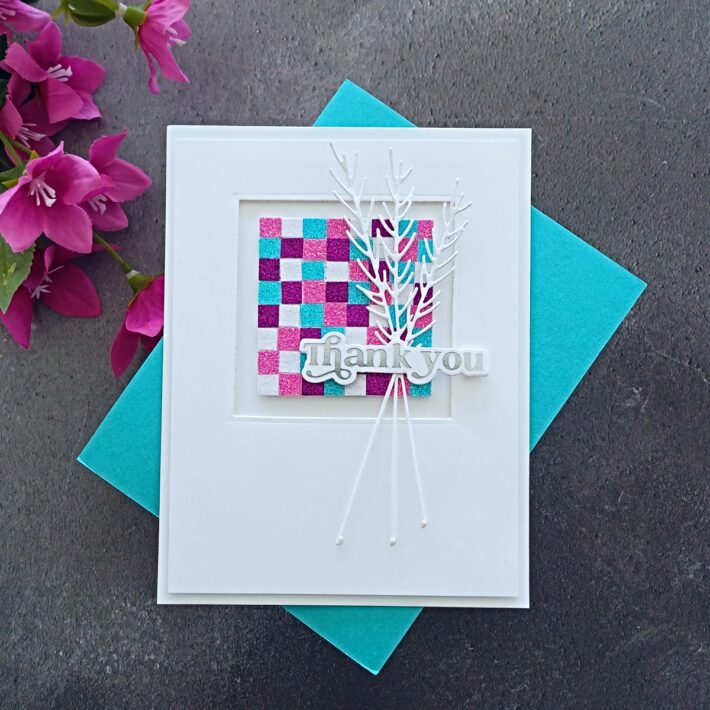
Why not try making a mosaic out of glitter squares? This would look particularly lovely as a vase, or maybe as a tile. For my card, I created a pretty mosaic tile and framed it with a window.
Tip – these little squares are 0.25” x 0.25” so they are a great way of using up scraps or strips of card.
Simply cut all your squares and then adhere them onto a square piece of card that has got some double-sided adhesive on it. I cut a window frame using the Everlasting Squares Etched Dies and then added some foam tape behind it. I popped my tile into the center using foam tape. To finish the card, I cut the sprigs from Sealed Botanical Sprigs Etched Dies from a white glitter card. I also foiled a sentiment from Must-Have Sentiments Glimmer Hot Foil Plate and Die Set using Silver Foil and adhered it over the sprigs with some more foam tape.
Tip – do not worry if your squares are not exactly the same size. If you were creating a mosaic then the tiles would be uneven.
So that brings us to a close! I hope that you enjoyed seeing some of the many ways you can use glitter cardstock on your projects. If you would like to see more of my cards, I would love to have you join me over on my blog, Instagram, Facebook, or YouTube. In the meantime, thank you so much for joining me here on the blog today. I hope that you have a great day!
Spellbinders Supplies:

Other Supplies
Neenah Solar White Classic Crest 80lb and 110lb, Concord & 9th Ballet Slipper Card, Concord & 9th Honeysuckle Card, Hero Arts Tweezers, Embellishment Wand, Thin Foam Tape, Double-Sided Adhesive Sheet, Copic Markers, White Glossy Pearls, Black DMC thread.

