-
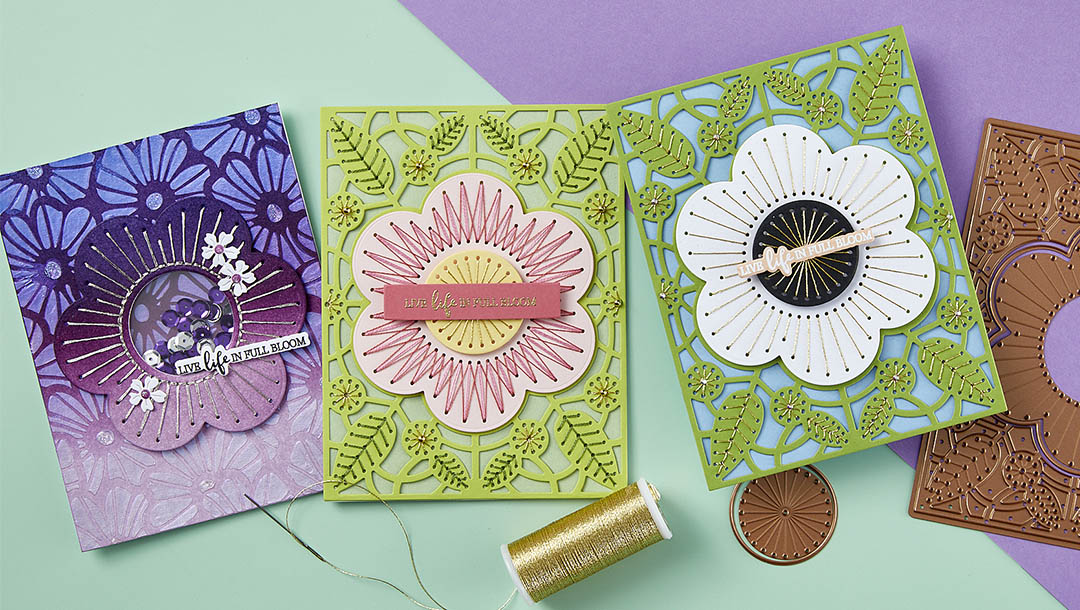
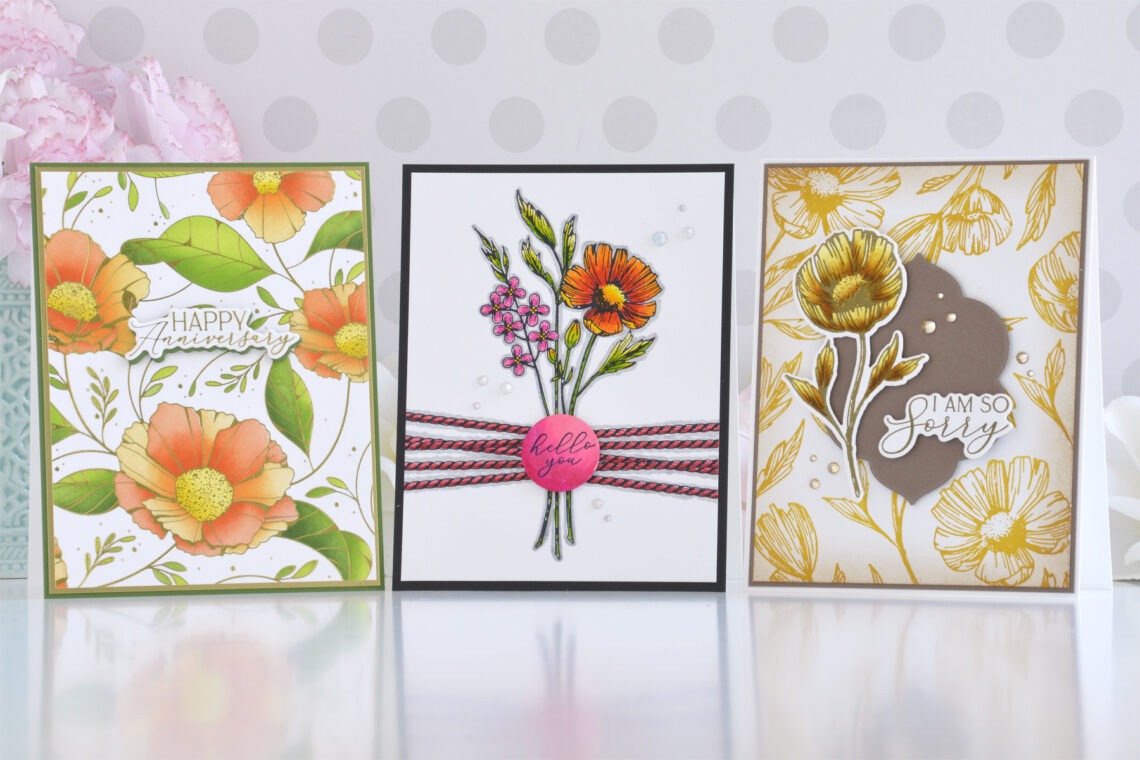
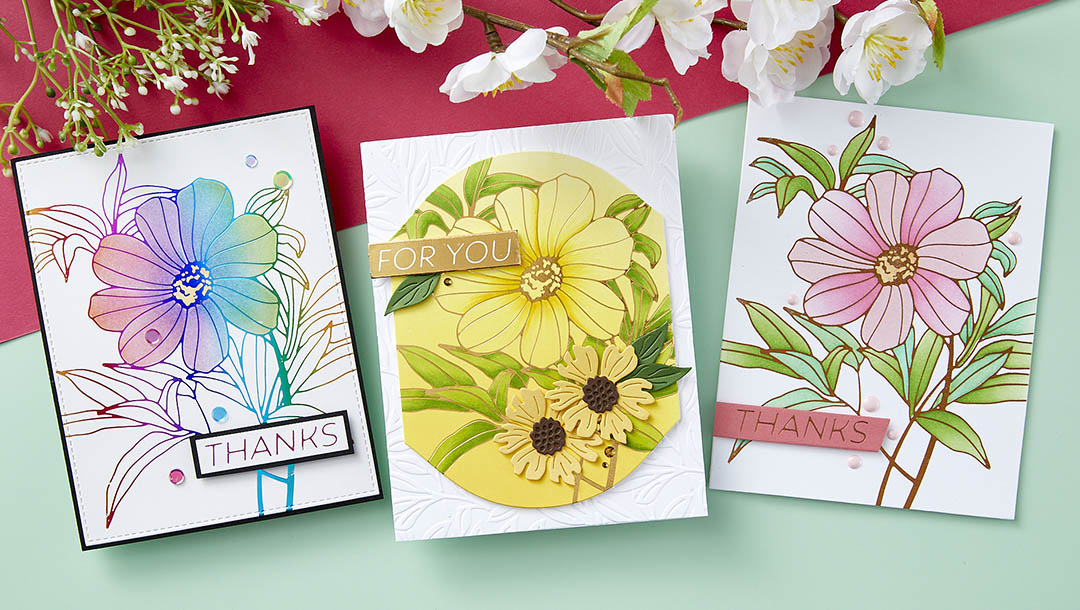
February 2024 Stitching Die of the Month Preview & Tutorials – Stitched Floral Focal Card Front
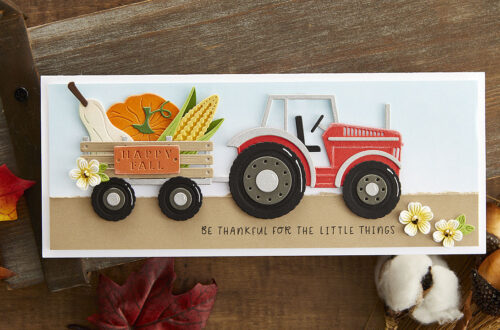
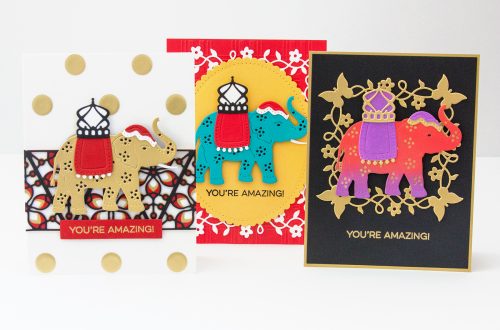
Join the Stitching Die of the Month Club and receive an expertly designed die set each month, complete with inspiration. The January 2024 Stitching Die of the Month preview & tutorials are here! This “Stitched Floral Focal Card Front” die set features 5 cutting dies. Enjoy the step-by-step tutorial below as well as the video tutorial to get you started with this month’s kit! Make sure to show us what you create by tagging #SpellbindersClubKits on social media! Please note, new Subscription Sign-Up Window will now open on the 6th of each month and close on the 27th (once existing club members subscriptions have been processed.) If there is additional…
-
February 2024 Large Die of the Month Preview & Tutorials – Floral Bunny Basket
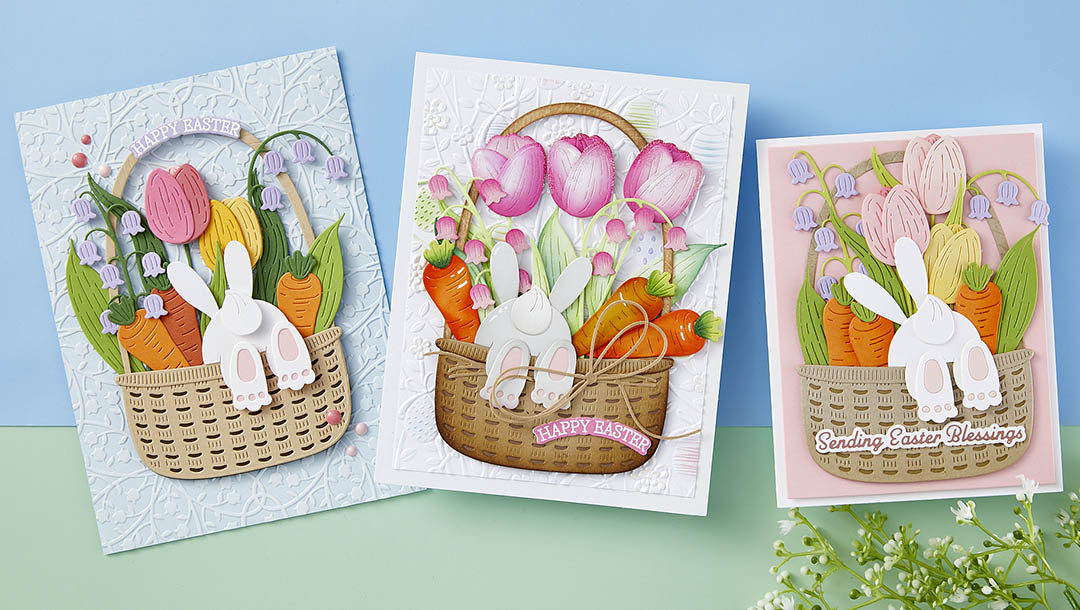
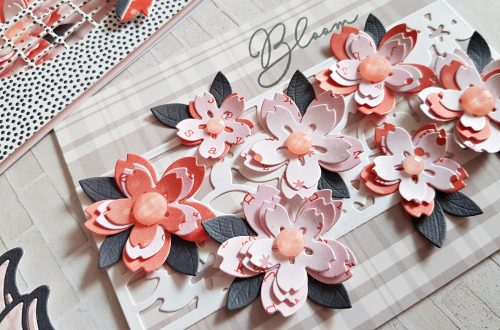
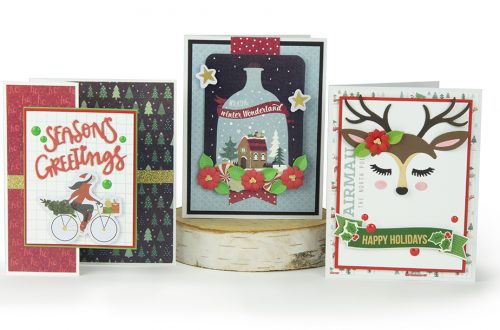
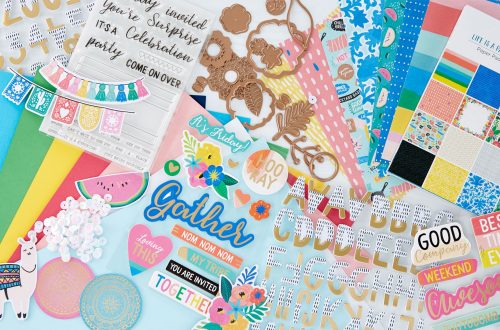
The February 2024 Large Die of the Month preview & tutorials are here! This “Floral Bunny Basket” die set features 18 cutting dies. Enjoy the step-by-step tutorial below as well as the video tutorial to get you started with this month’s kit! Make sure to show us what you create by tagging #SpellbindersClubKits on social media! Please note, new Subscription Sign-Up Window will now open on the 6th of each month and close on the 27th (once existing club members subscriptions have been processed.) If there is additional inventory remaining, then they will be made available for new subscriptions and will have limited availability. Continuing Subscriptions will charge on the…
-
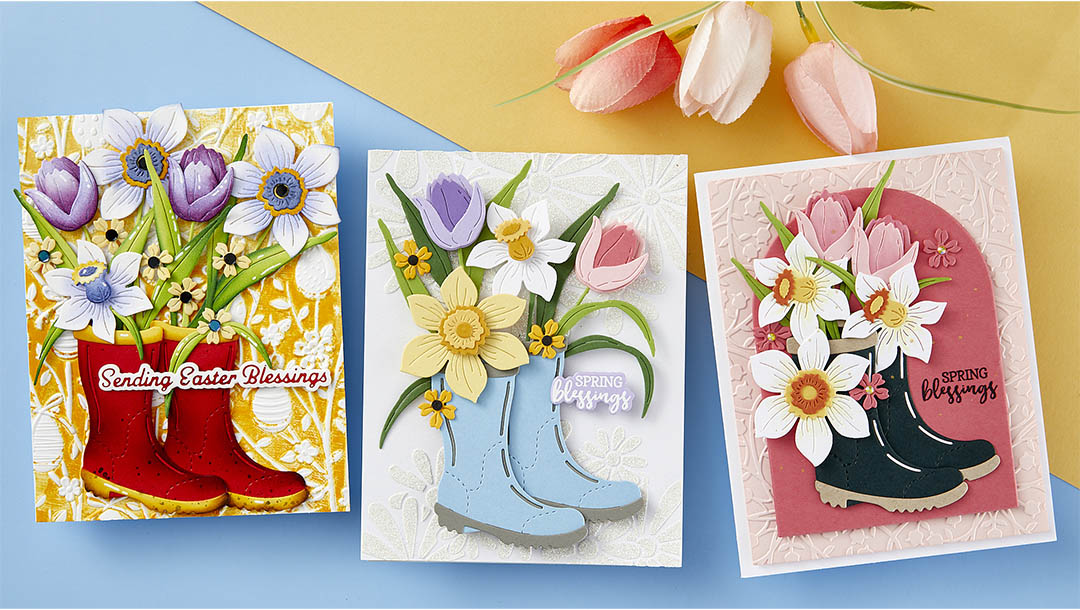
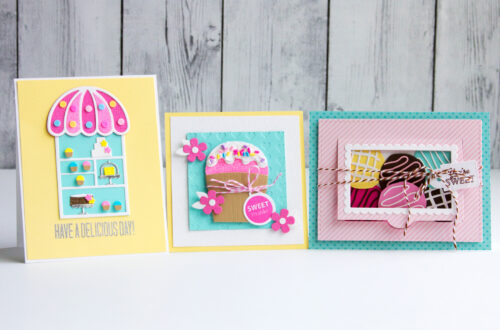
February 2024 Small Die of the Month Preview & Tutorials – Rain Boot Bouquet
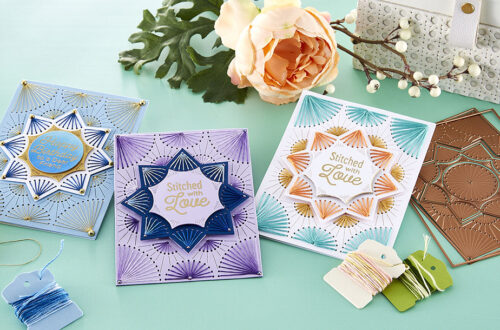
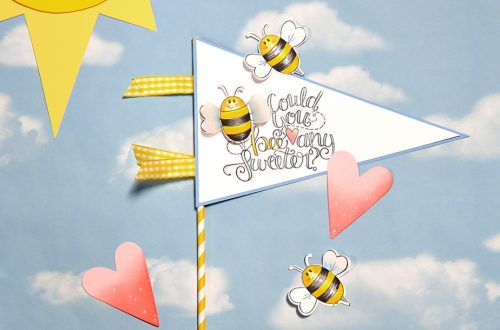
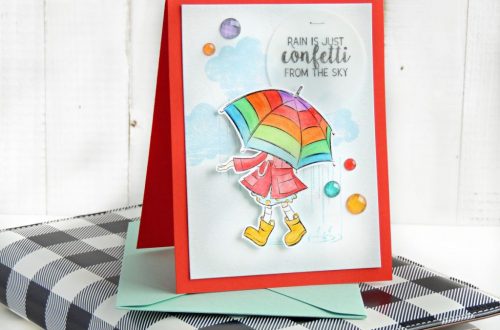
Our February 2024 Small Die of the Month preview & tutorials are here! This “Rain Boot Bouquet” die set features 11 cutting dies. Enjoy the step-by-step tutorial below as well as the video tutorial to get you started with this month’s kit. Make sure to show us what you create by tagging #SpellbindersClubKits on social media! Please note, new Subscription Sign-Up Window will now open on the 6th of each month and close on the 27th (once existing club members subscriptions have been processed.) If there is additional inventory remaining, then they will be made available for new subscriptions and will have limited availability. Continuing Subscriptions will charge on the…
-
A Fresh Look At Your Dies Using Old Techniques
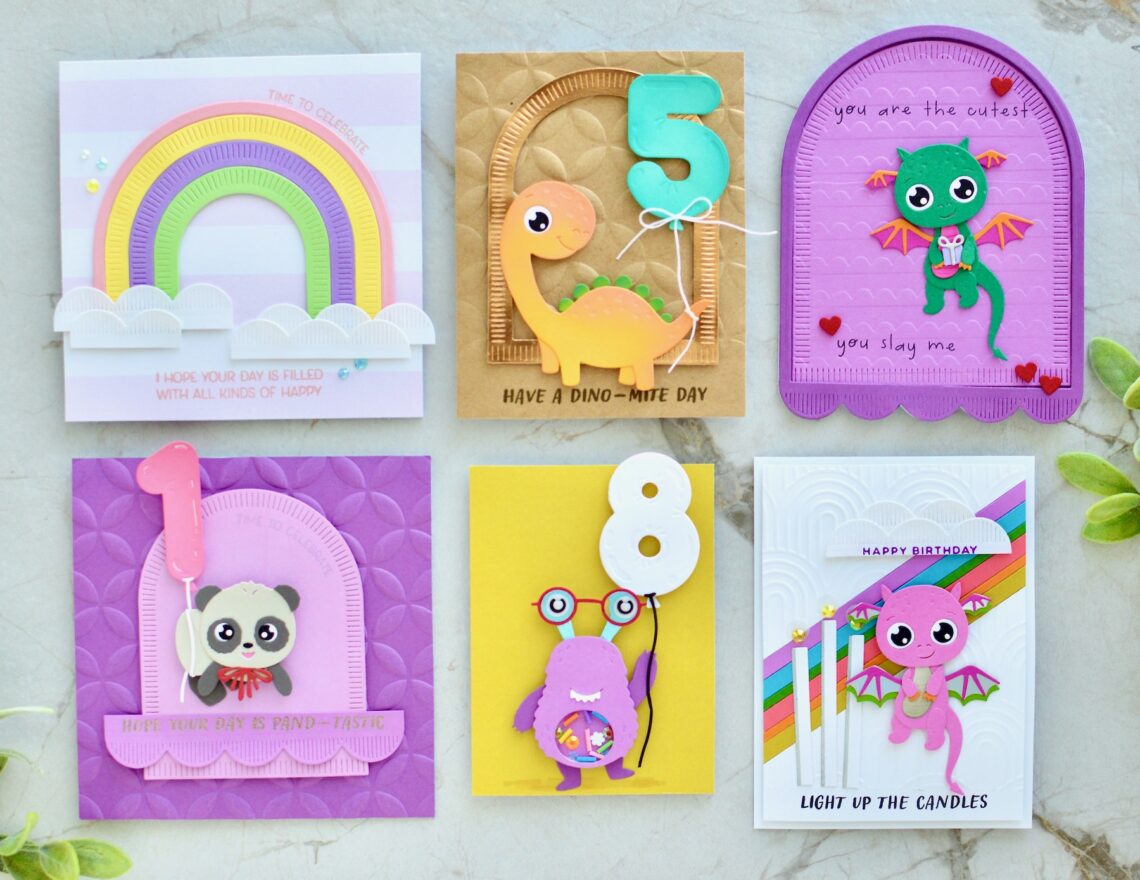
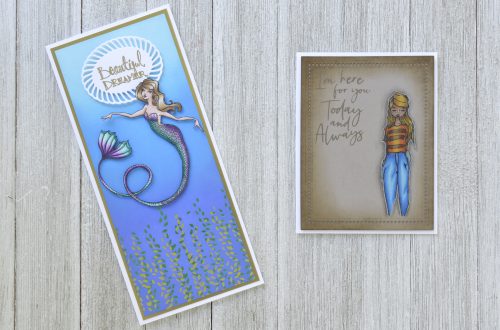
Hello, friends! It’s Savannah O’Gwynn from Savannahland2. I’m honored to be sharing some of my ideas using the Spellbinders Monster Birthday collection die sets. #SAVfact: If you know me, then I have MORE ideas to share than I can fit in one blog post!! In hopes to keep this post short, I have decided to use some OLD craft/cardmaking techniques to create FRESH card designs. We will see how “short” this post will be! Either way- be sure to scroll and read through for lots of inspiration, several tutorials, and lots of tips and tricks! Grab this collection and join me in making some interactive and fun cards for just…
-
Sending Monster-ous and Playful Birthday Wishes
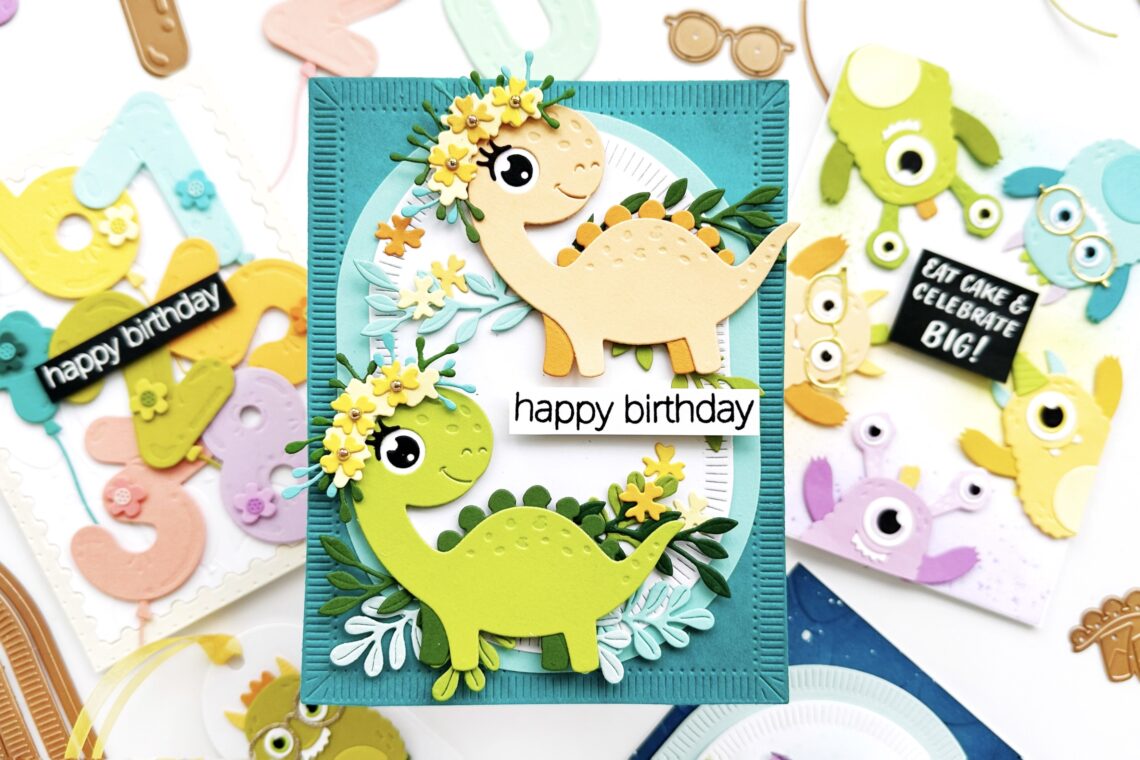
Hello Friends! It´s Raquel here again sharing some colorful fun ideas with the super adorable Monster Birthday Collection. The moment I saw these critters I couldn’t help but smile and think of fun and playful scenes with lots of color. These projects can be used for birthday celebrations or just for a fun surprise card for both children and adults. Some of these little whimsy and fun creatures even dance with its moving legs so there is also that additional surprise. My first project features the super cute Birthday Dinosaur Etched dies. This adorable lady dinosaur stole my heart with her captivating eyes and her gorgeous flower crown. One dinosaur…
-
Fun Floral Cards with the BetterPress Spring Collection
Hi there, this is Annie Williams and I’m excited to be back on the blog today to share a couple of cards made with the new BetterPress Spring Collection from Spellbinders. The delicate floral images and beautiful sentiments in this collection inspired me to create three pretty cards for a variety of occasions this spring. Muted Floral Sympathy Card I thought the dainty floral images in the Flower Stems Press Plate Set were so beautiful that I pulled these out first. Here I inked them up in muted colors and created both a background and focal point for this easy sympathy card. Arrange the plates from the Flower Stems Press…
-
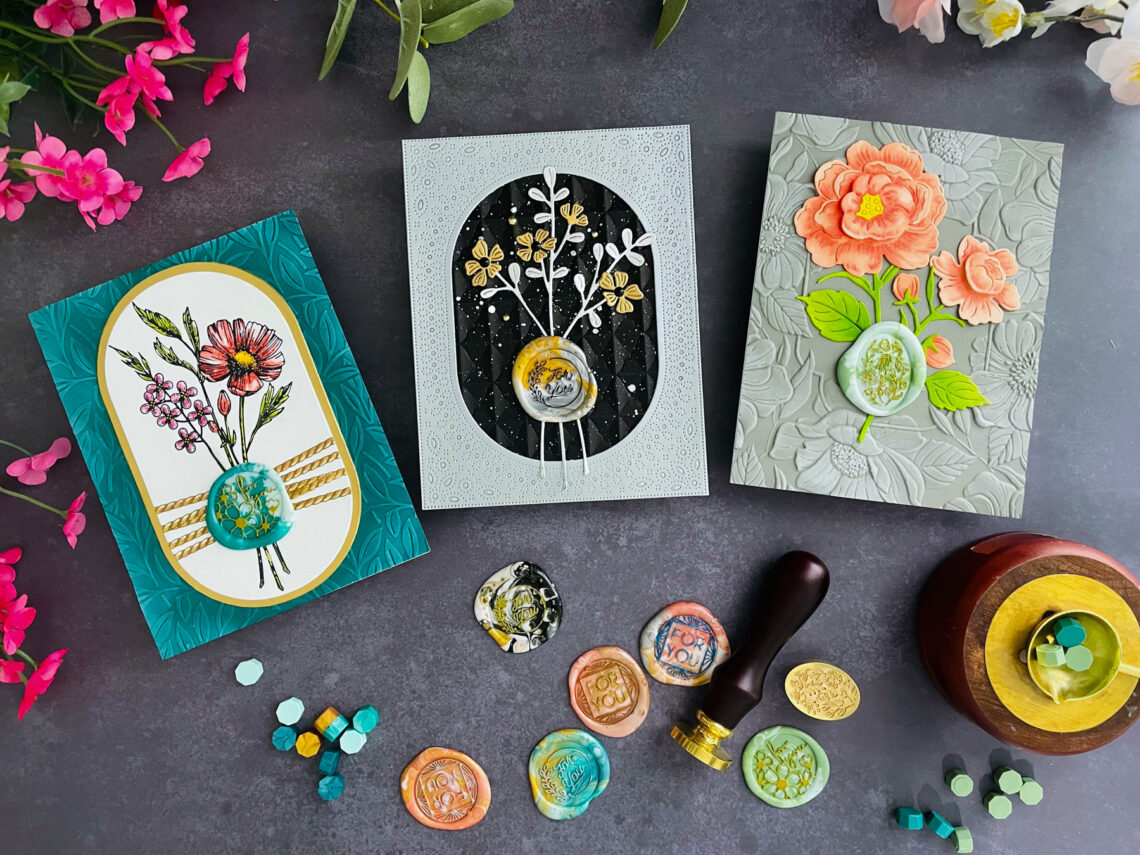
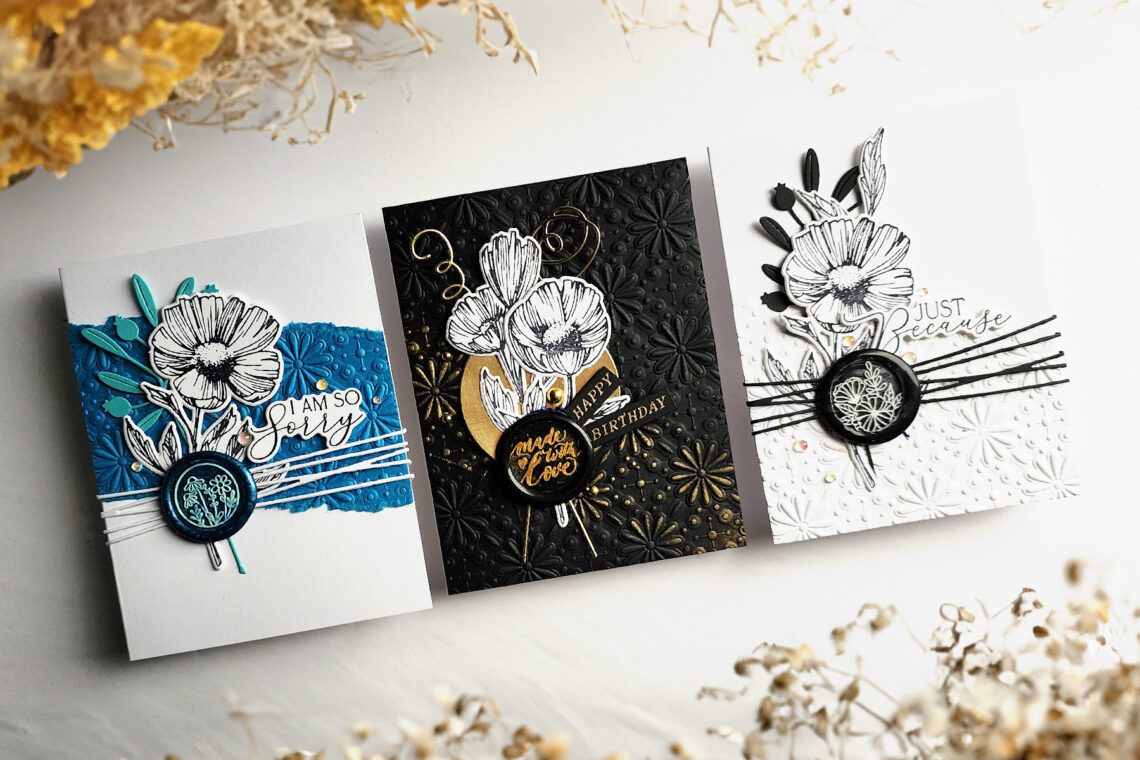
3 Dazzling Cards featuring the New Wax Seal Beads and Bead Mixes
Hello, crafty friends! My name is Heejung Hunsberger, and I am excited to be a guest designer this month. Today, I will share some of my latest projects using the new beads and bead mixes from Spellbinders. The Spellbinder wax beads and bead mixes are stunning. Today, I am showcasing three sets of color-coordinated beads and cards. If you want to know me better, visit my blog or Instagram. I also have a YouTube channel where I post a lot of video tutorials. Spruce & Pistachio Wax Beads Mix Card I made a card using the Sealed Florals BetterPress Plate and the Sealed Cord & Faux Seal Sentiment BetterPress Plate. The card base is…
-
Pretty Wax Seal Projects Made With All New Wax Beads & Bead Mixes
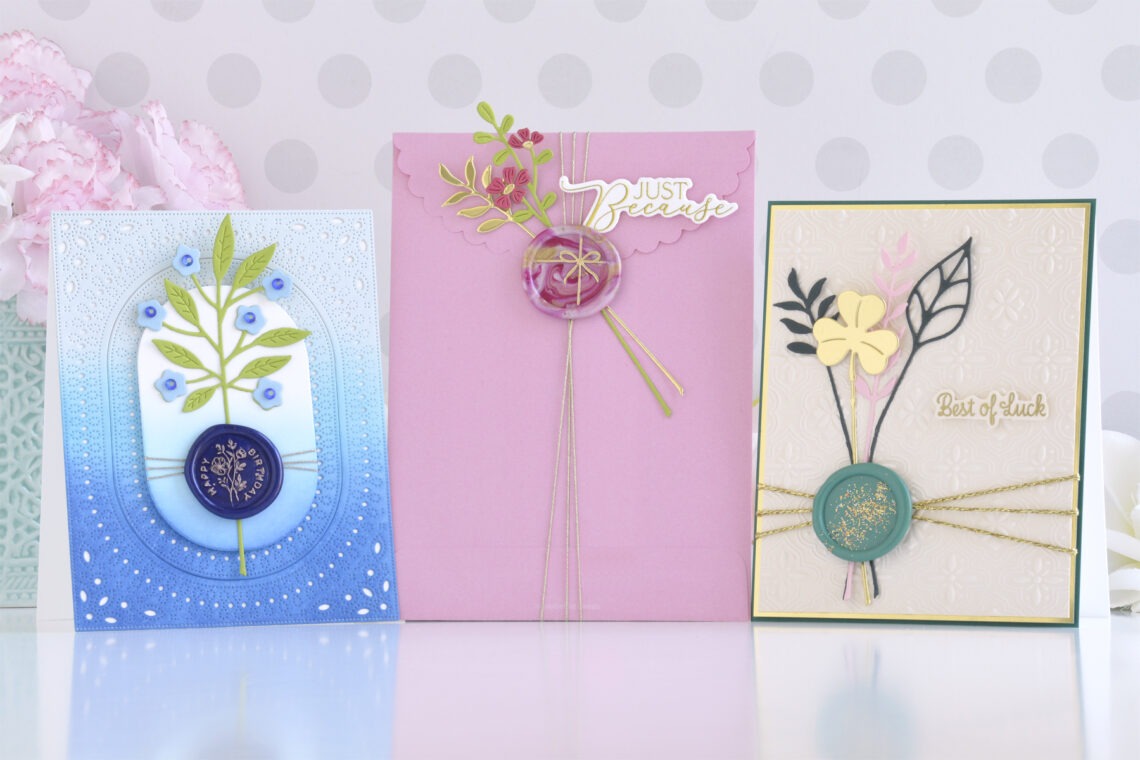
Hi there, this is Annie Williams and I’m thrilled to be back on the blog today to share a couple of projects using wax seals made with the latest wax bead colors and bead mixes from Spellbinders. The fun new colors and mixes give you so many more color scheme possibilities when adding wax seals to your projects and I was inspired to create two cards and a pretty embellished envelope. Birthday in Blues Card I loved the richness of the new Ink Wax Beads and thought it would be fun to create a monochromatic (mostly) birthday card with all of my favorite blue Spellbinders supplies. Melt Ink Wax Beads…
-
Mixing and Layering Wax Beads to Level Up Your Seals
Hey there! Daniel West, here, with some great tips on mixing and layering wax beads to take your seals to the next level. If we graded this tutorial for difficulty, I would say it ranks a 5 out of 10. I prefer this method of layering seals to coloring them with a marker because it makes for a very sharp and clear seal impression with contrast. It also is permanent and won’t wipe off with your finger. Later in January, I will have a YouTube tutorial on my channel. Instructions for layering waxes on seals: Warm your seal a bit over the flame of your votive candle or just let…
-
January 2024 Glimmer Hot Foil Kit of the Month Preview & Tutorials – Card Front Floral
Our January 2024 Glimmer Hot Foil Kit of the Month Club preview & tutorials are here! The Glimmer Hot Foil membership subscription includes an exclusive Glimmer Hot Foil Plate Set + One Roll of Foil (colors may vary). Please note, new Subscription Sign-Up Window will now open on the 6th of each month and close on the 27th (once existing club members subscriptions have been processed.) If there is additional inventory remaining, then they will be made available for new subscriptions and will have limited availability. Continuing Subscriptions will charge on the 5th of each month. This means existing Club Members will still be able to cancel subscriptions or make…