-
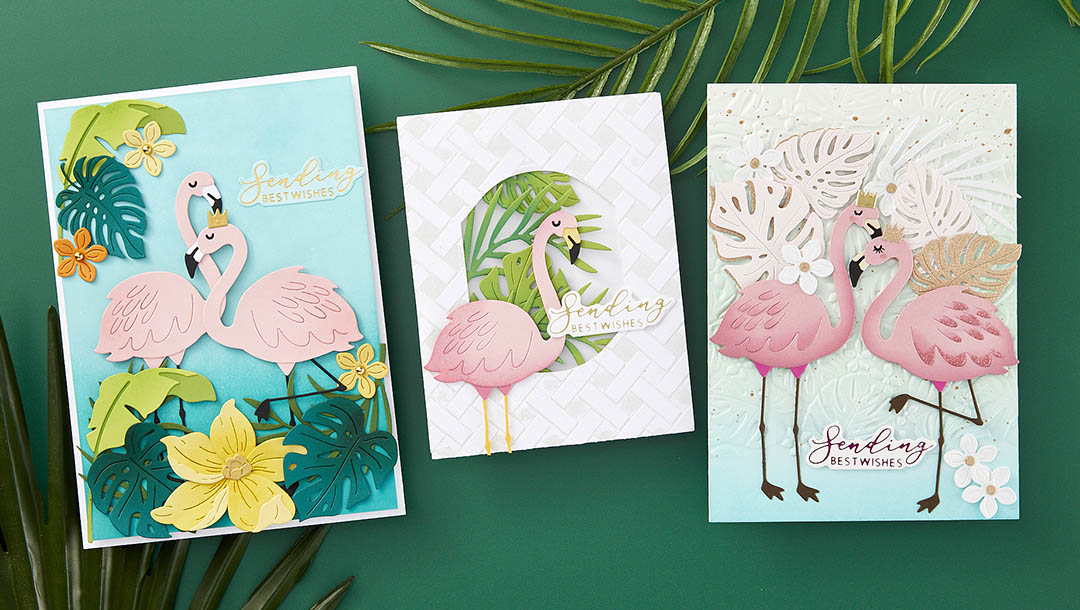
May 2024 Large Die of the Month Preview & Tutorials – Grand Tropical Flamingos
The May 2024 Large Die of the Month preview & tutorials are here! This “Grand Tropical Flamingos” die set features 21 cutting dies. Enjoy the step-by-step tutorial below as well as the video tutorial to get you started with this month’s kit! Make sure to show us what you create by tagging #SpellbindersClubKits on social media! Please note, new Subscription Sign-Up Window will now open on the 6th of each month and close on the 27th (once existing club members subscriptions have been processed.) If there is additional inventory remaining, then they will be made available for new subscriptions and will have limited availability. Continuing Subscriptions will charge on the…
-
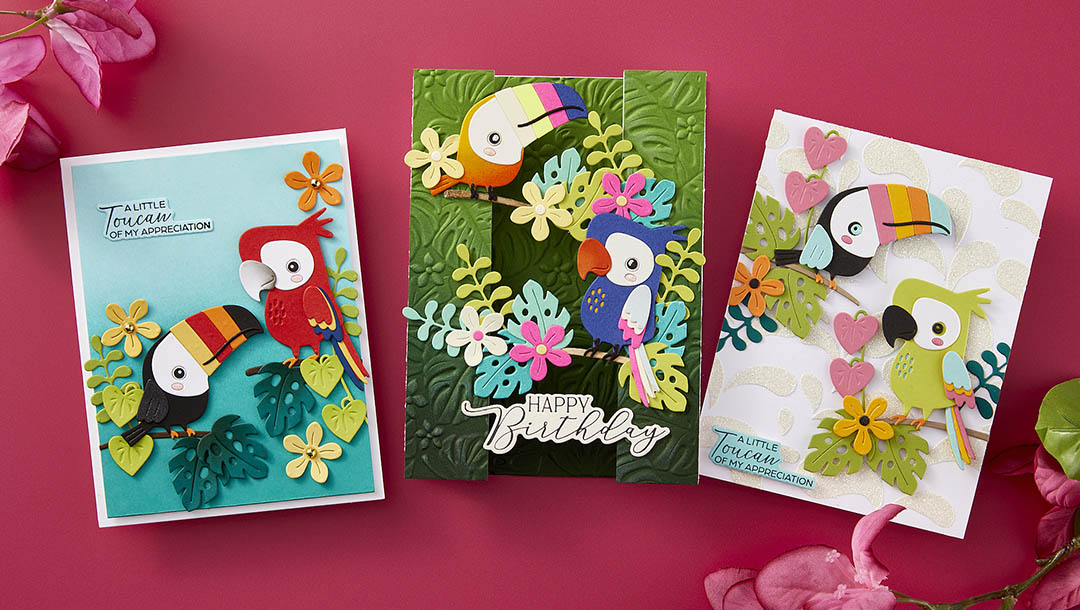
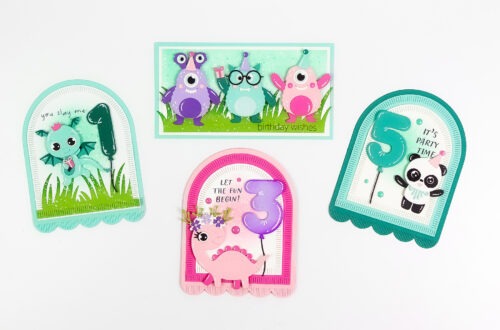
May 2024 Small Die of the Month Preview & Tutorials – Tropical Friends
Our May 2024 Small Die of the Month preview & tutorials are here! This “Tropical Friends” die set features 19 cutting dies. Enjoy the step-by-step tutorial below as well as the video tutorial to get you started with this month’s kit. Make sure to show us what you create by tagging #SpellbindersClubKits on social media! Please note, new Subscription Sign-Up Window will now open on the 6th of each month and close on the 27th (once existing club members subscriptions have been processed.) If there is additional inventory remaining, then they will be made available for new subscriptions and will have limited availability. Continuing Subscriptions will charge on the 5th…
-
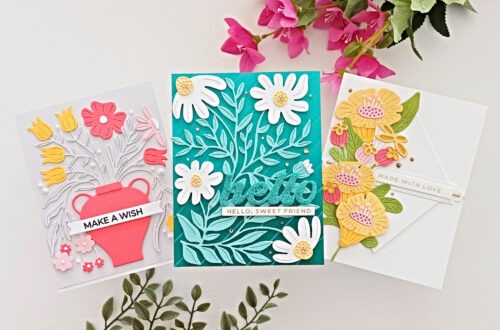
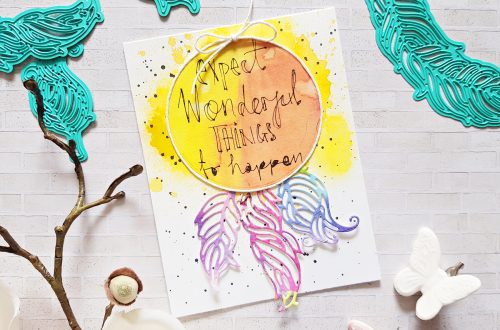
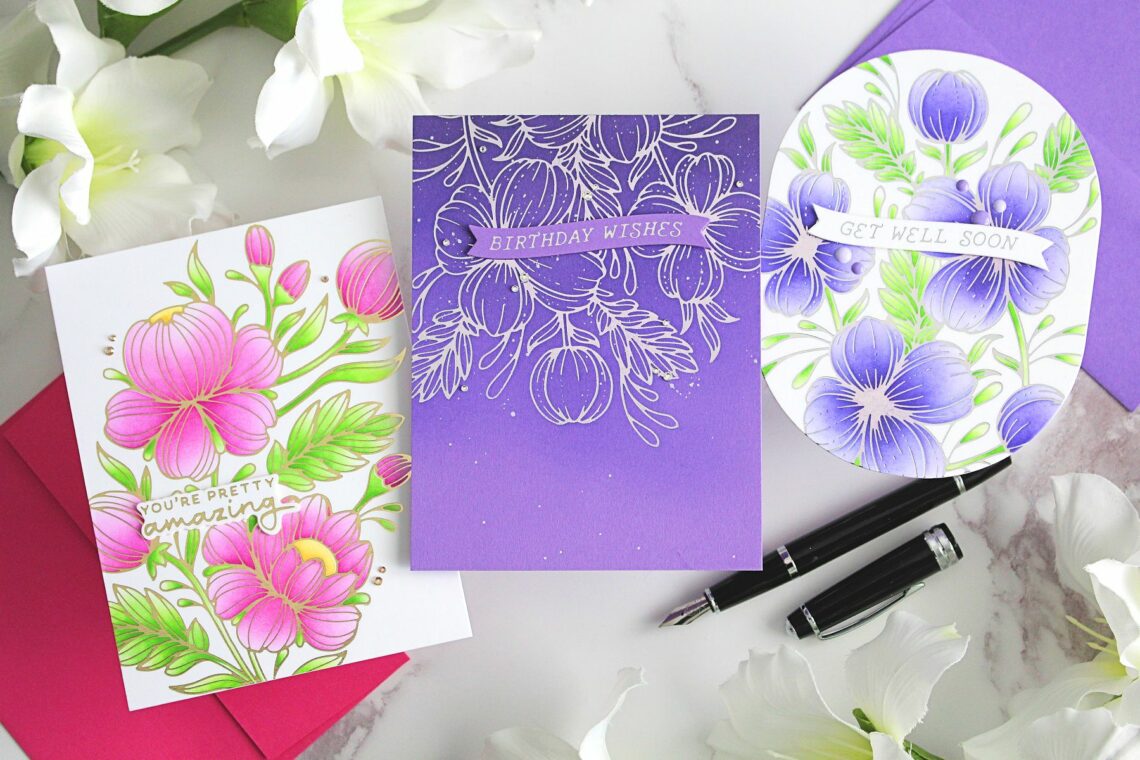
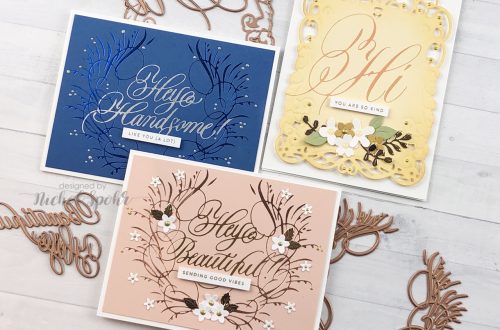
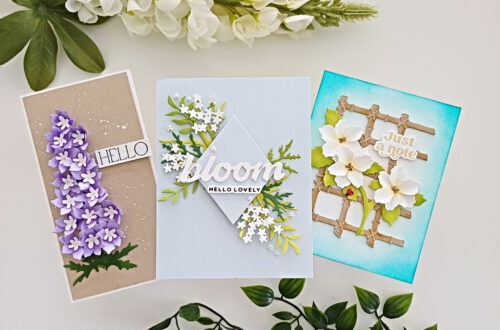
(Almost!) One Layer Wonders
Hello there, Michelle Short here and I am delighted to be back on the Spellbinders blog sharing inspiration using the Glimmering Flowers collection. Today I have three cards to share that are (almost) one-layer cards. Whilst I love adding dimension on my cards, for mailing purposes, it is easier having less dimension! GET WELL SOON For my first card, I wanted to create a shaped card. I find that shaped cards add more interest to clean and simple cards. To make this card: I took a panel of white cardstock and placed a piece of Silver Foil shiny side up on top. I placed the Glimmering Buttercups Glimmer Plate on…
-
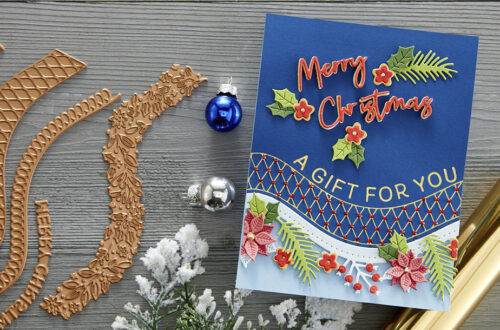
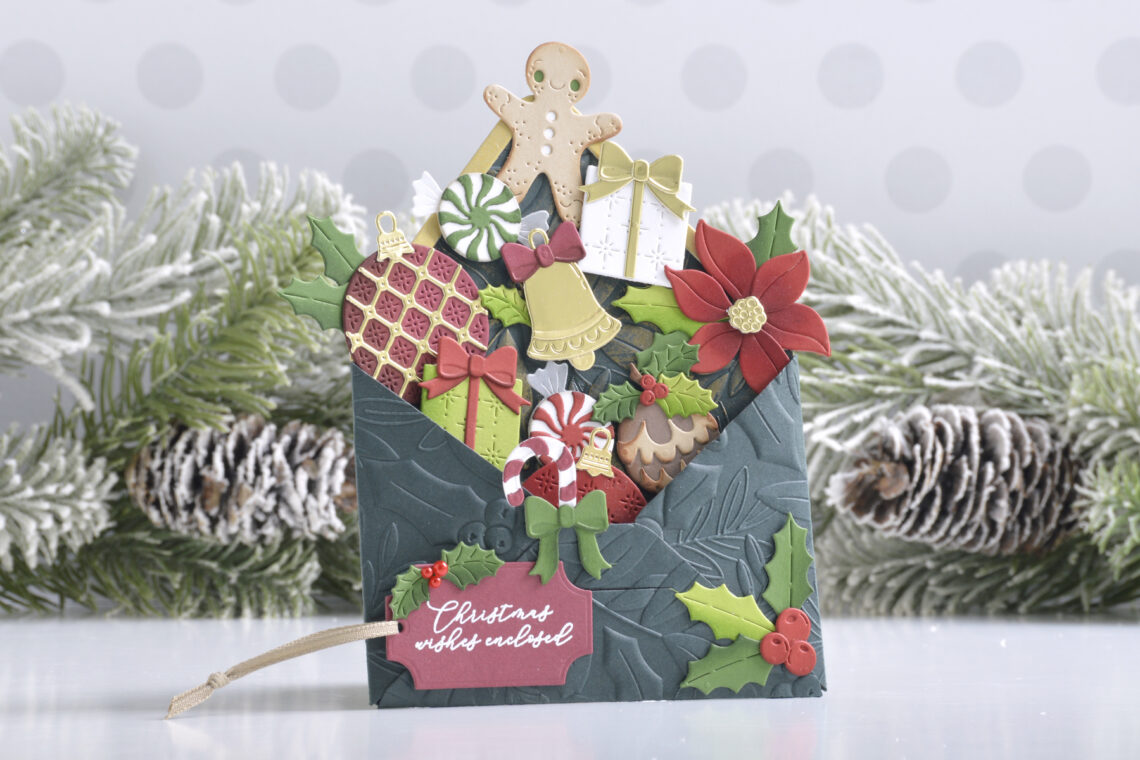
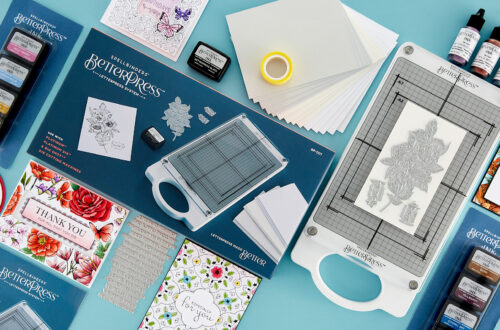
Christmas Envelope of Wonder Card Tutorial
Hi there, this is Annie Williams and I’m excited to be back on the blog today to share how I created this fun Christmas envelope card using the new Envelope of Wonder Collection from Spellbinders. I love the idea of stuffing a big envelope full of festive elements and thought it would be fun to add some details to the envelope itself as well. Start by cutting the main parts of the envelope out of Forest Cardstock and the top flap layer out of Brushed Gold Cardstock. Emboss all of the main envelope parts using the Holly & Foliage 3D Embossing Folder. Lightly rub Gold Rush Lunar Paste over the…
-
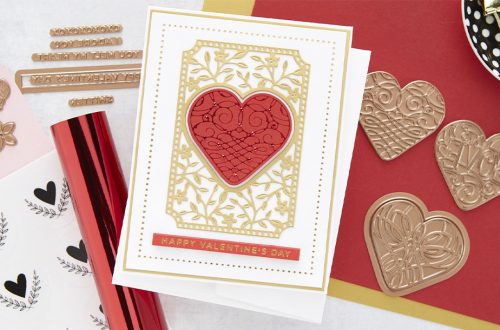
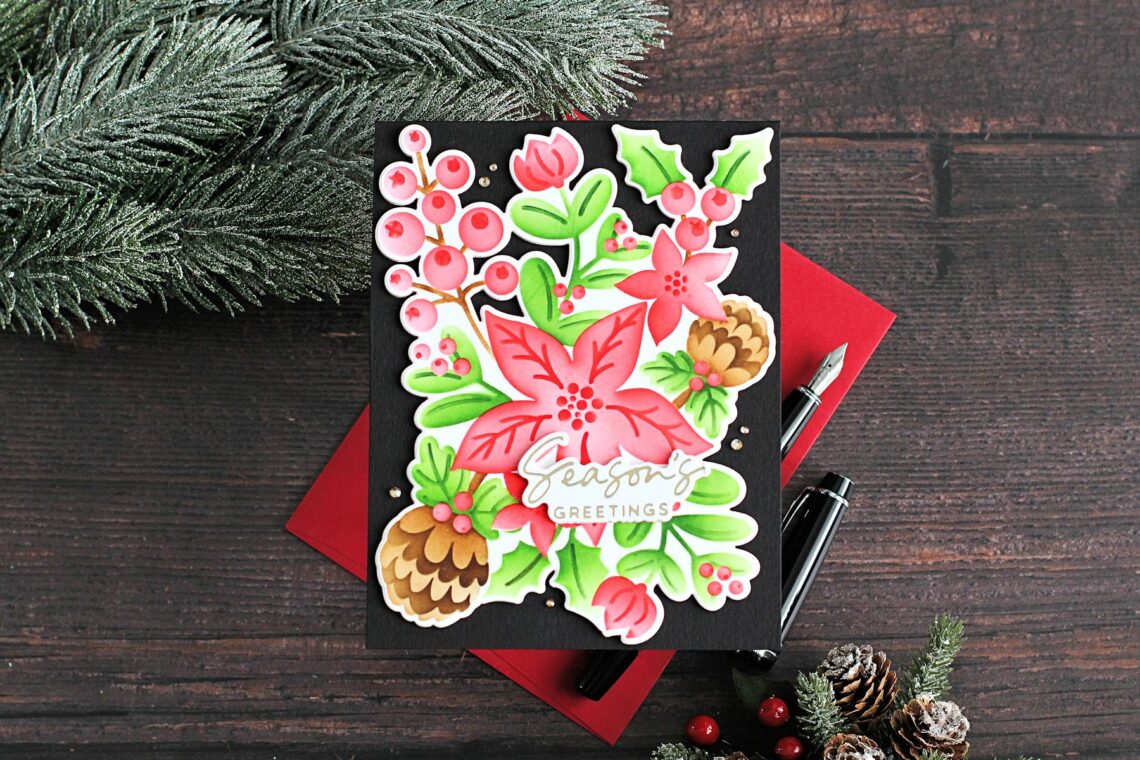
Christmas Florals Stencil How-to Step-by-step
Hello there, Michelle Short here to share a step-by-step tutorial with you using the Christmas Florals Stencil from the new Classic Christmas Collection. This is such a pretty stencil set (5 layering stencils) that creates a beautiful floral arrangement. They can be used alongside the Christmas Florals & Sentiments Etched Dies or can be used on their own. I am using both on my card today. STEP 1 Start off by placing the first Christmas Florals Stencil (they are numbered in the bottom left-hand corner) onto a panel of white cardstock and secure in place with Best Ever Craft Tape. Using Blending Brushes, blend red ink on top, with a…
-
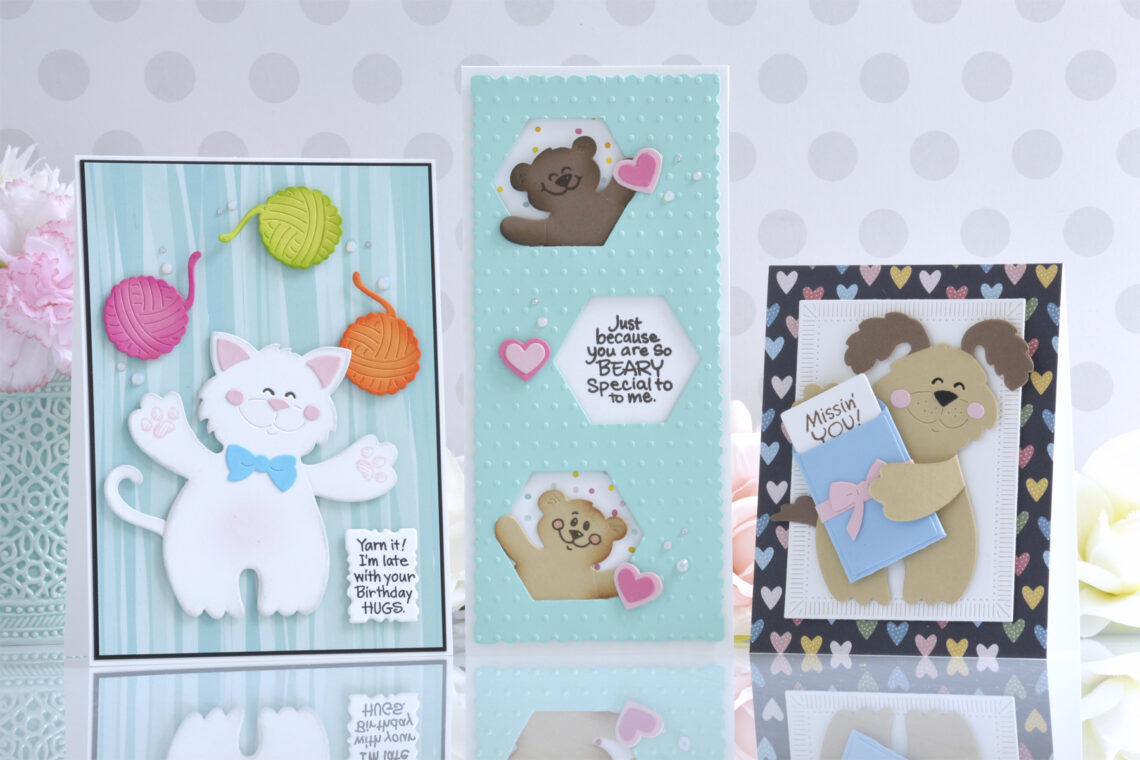
Stampendous Hugs Collection – Sweet Animal Cards with Annie Williams
Hi there, this is Annie Williams and I’m thrilled to be back on the blog today to share a couple of projects using the new Stampendous Hugs Collection from Spellbinders. The adorable huggable critters, fun accessories, and sweet sentiments in this collection inspired me to create three simple and cute cards for a variety of occasions. Beary Special Slimline Card With so many cute characters to choose from in this collection, it was hard to pick what to work with first…but those little bears from the Stampendous Bear Hugs Die Set just stole my heart! Here I created my own slimline window background to pop them out of for a…