-
Crafting With Doodlebug – Cardmaking Ideas You Need To Try
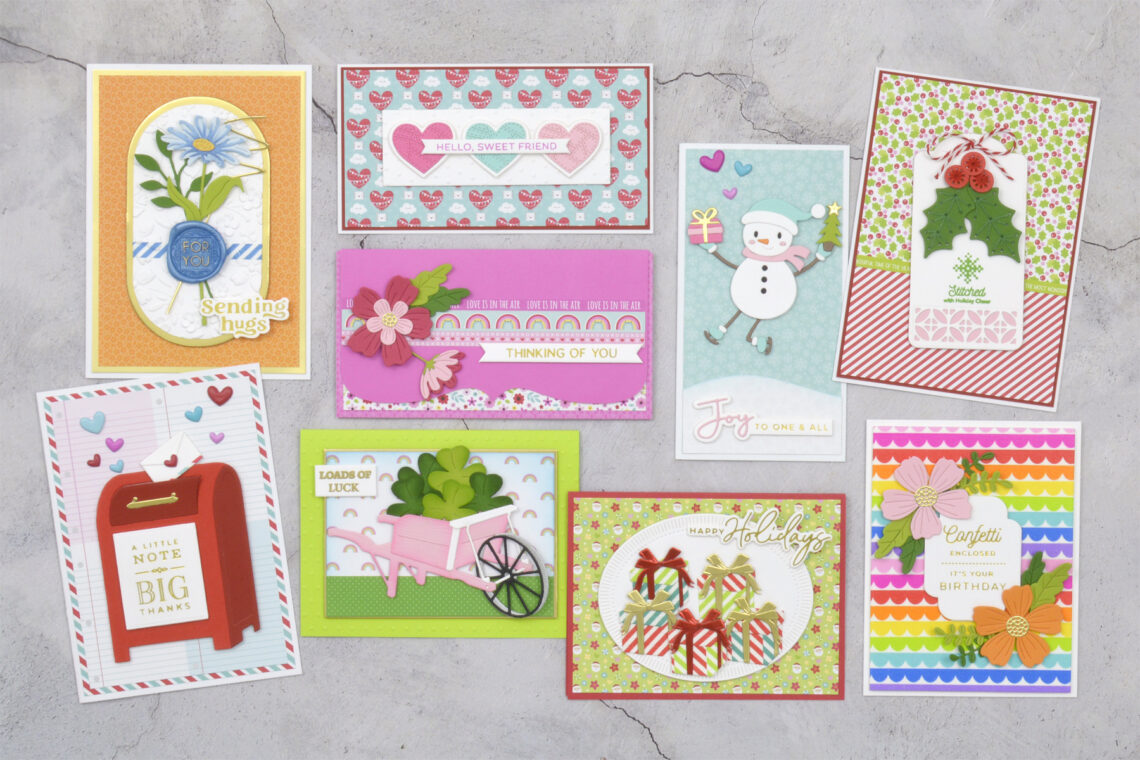
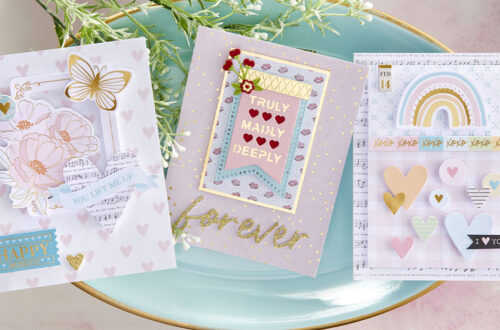
Hi there, this is Annie Williams and I’m excited to be back on the blog today to share a bunch of cards made with some of the beautiful Doodlebug products available in the Spellbinders shop. I paired many of the brightly colored cards and envelopes, sweet patterned papers, and fun washi tapes and embellishments with some of my favorite Spellbinders dies to create cards for many different kinds of occasions. Mailbox Thank You Card I hear a lot of crafters say that they love patterned paper, but struggle to use it on their projects sometimes, especially those with bolder colors and patterns. Here I turned a bright stripe pattern into…
-
Christmas Florals Stencil How-to Step-by-step
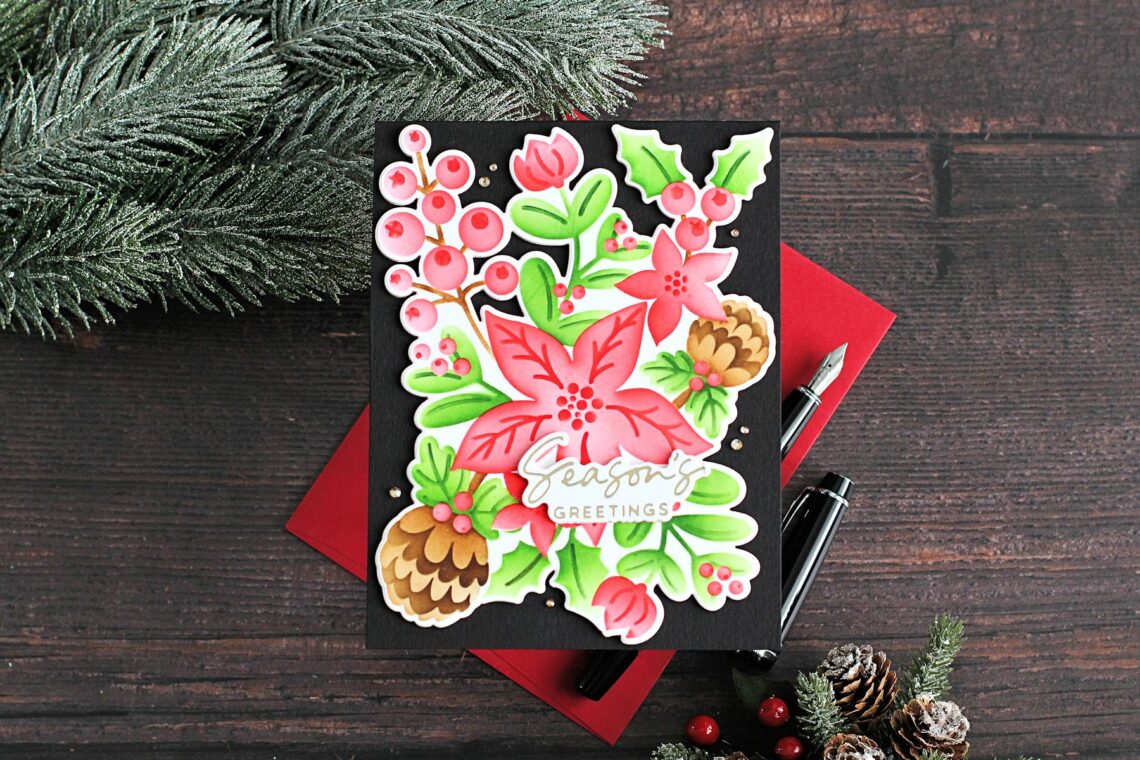
Hello there, Michelle Short here to share a step-by-step tutorial with you using the Christmas Florals Stencil from the new Classic Christmas Collection. This is such a pretty stencil set (5 layering stencils) that creates a beautiful floral arrangement. They can be used alongside the Christmas Florals & Sentiments Etched Dies or can be used on their own. I am using both on my card today. STEP 1 Start off by placing the first Christmas Florals Stencil (they are numbered in the bottom left-hand corner) onto a panel of white cardstock and secure in place with Best Ever Craft Tape. Using Blending Brushes, blend red ink on top, with a…
-
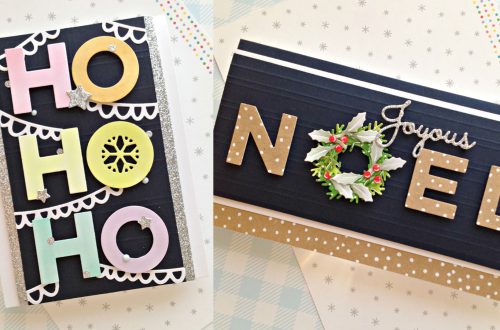
Making Clean and Simple Christmas Cards Special – Joyful Glimmer Step-by-Step Tutorial with Joan Bardee
Hello crafters! Joan Bardee here and I’m thrilled to be back on the Spellbinders blog featuring part of Yana’s De-Light-Ful Christmas Collection. It’s an amazing collection full of everything we love – hot foil, dies, stencils, etc. I am focusing on Joyful Glimmer, which consists of 2 hot foil plates – one sentiment plate and one holly plate that cleverly wraps around the sentiment. I love to go all out when I make Christmas cards and add those special elements that make the recipient go Wow. Even so, I love “clean and simple” cards. So, today I’m sharing a few ideas to add special details to clean and simple Christmas…
-
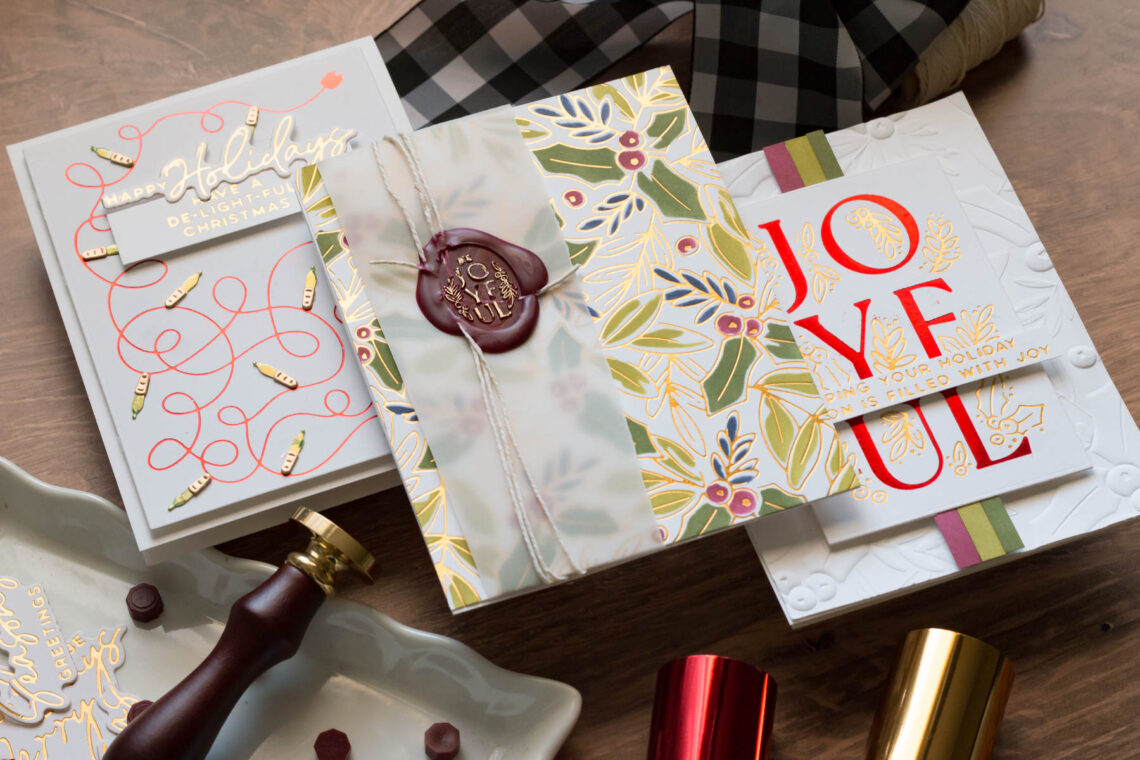
De-Light-Ful Christmas Card Ideas
Hello, dear friends! Marie here again from Marie Nicole Designs. I have a trio of festive, glimmery cards to share today. This new De-Light-Ful collection from Spellbinders has all the things for you to take your Christmas cards to the next level. Embossing folder, wax seal, and multiple glimmer plates. I’ll also walk you through a step-by-step process for our first card. Let’s get started! SEALED WITH JOY Here’s our first card out of our trio. The background is glimmered and then stenciled, and a wax seal is added for the sentiment. As promised, I have a handy step-by-step ready for you! STEP 1- Glimmer the Background We need to…