-
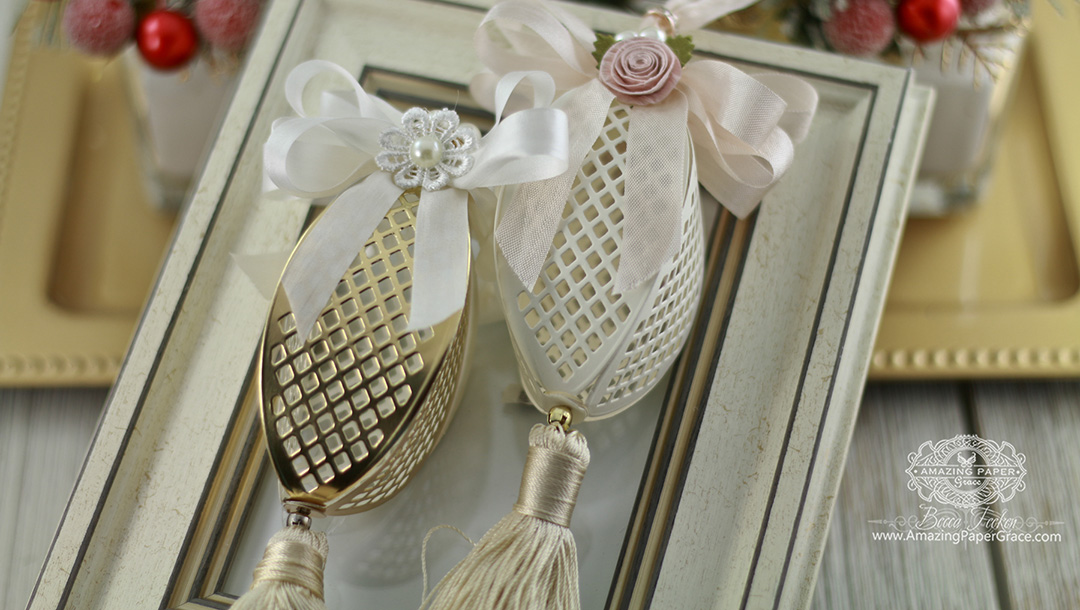
Diecut Ornament Series: Bella Rose Lattice Frame
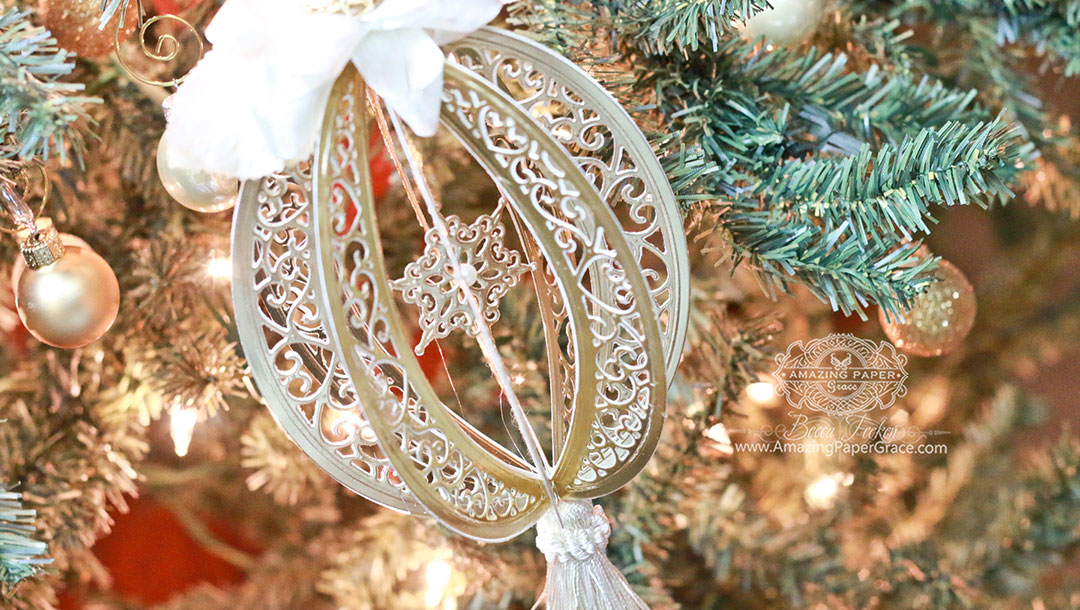
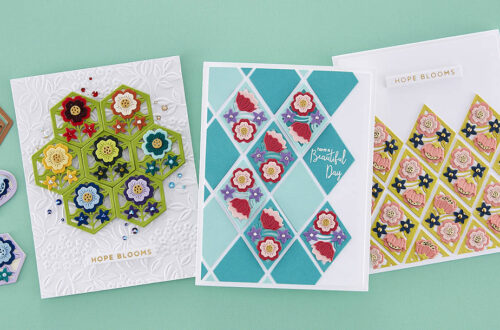
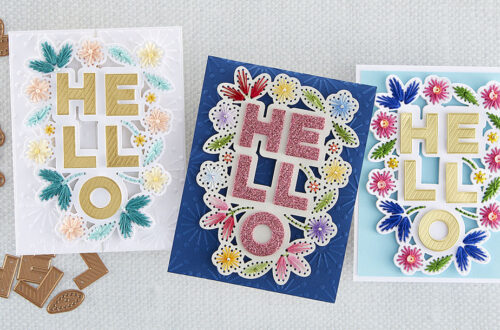
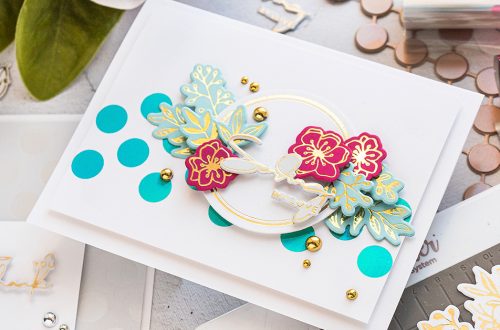
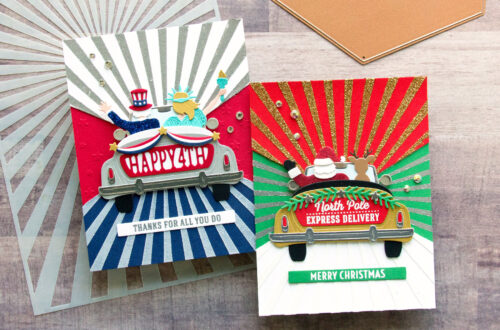
Are you ready for another quick make? This month I’ve been showing you how to make die cut ornaments for gifts, for fun and as a part of a family activity. I’m Becca Feeken with Amazing Paper Grace and I’m back with the third in a three part series on Diecut Ornament Making. Today I’m going to show you a round, eight gored ornament using S6-129 Bella Rose Lattice Layering Frame. If you missed my post with Ornament 1 in the series, click HERE, Ornament 2 in the series, click HERE. Because there are three sets of inserts that fit this die, that means three different looks of the same ornament! The matching arched…
-
Die Cut Ornament Series: Tiered Multiloops
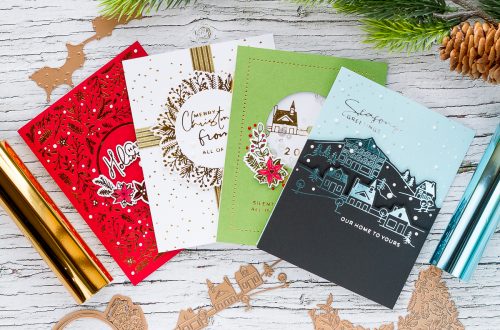
Picture this, you want a Christmas tree with all red foil ornaments or you want a vintage shade you can’t find. What should you do? You should make and embellish your own ornaments to fit your special theme by using your dies. It’s easy to do. I’m Becca Feeken with Amazing Paper Grace and today I’m going to show you a sweet and simple die cut ornament to make for your Christmas Tree – in fact you can mass produce these. Each ornament takes four pieces and your choice of special embellishments! This is the second post of the Die Cut Ornament Series. On my last post, I shared that my family and I…
-
Creative DIY Party Decor Series | Unique and Trendy Cactus Baby Shower
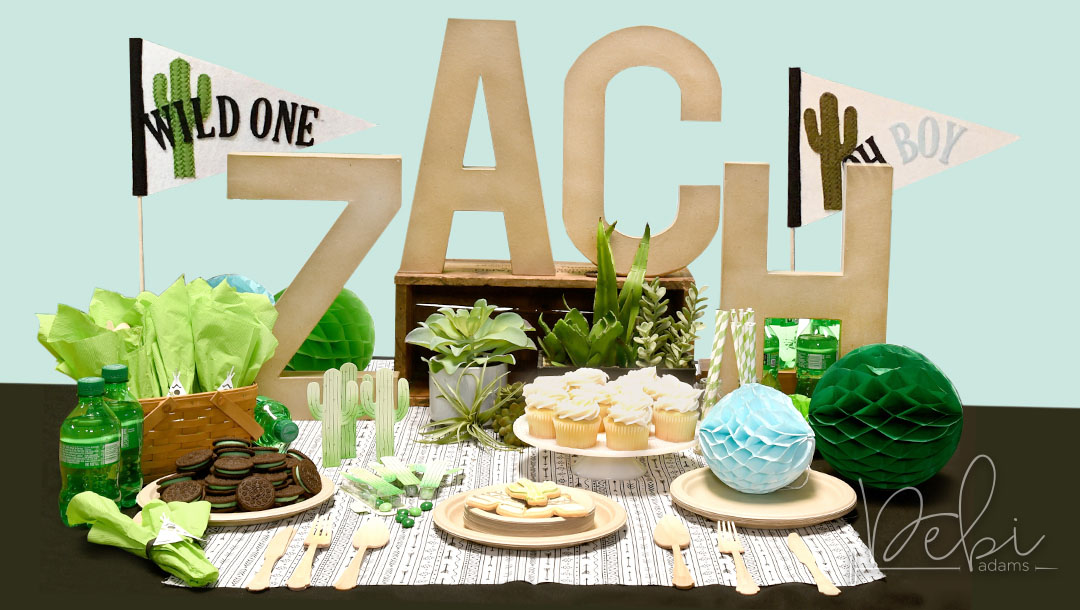
Hi everyone! I’m Debi Adams and if you have been following me the past month, I am doing a series on party décor. It is a subject that is near and dear to my heart. Truth be known, I have probably thrown well over 100 parties in my lifetime, so far. I never tire of them. Last month I showcased a birthday celebration. Today I am featuring a baby shower. This one happens to hit close to home as this was an actual shower for my daughter, Lauren who was expecting her first baby, Zachariah. He has since made his grand entrance into this world, making me a first time…
-
How To Make A Darling Paw Print Home Decor Sign
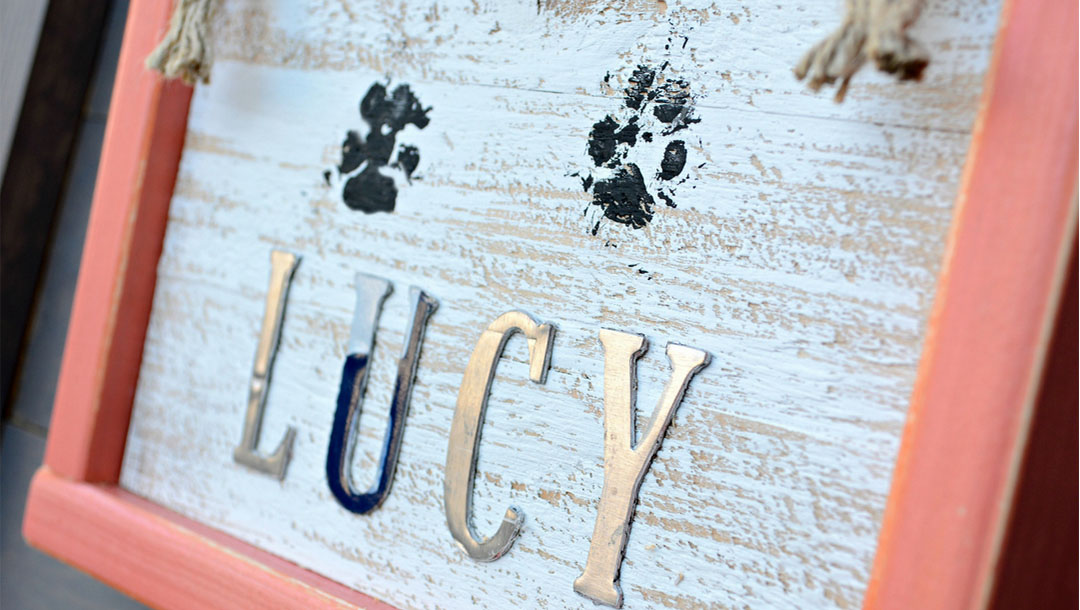
Hello fellow makers! Miranda here from Tinsel + Wheat! Today I’m excited to introduce you to little Lucy and walk you through the steps to create your own keepsake paw print home decor sign! Meet Lucy! A teeny tiny adorable chihuahua mix adopted by my sister from the Texas Chihuahua Rescue in 2015. She is the cutest little fur baby and it was so fun to feature her in this project. Her little paw print is barely an inch in size! SO cute and her personality is just as sweet!! Let’s chat supplies! Here’s what you’ll need: A rescue pet! Or really any pet with paws! Or really any pet…
-
Easy Steps to Use Stamps in Embroidery
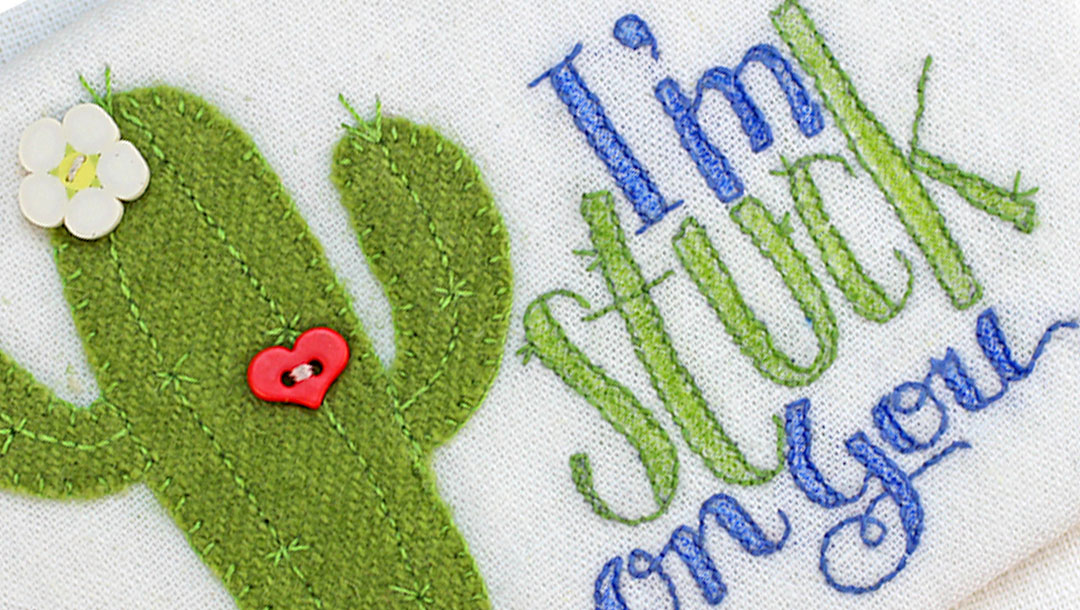
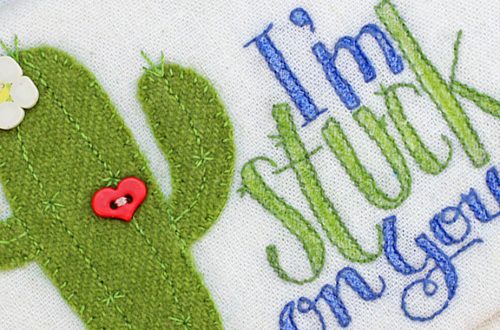
You already know that rubber stamps are a fun and versatile crafty supply. Did you know you can use your stamps for stitchery patterns also? Read on for a quick and easy way to go from stamp to stitchery in just a few easy steps! For a while now I have wanted to find a way to easily use my stamp designs as embroidery designs. Of course I could simply stamp on the fabric but I didn’t want to chance having the ink show or even possibly smear. I laid in bed one night contemplating this when it occurred to me, if you can print on the Stick ‘n…
-
How to Create a Perfect DIY Wooden Halloween Tic Tac Toe Game
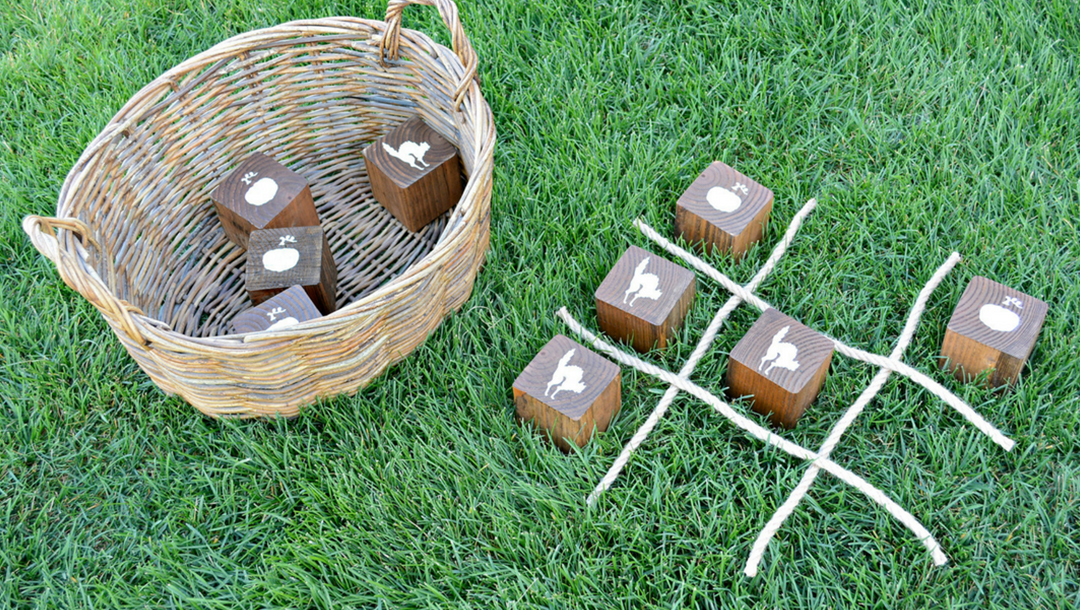
Hello, fellow makers! Miranda here from Tinsel + Wheat, thrilled to be guest blogging today with Spellbinders. Today I am sharing this really fun large wooden Halloween Tic Tac Toe Game! I’m not going to lie – I can’t wait for fall! Cooler temps, beautiful colors, all the fun fall festivities including but not limited to Halloween! This game would be perfect for a class party or fall carnival or as a fun outdoor yard game or an excellent indoors carpet game! So many options. Let’s get started! Step 1: Cut Your Blocks Using your miter saw, cut 9 blocks measuring 3.5 x 3.5″ each. Step 2: Sand Edges…
-
Creating a Paper Flower Arrangement with Contour Dies
Hi friends! So glad you’ve stopped by. I’m so excited to show you what I’ve been working on! If you remember last year I launched my first collection called “Quite Contrary”, a floral die line consisting of contour dies. It’s been a while since I have made a project with them so I thought today I would show you what I’ve been creating. I absolutely love flower arranging. And these flowers, they aren’t temperamental. They do well in the heat or the cold. The best part is they are rather simple to make. I am going to walk you through it step by step so you can make the…
-
Rustic Wedding Bouquet by Donna Salazar
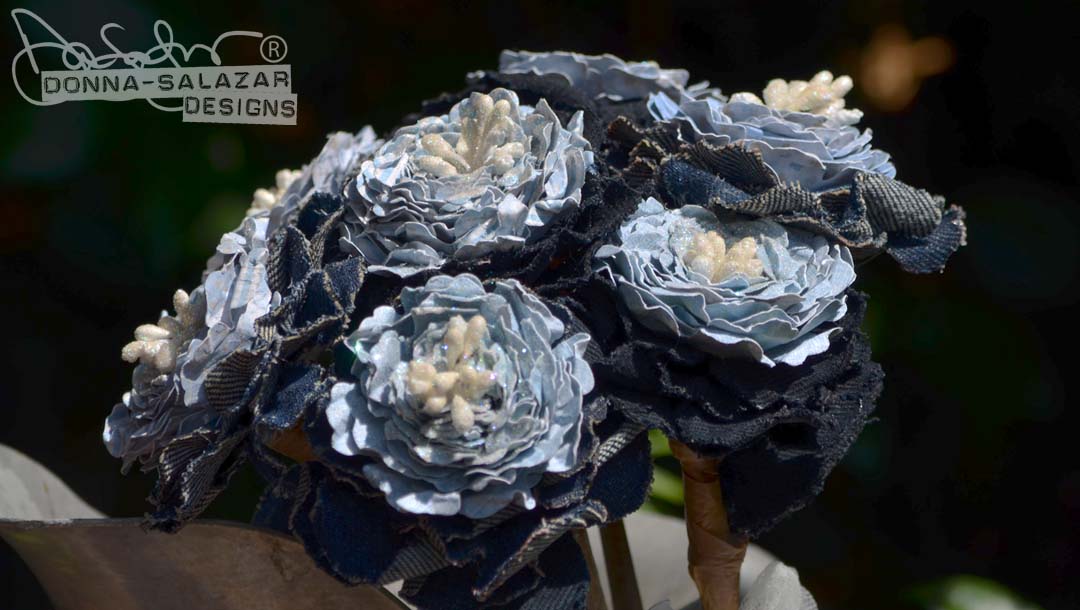
Hello my peeps! Today I’m sharing the flower bouquet that I made for my daughter’s wedding. She had a very casual wedding (she wore a denim dress) and she asked me to make her bouquet for her… of course I said YES!!! I have a video tutorial for you showing how I made my favorite style of flowers as well as how I added them to sticks to make them into a Rustic Wedding Bouquet that matched her dress perfectly. I hope you enjoy it!!! Here are a couple more photos. And one of the happy couple… Spellbinders Product Used: S5-086 Bitty Blossoms Etched Dies by Donna Salazar Designs…
-
Quilt It Pineapple Print
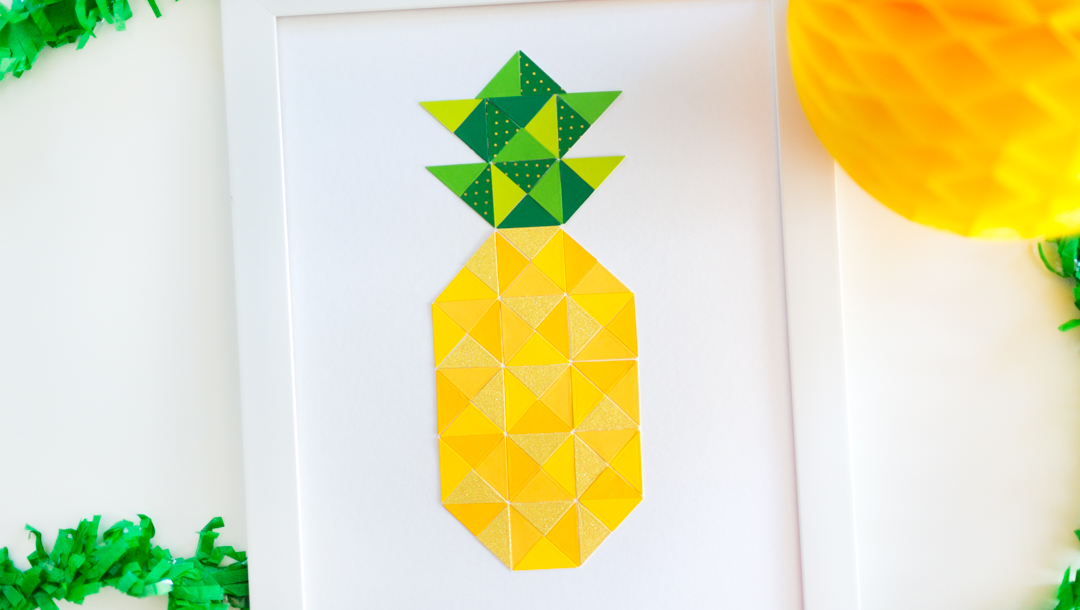
Hi everyone! It’s Alli again from Partyography and today I’m excited to share this pineapple print I made using the new Quilt It Collection from Lene Lok. Since we’re right in the middle of summer and I’m loving the pineapple trend, I thought this print would be perfect on a dessert table for all your summer gatherings or even as summer home decor. I love how you can have a quilted look without the sewing! Instructions: Start by picking out what colors you’d like to use in your pineapple. I used four variations of yellow and four variations of green but you can use any color or pattern you like!…
-
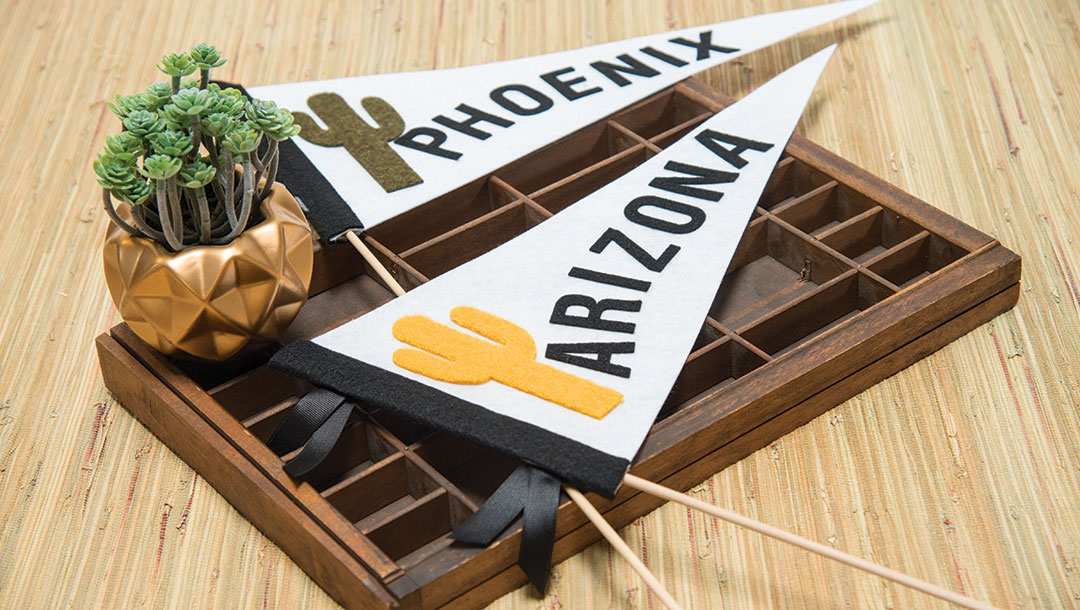
No-Sew Phoenix Pennant Tutorial
This crowd pleaser project is easy, fun and doesn’t require sewing! All you need is our Contour™ Steel Rule Dies, felt materials, some adhesive (we used Them-O-Web® PeelnStick®) and a pennant! INSTRUCTIONS: Apply 1 strip of PeelnStick adhesive along the edge of the back of 8” side of pennant. Adhere half of the strip of black felt to the adhesive, leaving half of the felt to wrap around to the front of the pennant. Apply the second strip of PeelnStick along the edge of the front side. Fold a piece of ribbon in half, slide the looped end of the ribbon through the top slit in the black felt…

