The Versatility of Shape Dies Using Products from the Sealed for Summer Collection with Joan Bardee
Hello crafters! Joan Bardee here and I’m happy to be back on the blog. Spellbinders recently released the Sealed for Summer collection, which includes a variety of beautiful products, including another set of “essential” shape dies – Essential Modern Ovals. I’m featuring that product today, as well as the Glimmer Alphabet.
In addition to the new Essential Modern Ovals dies, Spellbinders has a line of shape dies (as opposed to dies that cut out a coordinating image) that are so versatile. These dies, such as, Hexi-Gems, Hearts, and Circles, can be the starting point for making colorful, graphic, geometric designs, as well as more traditional cards. Today I’m sharing 3 geometric designs using the Essential Modern Ovals dies, but – hang on to the end – as I’ve got some ideas on how to use shape dies in other ways.
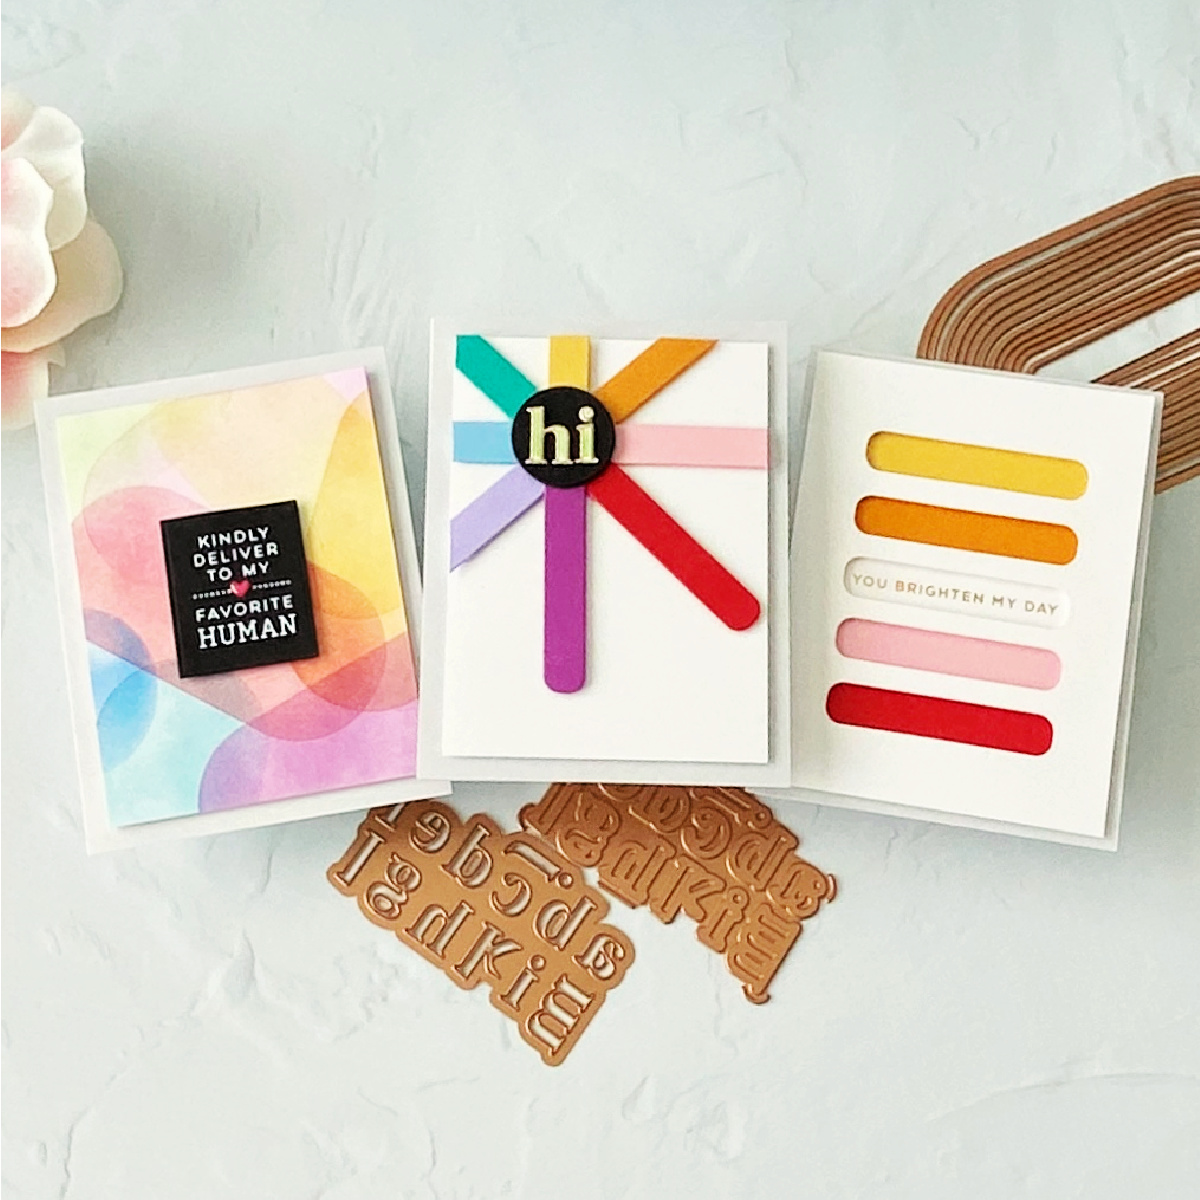
Graphic Starburst
This card was as easy to make as it looks –
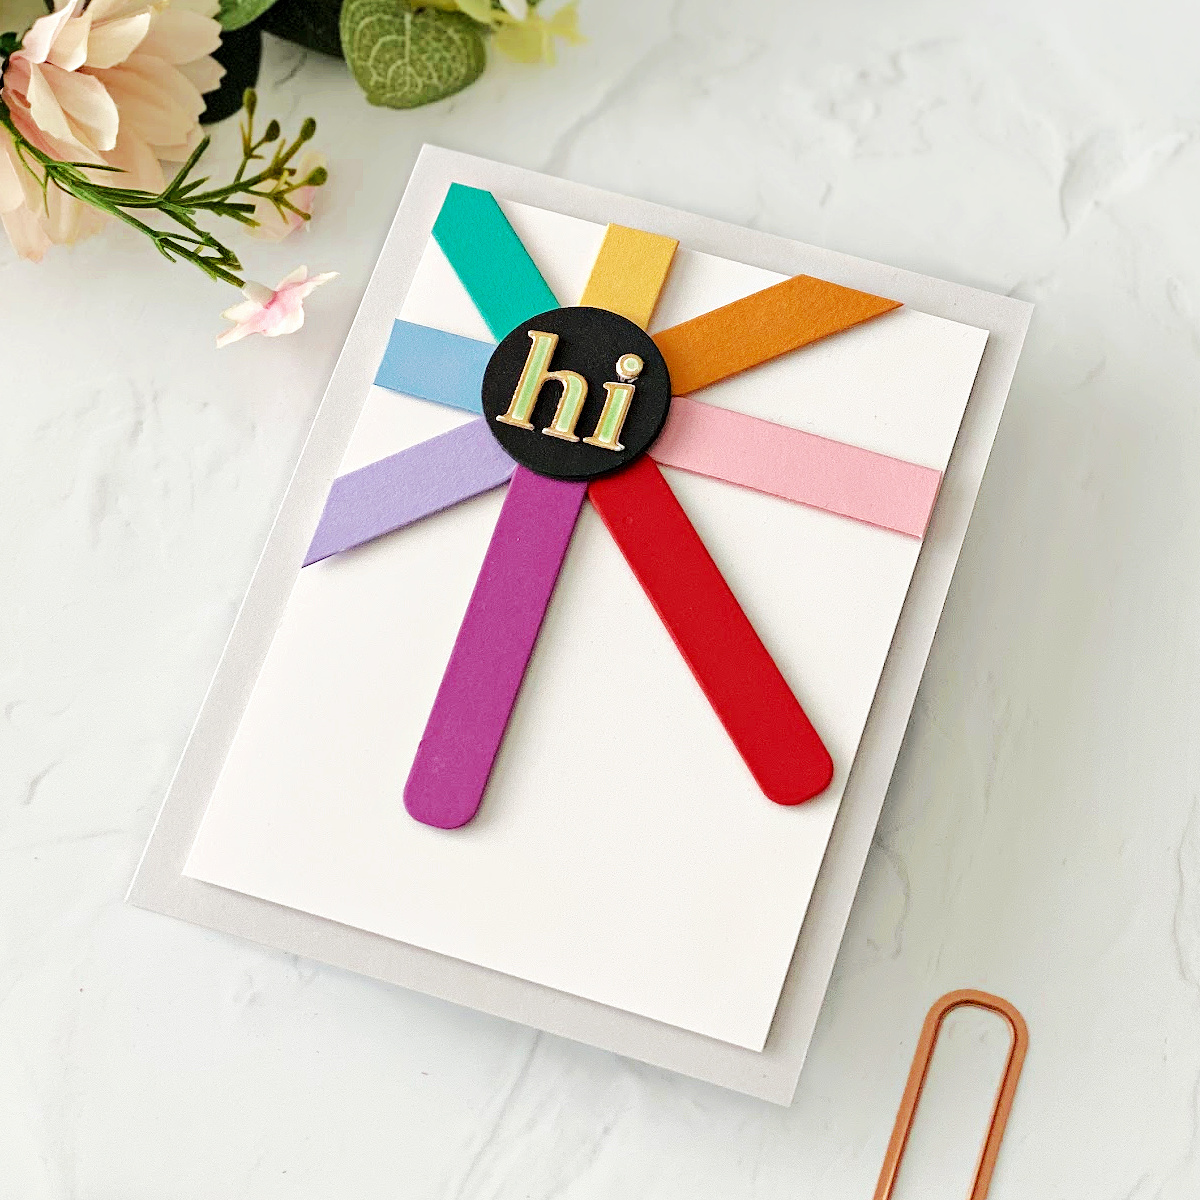
- Die cut the smallest die from Essential Modern Ovals 8 times in an assortment of rainbow-inspired colors. If you aren’t a fan of rainbows, pick your favorites.
- Identify a center for the “starburst” on a white panel and adhere each color with foam tape around that center spot.
- Using the Glimmer Alphabet line of products, make the sentiment. Hot foil, stencil, and die cut to create the word “hi”. Die cut a few extra letters and adhere so that the word has more heft.
- Die cut a circle in black. Glue the “hi” to the circle.
- Foam mount the circle and foam mount the white panel onto a panel of Spellbinders Fog
- Glue to an A2 white card.
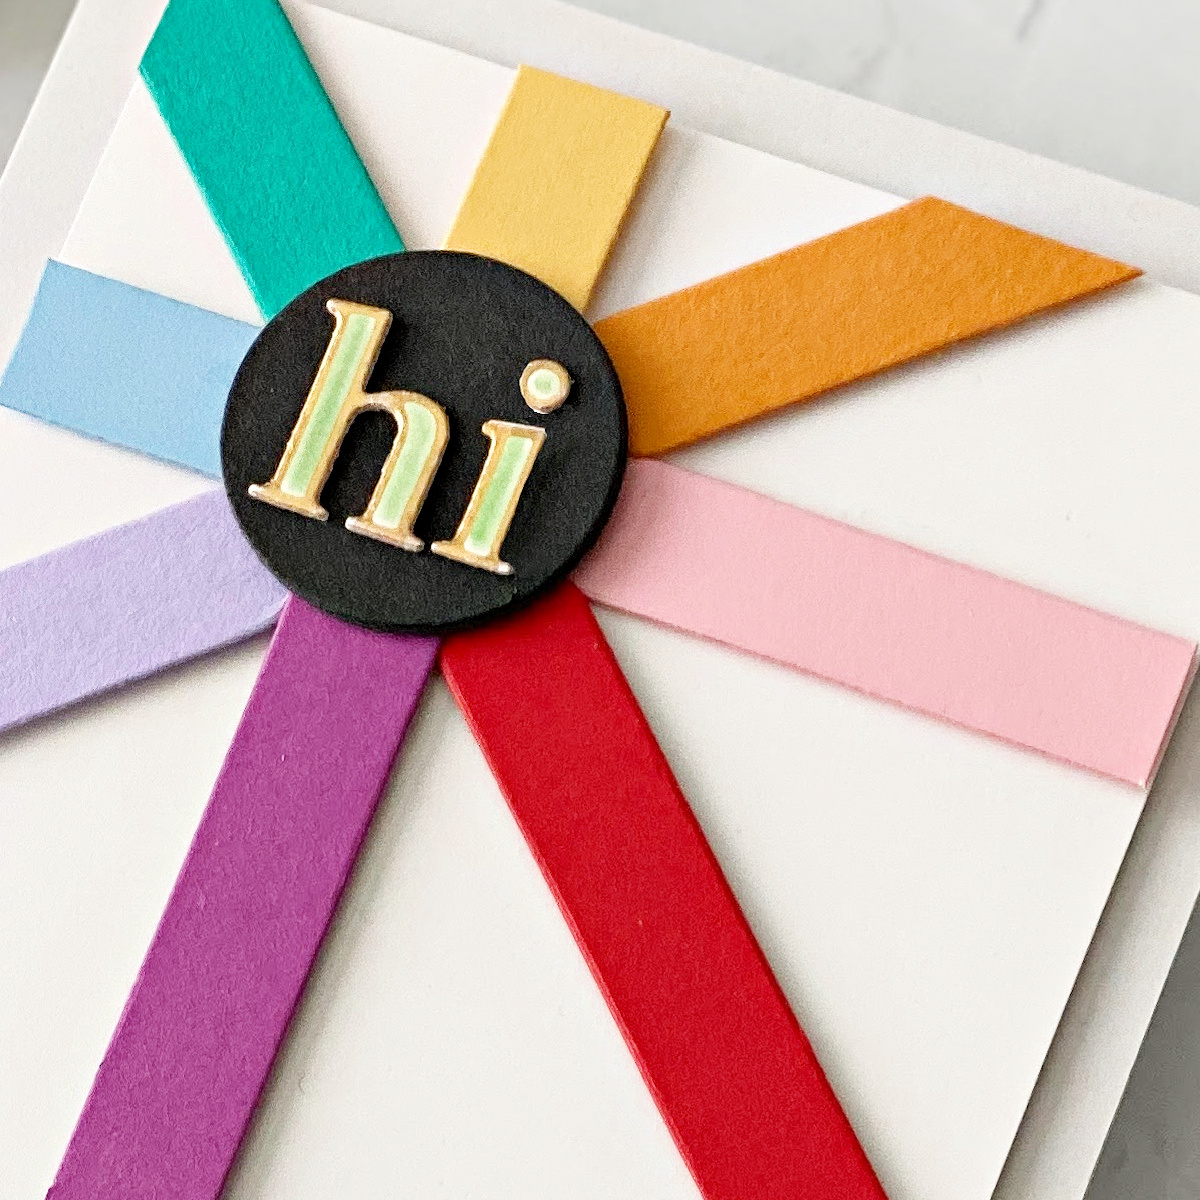
Love how this came out.
Tip: The Glimmer Alphabet hot foil plate, die, and stencil are very easy to line up. Hot foil first, stencil, and then die cut. They come in 2 sets (the first and last halves of the alphabet) so you will be making many letters at once. Save them for future cards.
Using Negative Space
Another fun graphic design using the same small die from Essential Modern Ovals, using the negative space created by cutting a die.
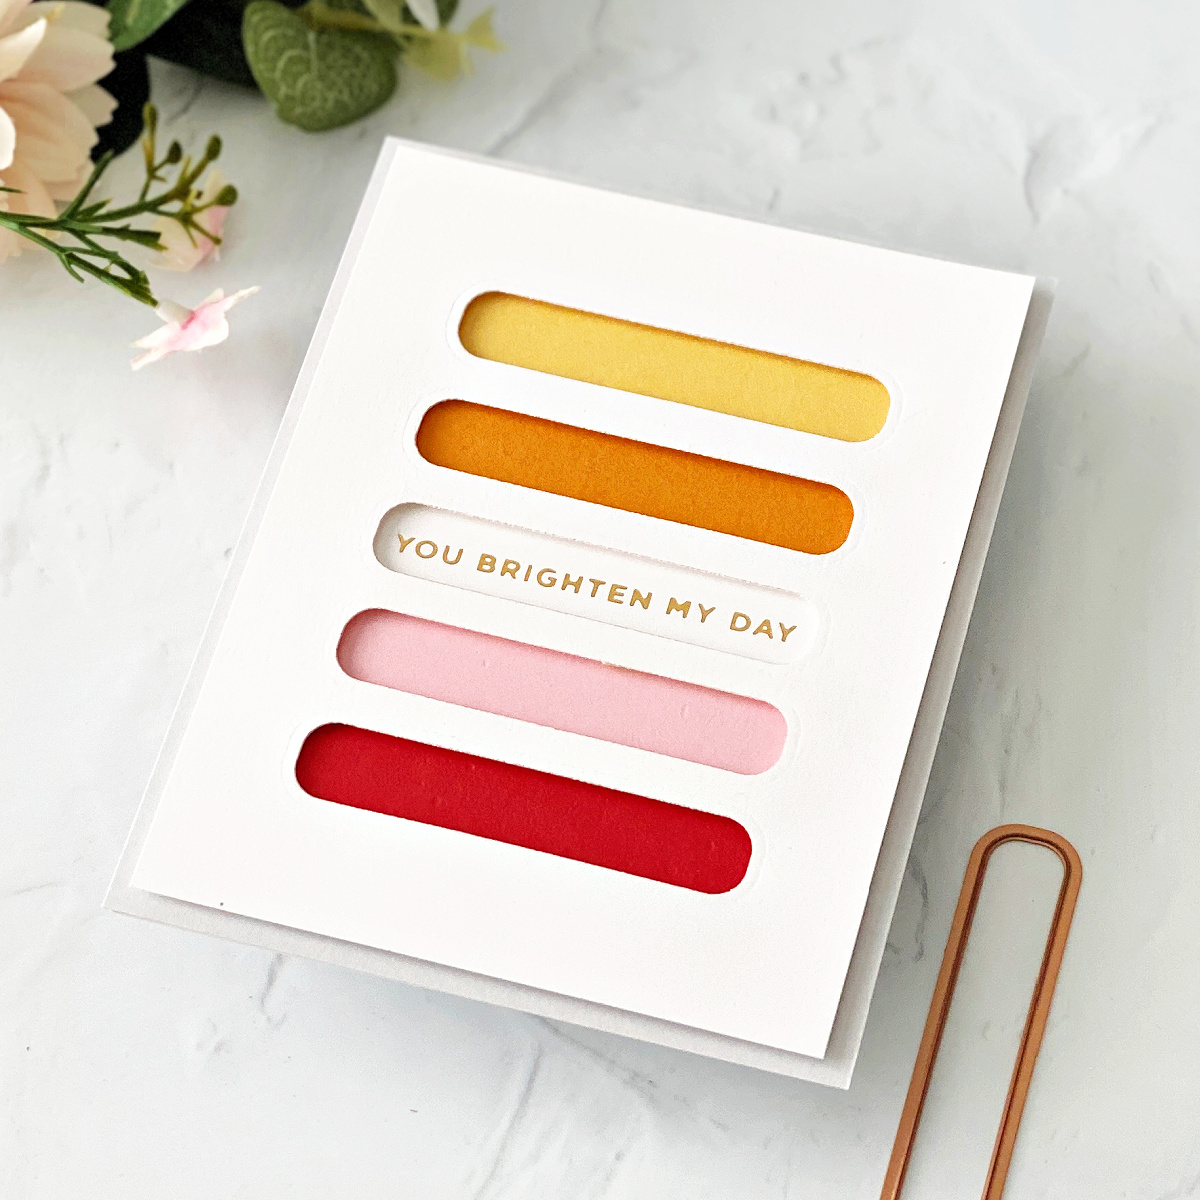
- Trimmed a piece of white cardstock to 4” x 5 and 1/4” and die cut five times as shown.
- Added thin pieces of foam tape around the back of the negative spaces and adhered strips of different cardstock – including one where I had hot foiled a sentiment from Mini Everyday Sentiments in matte gold foil.
- Adhered the panel to another piece of Fog cardstock, which I had glued to a white A2 card.
Tips:
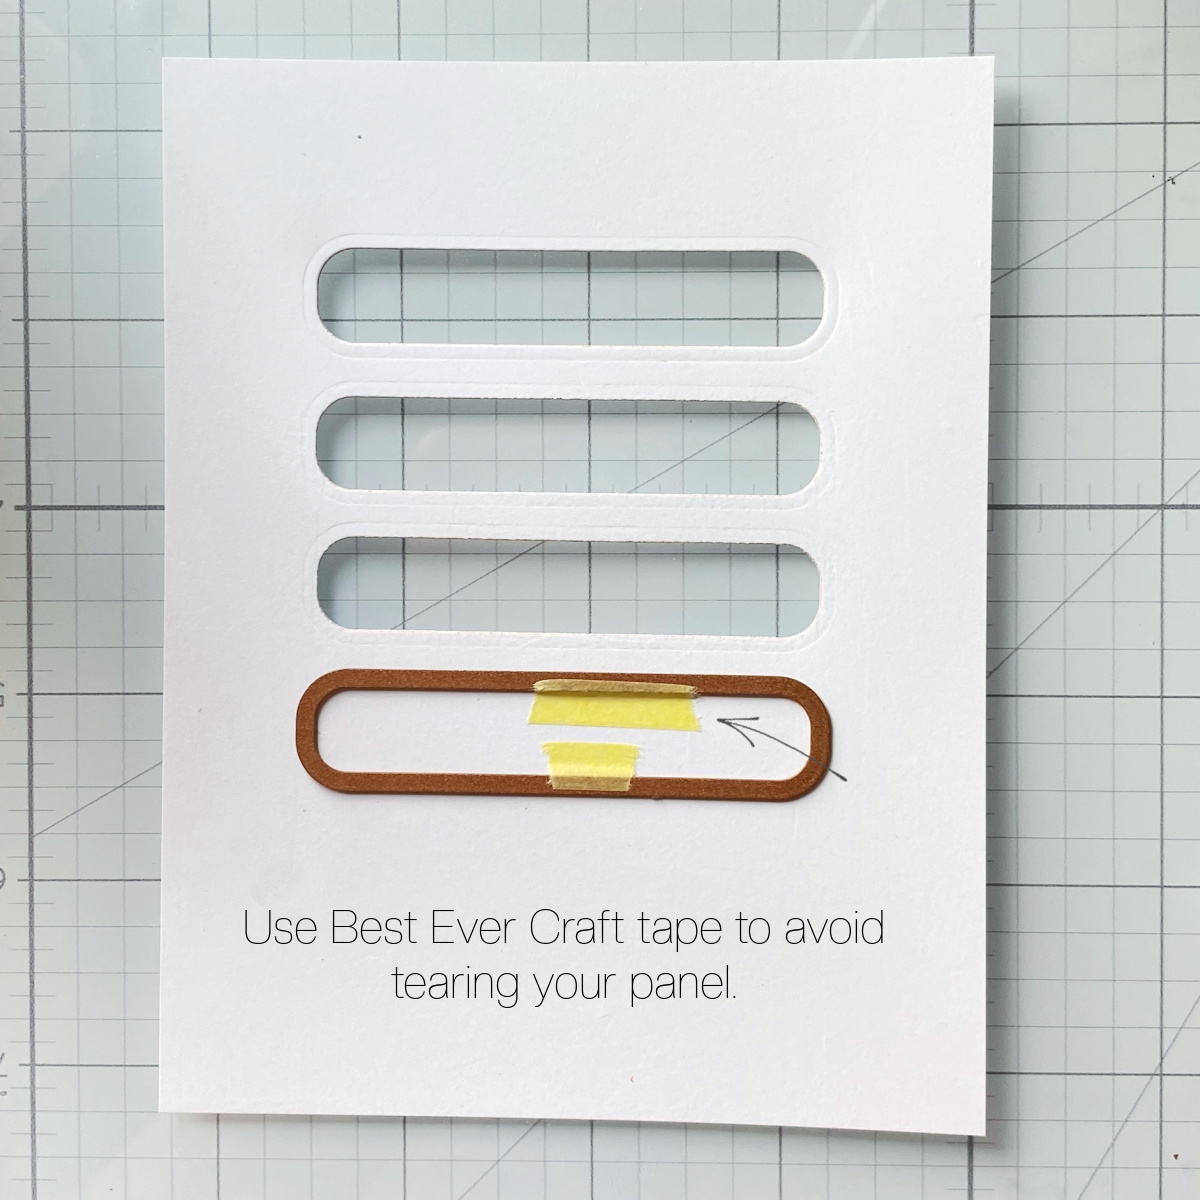
- Experiment with different shapes in different places. You don’t have to line everything up in a row. Check out this card for an example.
- Die cut starting in the center of your design and work out from there.
- Use a ruler to make sure that the die is lined up correctly.
- Stand when placing and adhering the die – when you are sitting, you are looking at an angle that distorts your view.
Make a Stencil with a Die
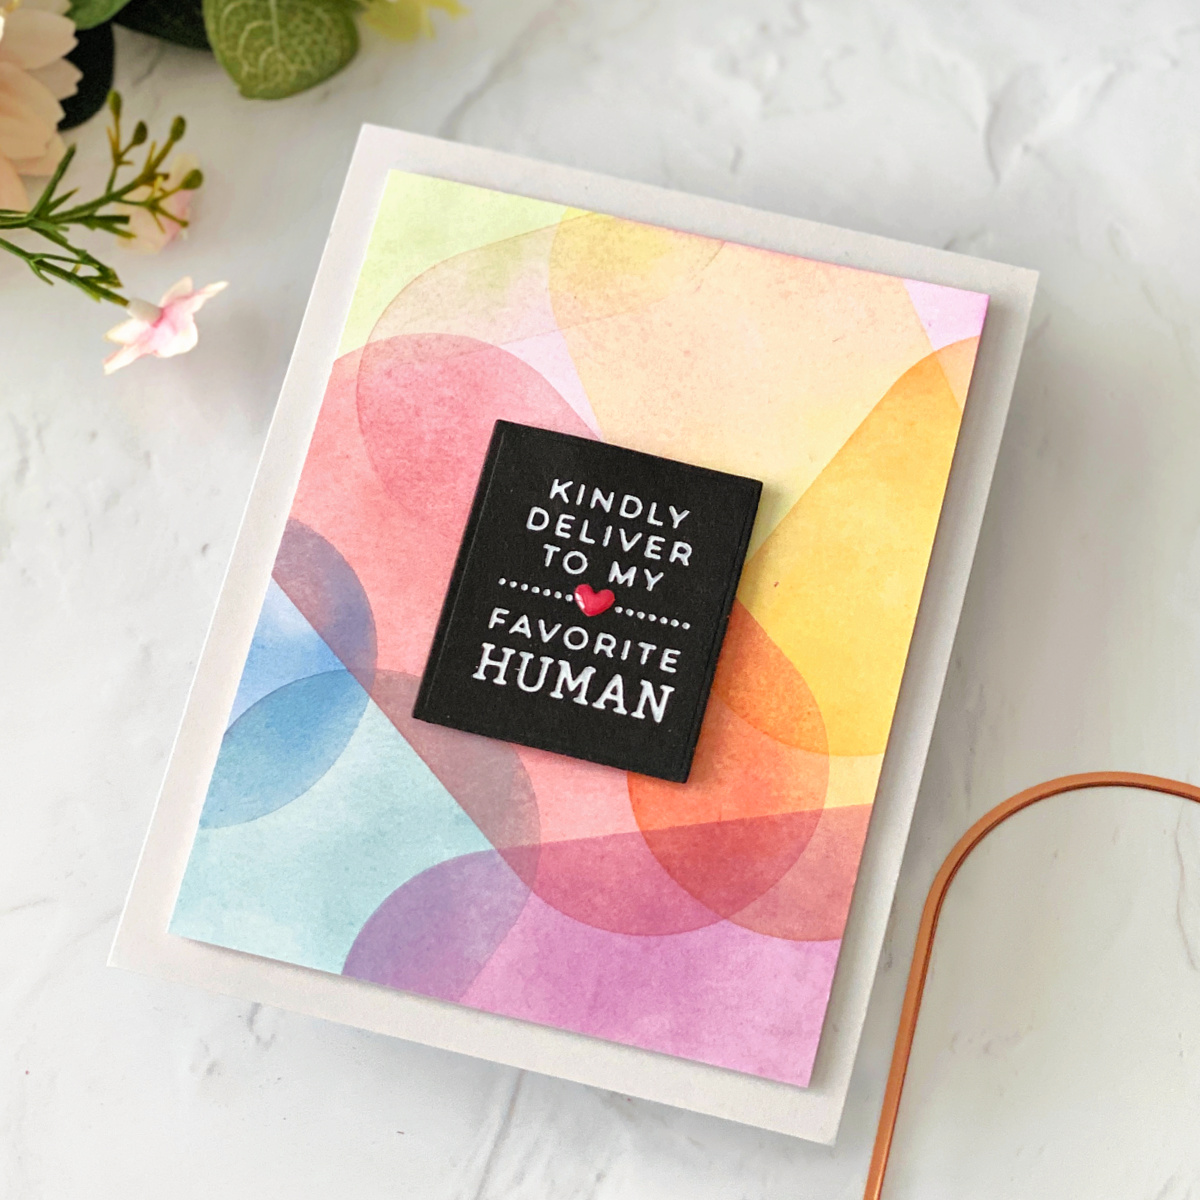
- Cut a piece of acetate with a mid-size Essential Modern Ovals die to create a stencil.
- Stenciled a background onto white cardstock using the die-cut acetate and trimmed.
- Hot foiled a fantastic sentiment from All-Occasion Mailbox Greetings Hot Foil Plate with opaque white foil onto Spellbinders Onyx cardstock.
- Die cut the sentiment with a die from Parcel & Post Mailbox and added a tiny heart from my stash.
- Adhered everything with foam tape.
- Used Fog cardstock again for the base. What can I say? It’s awesome.
Tip: When making a stencil with a die, center the die in the middle of a card-size piece of acetate (or vellum or whatever medium you are using). This will make it easy to avoid accidentally stenciling outside the limits of the die cut.
Tip: If you use acetate (as opposed to vellum or other paper) to make a stencil, you will be able to wipe off the ink and use it over and over. It’s essentially a permanent stencil. And that’s how we get more $$ for other crafty things!
Other Ways to Use Shape Dies
Here’s a handy list of a few other ways you can use shape dies like the Essential Modern Ovals:
- Die cut a backdrop for a floral or other images (see this card I made or this beauty by Heejung Hunsberger)
- Use 2 dies to create a frame (see this gorgeous card by Annie Williams )
- Stack different sizes (aren’t these cards by Leica Palma beautiful?)
- Make a shaped card
- Make a tag, treat bag, and a cube Amazing work by Angela Tombari
- Make a Christmas ornament also by Angela Tombari
See what I mean? There are more ideas out there, but this should be enough to keep all of us all busy using our shape dies for quite some time.
Thanks so much for checking out this post and thank you to Spellbinders! I would love to see anything you make with this collection, so feel free to tag me on my Instagram account. I’m Dear Paperlicious if you are looking for me.
Spellbinders Supplies:

Other Supplies
Paper trimmer, heart embellishment.
Colorful Paper Quilt Cards
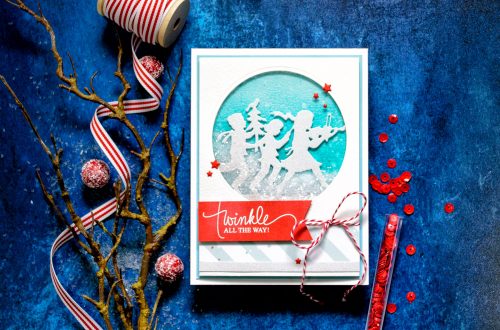
Quick Technique | Twinkle All The Way Card with Fa La La Die