-
Fun Ways To Add Beautiful Sparkle To Your Cards
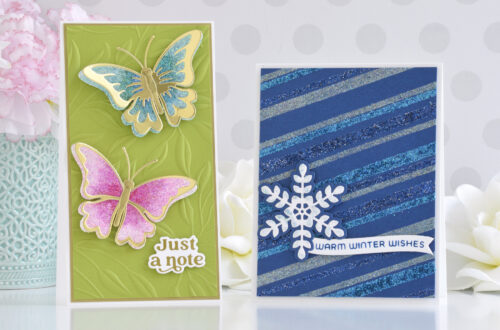
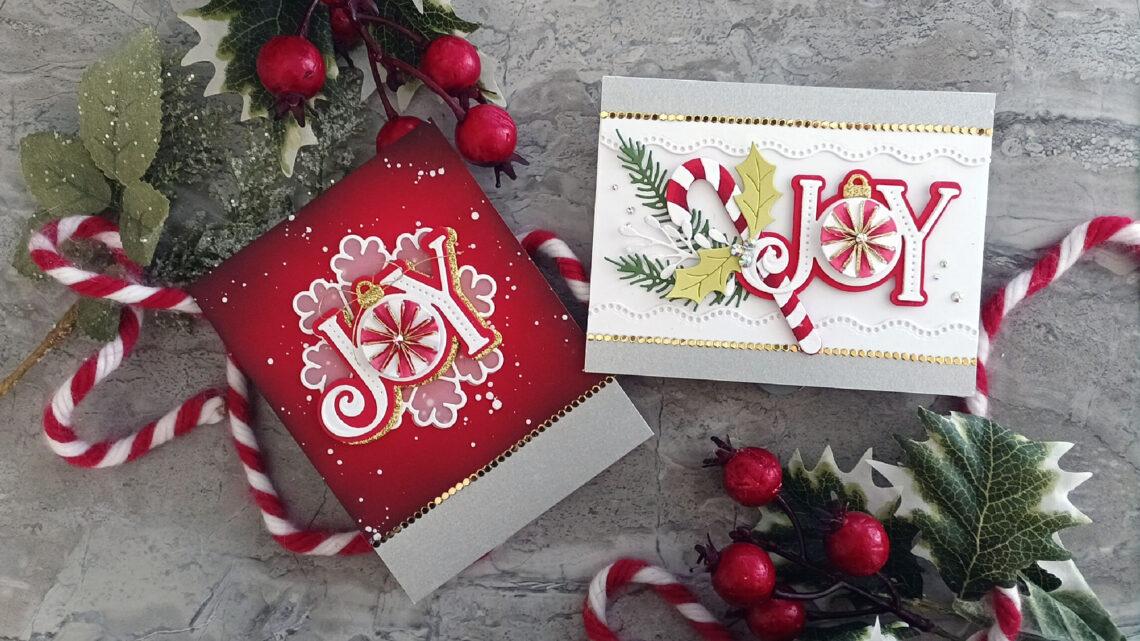
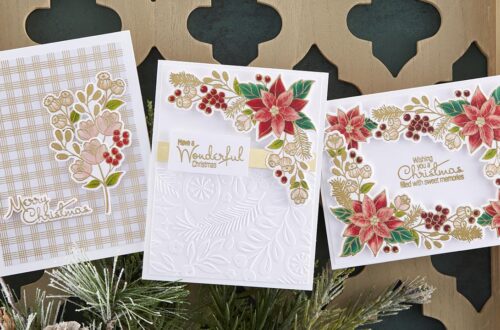
Hello there Spellbinders friends! Lisa Tilson is here with you today on the Spellbinders blog. Today we are going to be playing with glitter cardstock! I have lots of examples and ideas for you and some great tips to help you get the most out of your cardstock. I love to add glitter cardstock to my cards, often in fairly subtle ways, but there are also many ways of really showcasing the beautiful texture and sparkle. So first let’s take a look at the cardstock itself. Included in the picture are Champagne, Silver, Gold, followed by the five Spring Tones Glitter Cardstock colors, and then the five Jewel Tones Glitter…
-
Brighten Up Your Day and Create Three Simple Floral Cards
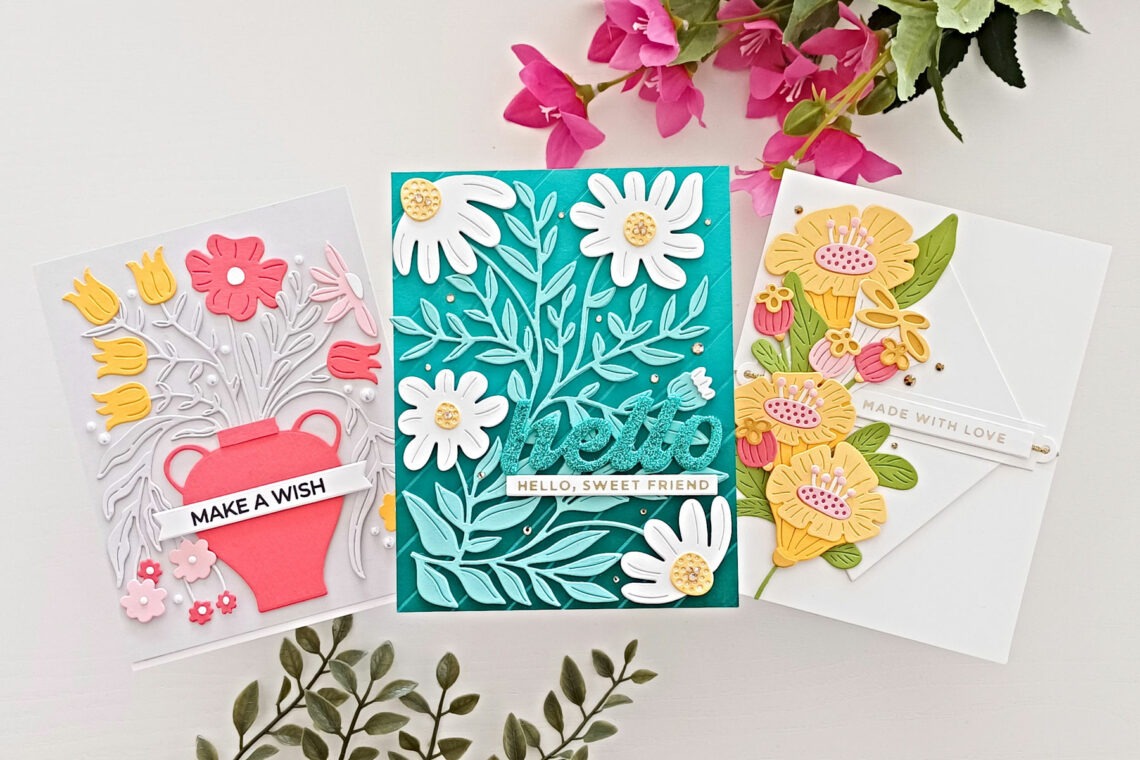
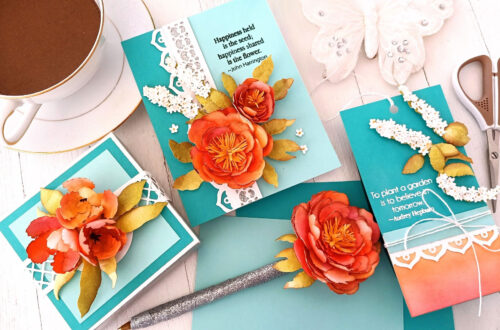
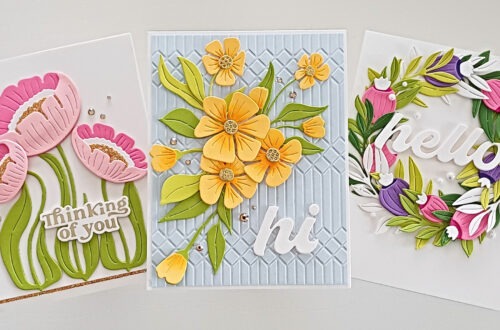
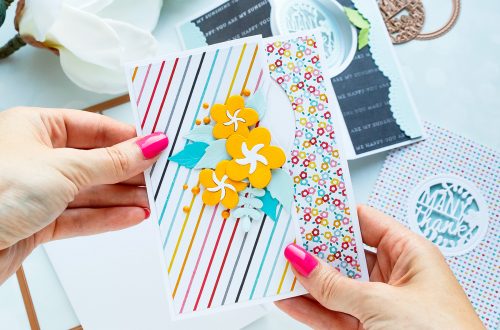
Hello there Spellbinders friends! Lisa Tilson here from My Card Trip and I am excited to be back here with you on the Spellbinders blog. Today I have some cards to share using the More Fresh Picked Collection. I really loved the first Fresh Picked Collection so I was delighted to be asked to make some more cards for you using the latest release. There are three new floral sets and they are all super pretty. I think they are very simple to use and they definitely come together pretty quickly if you follow the intended design. The new sets have the same style as the first collection – big,…
-
Sunny Floral Inspiration – Adding Colour and Using Shapes Three Ways
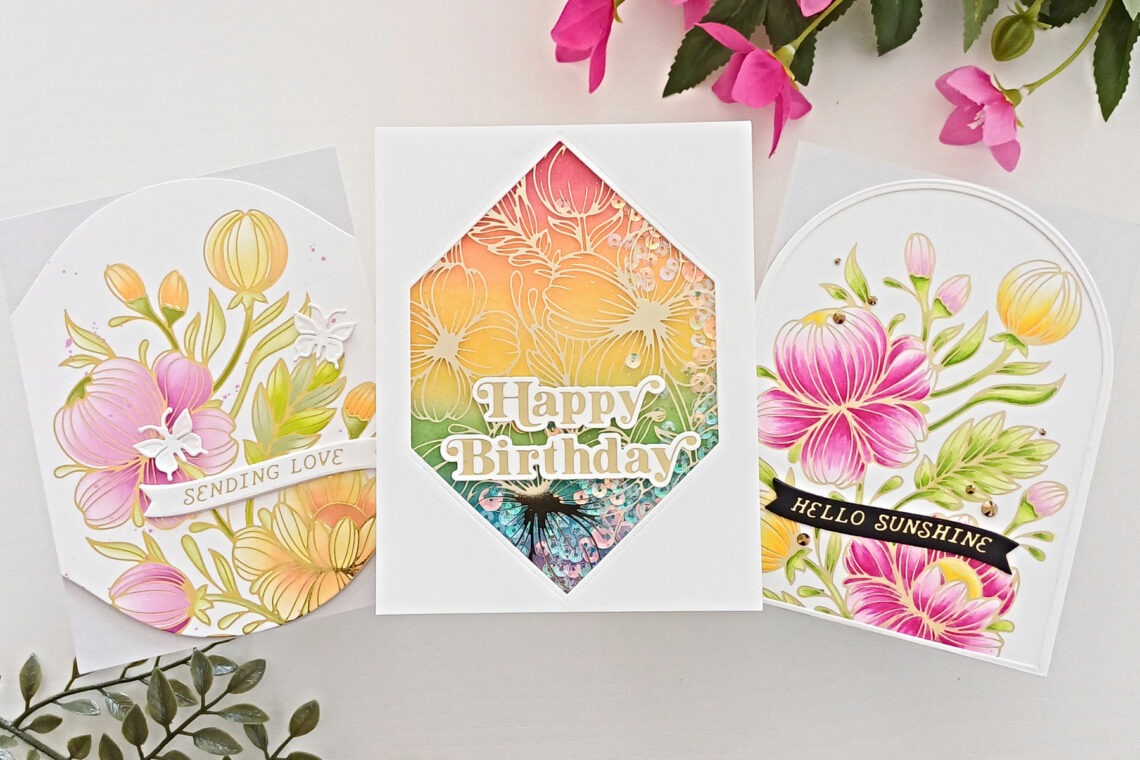
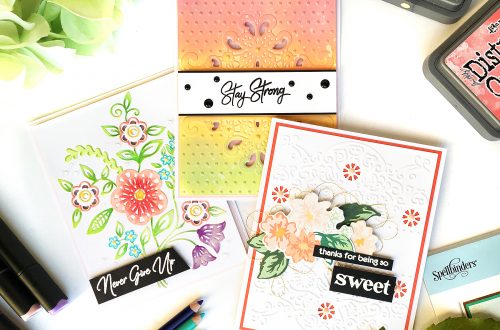
Hello there Spellbinders friends! This is Lisa Tilson from My Card Trip and I am thrilled to be back here again with you on the Spellbinders blog. Today, I have three cards to share with you using the Glimmering Flowers Collection. This collection consists of two floral glimmer hot foil plates which you can use on their own or you can use them with their coordinating layering stencils. There is also a new glimmer sentiment set which has lots of useful everyday sentiments in a fun curved banner design. I show three different ways of adding color to your card designs and I have kept my color palette similar on…
-
Fun Ideas for Die Cutting With Patterned Paper Featuring Doodlebug
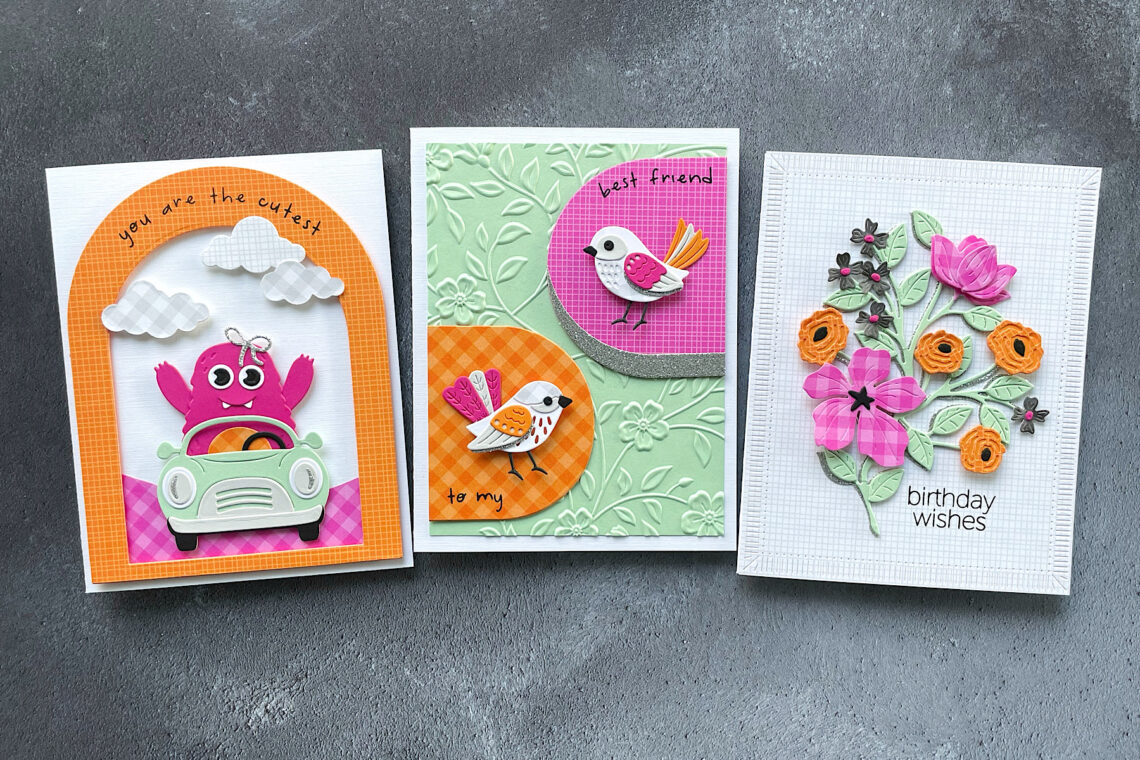
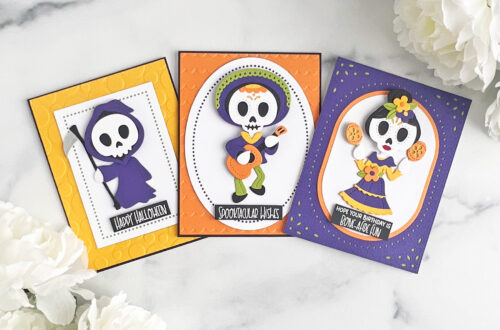
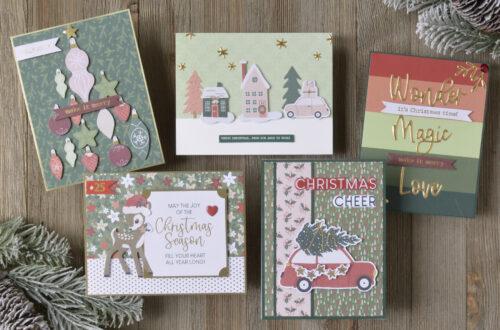
Hello, crafty friends! This is Emily Leiphart and I’m thrilled to be back on the Spellbinders blog, featuring Doodlebug’s Gingham-Linen Rainbow Petite Prints 12×12” Cardstock Paper. Spellbinders is now carrying the entire line of Doodlebug’s Rainbow Petite Prints and it was such a difficult choice because I love them all. Linen is always a must-have for me because it’s so subtle and I love that I can easily stamp on it. Gingham is another fun and versatile choice. After choosing the color palette for my cards and making sure that I had both the Doodlebug prints and coordinating solid cardstock, I went to work on my designs. Spellbinders has so…
-
Make Your Blooms Bloom and Create Three Pretty Floral Cards
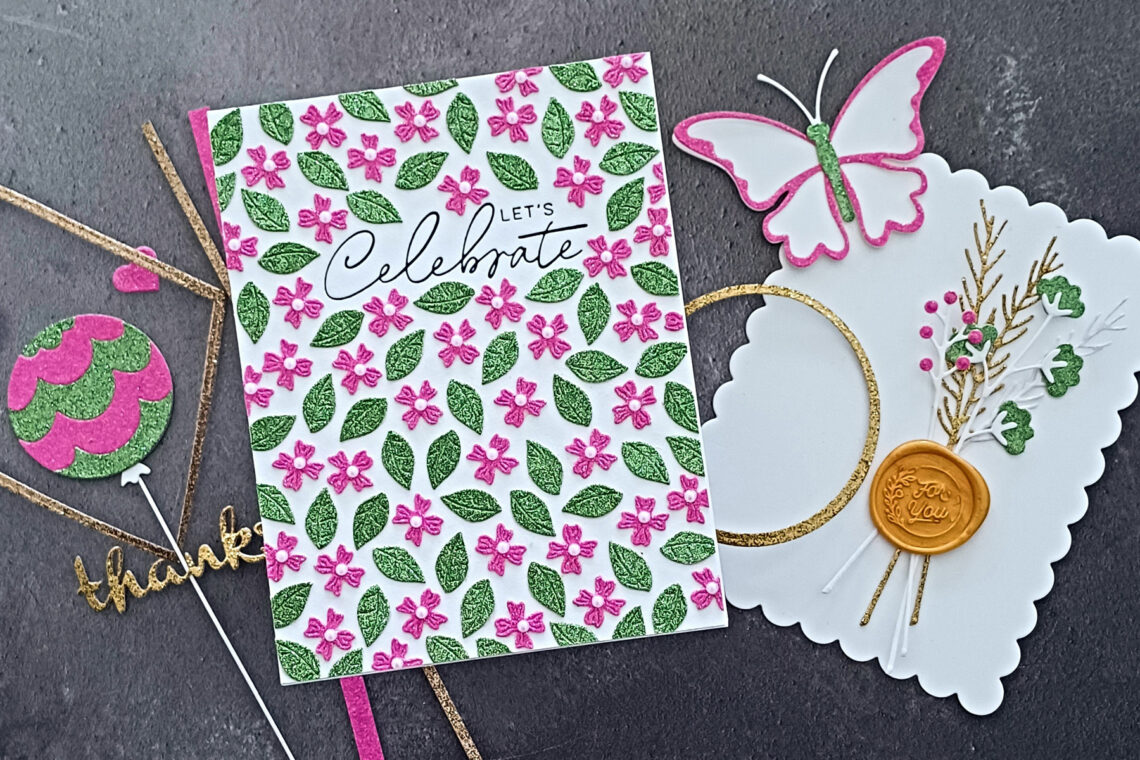
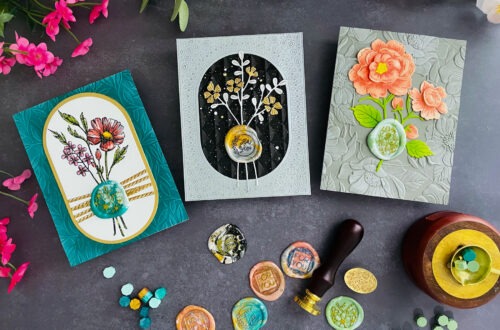
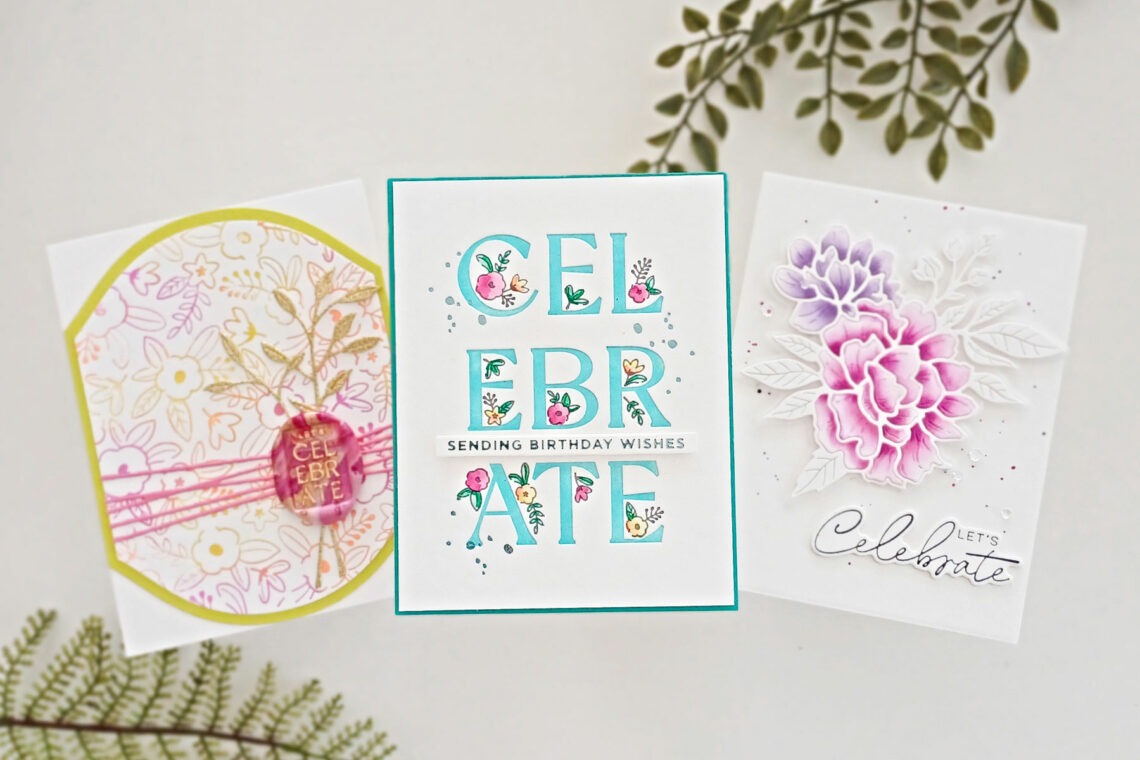
Hello there! This is Lisa from My Card Trip and I am happy to be back here on the Spellbinders blog with you. Today, I am sharing three ideas using the beautiful new collection from Yana Smakula. This collection is called Let’s Celebrate and it’s definitely a reason to do just that! You’ve got some gorgeous new press plates, a die set, and a wax seal, along with the latest in the line of BetterPress Registration Press Plates. There is also a coordinating layering stencil set for the new BetterPress Registration set if you want to add some more options for using it. I had a blast creating with these…
-
12 Days of Stitchmas Advent Calendar | Day 8 with Tina Smith
Welcome to day 8 of our 12 Days of Stitchmas 2023 Advent Calendar class! Join us and stitch your way through the season! We invited 12 guest artists to share inspiration with the 12 stitching surprises. Let’s welcome Tina Smith as she shares inspiration with the Day 8 surprise! Don’t miss the other video tutorials from our free Youtube Class: Day 1 with Mindy Eggen | Day 2 with Sandi MacIver | Day 3 with Laura Bassen | Day 4 with Jaycee Gaspar | Day 5 with Yana Smakula | Day 6 Michelle Short | Day 7 with Nichol Spohr. Hi there, crafty friends! Tina here from Cards and Coffee…
-
Envelope of Wonder Collection – A Trio of Ideas from Lisa Tilson
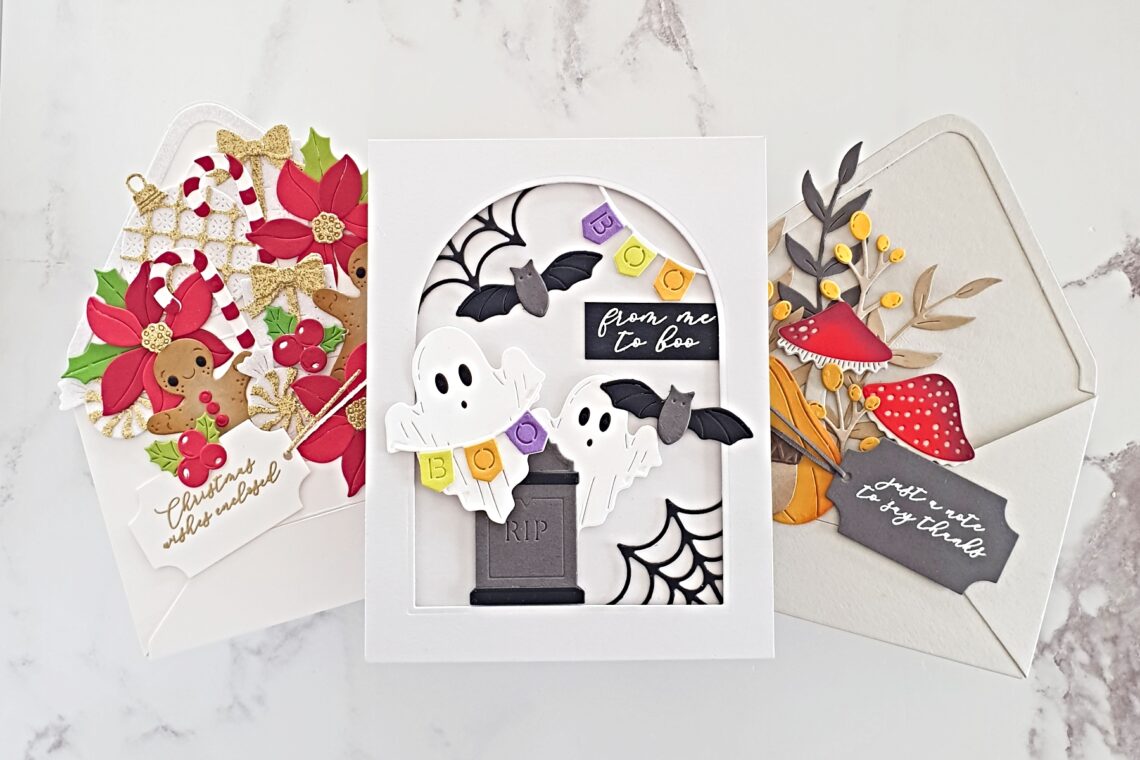
Hello everyone, this is Lisa Tilson from My Card Trip and I am delighted to be a guest on the Spellbinders blog today. I will be featuring the super fun Envelope of Wonder Collection and have three cards to share with you. This collection consists of four different envelope collections plus an accompanying clear sentiment stamp set along with a Press Plate and Die Set. I use two of the envelope collections as they were intended but my third card shows how you can use them on a A2 sized card. These sets are good fun with lots of options for filling the envelope – either to bursting point and…