-
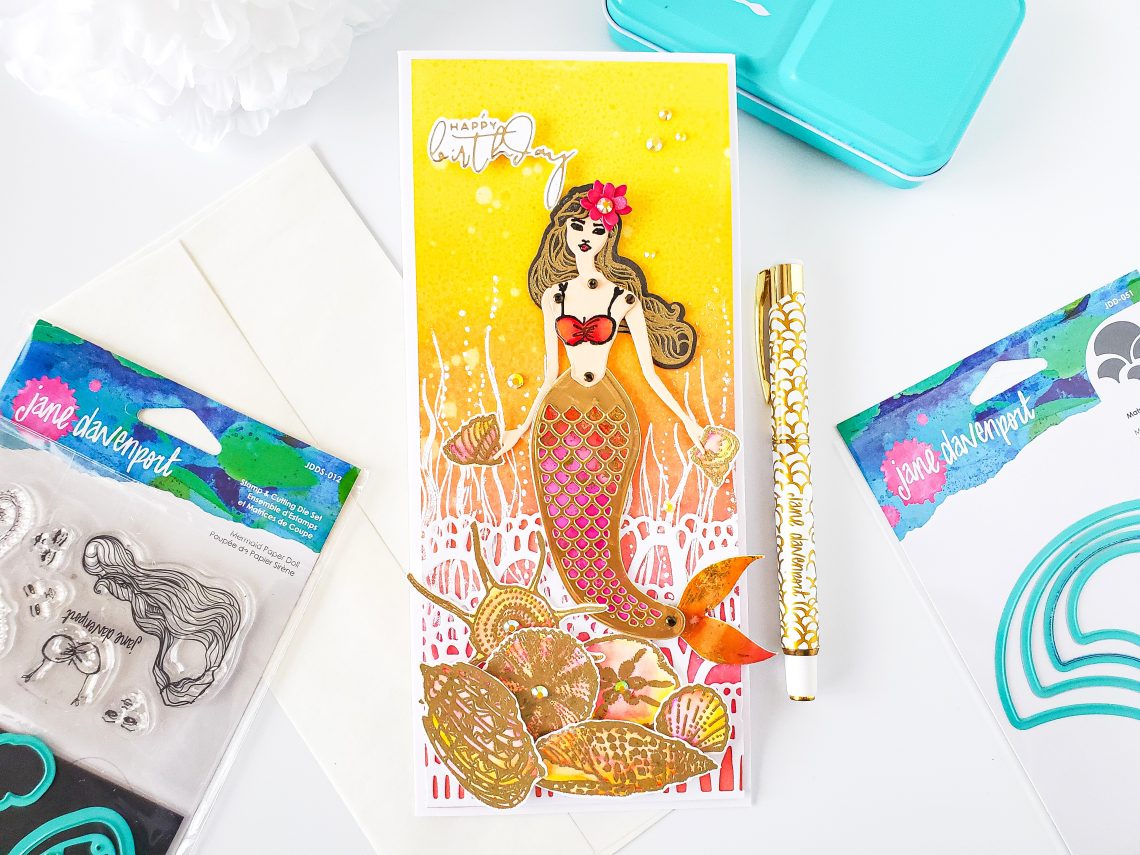
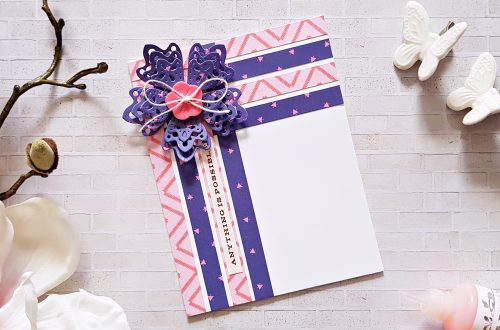
Marvelous Mermaids Collection by Jane Davenport | Slimline Mermaid Birthday Card with Yasmin Diaz
Hello, Spellbinders’ and FSJ friends! Yasmin here sharing with you this Slimline Mermaid Birthday card that, I’ve created using stamps and die sets from the Marvelous Mermaids Collection by Jane Davenport. So, without further ado, I’ll be showcasing this gorgeous collection by sharing with the step by step how I made it. To begin with, I started by trimming down an 8.5″x11″ white cardstock sheet to H 9″ x W 8″ Then, I transferred it to my scoring board, and I scored a line at 4″” mark so, after marking the scoring line I folded it in half, and I reinforced the fold with my Teflon bone-folder. Therefore, after folding…
-
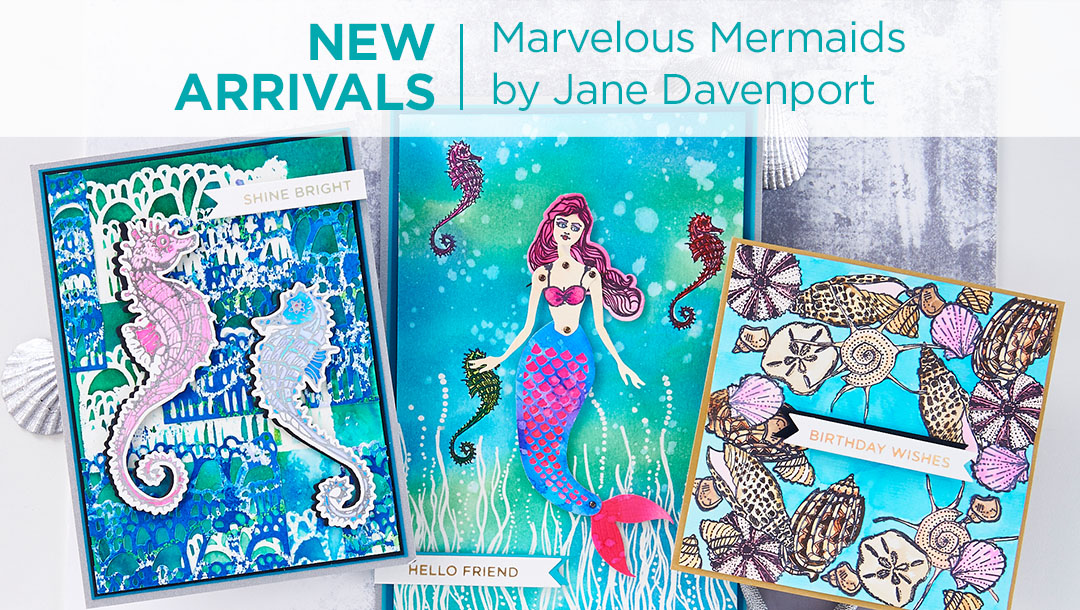
What’s New | Marvelous Mermaids Collection by Jane Davenport
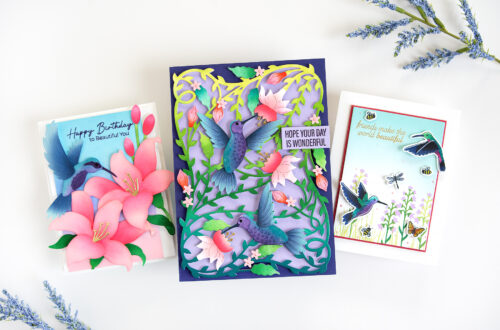
Join Jane Davenport by (and in!) the sea with these beautiful and fun collection of clear stamps, dies, plus stamp and die sets. These are wonderful accompaniments to her new book, coincidentally also called Marvelous Mermaids! Welcome to the latest segment of What’s New At Spellbinders. Join Product Development Director, Robin Beam, as she presents brand new Marvelous Mermaids Collection by Jane Davenport. Watch video below or on our Youtube channel: JDD-008 Happy Little Dolphin: How can you not smile at this adorable dolphin? This set also includes fun waves and surf dies tht can be die cut with the dolphin for a cute card or by themselves to…
-
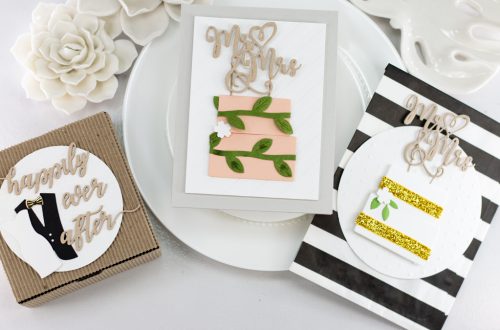
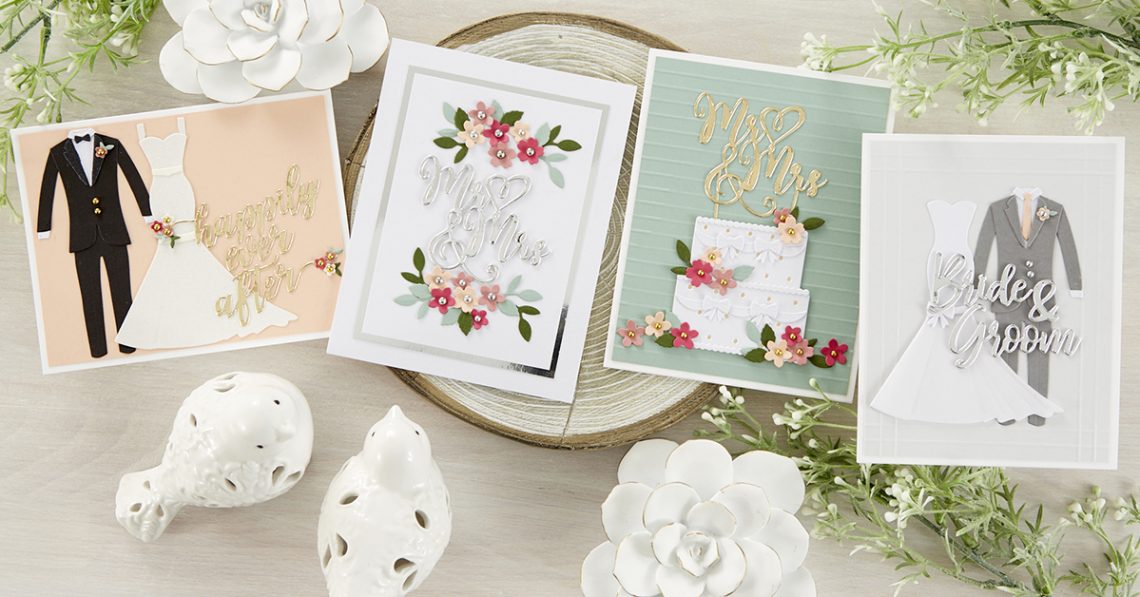
Wedding Season Project Kit is Here!
Hello Spellbinders’ and FSJ fans! Our Wedding Season Project Kit is here! This Wedding Season Project Kit is the perfect way to get your hands on early products from one of the upcoming May Collections “Wedding Season Collection by Nichol Spohr.” This kit comes with an assortment of FOUR die sets and a card making project kit to make FOUR cards. Also included are full color instructions and an online Video Tutorial. You will be guided through every step of the way as your create die cut projects. BUY KIT NOW Included in Project Kit: Wedding Dress & Tux S4 -1057 Bride & Groom Sentiment S2-307 Happily Ever After Sentiment S2-308 Mr…
-
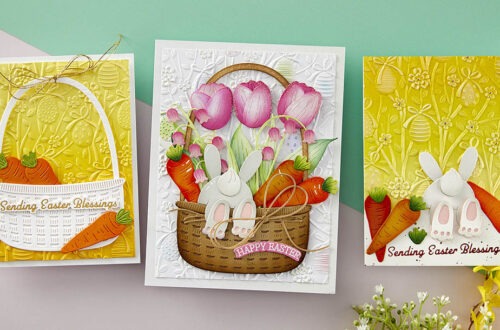
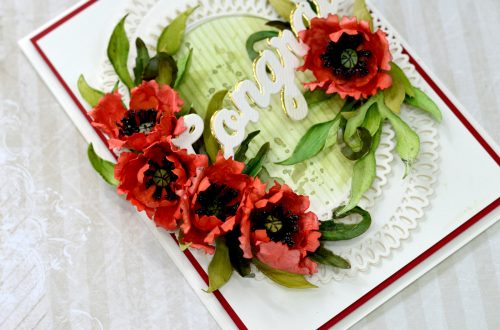
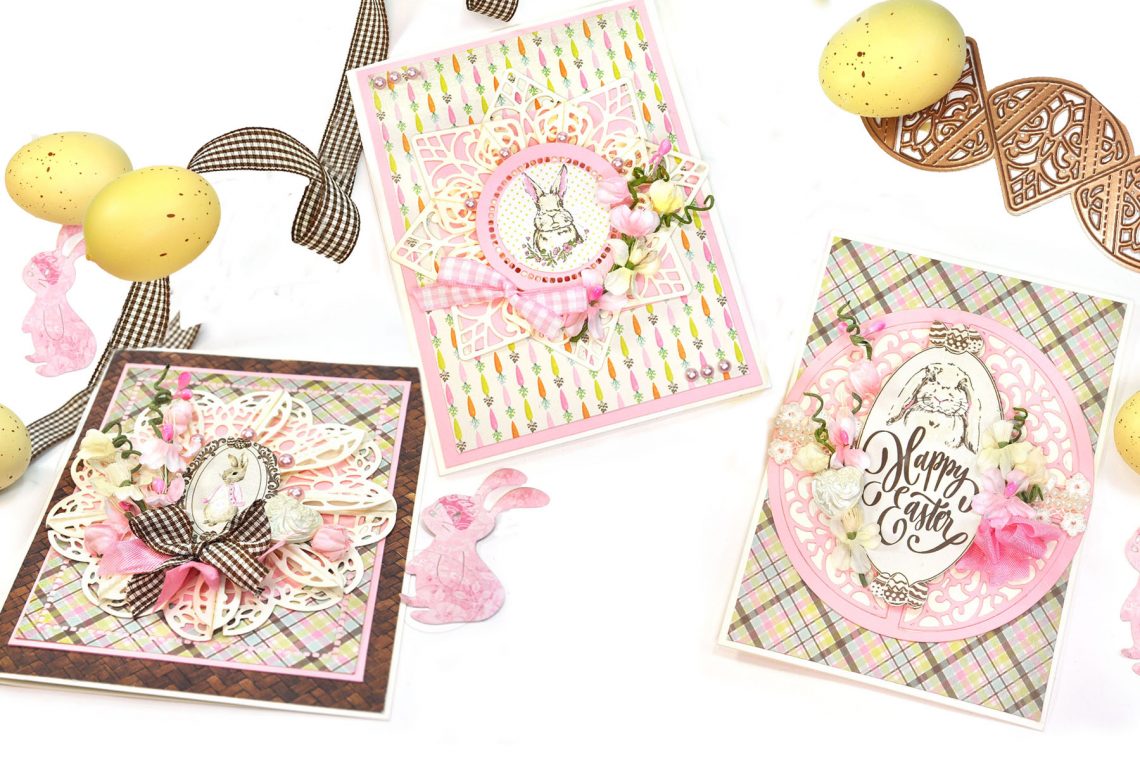
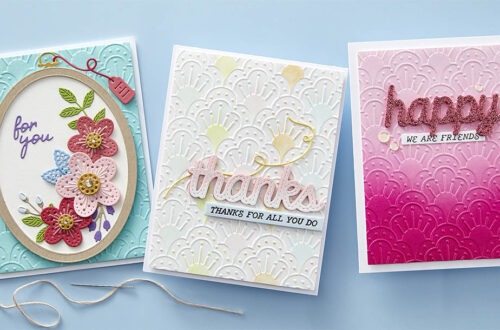
Dimensional Doilies Inspiration | Easter Doilies with Jennifer Snyder
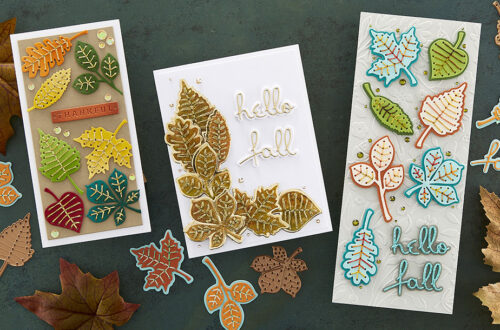
Hello crafty friends. I’m Jennifer Snyder, a papercrafter and creator of Scrap Escape Blog. I’d like to thank Spellbinders for providing this opportunity to showcase their newest addition to the Amazing Paper Grace family, the Dimensional Doily Collection by Becca Feeken. I’ve long been a fan of APG dies made famous for their delicate scroll-like designs. As a dimensional papercrafter, these dies are particularly fascinating because they add beautiful jaw dropping dimension to projects. Today I’m featuring three cards crafted with the Dimensional Doily collection. I made the first card and couldn’t put the dies down. Stop after one card? No way, impossible. The interlinking designs are so incredibly easy and super fun to use.…
-
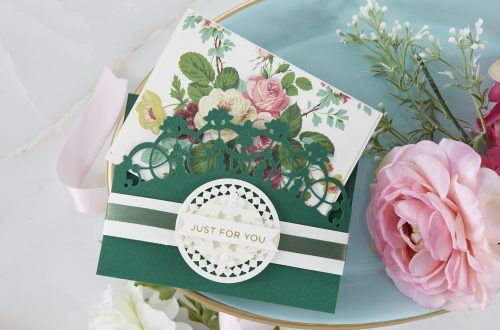
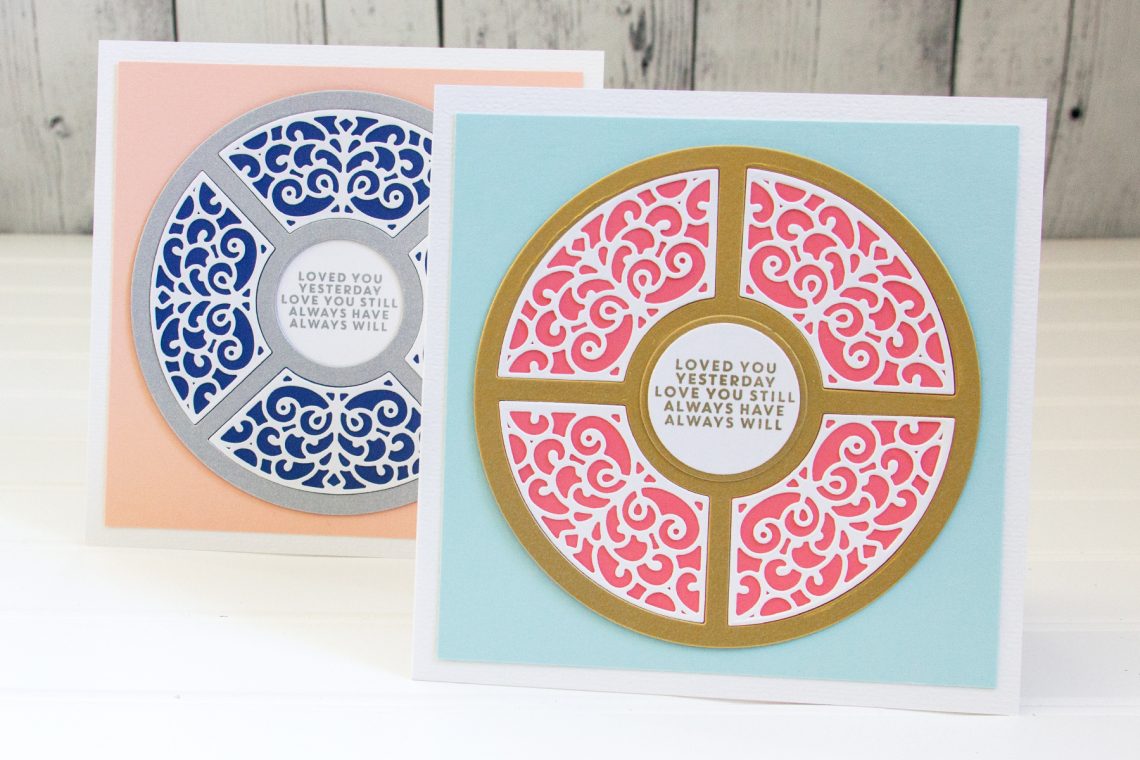
Elegant Simplicity – Circlet Doily Cards with Jean Manis
Hello crafty friends! I’m Jean, a papercrafter blogging at Right as Rain. I am thrilled to be on the blog today sharing cards created with the Filigree Drop In Circlet Doily set, part of the Dimensional Doily Collection by Becca Feeken. I created elegant, quick-to-assemble cards suitable for a number of occasions including engagement, wedding, and anniversary. Let’s take a look! The Filigree Drop In Circlet Doily set includes 10 dies: a large circle (measuring 5” in diameter), four filigree quarter circles, four quarter-circle outlines, and a center circle. There are many ways the set can be used to create elegant papercraft creations. On the first card, I cut the…
-
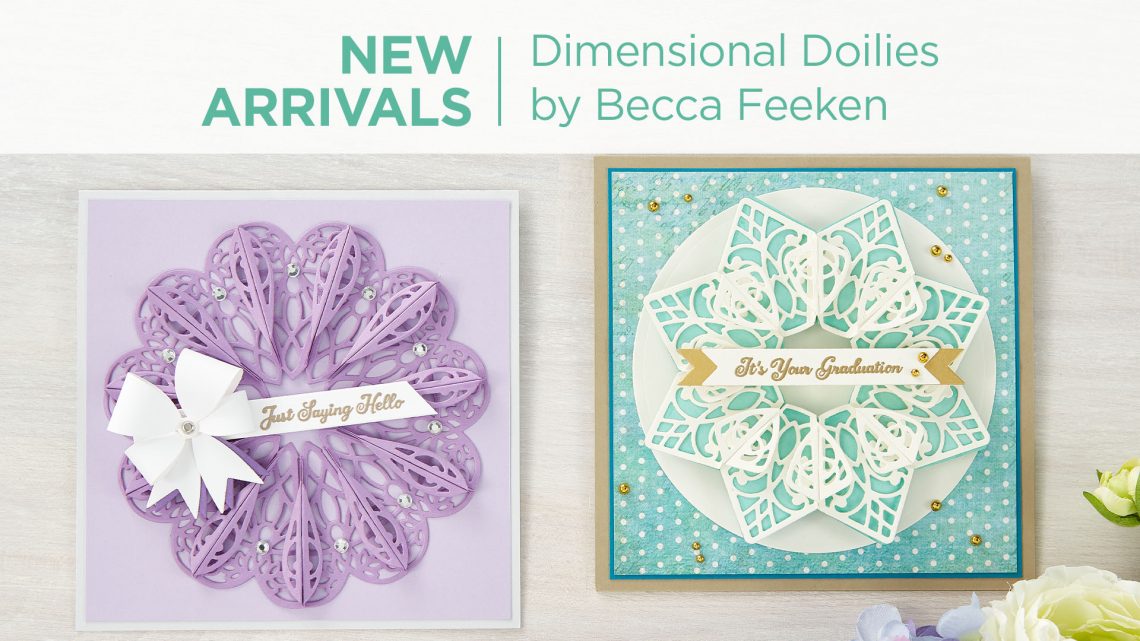
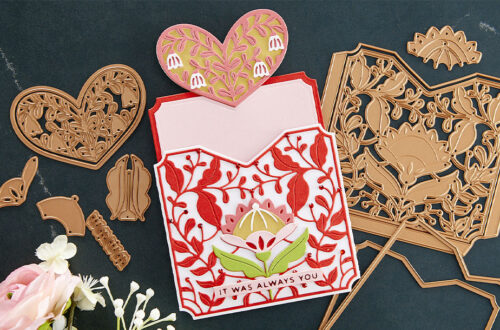
What’s New | Dimensional Doily Collection by Becca Feeken
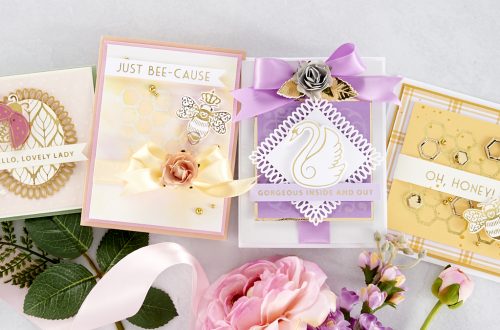
My latest collection is a dream come true. Nothing says love more than a handmade doily, meticulously and adoringly made by someone special from days gone by. I wanted to recreate that wonderful intricacy in paper! Welcome to the latest edition of What’s New At Spellbinders. Join Becca Feeken as she presents her brand new Dimensional Doily Collection. Watch video below or on our Youtube channel: S3-397 Petite Double Bow with Dimensional Circles: These smaller sized bows and the dimensional circles with Fleur di Lis accents add that extra “something” to a Dimensional Doily or any project. Use a decorative brad to create a single or double set of…
-
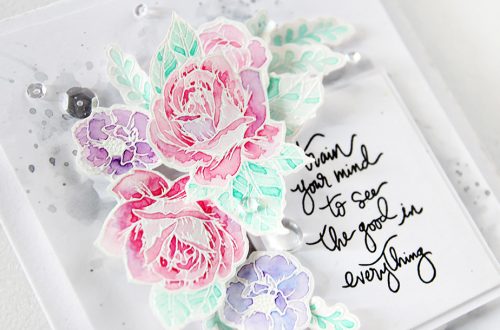
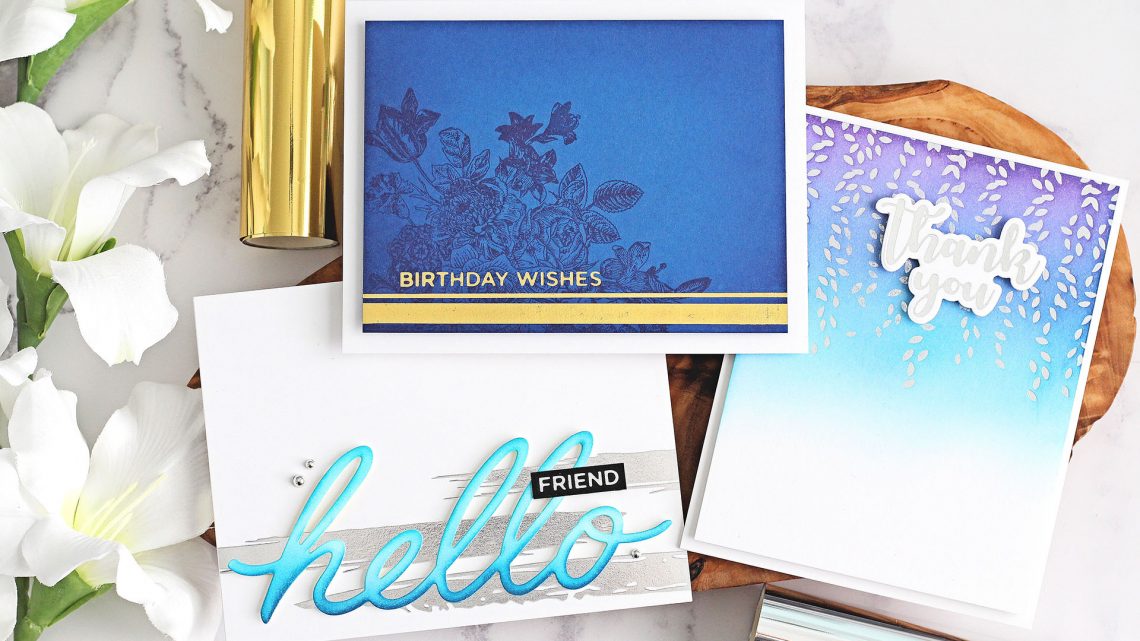
The Effortless Greetings Project Kit | Cardmaking Inspiration with Michelle Short | Video
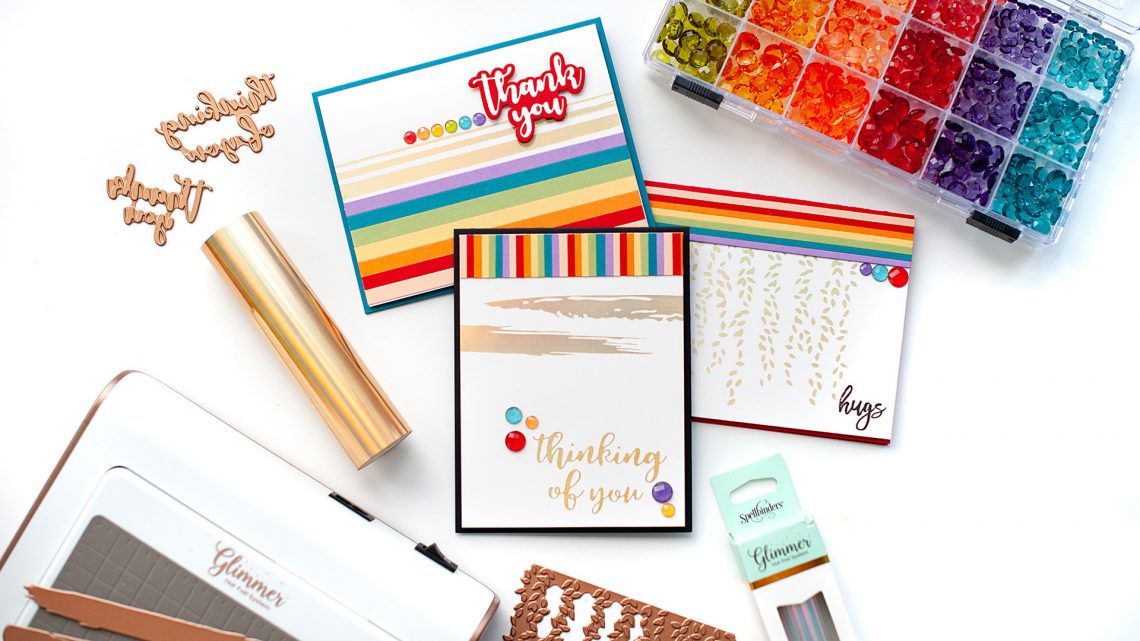
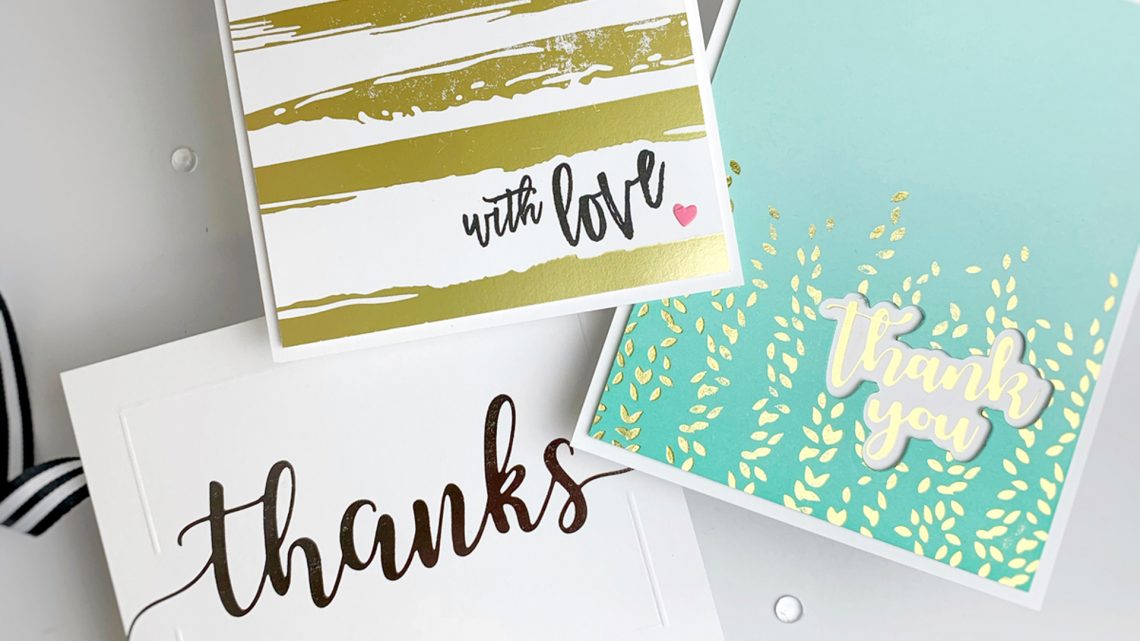
The Effortless Greetings Project Kit is here! This Effortless Greetings Project Kit is the perfect way to get your hands on early products from one of the upcoming April Collections “Effortless Greetings Collection by Laurie Willison.” This kit comes with an assortment of THREE new Glimmer plate sets, two rolls of Glimmer hot foils, a clear stamp set, and a card making project kit to make FOUR cards. BUY KIT NOW Included in Project Kit: Framed Details Glimmer Plate Set GLP-162 Foiled Brushstrokes and Stripes Glimmer Plate Set GLP-163 Effortless Sentiments Glimmer Plate & Die Set GLP-164 Floral Love Clear Stamp Set STP-012 Glimmer Foil Roll – Silver GLF-003 Glimmer…
-
The Effortless Greetings Project Kit | Cardmaking Inspiration with Lea Lawson | Video
The Effortless Greetings Project Kit is here! This Effortless Greetings Project Kit is the perfect way to get your hands on early products from one of the upcoming April Collections “Effortless Greetings Collection by Laurie Willison.” This kit comes with an assortment of THREE new Glimmer plate sets, two rolls of Glimmer hot foils, a clear stamp set, and a card making project kit to make FOUR cards. BUY KIT NOW Included in Project Kit: Framed Details Glimmer Plate Set GLP-162 Foiled Brushstrokes and Stripes Glimmer Plate Set GLP-163 Effortless Sentiments Glimmer Plate & Die Set GLP-164 Floral Love Clear Stamp Set STP-012 Glimmer Foil Roll – Silver GLF-003 Glimmer…
-
The Effortless Greetings Project Kit | Cardmaking Inspiration with Laurie Willison | Video
The Effortless Greetings Project Kit is here! This Effortless Greetings Project Kit is the perfect way to get your hands on early products from one of the upcoming April Collections “Effortless Greetings Collection by Laurie Willison.” This kit comes with an assortment of THREE new Glimmer plate sets, two rolls of Glimmer hot foils, a clear stamp set, and a card making project kit to make FOUR cards. BUY KIT NOW Included in Project Kit: Framed Details Glimmer Plate Set GLP-162 Foiled Brushstrokes and Stripes Glimmer Plate Set GLP-163 Effortless Sentiments Glimmer Plate & Die Set GLP-164 Floral Love Clear Stamp Set STP-012 Glimmer Foil Roll – Silver GLF-003 Glimmer…
-
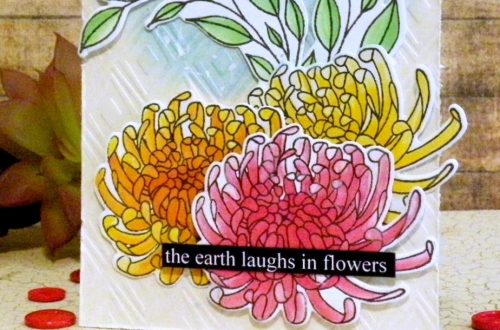
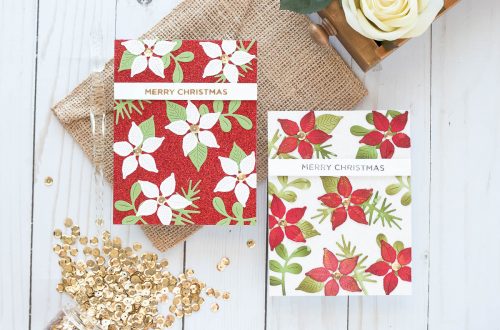
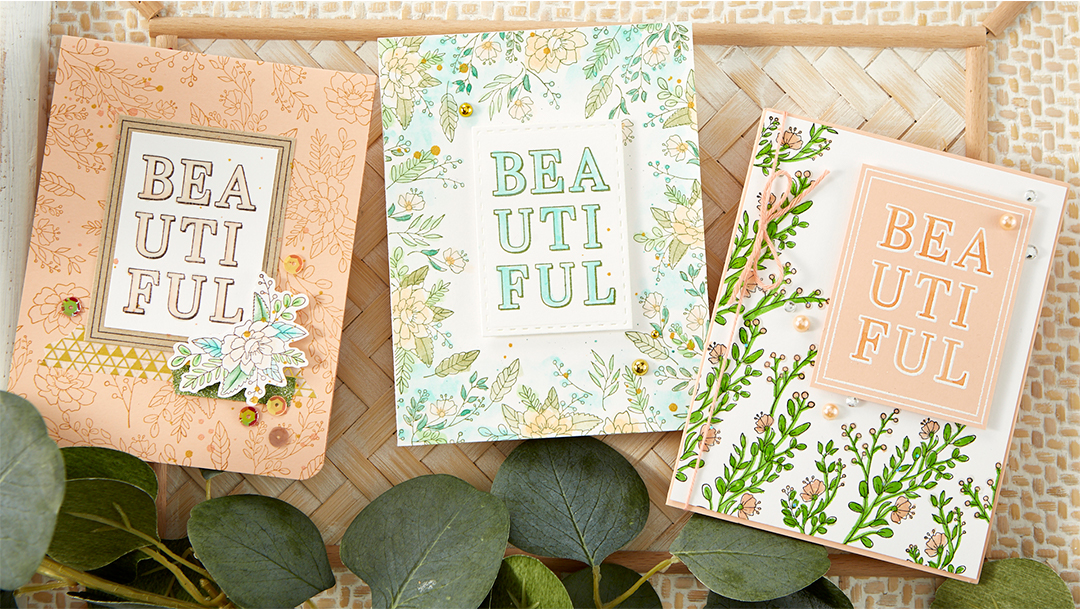
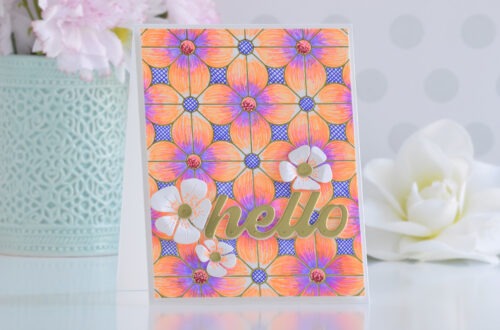
April 2020 Stamp of the Month is Here – Bold Beautiful
Our April Stamp of the Month Club by our friends from Fun Stampers Journey is HERE! Here’s a look at the April 2020 Stamp of the Month – Bold Beautiful. Join the Club The NEW Fun Stampers Journey (FSJ) Stamp of the Month sets are made in the USA of high quality deeply etched red rubber with cling mount. Our stamps create one of the best impressions on the market giving you a perfect stamped image every time. Beautiful Card: Catch step by step instructions for this project below. Click photos to enlarge: Sponge Beach Breeze ink in center of Whip Cream panel keeping edges soft. Stamp floral elements using…