-
Watercolor Floral Card Set How-To with Marie
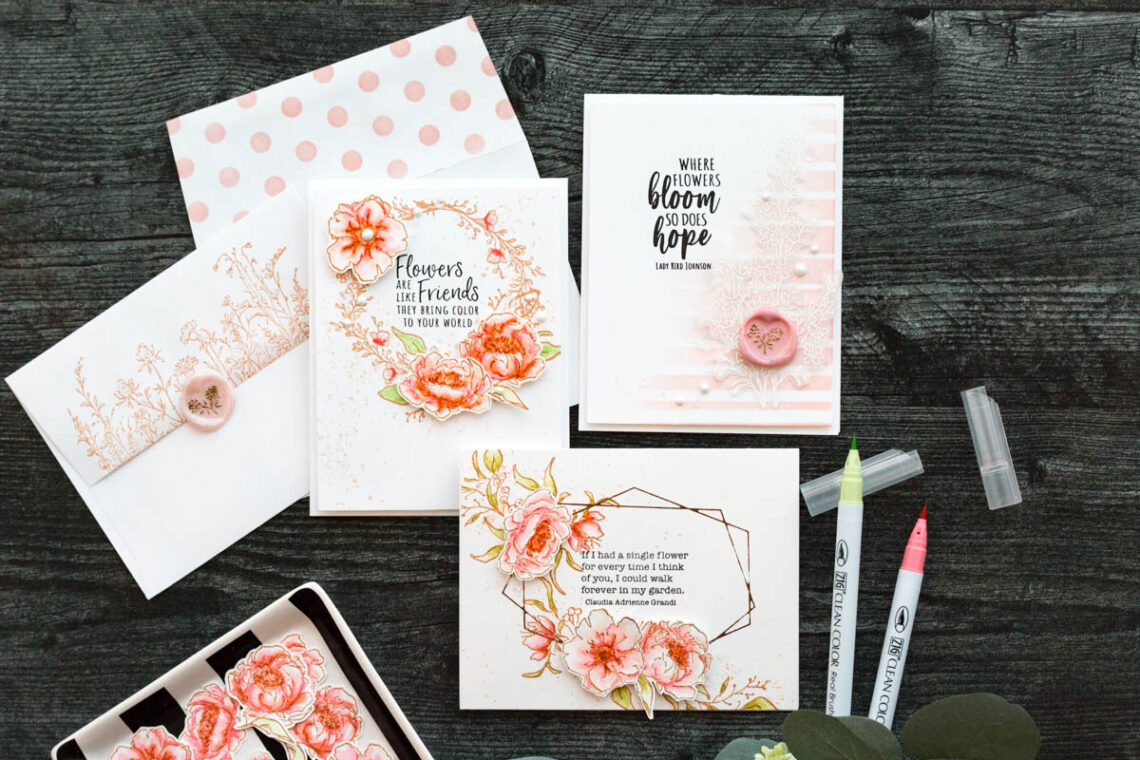
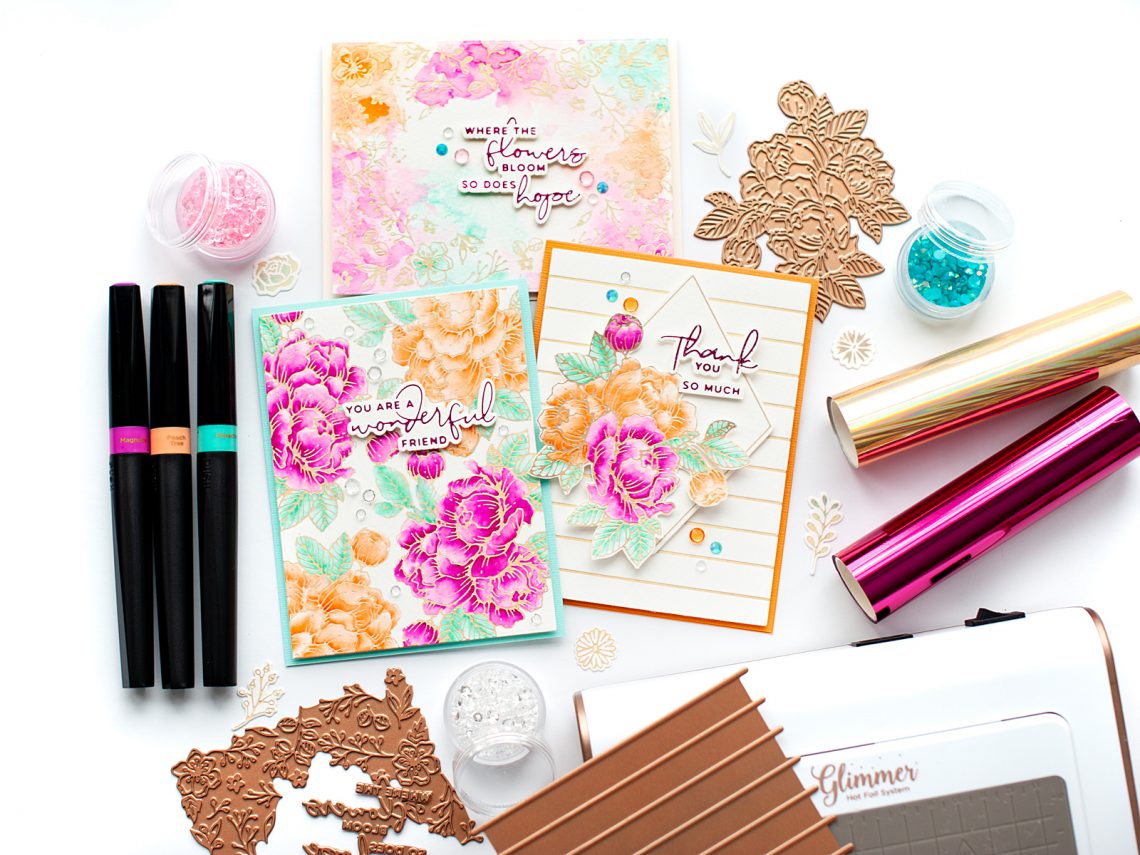
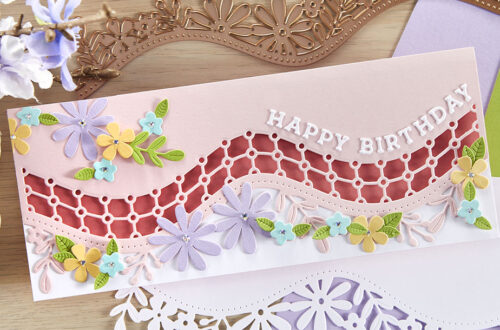
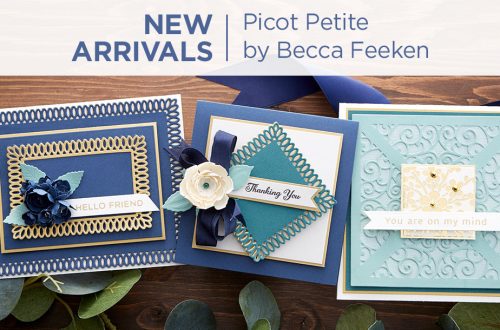
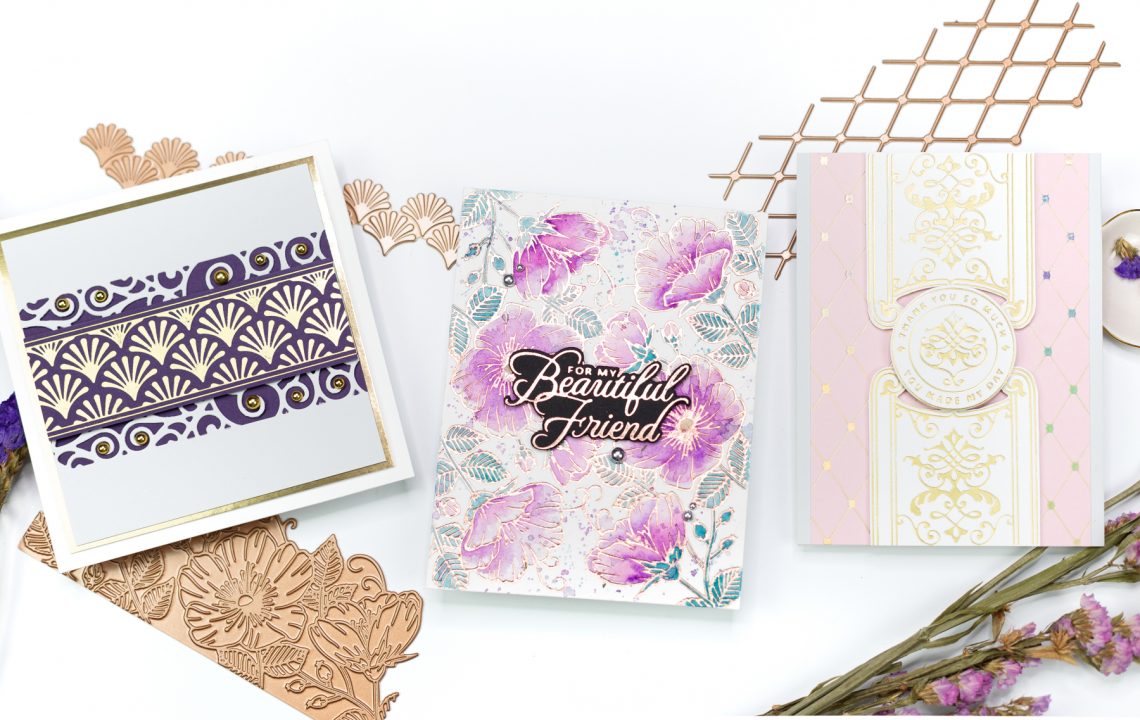
Hello! Its Marie here again from MARIE NICOLE DESIGNS. I was so excited to see this new Watercolor Florals collection because it is absolutely stunning. Such a great array of beautiful floral images that can be used in a number of ways. I created three cards to share today. They are similar in style so they could be considered a set, and yet each one has its own unique features. Add a Bit of Glimmer For my first card, I wanted to add some of Spellbinder’s shimmery foil. If there is anything that helps take a card to the next level, it’s a bit of foil! I used a geometric…
-
Yana’s Blooming Birthday Card Set with Lea Lawson
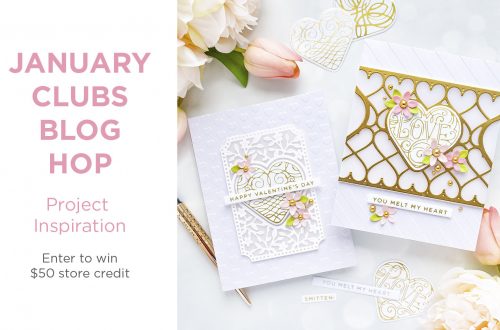
Hi crafty friends! Lea Lawson here today to share a card set featuring the new products from Yana’s Blooming Birthday collection. This is such a gorgeous collection of Glimmer Hot Foil plates and coordinating dies. Let’s take a look at how I created these cards! I started by working on foiling the backgrounds to 4.25” x 5.5” panels of heavyweight watercolor paper with my Glimmer Hot Foil System. I had five panels in total, and I did the following foiling to each one, all in Aura colored foil. Foiled the Glimmering Peony 4 times to create a full background. Foiled the Blooming Floral Background twice to create foiled borders around…
-
Celestial Zodiacs Collection – Inspiration with Marie Heiderscheit
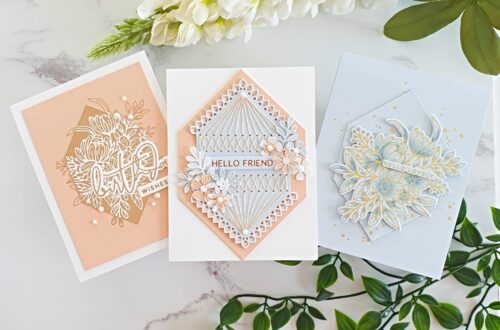
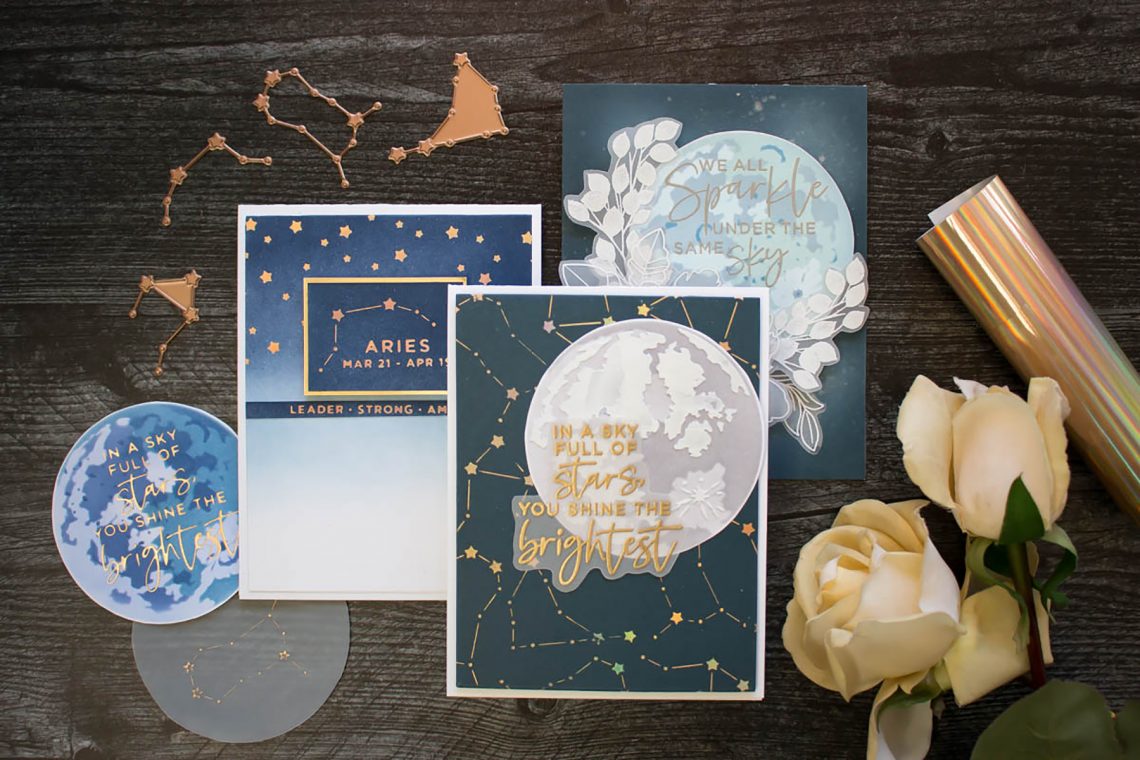
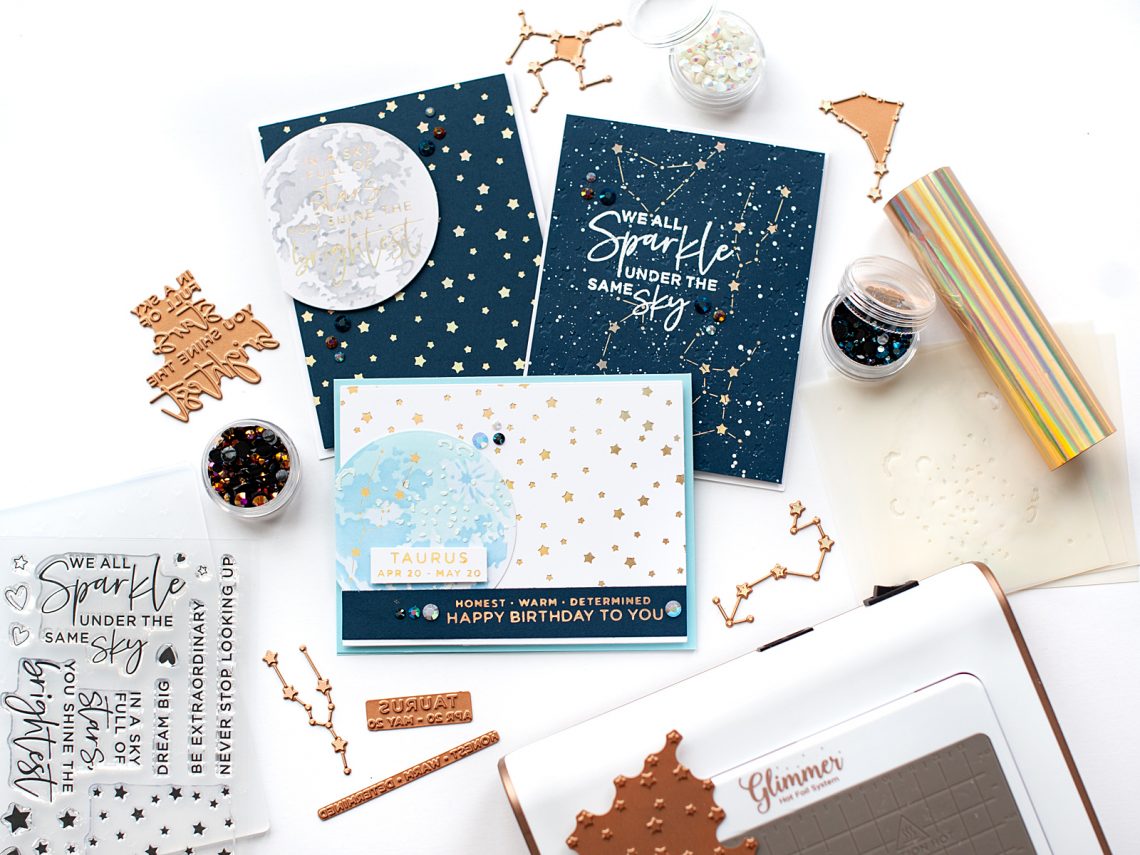
Hello, crafty friends! Its Marie here from the blog, MARIE NICOLE DESIGNS. I was so excited to see the new Celestial Zodiac collection. It is full of starry, sparkly craft supplies that you can use to create gorgeous cards or other projects. I created a set of three cards with this collection and I’m excited to share them with you today! I wanted to create a set of cards that coordinate, but with each one being unique. I have found that the easiest way to make cards together that look like a set is to choose a few colors and stick with them. This way, they look like they all…
-
Celestial Zodiacs Card Set
Hi crafty friends! Lea Lawson here today to share a card set featuring the new products from the Celestial Zodiacs collection. There is such a fun collection, with fantastic stamps, stencils, Glimmer hot foil plates and even an embossing folder. Let’s take a look at how I created these cards! For my first card I embossed a panel of navy blue cardstock with the Stargazer embossing folder. Next I foiled the constellations from the Taurus, Virgo, Scorpio and Capricorn foiling sets in Aura colored foil. I stamped & heat embossed the sentiment from Starstruck Sentiments in white, then splattered the entire panel with white acrylic ink. Once the ink was…
-
Expressions of Spring Card Set with Lea Lawson
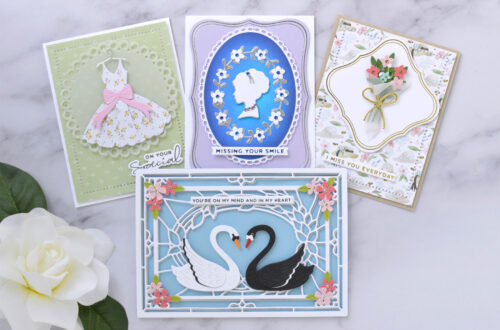
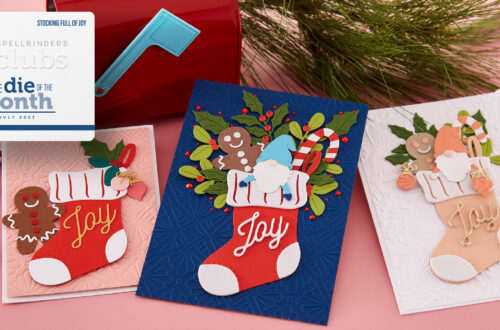
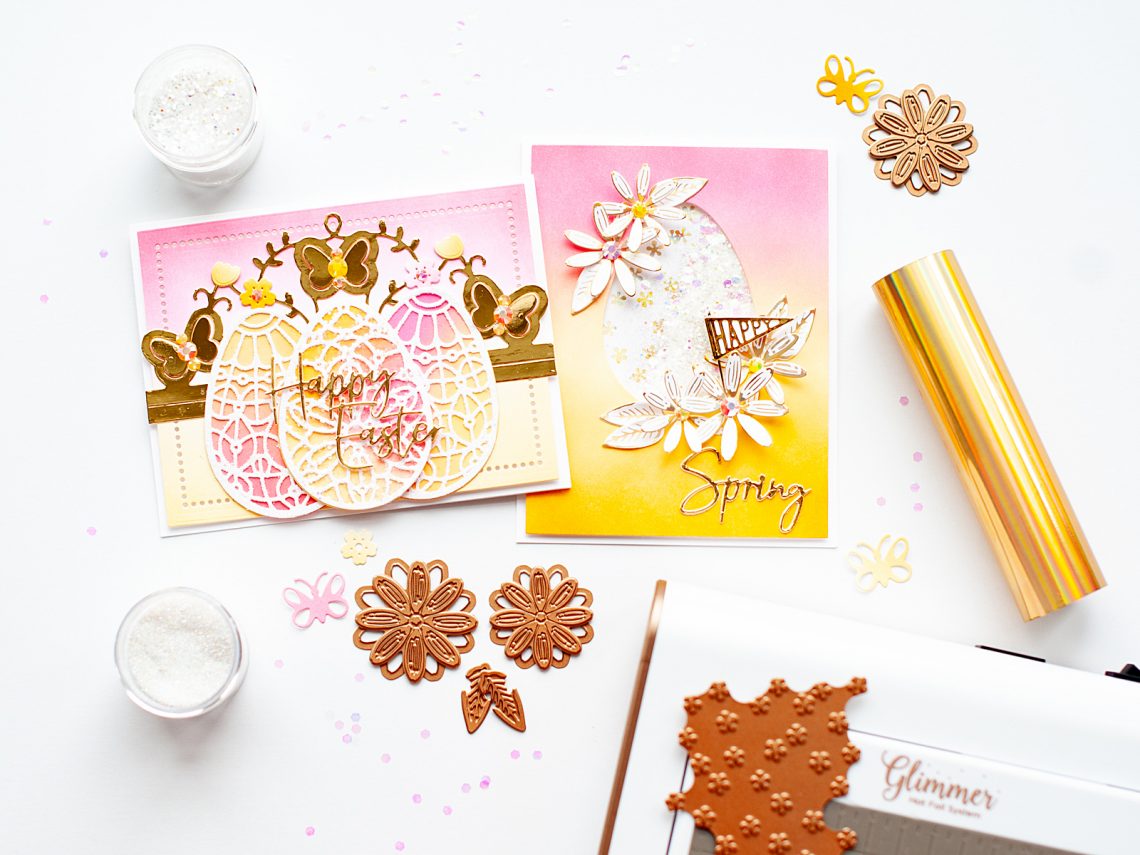
Hi crafty friends! Lea Lawson here today to share a card set featuring the new products from the Expressions of Spring collection. There is something for everyone in this collection, with fantastic die sets and Glimmer Hot Foil products. Let’s take a look at how I created these cards! Happy Easter Card My first card features a lot of diecutting and some ink blending. I started by diecutting the Forever Spring Eggs six times from white cardstock: 3 solid eggs, and 3 decorative. I ink blended the solid eggs in pink, yellow & orange. I covered the decorative ones in Sparkle Dust and Sparkle Cuts, then layered them to the…
-
Delicate Impressions Collection – Cardmaking Ideas with Jenny
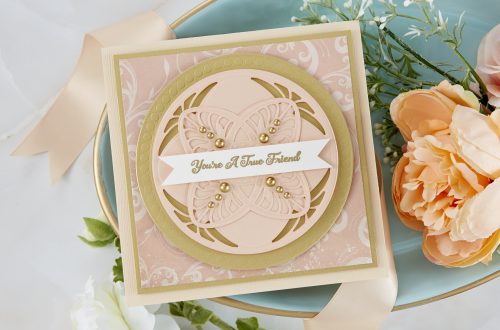
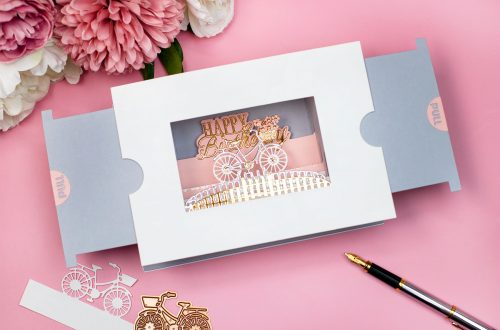
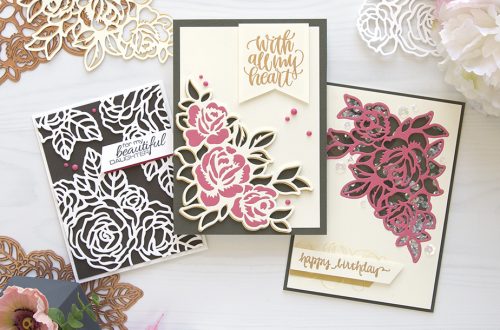
Hello all my crafty friends, I hope you’re doing well! It’s Jenny here, joining you to share the three card projects I’ve created with the Becca Feeken Delicate Impressions Collection. This collection is absolutely gorgeous! It features some simply stunning background, border and sentiment Glimmer plates in such a delicate and ornate style – absolutely perfect for foiling. And once again, the Glimmer sentiments feature a coordinating outline die which is amazing for avoiding fussy cutting! Beautiful Friend My first card features the Sweet Blooms Border Glimmer Plate which is my favorite from the entire Collection. I glimmered it twice on an A2 panel of handmade watercolor paper using Blush…
-
Inspirational and Elegant Cards with the Expressions of Faith Collection
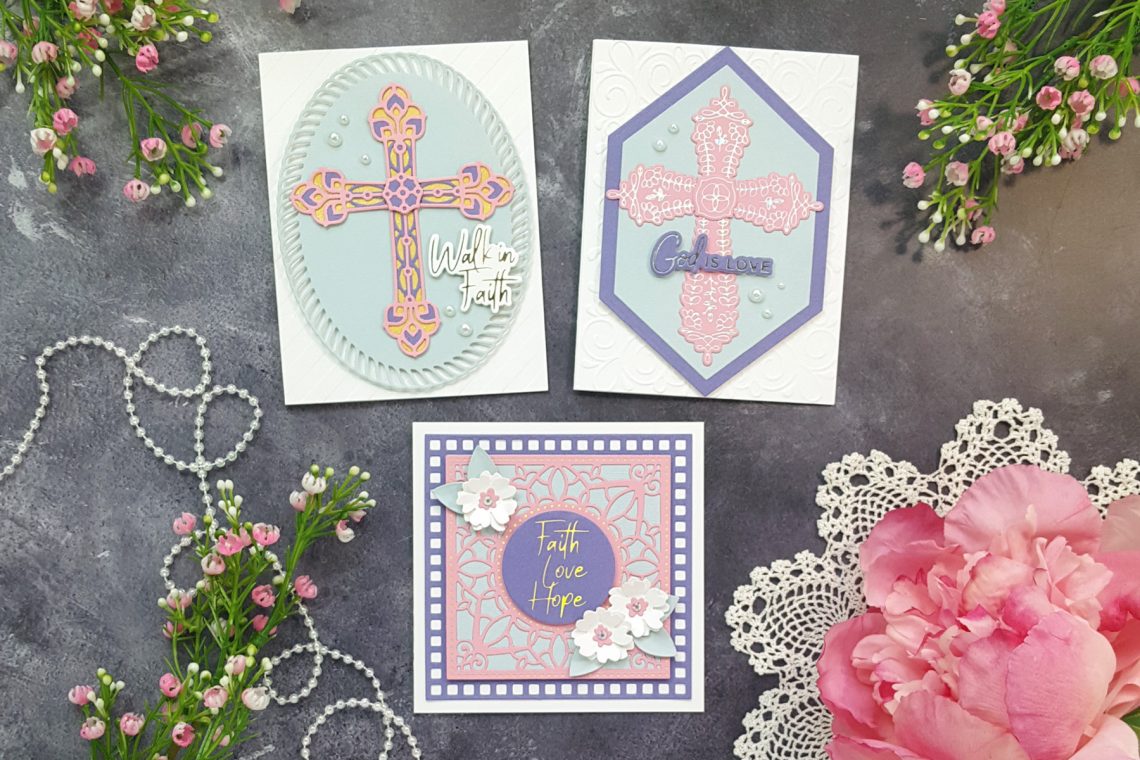
Hello there! It’s Andrea Shell from Blissfully Scrappy, and I am delighted to be guest-designing on the Spellbinders blog! I was fortunate to be able to play with the new Expressions of Faith Collection and have three cards to share with you. The dies and glimmer plates in the new Faith Collection are so beautiful and elegant! I love how intricate and delicate the designs are. This collection makes creating meaningful, inspirational projects easy and quick. Layered Cross with Foiled Sentiment My first card features the new Kaleidoscope Cross Dies, which is a set of layering dies. I die-cut the two layers from pink and purple cardstocks and adhered them…
-
Sparkling Christmas Inspiration – Foiled Cardmaking Ideas with Jenny
Hi there fellow crafters, it’s Jenny from JCCards here! I’m excited to be guesting here on the Spellbinders blog, sharing two card projects I created using the gorgeous new Sparkling Christmas collection. Both of my projects today use Glimmer plates from the collection and I was inspired by some of the gorgeous colors of glimmer foils available that aren’t what you think of as traditional Christmas colors. For those of you who haven’t started a Glimmer collection, believe me the effect is stunning, and I’m addicted. If you haven’t used the Glimmer Hot Foil System before (or even if you have), I highly recommend you check out the Spellbinders YouTube…
-
The Effortless Greetings Project Kit | Cardmaking Inspiration with Lea Lawson | Video
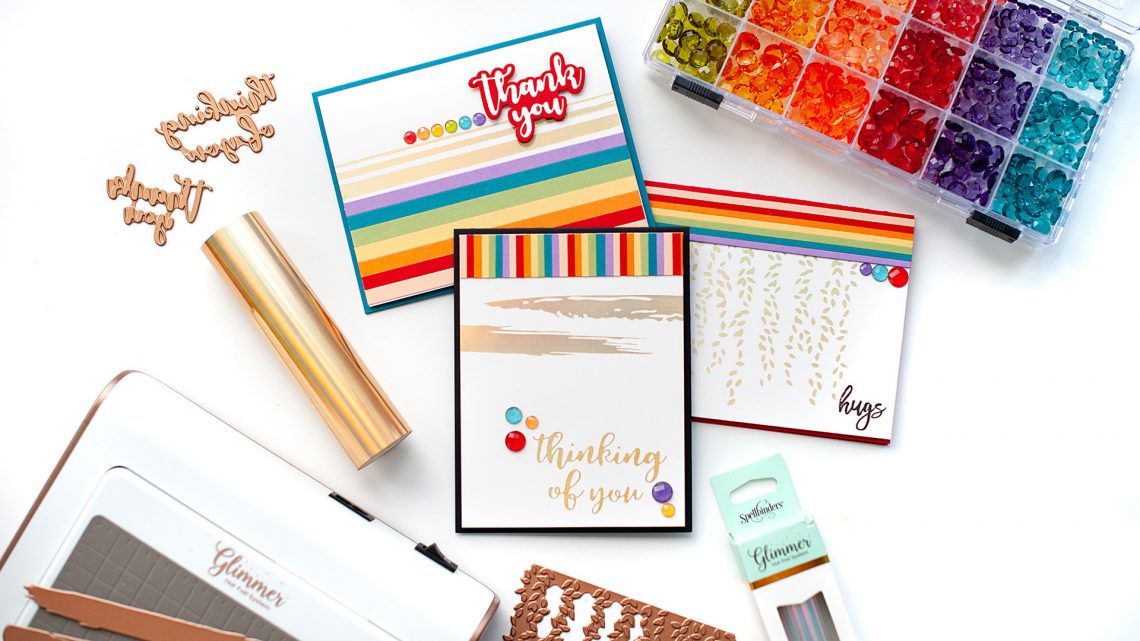
The Effortless Greetings Project Kit is here! This Effortless Greetings Project Kit is the perfect way to get your hands on early products from one of the upcoming April Collections “Effortless Greetings Collection by Laurie Willison.” This kit comes with an assortment of THREE new Glimmer plate sets, two rolls of Glimmer hot foils, a clear stamp set, and a card making project kit to make FOUR cards. BUY KIT NOW Included in Project Kit: Framed Details Glimmer Plate Set GLP-162 Foiled Brushstrokes and Stripes Glimmer Plate Set GLP-163 Effortless Sentiments Glimmer Plate & Die Set GLP-164 Floral Love Clear Stamp Set STP-012 Glimmer Foil Roll – Silver GLF-003 Glimmer…
-
Modern Essentials Inspiration | Hot Foiled Card with Brenda
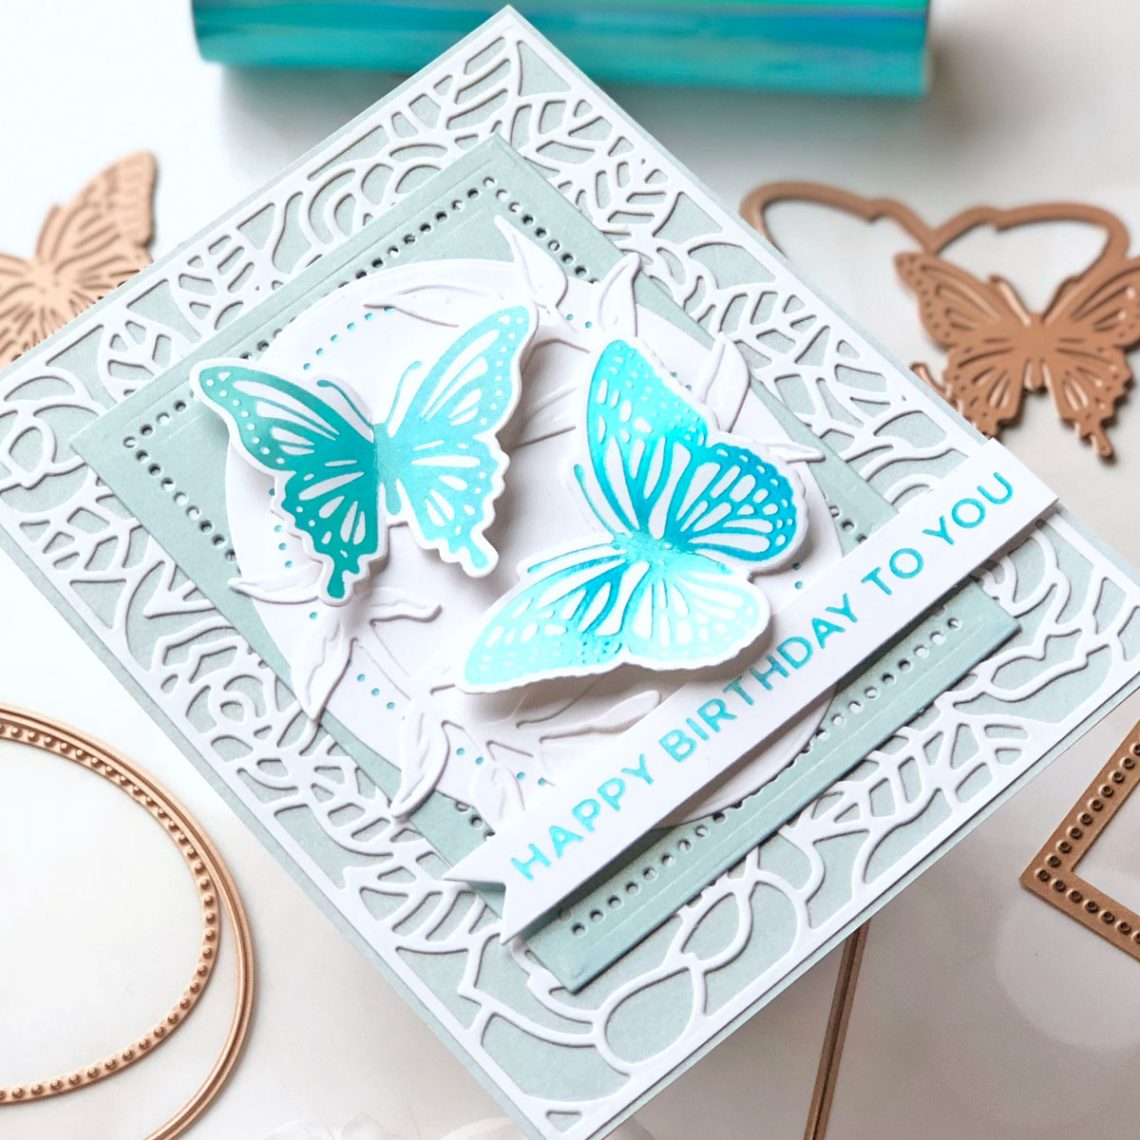
Hey there everyone!! This is Brenda, from MyPaperCut Creations. I am absolutely thrilled to be guest posting for Spellbinders today!! I have three cards to share with you today featuring the new Modern Essentials Collection! Thanks For All You Do Card I pulled out all of my iridescent foils and got to work!! This first card showcases several of the Modern Essentials Collection with the Prism Foil. I began by hot foiling one of the Essential Glimmer Rectangles Foil Plates, a sentiment from More Sentiments and a butterfly from Glimmering Butterflies onto white cardstock using the Prism Foil. I die-cut the butterfly and sentiment with the included dies. I ran…

