BP-001
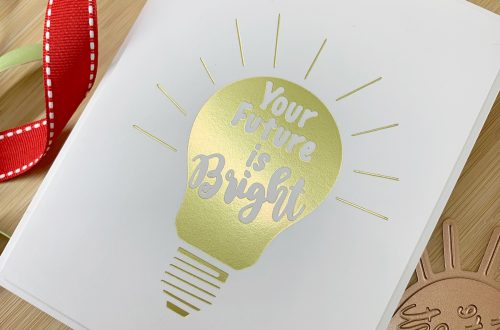
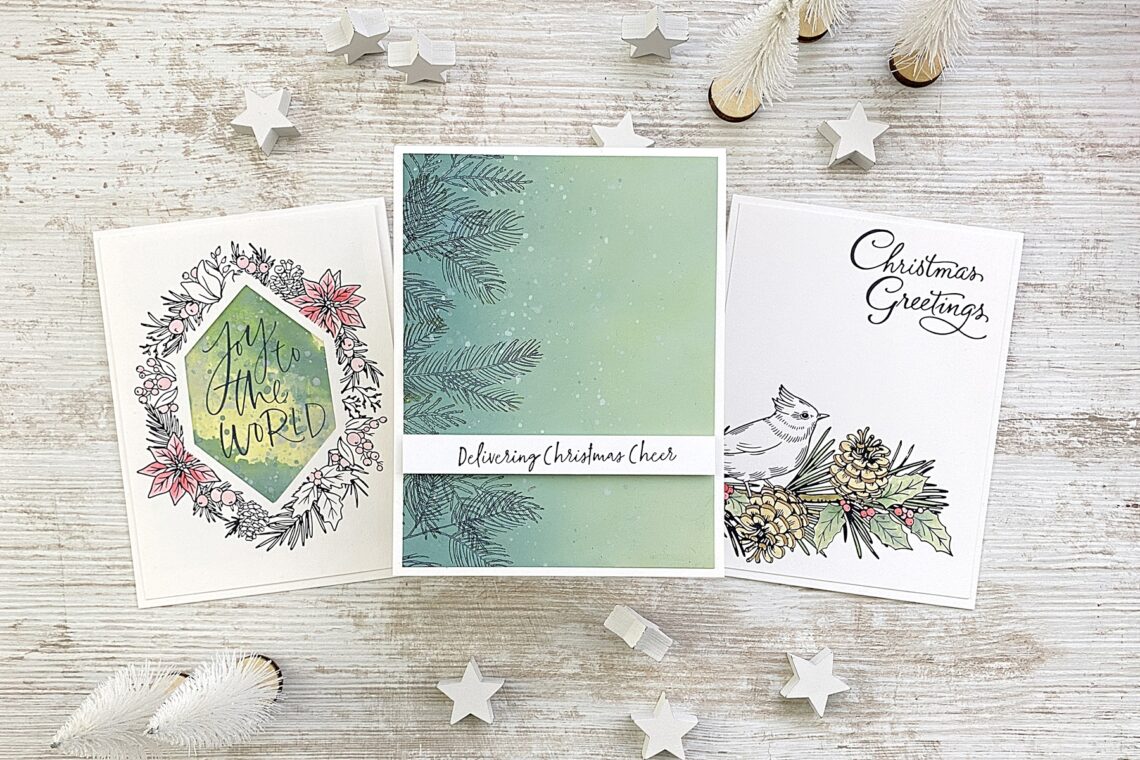
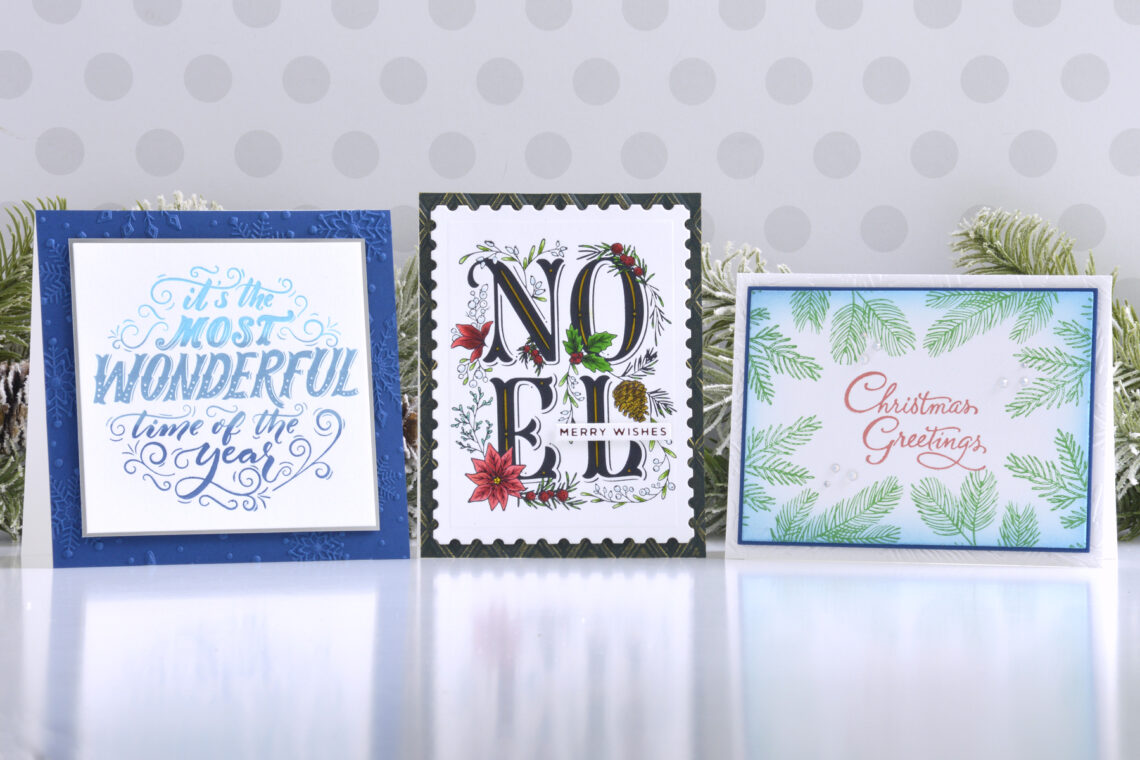
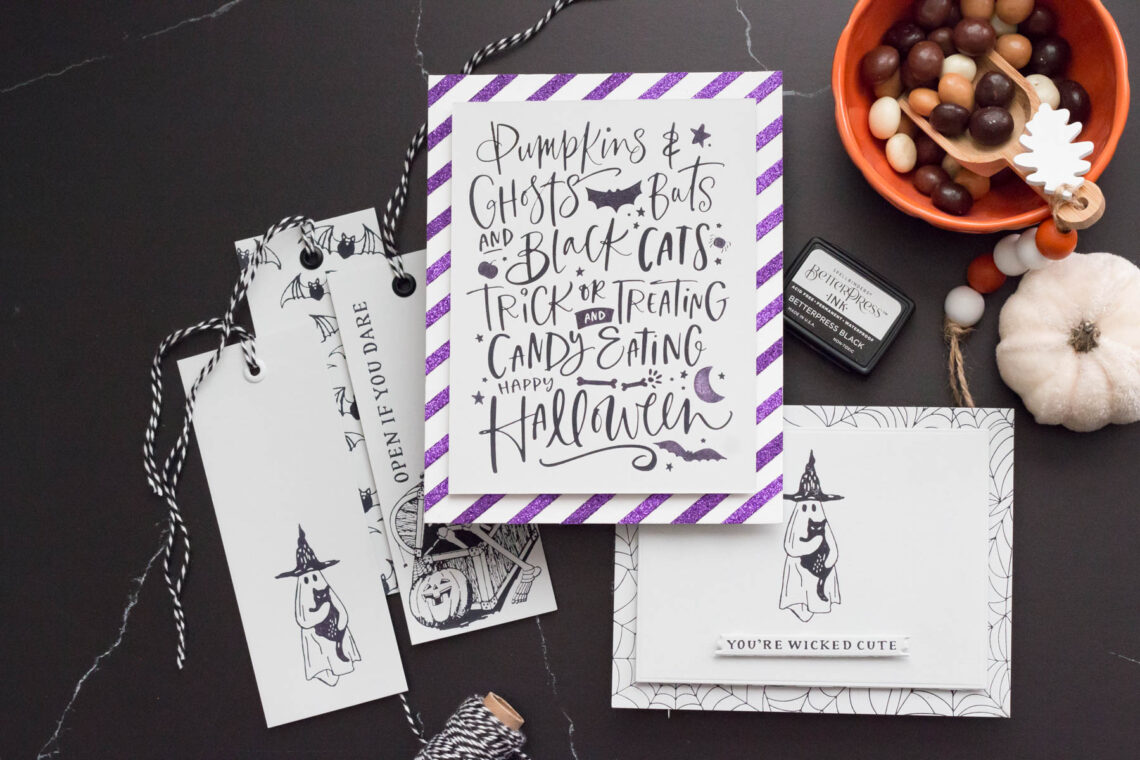
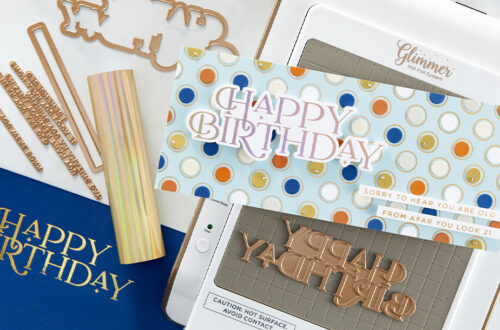
BetterPress Letterpress System by Spellbinders is an innovative way to achieve the elegant look of letterpress technique without all the mess. It’s an easy-to-use system that produces professional stationery style projects with detailed impressions that can be felt to the touch. Combine BetterPress with the Glimmer Hot Foil System, the Sealed with Spellbinders wax seal program, and the extensive library of Spellbinders products to create one-of-a-kind cards, stationery, projects and more. The BetterPress System works with your manual die-cutting machine to create beautiful, effortless, and detailed letterpress effects. Four easy steps to professional results! Place BetterPress Press Plate onto the Chase (magnetic platform to hold the press plate). Next, tape Card Panel on the Platen (clear top plate with registration marks). Apply Ink onto Press Plate. Make Letterpress Sandwich and run through the manual die-cutting machine. This exciting new system was designed to be used with your Platinum or Platinum 6 Die-Cutting & Embossing Machine, and is also compatible with many other die cutting machines including the Sizzix Big Shot.
-
Spellbinders Exclusive Collection Inspiration with Jean Doeringsfeld
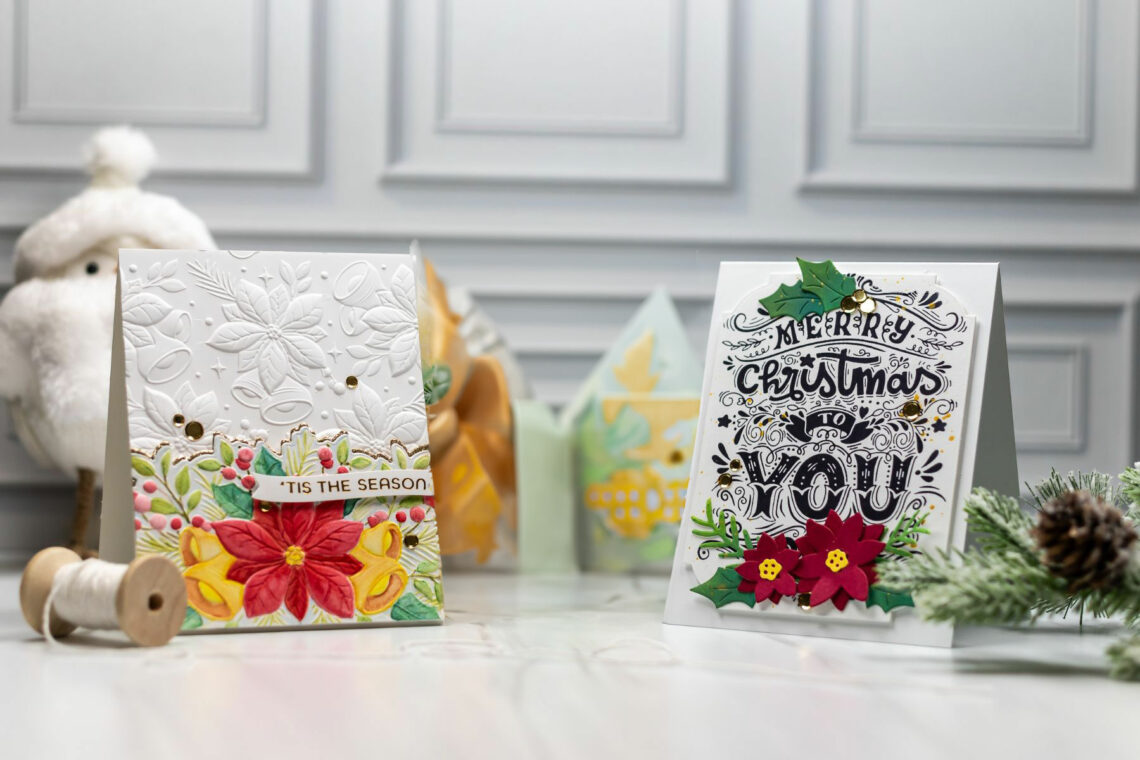
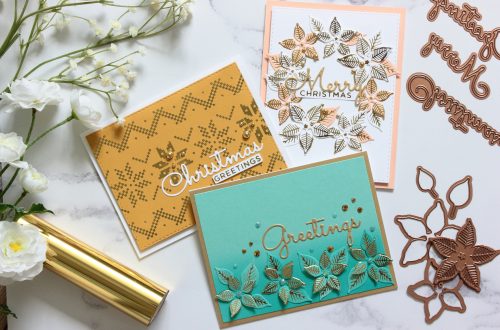
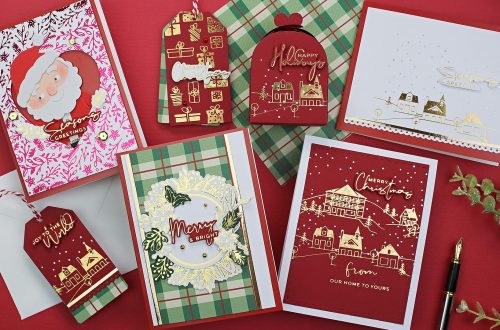
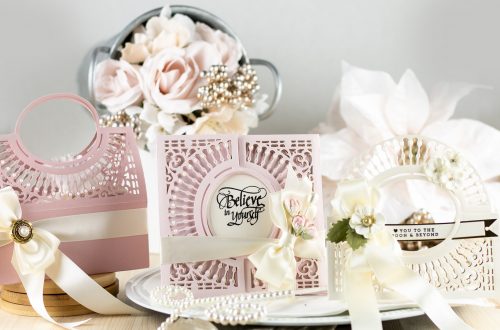
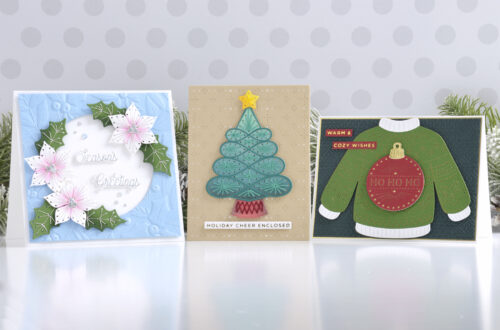
Hi everyone! It’s Jean Doeringsfeld and I’m super excited to be a guest on the Spellbinders Blog! Today, I’m sharing three cards made with Spellbinders’ Exclusive products. This collection is a holiday must-have you won’t want to miss! I had so much fun creating with this collection, and I can’t wait to share my cards with you – so let’s get started! Poinsettia & Bells This collection features a gorgeous new 3D embossing folder and die set called Poinsettia Bells & Border. The die in this set cuts out a portion of the embossed image to create an elegant border for your card. You can use the embossing folder with…
-
3 Simple Karin Brushmarker PRO Techniques for Card Making
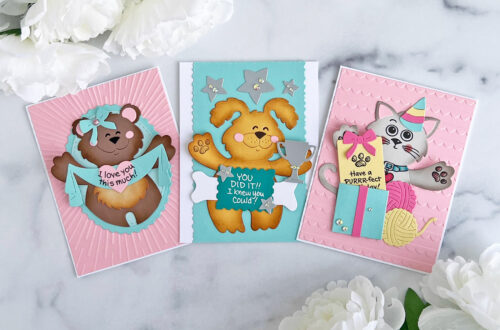
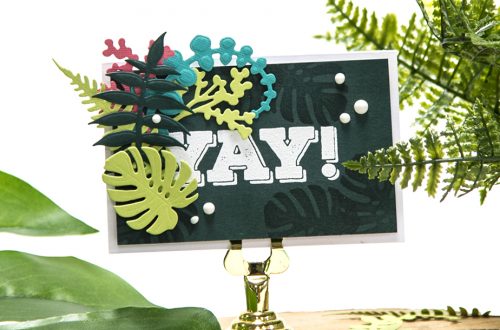
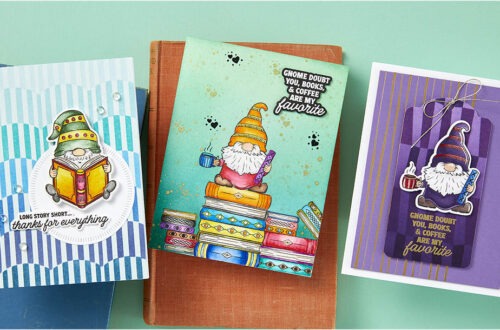
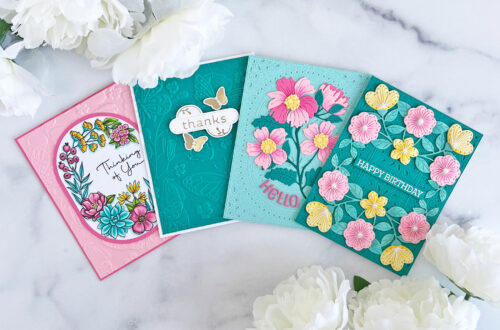
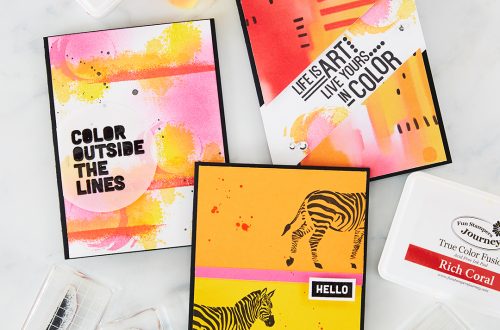
Hi there my Spellbinders’ friends, welcome back to the Spellbinders Blog! My name is Jaycee Gaspar and I’m back again to bring you some creative inspiration using the Karin Brushmarker PRO markers with Spellbinders products. In this blog post, I’ll be sharing three simple techniques to create your own stunning and vibrant watercolor-like cards. The Karin Brushmarker PRO markers are dye ink, water-based markers with intense saturation. The color vibrancy is surprisingly consistent even when diluted with water. This saved me from having to apply layers of color. The springy marker nib is great for brush lettering, fine line work, or bold washes of color. I could quickly work up two…
-
Adding a Personal Touch to Your Betterpressed Christmas Cards
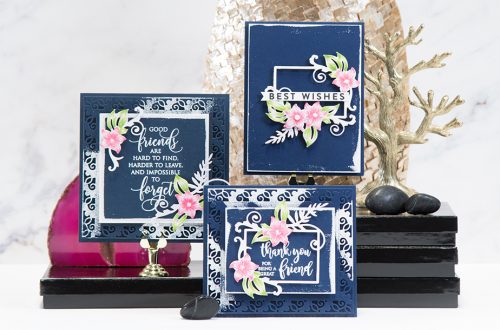
Hey everyone, this is Martina from @fraupony and I am truly excited to be a guest on the Spellbinders Blog again. Today’s post will be focusing on the BetterPress Christmas Collection – A wonderful collection filled with so many different options for your Christmas cards. I have been thinking that it could be a fun idea, to create three different cards using some of the BetterPress Christmas Collection plates and Distress Oxides. I have been using the same three colors of Distress Oxides on all cards, just on two I have been adding an additional red and brown tone. For the first card, I have been covering the Holiday Foliage…
-
Using the Serenade of Autumn Collection to Find My Mojo
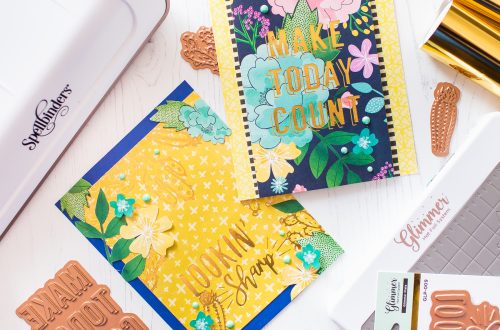
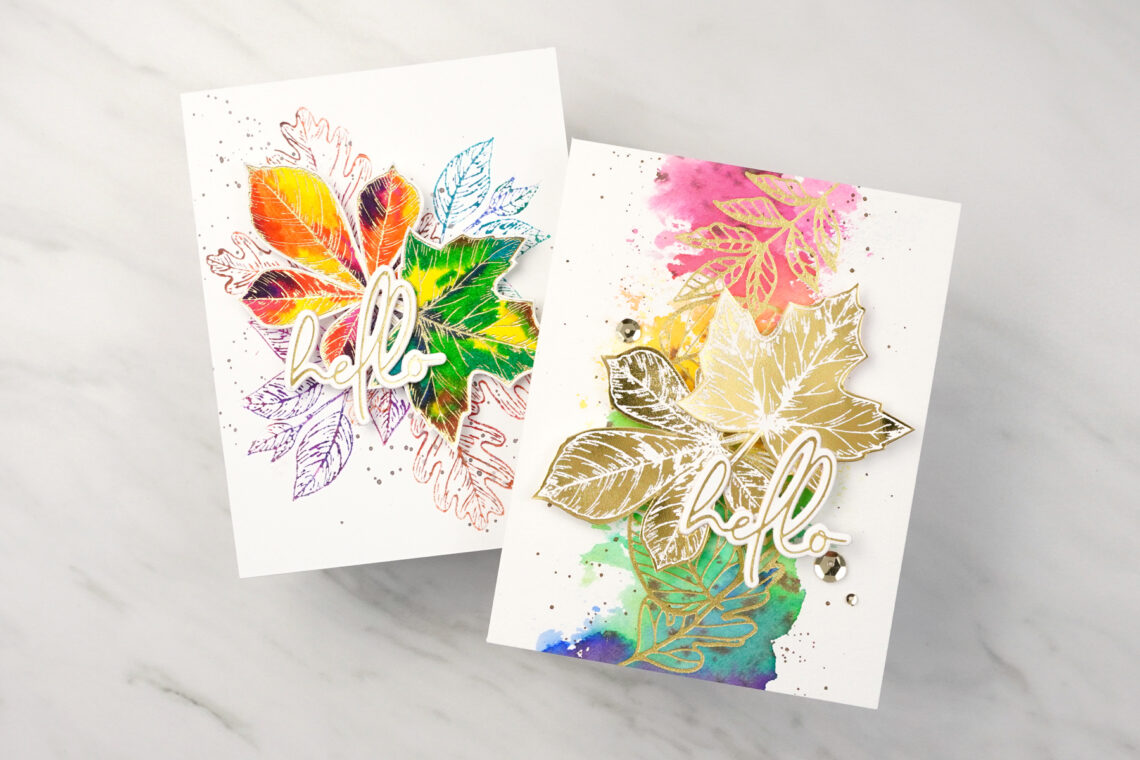
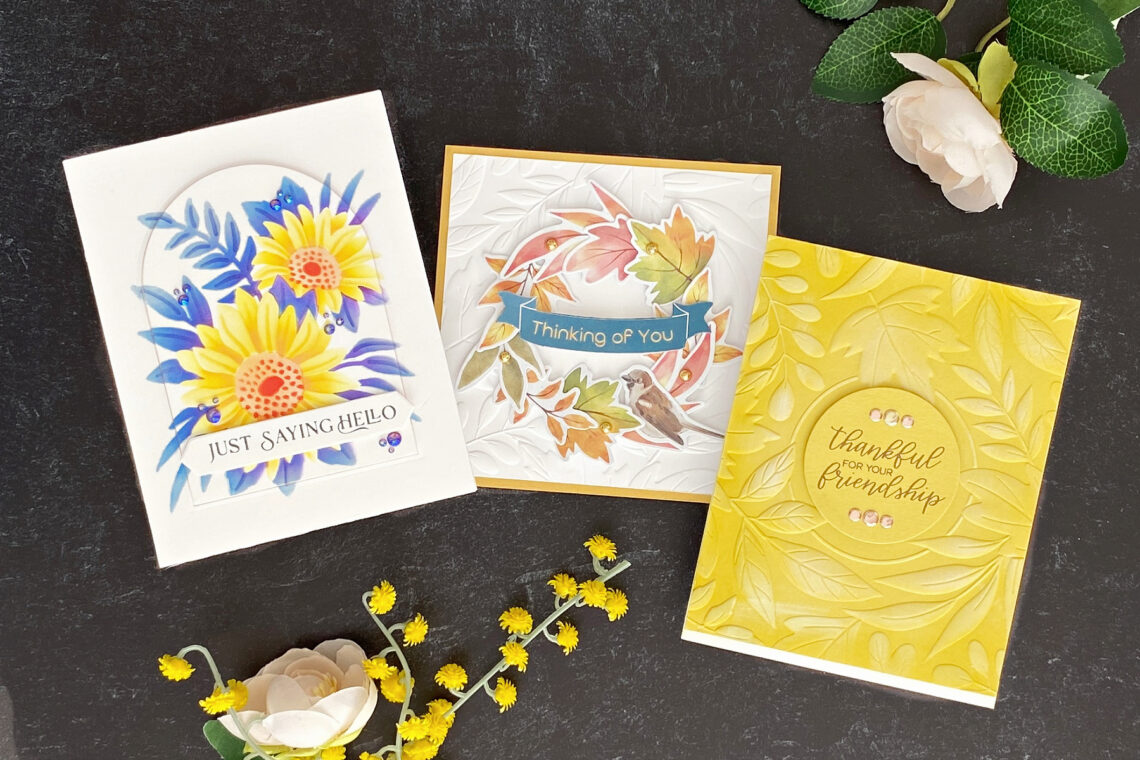
Hello crafters! Joan Bardee here. Today I’m sharing a few tips on how to use the Serenade of Autumn Collection to jump-start your creativity during those inevitable times when your mojo takes a hike. The Serenade of Autumn Collection is huge! It consists of a variety of beautiful products – dies, stamps, stencils, 3D embossing folder, Better Press Letterpress, patterned papers, embossed watercolor papers, printed vellum, wax seals, gemstones, ephemera, etc. It’s amazing, but … my mojo was missing. Here’s how I used a few of these products to find my mojo. Copy Someone Else’s Card Copying someone else minimizes the number of decisions I need to make, and that…
-
Cardmaking with BetterPress – Autumn Card Inspiration
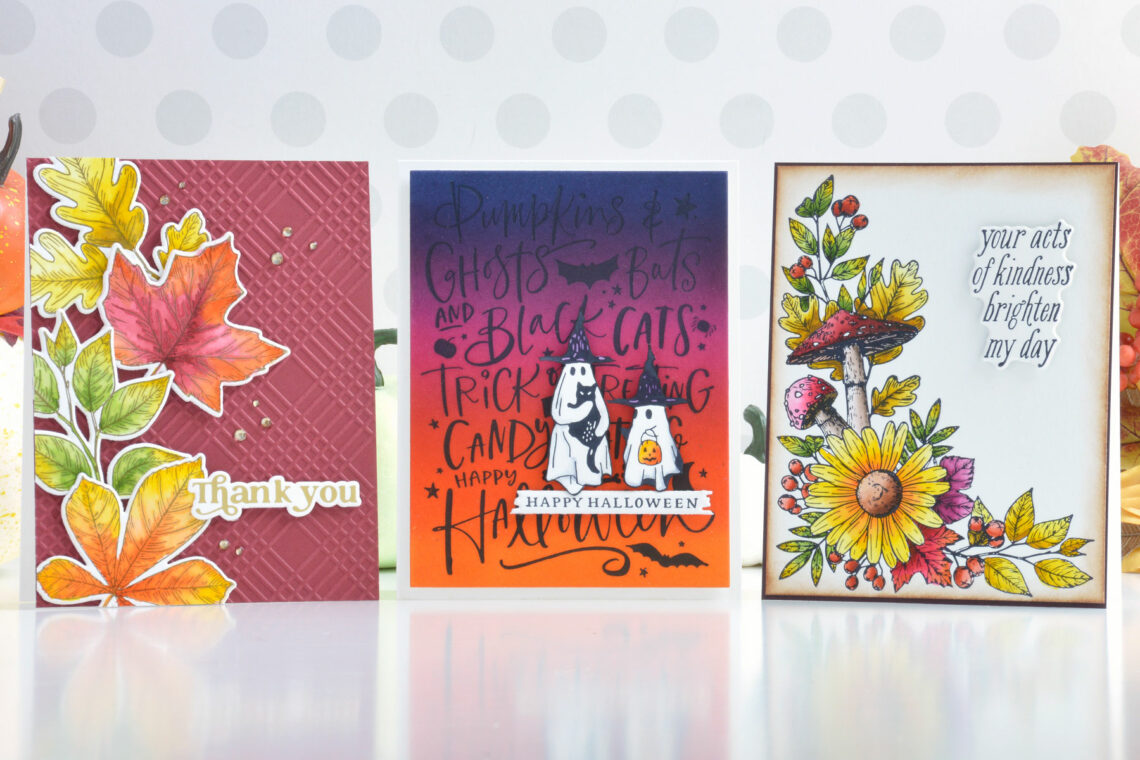
Hi there, this is Annie Williams and I’m thrilled to be back on the blog today to share a couple of projects using the BetterPress Fall and Halloween Collections from Spellbinders. The beautiful autumn designs and fun Halloween icons and backgrounds in these collections inspired me to create three colorful cards with an elegant letterpress effect. Autumn Floral Corner Card I loved the collage of images in the Autumn Floral Corner Press Plate Set, so this was the first design I picked up. With some bright autumn colors, I could easily bring a basic black press of this gorgeous image to life. I started by adding black BetterPress Ink to…
-
Better Press Christmas – Letter Press and Hot Foil Card Ideas with BetterPress Plates
Hi friends! Emily Midgett from Sixth Street Sundries here with you today on the Spellbinders blog, and today I have some inspiration to share using a few products from the BetterPress Christmas Collection! One of my favorite things about the new BetterPress Letterpress plates is how beautifully they work with both your BetterPress letterpress machine and the Glimmer Hot Foil machine! The amount of detail that you can achieve with either machine using the super intricate images in the BetterPress lineup is truly impressive. I have created a quartet of projects to share with you today using several products from the BetterPress Christmas collection, so let’s get started with the…
-
BetterPress Christmas Collection – Card Inspiration with Annie Williams
Hi there, this is Annie Williams and I’m excited to be back on the blog today to share a couple of projects using the BetterPress Christmas Collection from Spellbinders. The gorgeous plate designs and beautiful sentiments in the collection inspired me to create three easy holiday cards with an elegant letterpress effect. Festive Noel Card Something about the boldness and beauty of that Festive Noel Press Plate made me reach for this one first. I added some simple coloring to a basic black press of this gorgeous design for an easy and pretty Christmas card. I started by adding black BetterPress Ink to the Festive Noel Press Plate and pressed…
-
Better Press Halloween Ideas with Marie Heiderscheit
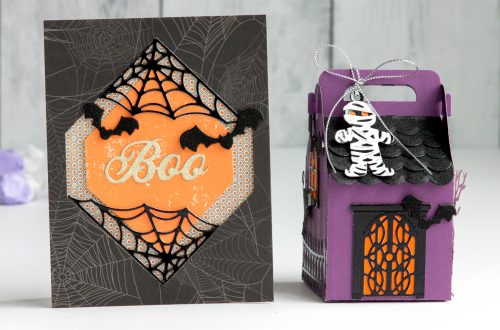
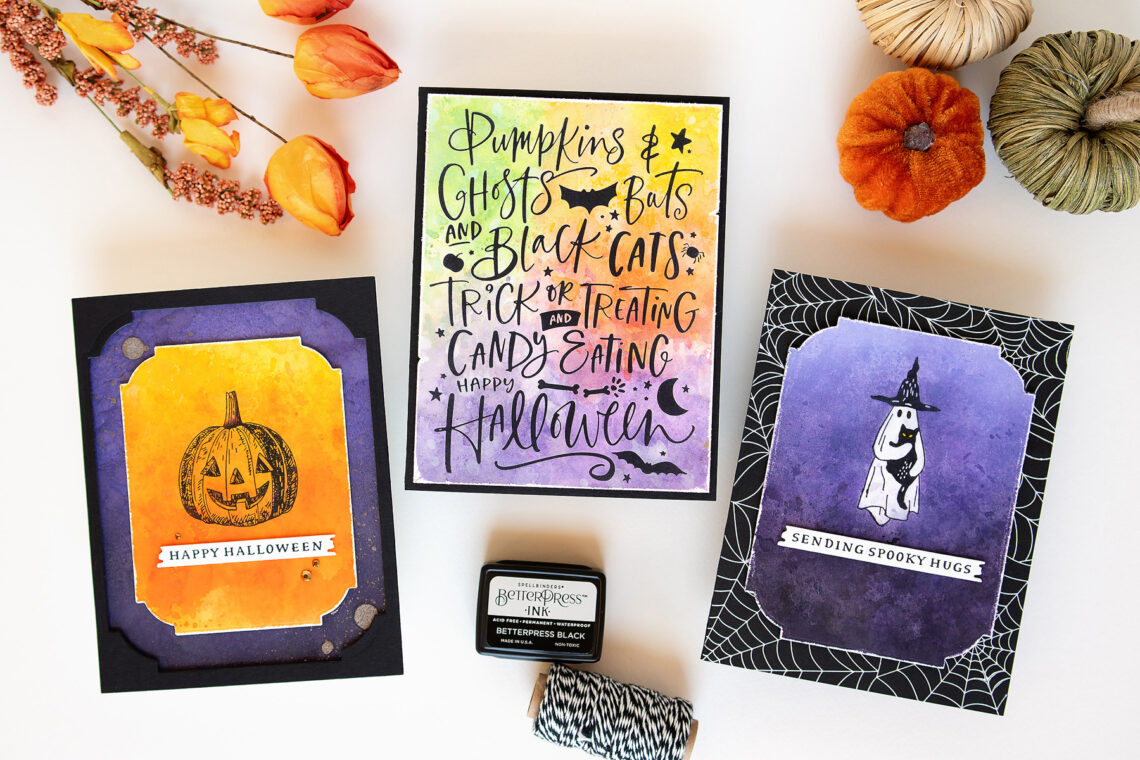
Hello, crafty friends! Marie here again from Marie Nicole Designs. I hope you are ready for some spooky crafting! I’m using the new Better Press Halloween images to make some simple and fun items! I first want to say that this was the first time using my Better Press and I am so impressed by the results! The Better Press plates combined with this cotton paper give such a professional finish! Even just making some simple cards with black ink looks amazing. Let’s take a look! SIMPLY PRESS IT! For my first card, I used the Pumpkins and Ghosts Betterpress plate to press the design into a 4×6 Pebble-colored card…
-
Betterpress Halloween: Watercolor Backgrounds
Hello crafty friends! It’s Jung here, and I am back with another guest post on the Spellbinders blog. For my projects today, I’m working with the Betterpress Halloween collection. I made fun watercolor backgrounds playing with Distress inks and Distress Oxide inks. I love how they compliment the Betterpress plates. For my first card, I used the Pumpkins & Ghosts Background Press Plate. I started by adding some color to an A2 Bisque cotton card panel. I used several techniques on the background. First I wanted to add a base layer wash of color. I smooshed mini Distress ink cubes onto my glass mat and sprayed generously with water. Then,…
-
Crafting With Doodlebug – Cardmaking Ideas You Need To Try
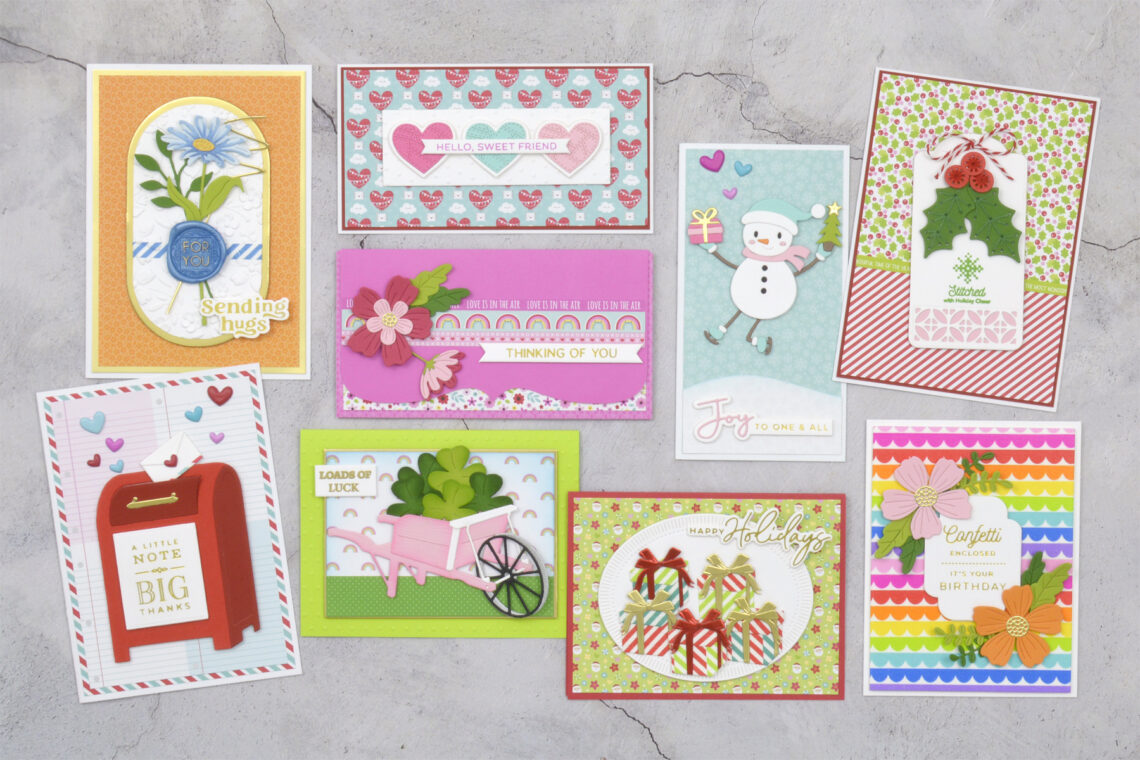
Hi there, this is Annie Williams and I’m excited to be back on the blog today to share a bunch of cards made with some of the beautiful Doodlebug products available in the Spellbinders shop. I paired many of the brightly colored cards and envelopes, sweet patterned papers, and fun washi tapes and embellishments with some of my favorite Spellbinders dies to create cards for many different kinds of occasions. Mailbox Thank You Card I hear a lot of crafters say that they love patterned paper, but struggle to use it on their projects sometimes, especially those with bolder colors and patterns. Here I turned a bright stripe pattern into…