-
Spellbinders Exclusive Collection Inspiration with Jean Doeringsfeld
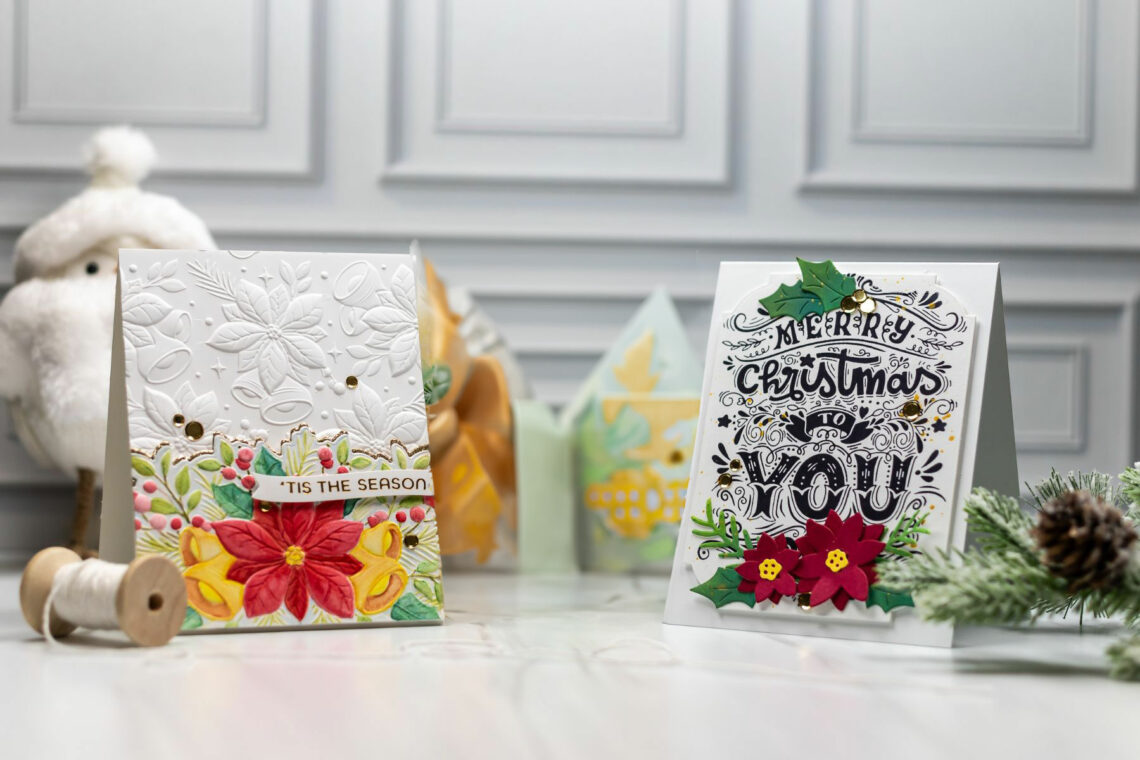
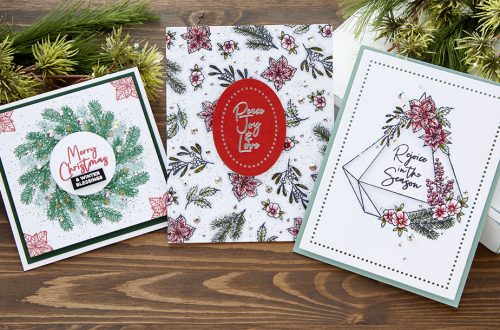
Hi everyone! It’s Jean Doeringsfeld and I’m super excited to be a guest on the Spellbinders Blog! Today, I’m sharing three cards made with Spellbinders’ Exclusive products. This collection is a holiday must-have you won’t want to miss! I had so much fun creating with this collection, and I can’t wait to share my cards with you – so let’s get started! Poinsettia & Bells This collection features a gorgeous new 3D embossing folder and die set called Poinsettia Bells & Border. The die in this set cuts out a portion of the embossed image to create an elegant border for your card. You can use the embossing folder with…
-
Using the Beautiful Wreaths Collection Without Making a Wreath
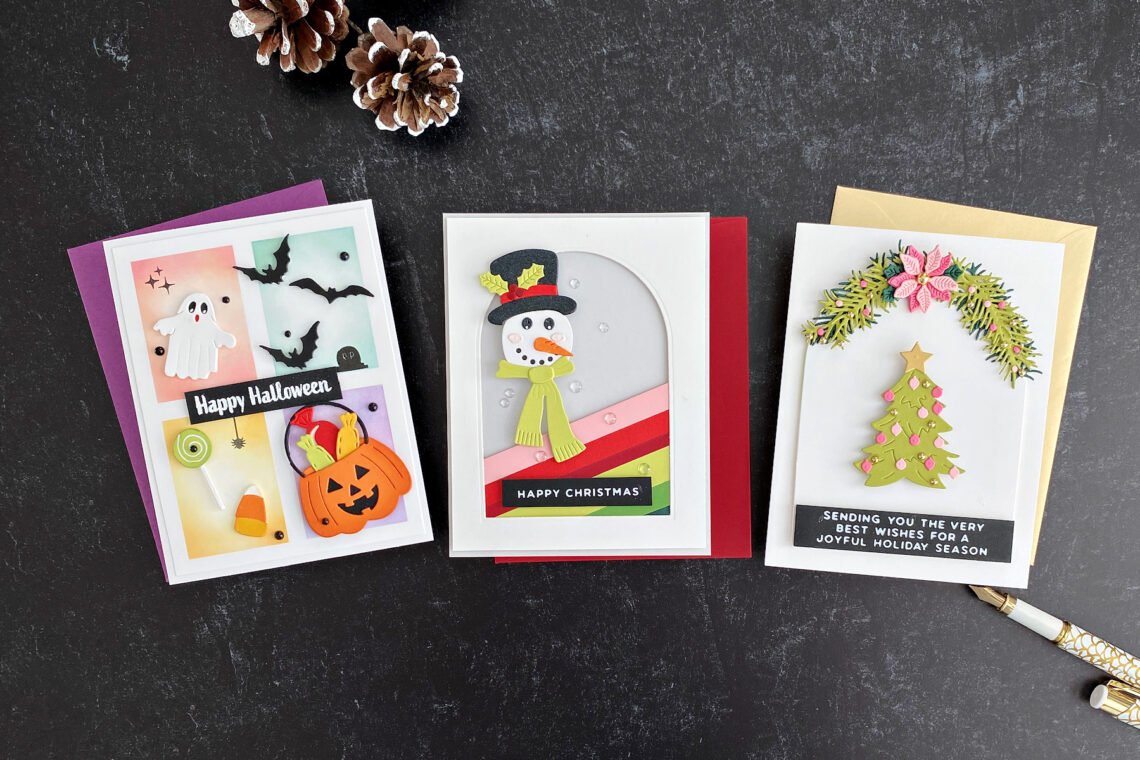
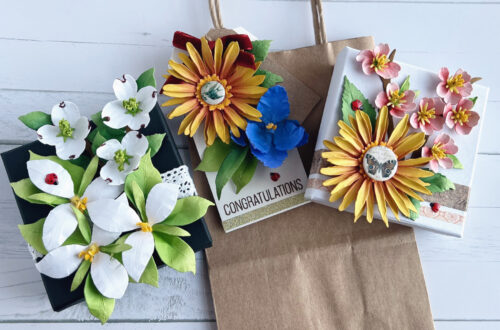
Hello crafters! Joan Bardee here and I’m happy to be back on the Spellbinders blog sharing 3 cards using the Beautiful Wreaths Collection designed by the delightful Suzanne Hue. This collection will give you everything you need to make many different wreaths. There are many add-ons available that allow you to make cards for any occasion. I decided to not make any wreaths. Rather, I wanted to use the add-ons to demonstrate how versatile the collection is. Stylish Snowman I LOVE this dapper snowman – so stylish with his top hat and scarf. Die cut the snowman from Christmas Wreath Add-Ons using White, Brushed Black, Poppy Field, Pink Sand, Peridot,…
-
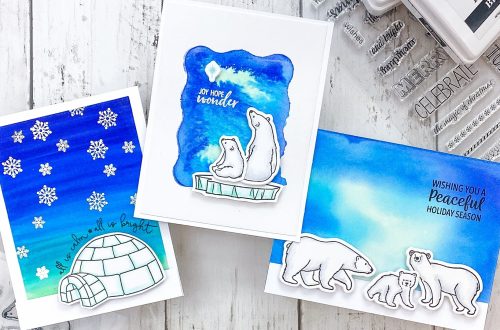
Sakura Watercolors – Watercoloring 3D Embossed Background
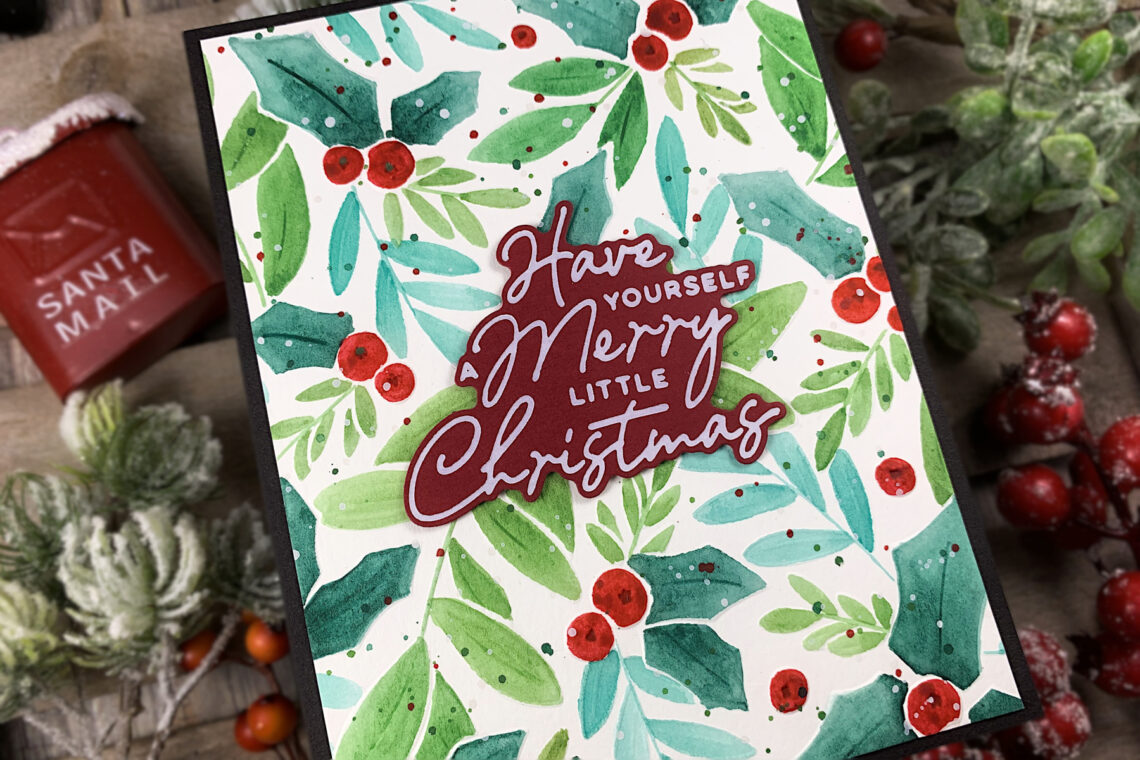
Hello crafty friends! This is Jennifer Rustioni from @armieritagli! I’m so happy to be here again as a guest on the Spellbinders Blog! Today I share with you a step-by-step tutorial of the card I realized featuring the amazing Sakura Koi Watercolors! This set of 24 watercolors is truly beautiful and perfect for urban sketching or for indoor watercoloring as well. I chose to use these beautiful watercolors to create a Christmas card. I realized a coloring different from my usual, using an embossing folder instead of a stamp. When using brand new colors (every type of color) for the first time, I recommend you create a color chart. This…
-
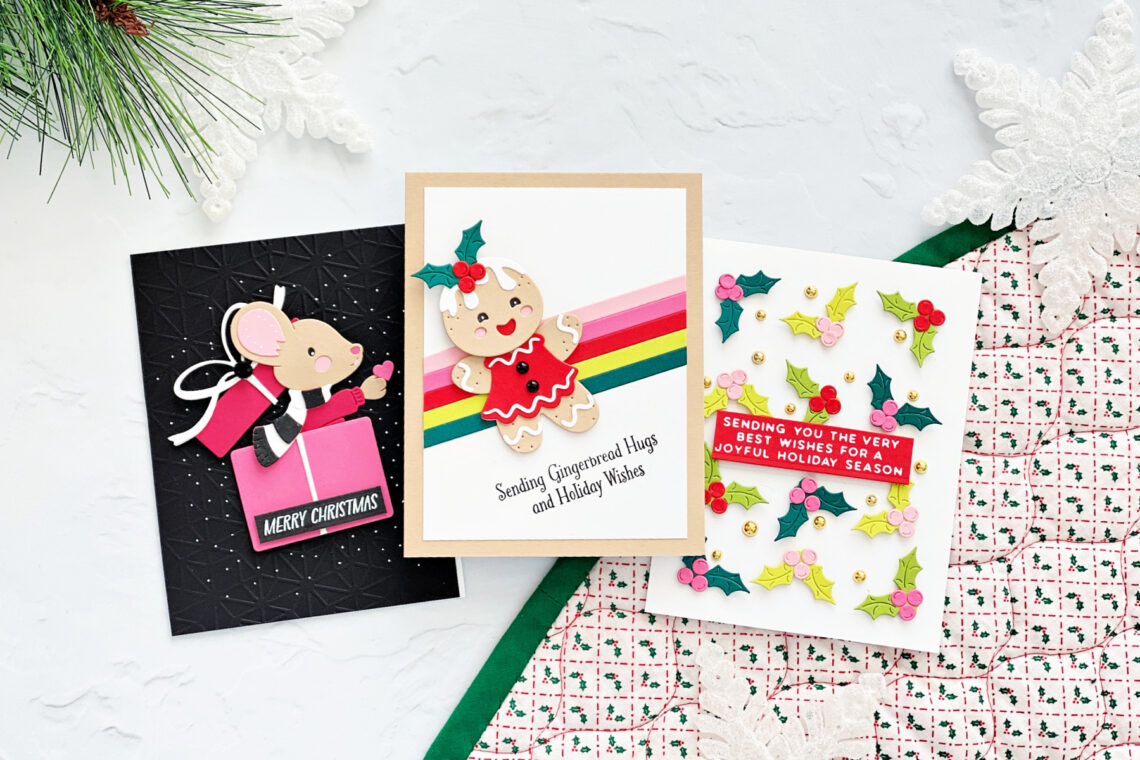
3 Ways to Create Movement in Your Cards Using the Dancin’ Christmas Collection
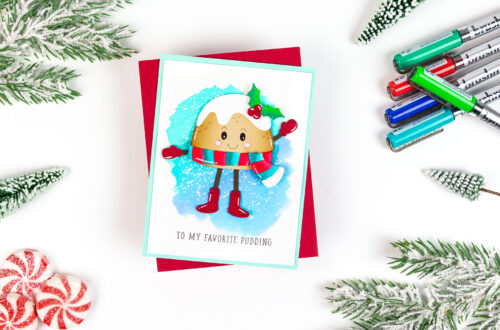
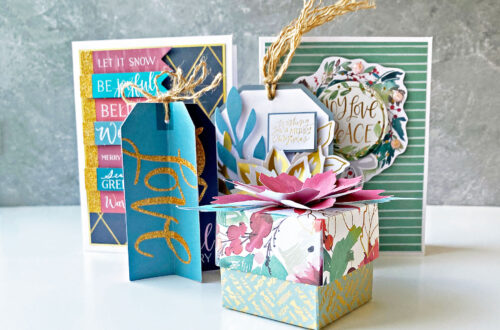
Hello crafters! Joan Bardee here and I’m happy to be back on the Spellbinders blog sharing different ways to create movement using the Dancin’ Christmas collection. This collection is designed to easily make cute cards that have elements that literally move. No special materials are required. However, in design, “movement” can mean other things, including leading the viewer’s eye in a particular direction. Here, I’m showing 3 different ways to create movement. THE CUTEST DANCIN’ GINGERBREAD – LITERAL AND FIGURATIVE MOVEMENT This card has literal movement – the body of that adorable gingerbread girl moves back and forth. It also has figurative movement – your eye follows the gingerbread girl…
-
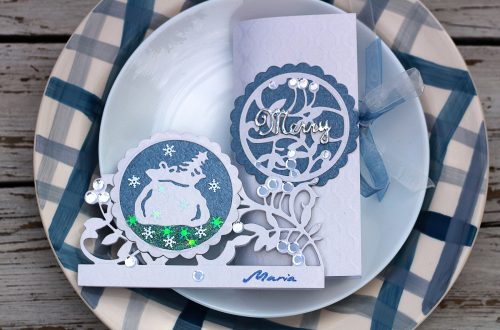
Snow Garden Inspiration
Hello, crafty friends!! Brenda Noelke here from My PaperCut Creations! I’m thrilled to be guest posting on the Spellbinders blog again today! I’m sharing three cards using the Snow Garden Collection designed by Susan Tierney-Cockburn!! I’m always a fan of Susan’s collections and this one is no exception! SEASON’S GREETINGS For my first card, I foiled the Winter Bought Hot Foil Plate onto smooth white cardstock with opaque black foil, then colored it with Copic markers. The panel was die-cut with the second largest die in the A2 Matting Basics A Die Set and adhered to a panel of red cardstock that was cut using the largest die in the…
-
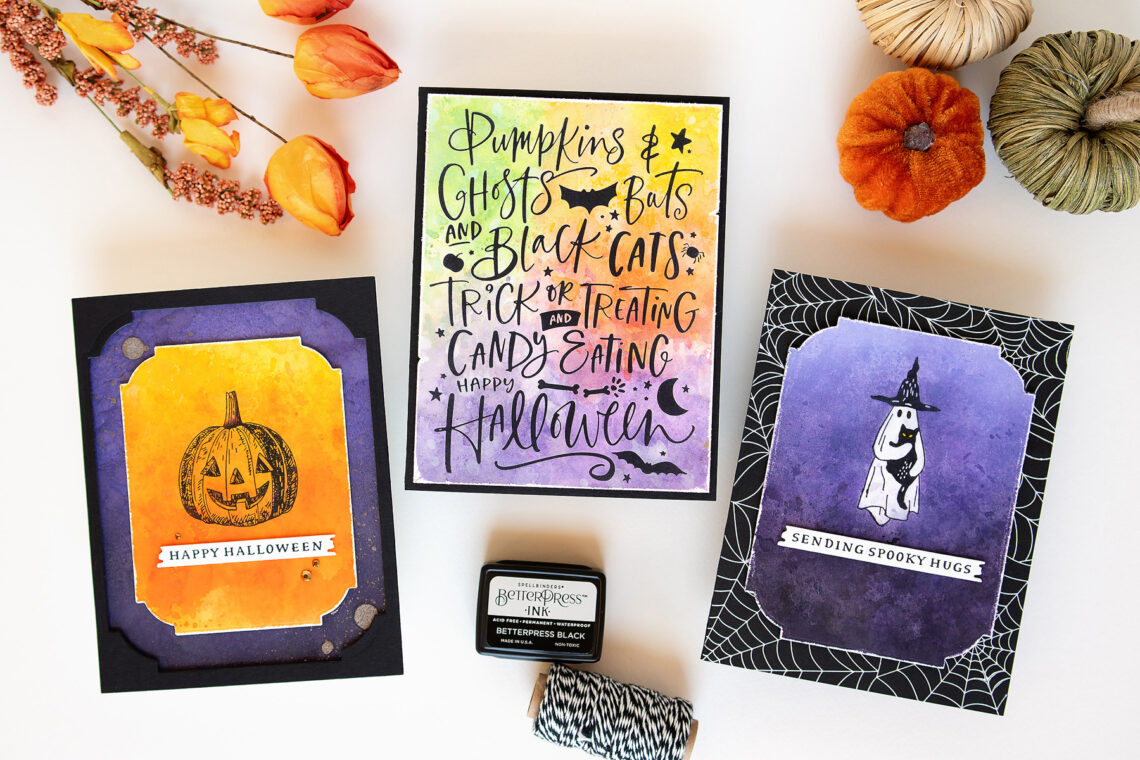
Betterpress Halloween: Watercolor Backgrounds
Hello crafty friends! It’s Jung here, and I am back with another guest post on the Spellbinders blog. For my projects today, I’m working with the Betterpress Halloween collection. I made fun watercolor backgrounds playing with Distress inks and Distress Oxide inks. I love how they compliment the Betterpress plates. For my first card, I used the Pumpkins & Ghosts Background Press Plate. I started by adding some color to an A2 Bisque cotton card panel. I used several techniques on the background. First I wanted to add a base layer wash of color. I smooshed mini Distress ink cubes onto my glass mat and sprayed generously with water. Then,…
-
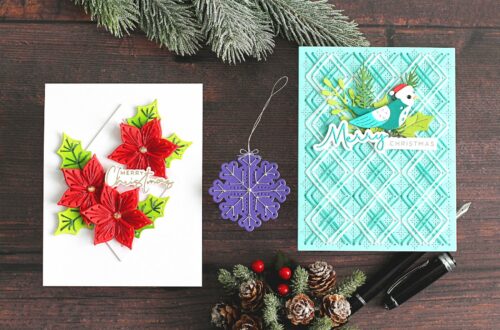
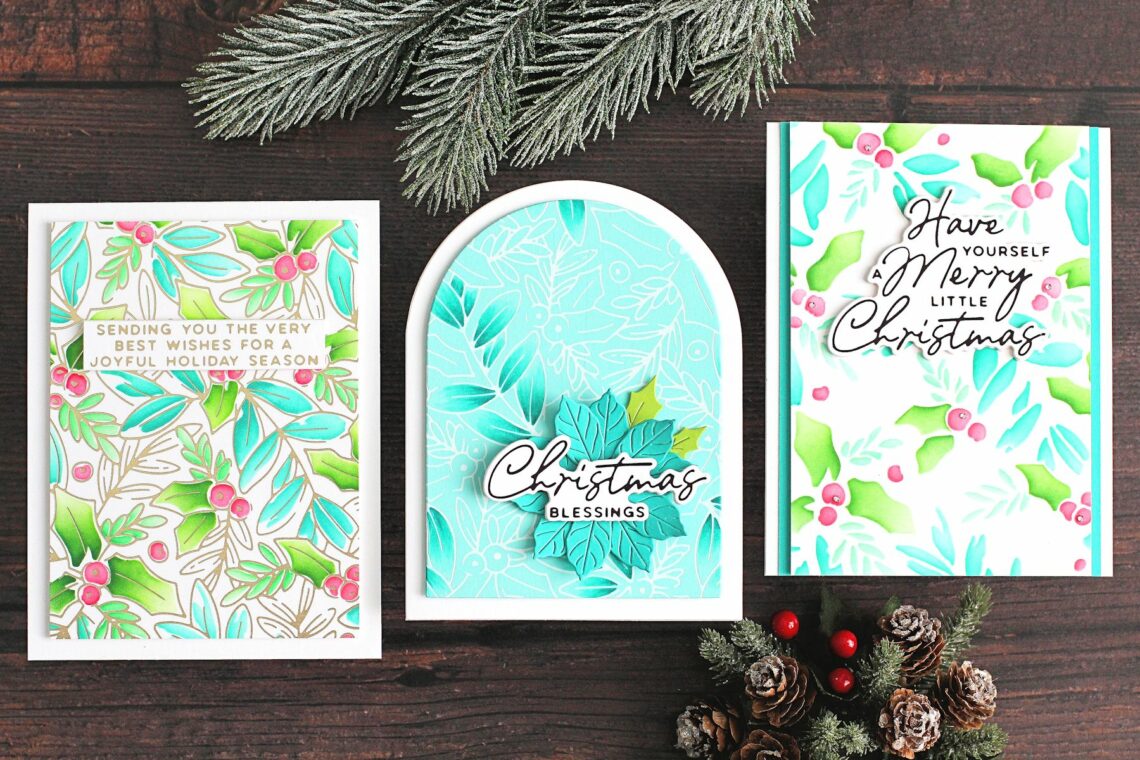
Glimmer Holly Background 3 Ways – How-to Step-by-step
Hello there, Michelle Short here to share a step-by-step tutorial with you using the Glimmer Holly Background and Layered Glimmer Holly Background from the De-light-ful Christmas Collection by Yana Smakula. This is such a pretty background and can be used in lots of different ways. Today I have three cards to share with you – 1. Using the Glimmer Holly Background and Layered Glimmer Holly Background together. 2. Using the Glimmer Holly Background on its own, and 3. Using the Layered Glimmer Holly Background on its own. GLIMMER HOLLY BACKGROUND + LAYERED GLIMMER HOLLY BACKGROUND STEP 1 Let the Glimmer Hot Foil System platform heat up while you place Champagne…
-
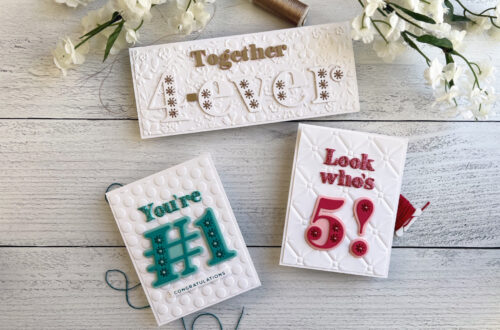
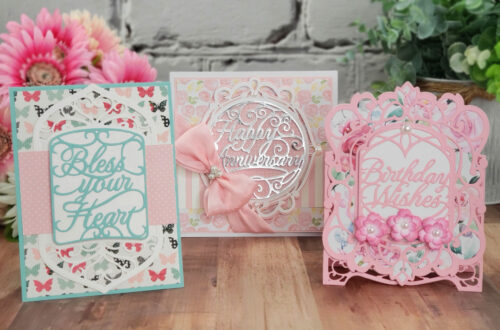
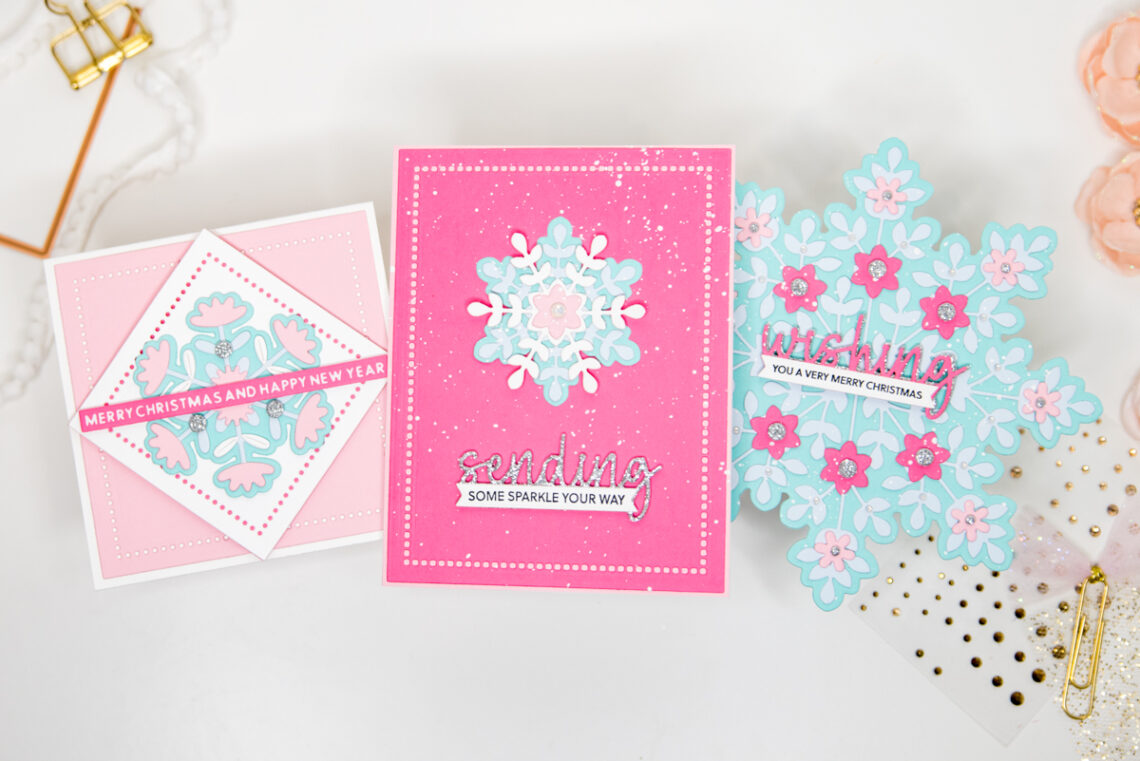
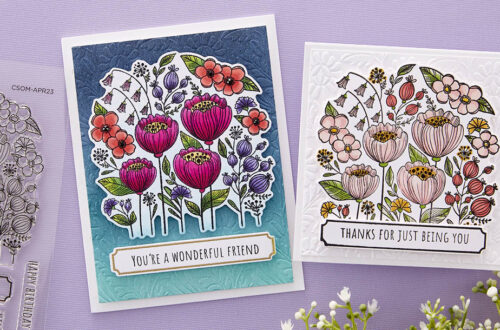
Snowflake Card Ideas in Pink!
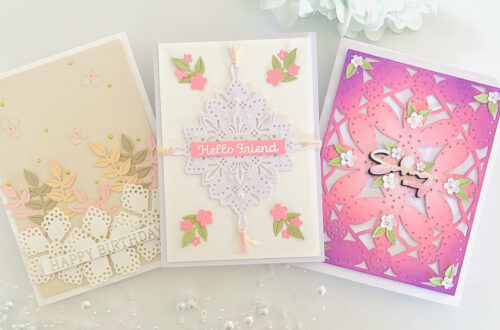
Hey there, crafty friends! It’s Leica here, and I’m excited to show you three lovely cards using the fantastic Bibi’s Snowflakes collection. This collection is all about embracing the winter season with its charming designs. Let’s dive into the cards I made! For the first one, I went with a square shape. The main attraction is the Delicate Snowflakes Etched Dies. The words on the card are shiny and white, thanks to the Glimmering Snowflakes Hot Foil Plate & Die Set. The edges of the card are adorned with the Nestabilities Essential Squares Etched Dies, giving it a delightful dotted look. On to the second card! This time, I chose…
-
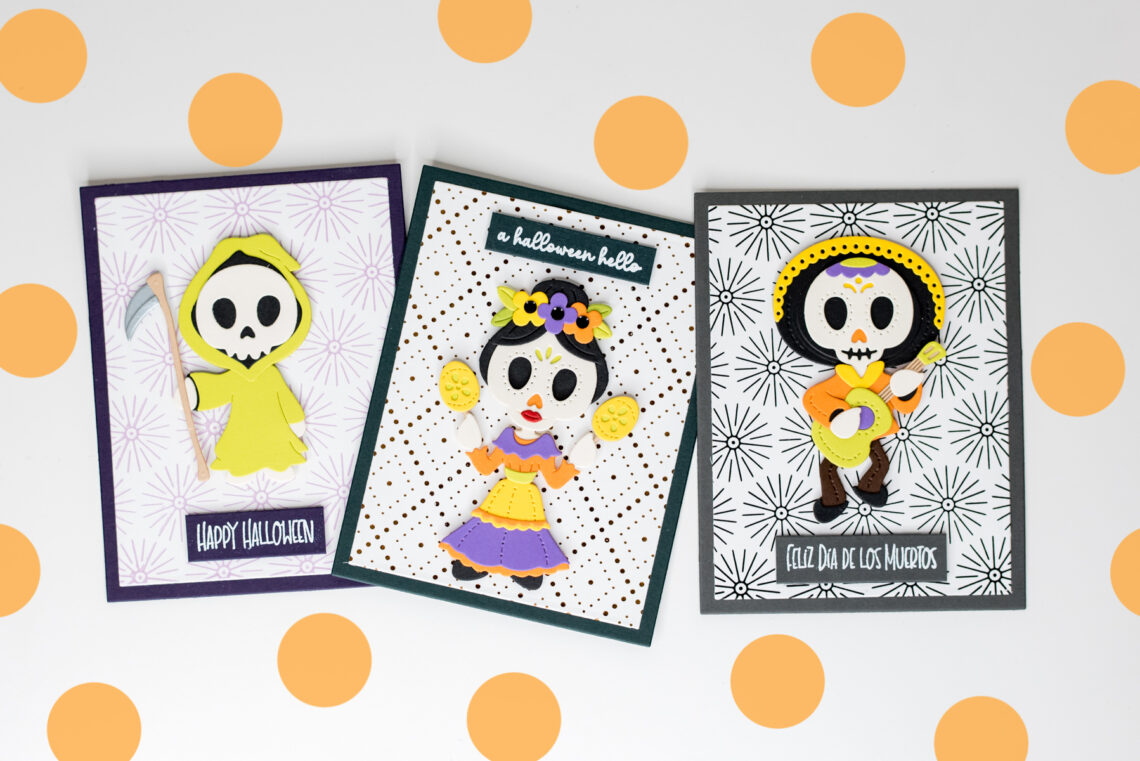
Easy Interactive Halloween Cards with Dancin’ Halloween Dies
Hey there, my crafty pals! It’s Leica here, and today I have a step-by-step photo tutorial to show you how to make three awesome cards using the Dancin’ Halloween collection. Trust me, they’re super fun to create! Don’t worry if you feel a bit overwhelmed by all the different parts in this collection. Putting them together is actually quite easy. The packaging even includes a picture of the final product, which makes it really simple to follow along. To start, I picked out a bunch of colors for the cardstock: Lilac Blossom, Peridot, Persimmon, and Sunkissed. I also used Alabaster and Onyx cardstocks. To save time and make things easier,…
-
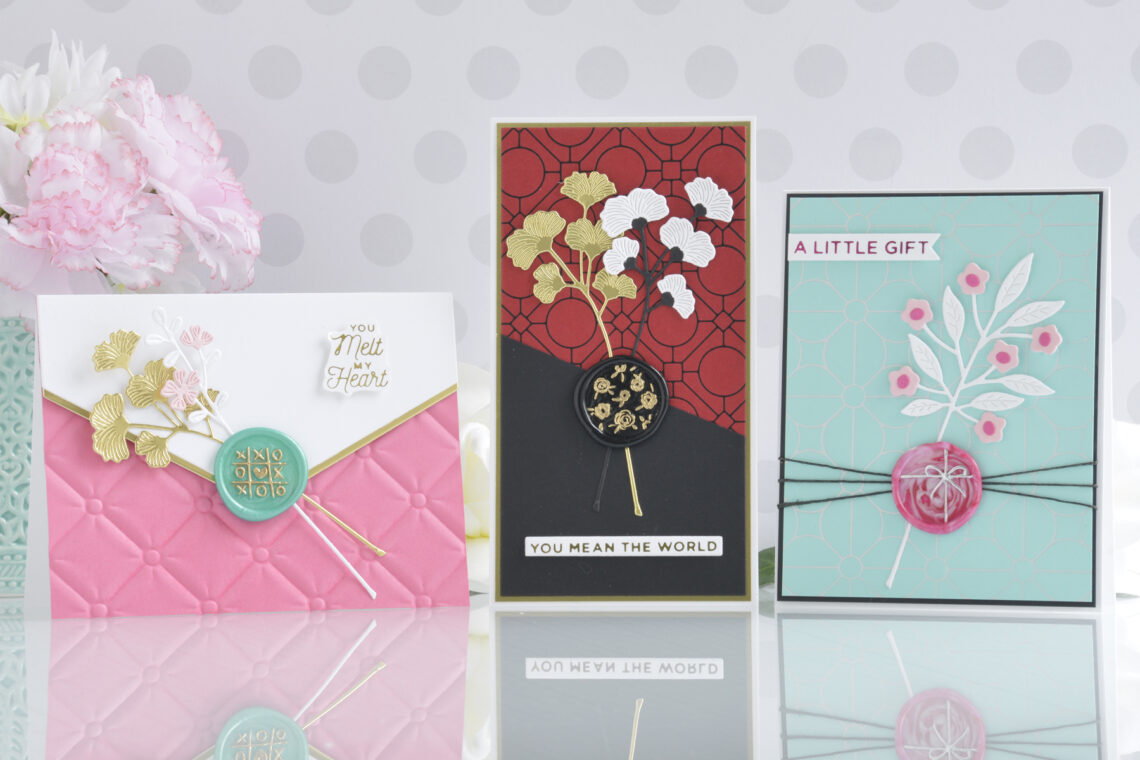
Wax Seals Weekend Inspiration!
Hi there, this is Annie Williams and I’m excited to be back on the blog to share a couple of ideas featuring Wax Seals. Mini Slimline Friendship Card I loved the detail in the Scattered Flowers Wax Seal Stamp so decided to try that design first. Here I chose rich colors and gold accents for this pretty mini slimline friendship card. Melt Black Wax Beads and press with the Scattered Flowers Wax Seal Stamp on a silicone mat. Once cool, lightly apply a gold metallic marker over the raised areas of the seal. Die cut white, Onyx, and Mirror Cardstock with the Sealed Gingko Die Set and assemble the sprigs…